
Want to see Raider King content first? Add us as a preferred source.
Last month, Square Enix released Dissidia Duellum: Final Fantasy to the public. This gacha-based entry in the Dissidia fighting game franchise allows players to team up and fight as various characters from the Final Fantasy franchise as they try to defeat large bosses before the enemy team can. While every match plays out similarly due to the matches having a solid gameplay loop, there is one factor that can slightly change how each fight plays out: the stages.
Dissidia Duellum: Final Fantasy features five different stages, and they are not all built evenly. So I thought it would be fun to talk about and rank each of these stages so we can see which ones work, which ones don’t, and hope that Square makes more stages like the better ones.
5. Shibuya Scramble Crossing
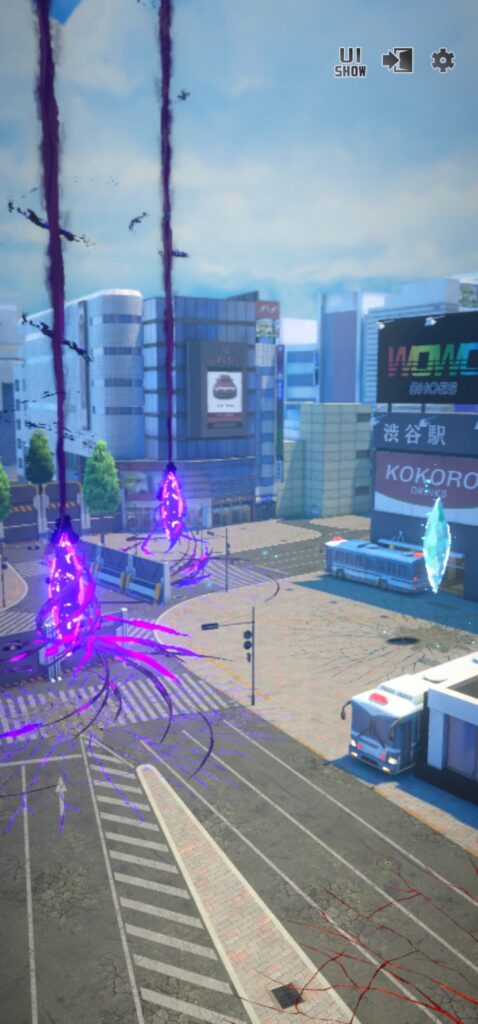
Shibuya is one of the most visually distinct and fascinating parts of Tokyo, and because of that, it is the part of the city that is most commonly shown in video games and anime. Square Enix itself even has an entire franchise that’s a love letter to the city, The World Ends With You.
With that said, it is an absolute tragedy that the Shibuya Scramble Crossing is by far the worst stage in Dissidia Duellum. While it isn’t bad enough to make you want to throw a match, I am never happy to see this stage appear when loading into Ranked.
This is one of two stages in the game that is completely linear. The pathway from your camp to the enemy camp forms an almost straight line, with the boss spawning in the middle. While this isn’t inherently bad and makes the map good for simple skirmishes between you and the enemy team, it is disappointing.
The worst part of this map, though, and the reason it ranks at the bottom of this list, is the strange area between Crystal B and D that takes up a large chunk of the map.
Players would be forgiven for not realizing that this large portion of the stage exists, as most of it is blocked off by large partitions that both block it from view and make it so you can only enter it from two entrances.
Of the 300 Ranked Battles I have played of this game, I have seen players lure the boss there at most a handful of times, and it always appears to have been by accident.
The most practical use a player could have for this outcove on the map is using it to run away from the enemy team when you’re low on health, as you can almost guarantee that no one is going to follow you here.
With an entire large portion of the map being completely useless, with the rest of the stage being a simple straight line, it should come as no surprise that this map ranks at the bottom of the list.
4. Ginza 4th District Crosswalk
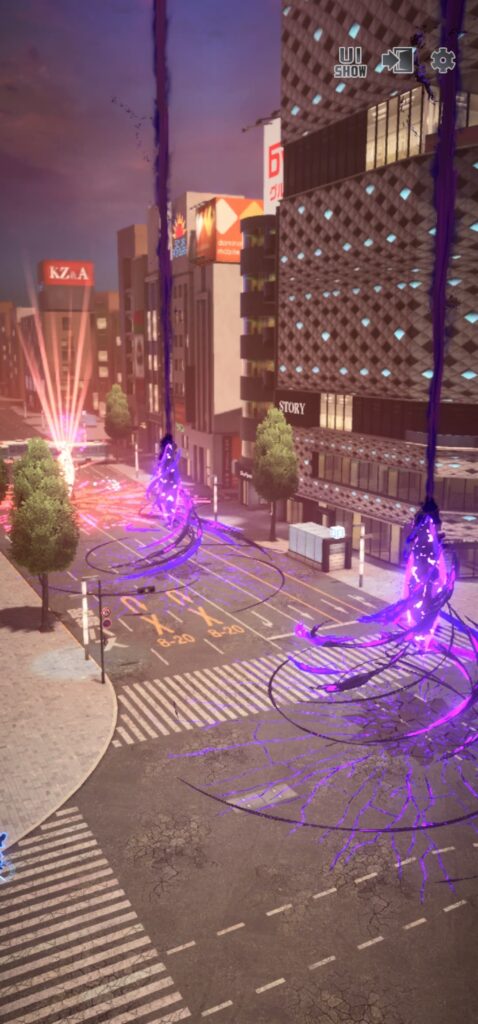
Now that we’ve gotten the Shibuya Scramble Crossing out of the way, we can start discussing the actual fun to play on maps in Dissidia Duellum. This next map, Ginza 4th District Crosswalk, is the most basic map in the game and the one in which the game’s tutorial sequence takes place.
This stage is similar to the Shibuya Scramble Crossing in that the player can run in a straight line toward the enemy team’s camp, but unlike the prior stage, this one has a pathway in the center that leads away from both camps to multiple Bravery Crystals as well as the boss’s spawn point.
Players will almost always be either running through this central area to grind crystals or attack the boss, but a smart team will spend the start of the match luring the boss away from the center and into their own camp. Because this map is larger than Shibuya, the extra distance that the enemy team will have to travel can be the deciding factor in a match.
While that is all well and good for creating fun matches, it also means the stage isn’t as interesting as some others in the game, so it comfortably sits in the fourth position on this list.
If I were to describe Ginza 4th District Crosswalk in a word, it would be “honest”. This stage doesn’t have any hidden outcoves or traversal gimmicks like other stages in the game. Any match that takes place here will be an honest duel between both teams with no trickery involved.
3. Shuto Expressway Junction
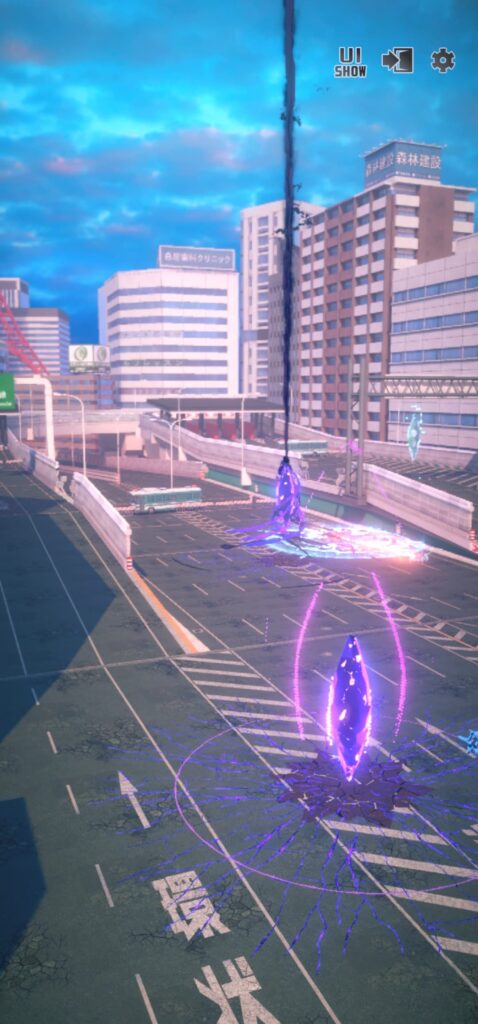
Next up on the list is the Shuto Expressway Junction. From this point on in the list, every stage will feature some sort of navigation gimmick that changes how players make their way around the battlefield, which helps the stages stand out from each other even if the overall gameplay loop of each match remains the same.
What sets this stage apart from others in the game is how both camps are positioned on high platforms that the player needs to climb up a long pathway to reach. This means that once the boss has been lured into a camp, it’s going to be incredibly hard for one team to reach them.
While both camps take time to reach, exiting those camps can be done in the blink of an eye, as there is a hole in this platform which allows players to jump right down to the center, where a Bravery Crystal will be waiting for them.
Having a way to jump directly from your team’s camp into the center of the stage, where skirmishes are likely to be taking place, is invaluable for melee and ranged characters who move more slowly than others, but this path is also well designed as the longer route contains two Bravery Crystals, which makes it a better traversal path for Support and Agility characters.
While the two pathways do provide a good amount of variety in how players reach the center of the stage, the next entry on this list will be taking that concept into a more interesting direction.
2. Kawasaki Seaside Industrial Area
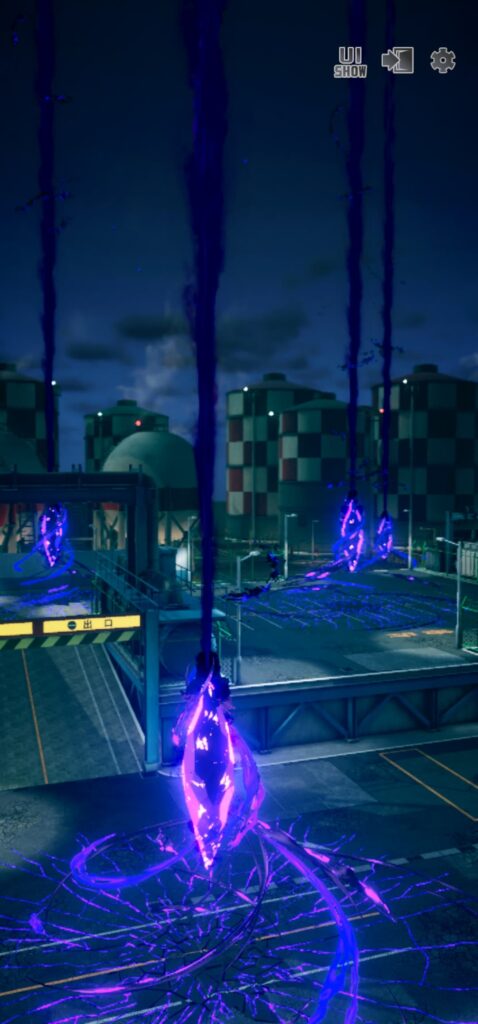
Placing second on the list, we’ve got the Kawasaki Seaside Industrial Area. Visually, this area is much more distinct than the other stages in the game, as it not only takes place at night time, but the heavy Industrial vibe makes the player forget they’re even in a city at all.
This stage’s main gimmick is that the center of the stage is on a raised platform that overlooks both teams’ camps. Reaching the center of the stage requires the player to make their way through a closed linear path before they reach the boss’s spawn point.
Once you reach the center, though, the player will immediately notice that they can quickly drop into either their own camp or the enemy team’s camp by walking off the ledge. This allows for something all the prior maps didn’t: A way to quickly retreat from skirmishes.
In stages like Ginza 4th District, if the player is in the center and low on health, they have no choice but to either dig their heels into the ground and hope they defeat the enemy team or simply accept their fate and die.
Having the choice to run away and either wait for a Support Character to heal you or run down the time until your special attacks are no longer on cooldown leads to an extra element of strategy that is absent in a lot of Dissidia Duellum matches, where the player is primarily focused on how to win their current skirmish.
While I consider Kawasaki Seaside Industrial Area and the Shuto Expressway Junction to be about equal in quality, I am placing this map slightly above the previous one, as being able to quickly flee in the middle of a skirmish has a larger effect on matches than simply having two different paths to reach the same skirmish.
Kawasaki Seaside Industrial Area is a fantastic stage that leads to plenty of fun matches, but there is one stage that I find tops it in the fun factor.
1. Minato Mirai, Yokohama
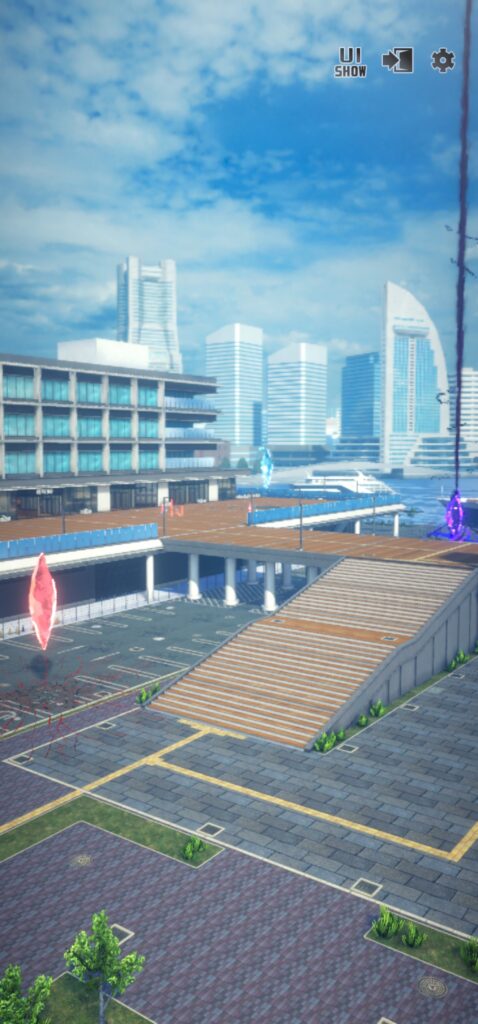
Topping off the list is Minato Mirai, Yokohama. This seaside map follows a similar design to both the Kawasaki Seaside Industrial Area and the Shuto Expressway Junction, with the player being able to navigate around the map in multiple ways.
However, what sets this map apart from those two is that the player has multiple paths when leaving their camp, as well as multiple ways to flee from the enemy team when in the center of the stage.
When spawning into your camp, the player has three choices immediately. They can take the path to the left and beeline toward the enemy team’s camp in seconds, take the path to the right for a crystal that’s far from both camps, or travel the path in the middle to reach the bridge that stands atop the center of the stage.
This bridge forms the center of the stage and even leads to a higher section that contains two Bravery Crystals. When on the bridge or in this area, the player can quickly jump down to reach either their own or the enemy camp to make a quick retreat (Or if you’re particularly evil, you can knock players down and waste their time).
What truly sets this map apart from the rest, though, is the variety in where players will be luring the boss. In every other map, you will either be fighting the boss in the center of the stage (where it typically spawns) or near one of the spawn camps, with no exceptions.
In Minato Mirai, however, the boss spawns near the top of the map in a location that is a good distance away from both the center and the spawn camps. This means that both teams make a long trek to reach it at the beginning of each match.
Because of how boss agro in this game works (where the boss will lock on to the player with the most Bravery, a number that is always changing), it can take quite a bit of effort to move the boss into the center of the map, let alone into one of the camps.
I have seen matches where the boss doesn’t move at all (forcing both teams into skirmishes near the top of the map) and matches where the top of the map is vacated for most of the map, resulting in two support characters getting into their own miniature battle over the Bravery Crystals located there for several minutes.
With a wide variety of ways a match can actually play out and multiple ways to navigate through the map, Minato Mirai is the best map in Dissidia Duellum by a country mile, and I hope any future map added to the game follows this design philosophy.


