Want to see Raider King content first? Add us as a preferred source.
The Water Temple used to live in infamy online as one of the most confusing dungeons in the Zelda franchise, and while it has been changed slightly in the Remake (notably there is no longer a switch that requires the upgraded spin attack), it can still be a bit tricky to remember what water levels are needed for which puzzles. If it’s your turn to be stumped by this famous dungeon, then don’t be afraid to consult the following walkthrough for clearing the Water Temple in the Ocarina of Time Remake.
Water Temple Walkthrough
Central Room
You’ll start the dungeon in the central area with the water level at its highest state. Put on your iron boots and sink to the bottom of the area and head into the room on the right, the one with glowing blue lines on its walls.
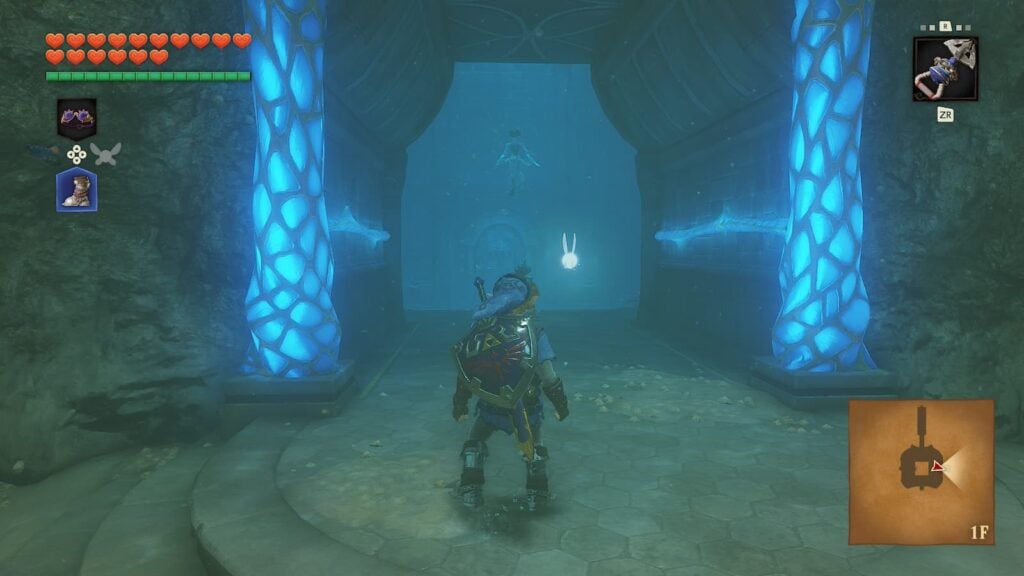
This passage will lead you into another room where you will be reunited with Princess Ruto.
Room 2 – Dungeon Map, Water Level Change 1
After reuniting with the princess, swim to the top of the room where you will emerge from a pool of water. In here there will be a large treasure chest with the dungeon’s map in it.
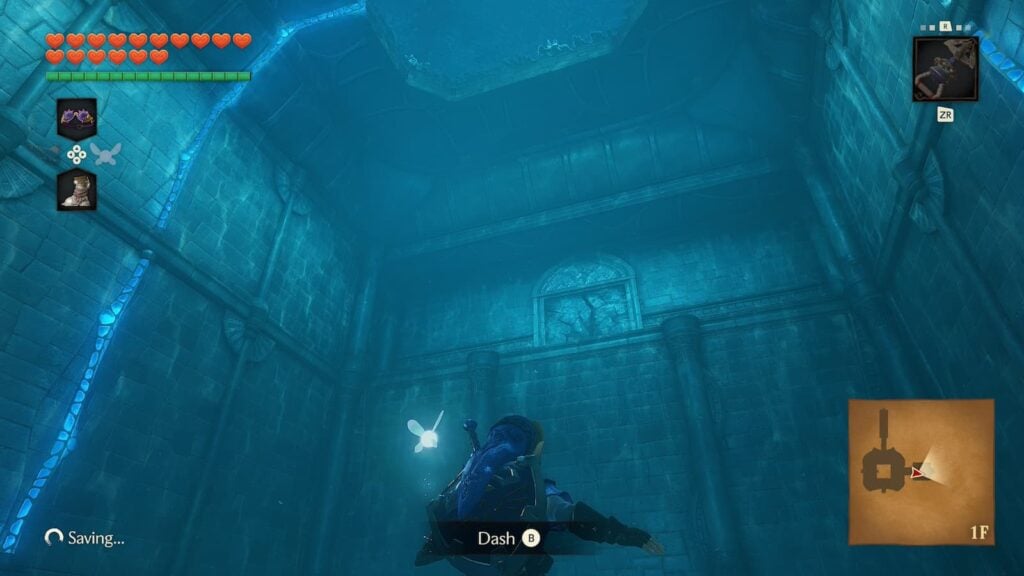
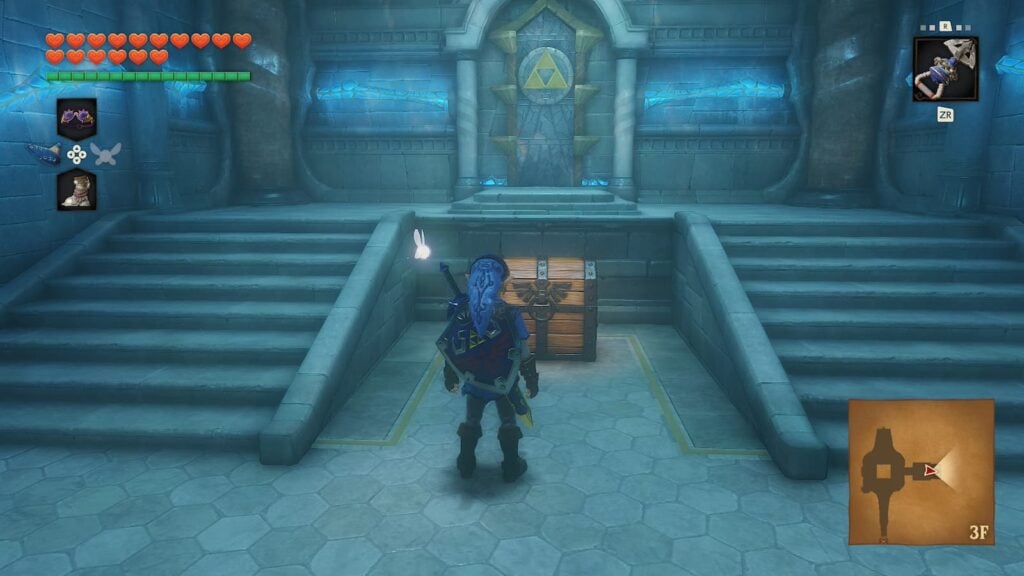
On the wall of this room there will be a triforce symbol. Stand in front of this symbol and the water level of the dungeon will drain to its lowest level. Once the water has been drained, jump back down the hole you emerged from to the bottom of the room.
Down here there will be a two unlit torches near the walls and one lit torch in the center of the room. Use your bow to shoot an arrow through the lit torch at the unlit torches to set them aflame and unlock the nearby door.
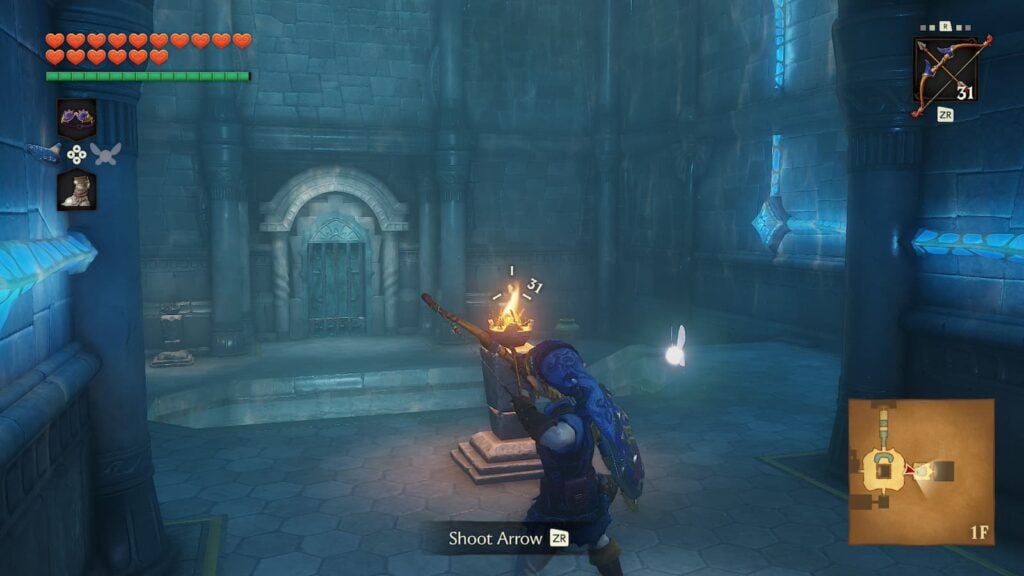
Once the door has been unlocked, exit the room through it.
Room 3 – Small Key 1
In this small room you’ll be attacked by rolling spike enemies. To make these enemies vulnerable to sword strikes you need to block their attack with your shield, turning them from spikes into small brown balls that can be taken out with a single slice.
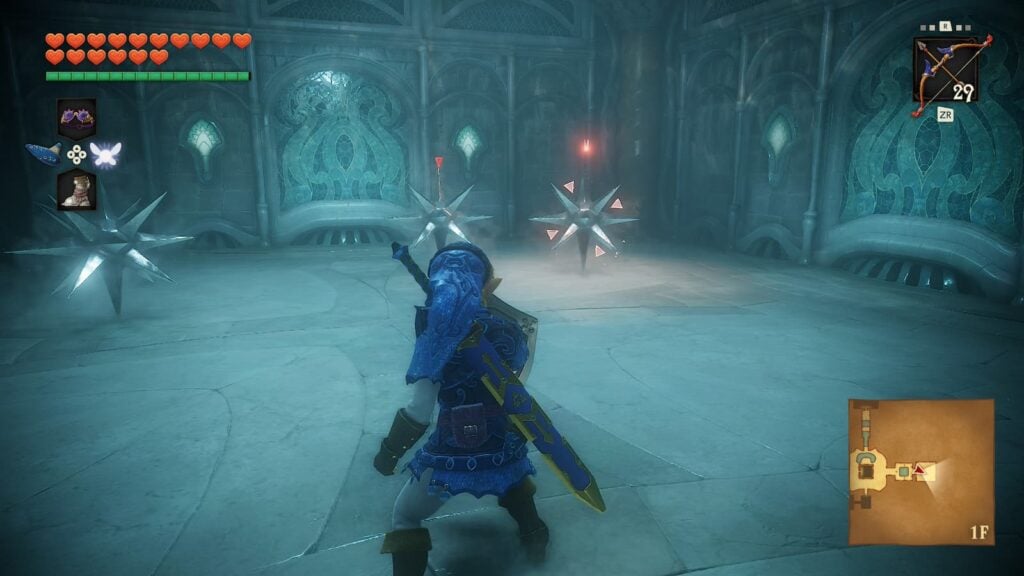
After both enemies are defeated a treasure chest containing the dungeon’s first small key will appear in the center of the room. Collect it then return to the dungeon’s central room.
Central Room Visit 2
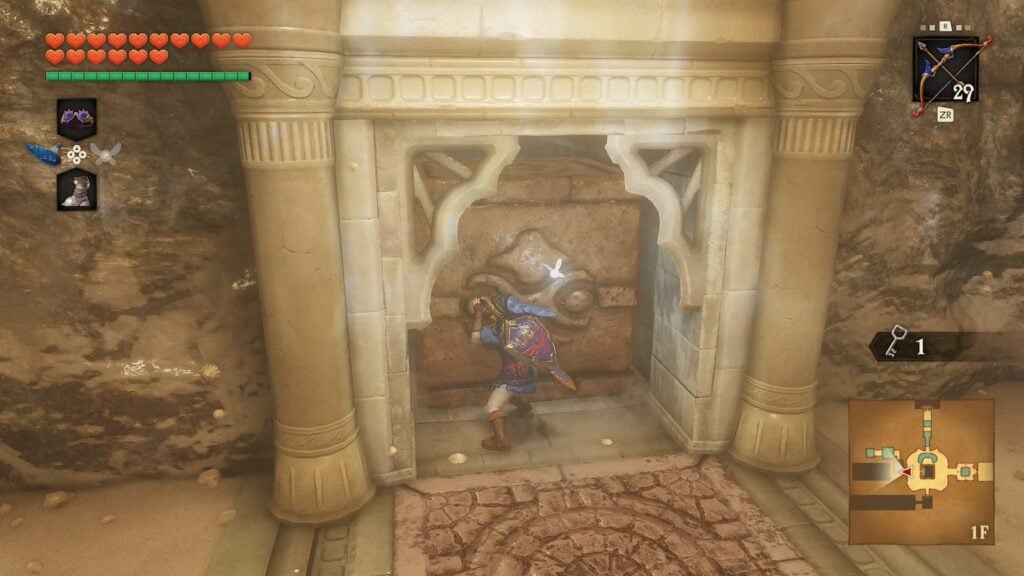
Now that the water level has been drained in the central room, we’ll have multiple options on where to go next. We’ll start off by heading to the left side of the room and pushing this stone block so we can reach another pool of water that we can dive into with our Iron Boots.
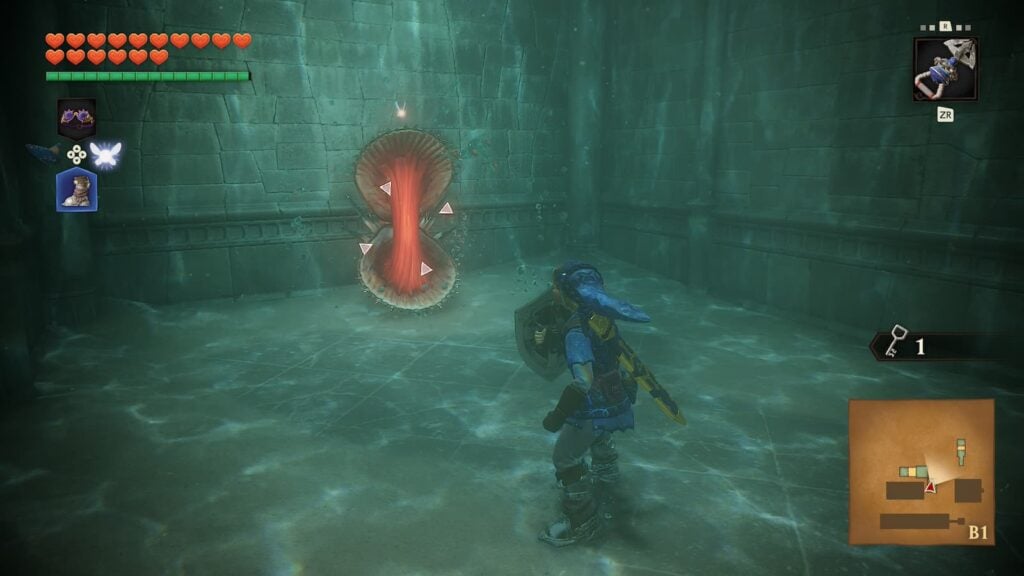
Down this hole, we’ll have our first encounter with a clam enemy. These foes can be taken out by launching your hookshot at their tongues while their mouth is open. After the clam is defeated, take off your iron boots and swim into the hole above to reach the next room.
Room 4 – Small Key 2
When you first enter this room you’ll see a vortex of water in front of you. In the center of this pool there will be a serpent-like bridge that you can stand on if you equip the Iron Boots at the right time. While standing on this platform, aim your hookshot into the mouth of the serpent to hit a crystal switch and unlock the gate in the room.
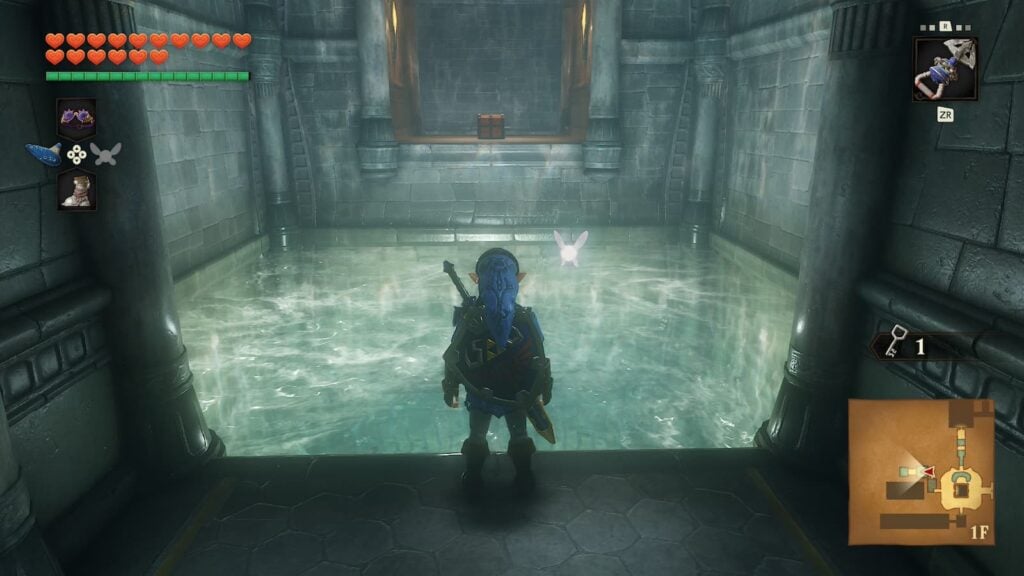
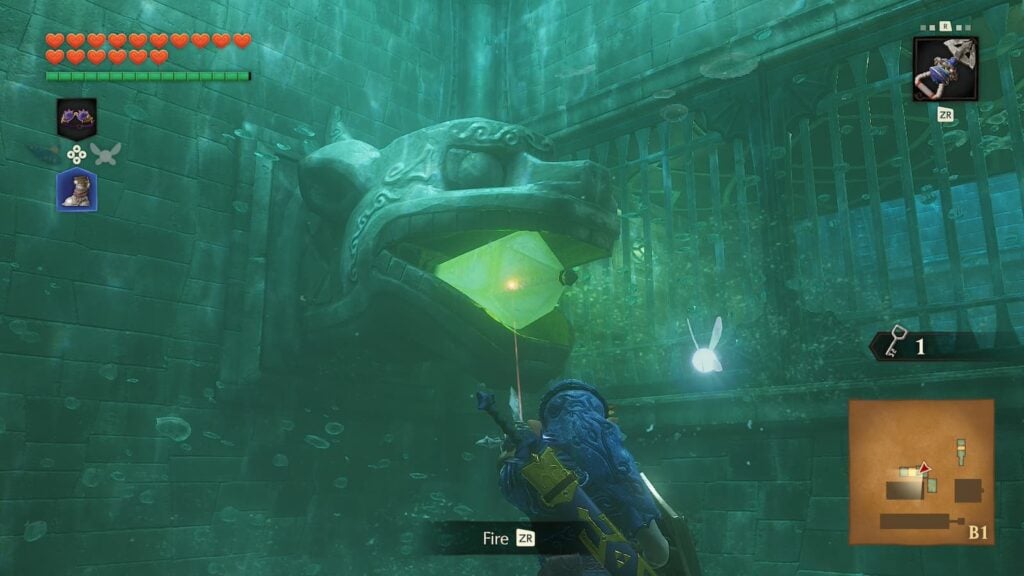
Swim through the gate and you’ll reach a platform with a treasure chest. Open it to get the dungeon’s second Small Key. Once you have the key, return to the central room.
Central Room Visit 3
Next we’ll be heading to the south side of the central room. Here you will spot a cracked wall that you can destroy with a bomb.
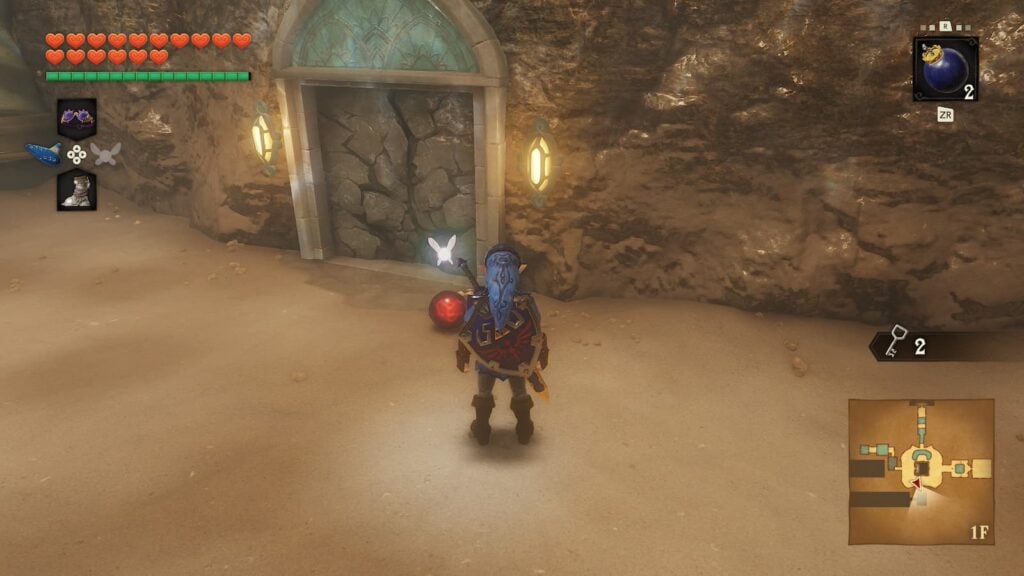
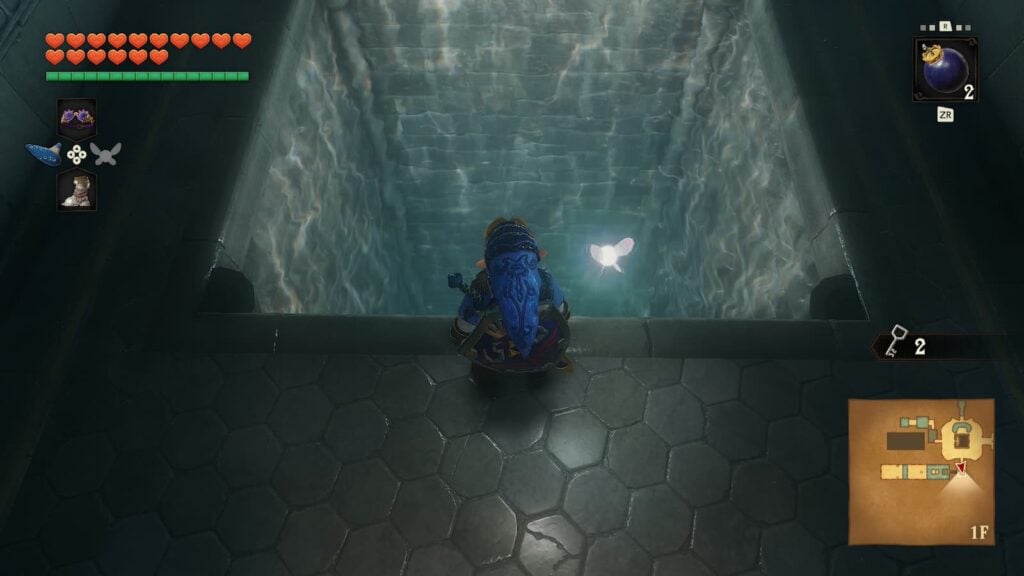
Go through the passage revealed by bombing this wall and you’ll emerge in another room of the dungeon.
Room 5 – Compass
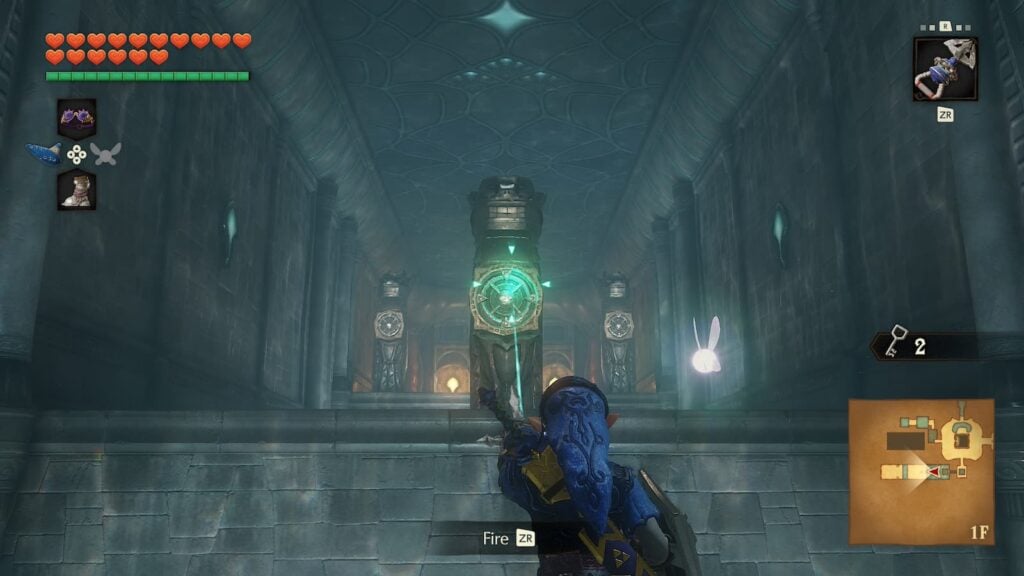
As soon as you step into this room you’ll press a switch that activates a hookshot pillar that you can grapple toward. Cross the second gap in the room in the same way and you’ll find yourself on a ledge with two tektites and a like-like.
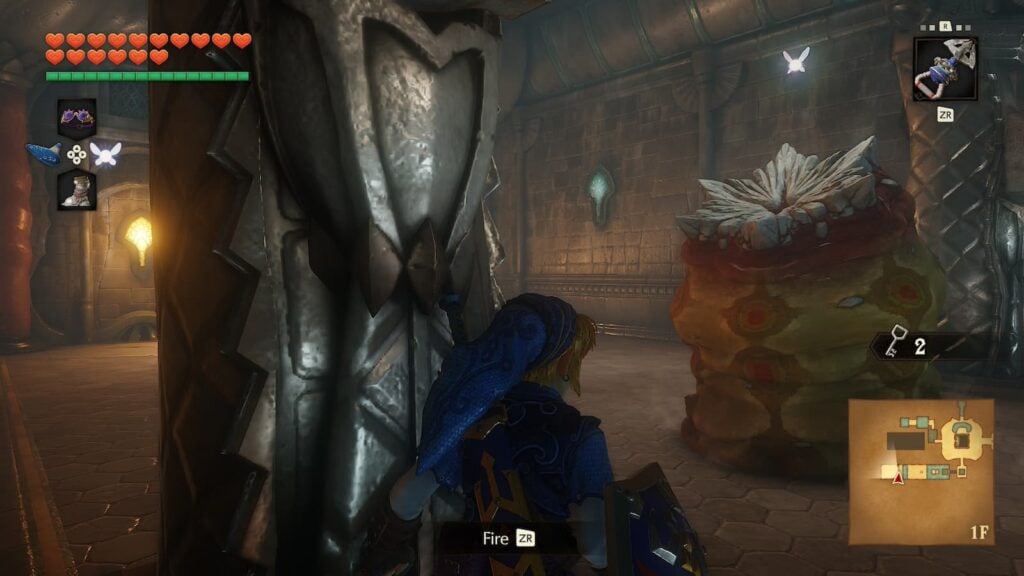
In the original version of Ocarina of Time, like-likes were capable of eating your Zora Tunic as well as your shield. In this remake, they have been nerfed severely to only being able to eat shields. Once the like-like has been defeated, open the large treasure chest in this room to earn the compass and then return to the central room.
Central Room Visit 4
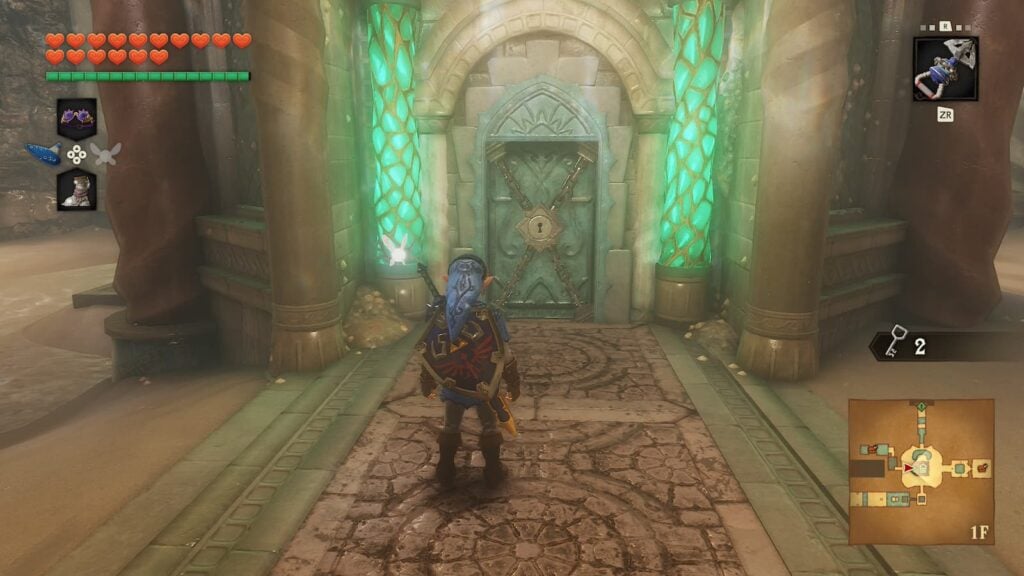
We won’t be able to go to the room on the north side of this bottom floor yet, so instead we’ll be heading to the room in the middle of the area. Unlock the door using one of the small keys you have collected so far.
Room 6 – Water Level Change 2, Gold Skulltula 1
In this tiny room, equip your hookshot and look above you to see a ledge that you can grapple toward. Up here there will be another Triforce engraved on the wall. Play Zelda’s Lullaby here to raise the dungeon’s water level to its second stage.
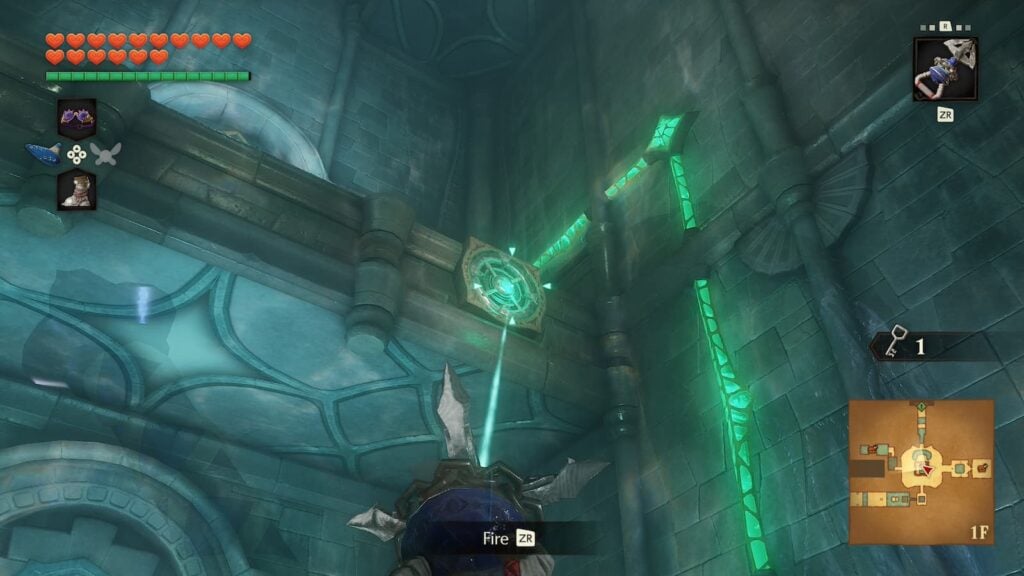
Before leaving the room, equip your iron boots and dive down the area you just grappled from. With the water level raised, you will now be able to go down a hole here to enter an area with a green crystal switch.
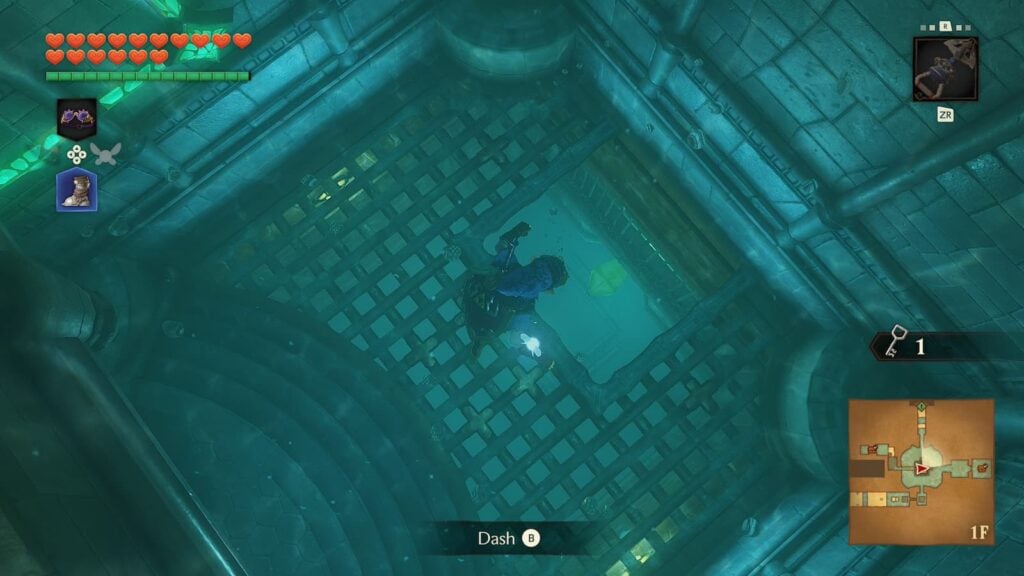
Hit the switch to open a cage containing a clam enemy. Enter the cage that this clam was in to discover the dungeon’s first Gold Skulltula as well as a treasure chest with a red rupee inside of it.
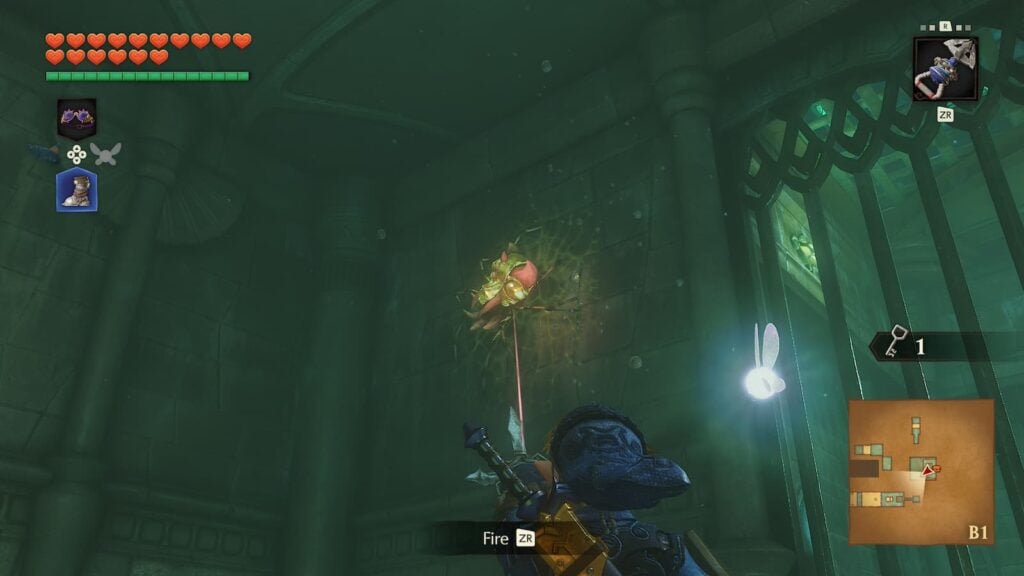
After collect the Gold Skulltula, return to the dungeon’s central room once again.
Central Room Visit 5
Now that the water level has been raised, we’ll be able to go into several rooms on the second floor of the dungeon. However, before we go into any of those put on your iron boots and make your way back to room 2, where you first met Princess Ruto.
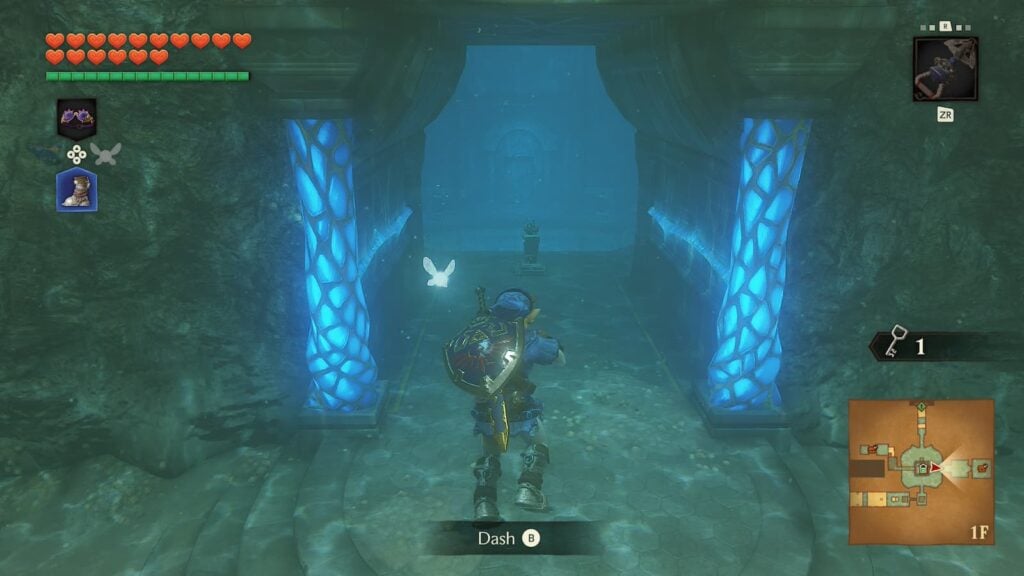
Room 2 Visit 2 – Gold Skulltula 2
Now that the water level has been raised, you’ll be able to reach the cracked wall in this room. Use a bomb to destroy the wall and you’ll find yourself in a small outcove room with three clam enemies.
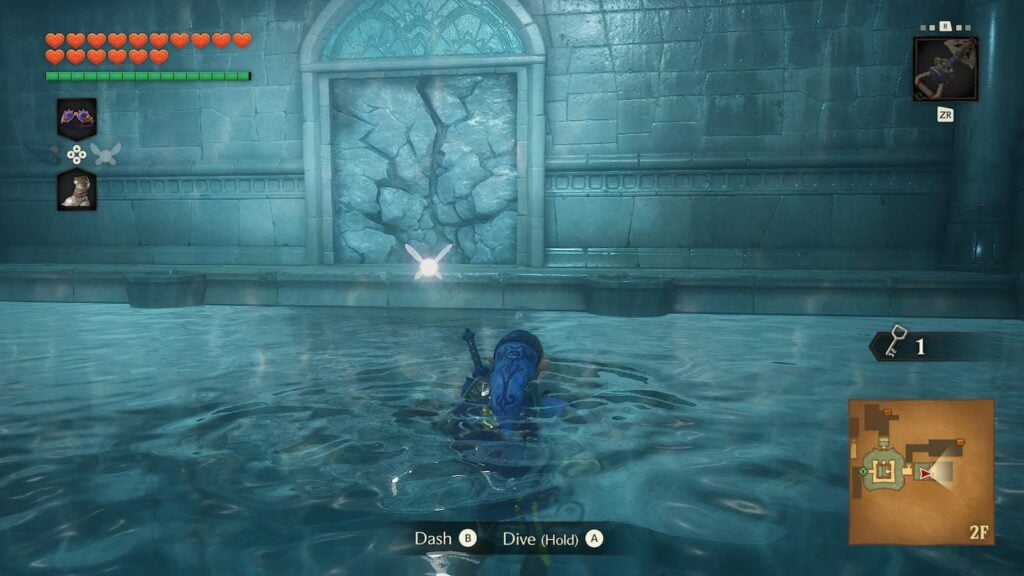
On the wall of this room there will be a Gold Skulltula. Collect its token and then make you way back to the dungeon’s central area.
Central Room Visit 6
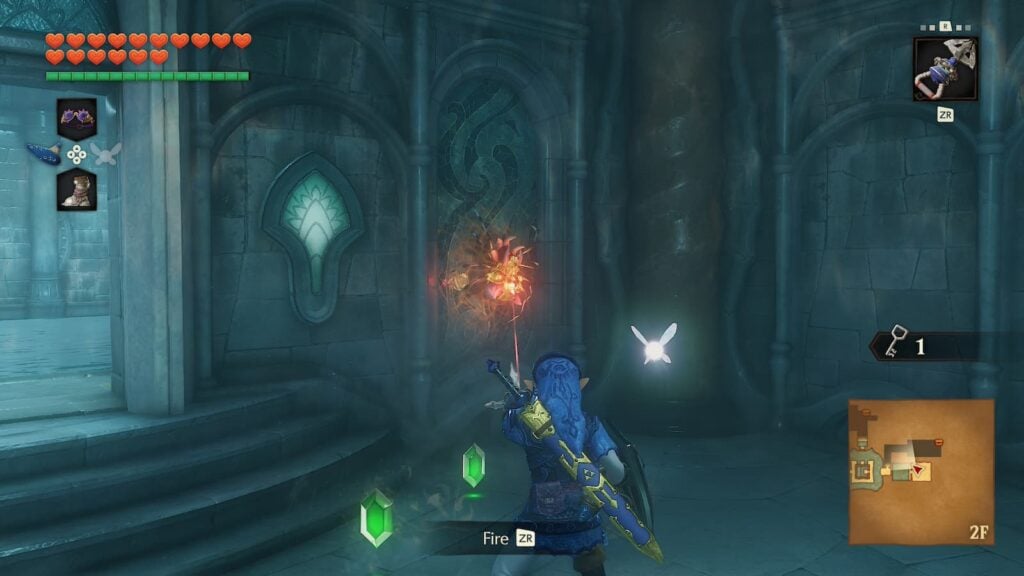
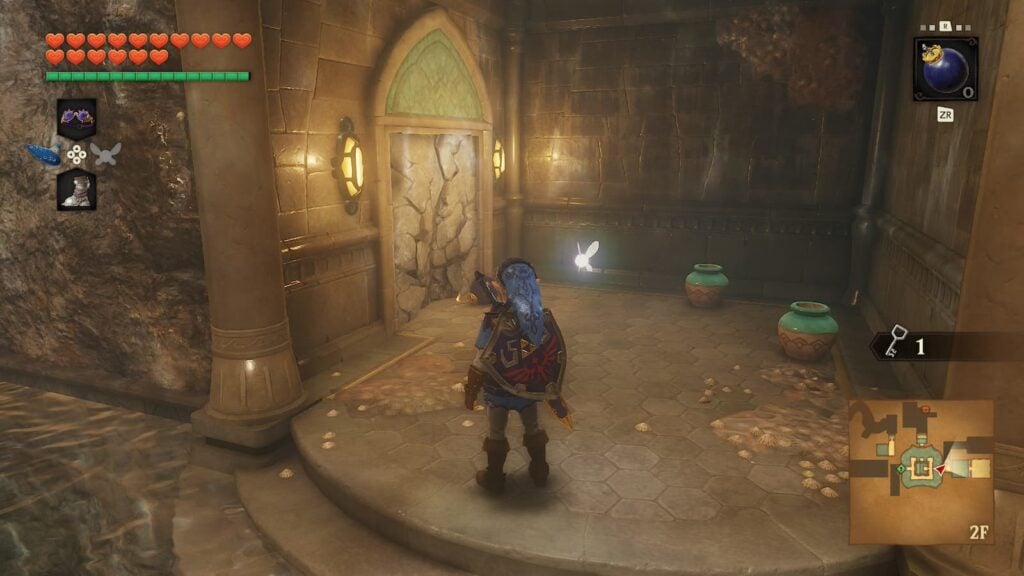
Okay now we can actually start exploring the second floor of the dungeon. When you return to the central room, head to the right side of the area and you’ll see another cracked wall that you can destroy with a bomb. Behind here there will be another underwater pathway and a hookshot grapple point that you can use to enter the next room.
Room 7 – Small Key 3
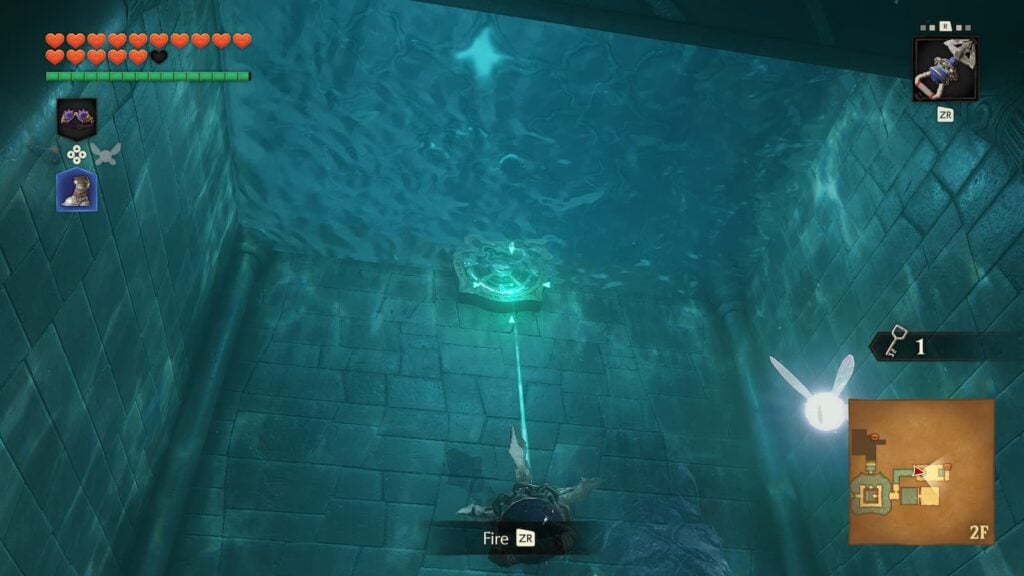
In this room you will see a small platform atop a rapid water spout. To lower this platform, use you hookshot on the pink crystal switch that’s in the pool of water next to it. Then, stand on the platform and hit the crystal again to make it raise like a make-shit elevator.
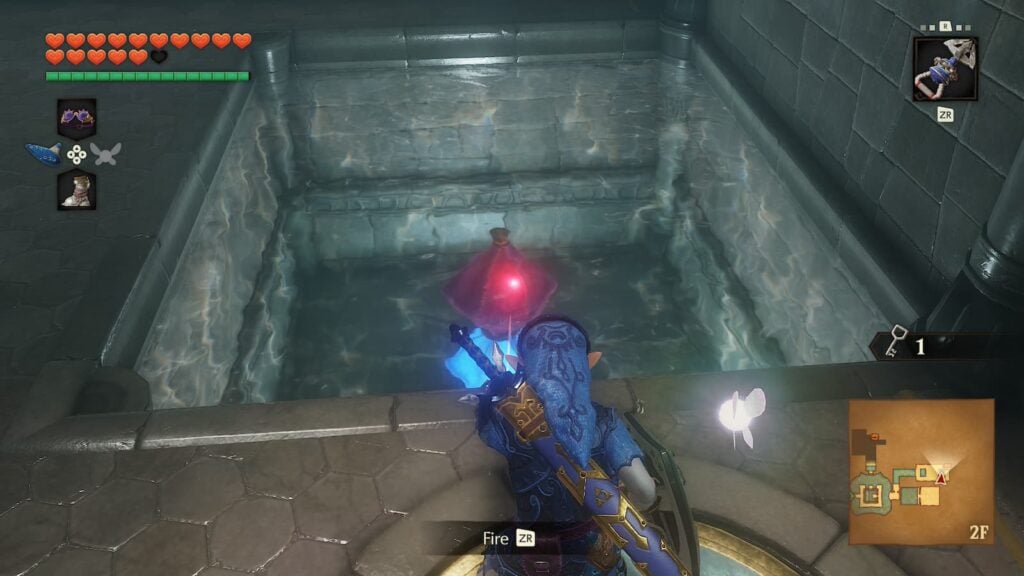
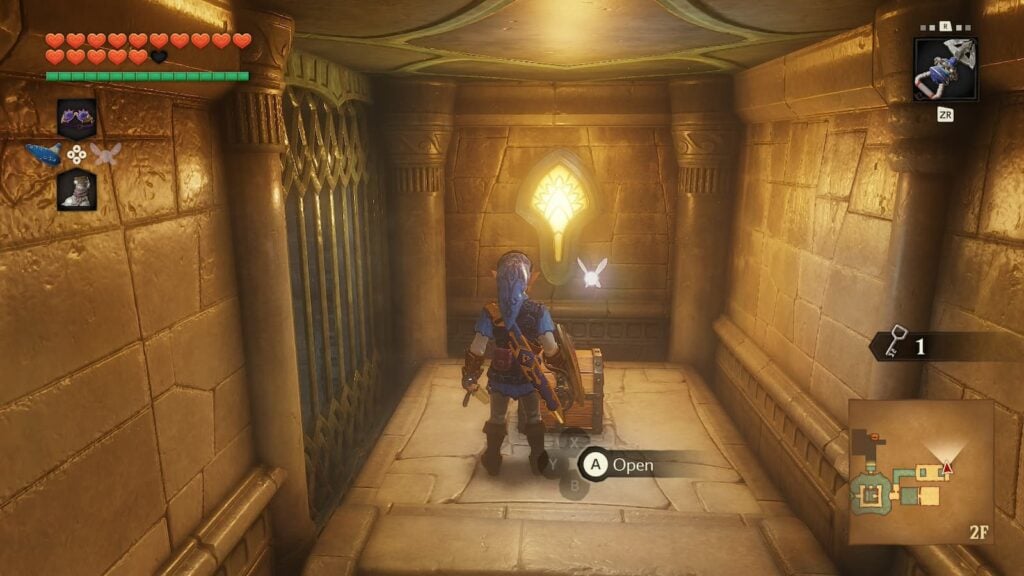
After the platform raises, you’ll be able to reach a treasure chest containing the third Small Key. Return to the central room after collecting it.
Central Room Visit 7
With two small keys in hand, it’s time to make our way to the pink locked door on the left side of the central room. Use one of your small keys to unlock and enter it.
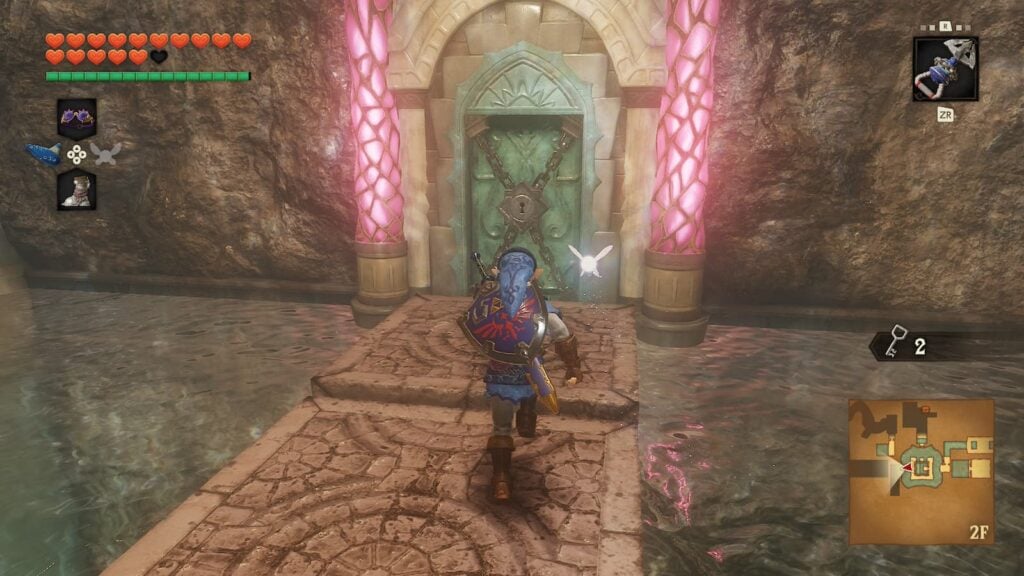
Room 8 – Water Level Change 3
Inside of this room there will be another pink crystal switch. Hit it with your sword to make a platform lower. Then, after standing on the platform, hit it with you hookshot to make it raise to the third floor of the dungeon.
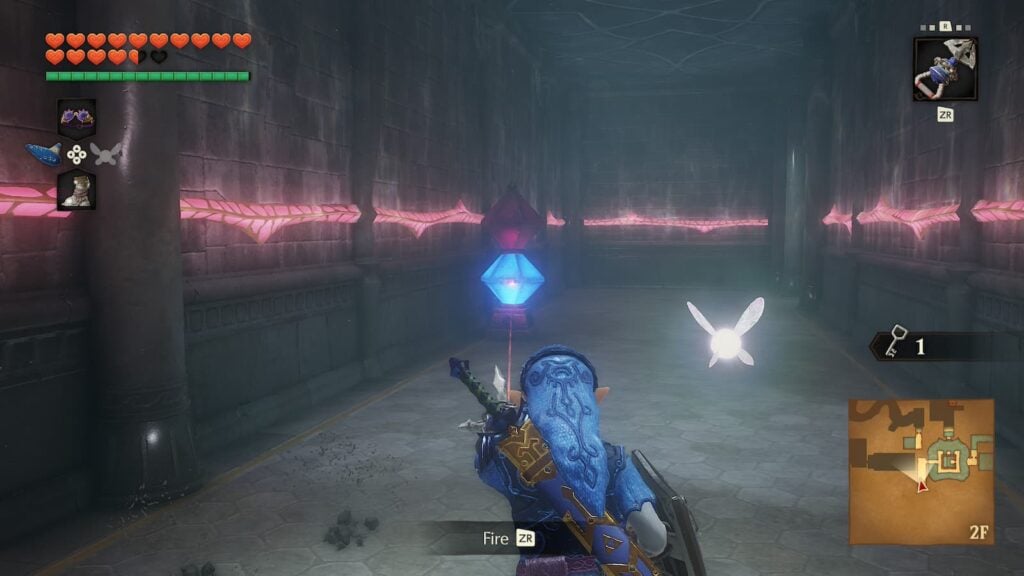
In here there will be another triforce engraved on the wall. Play Zelda’s Lullaby again to raise the water level to its highest state.
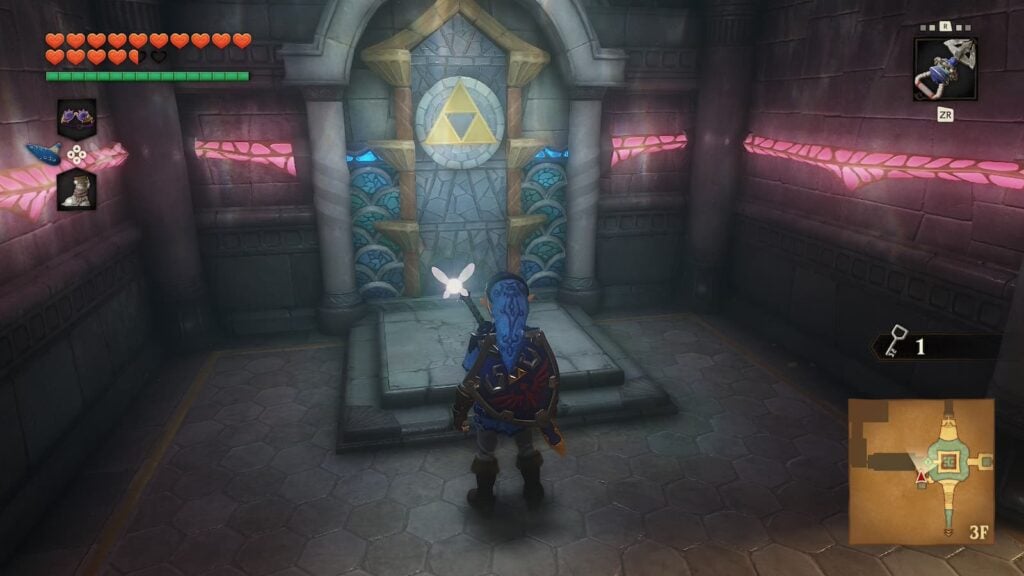
After the water level has risen, once again return to the central room.
Central Room Visit 8
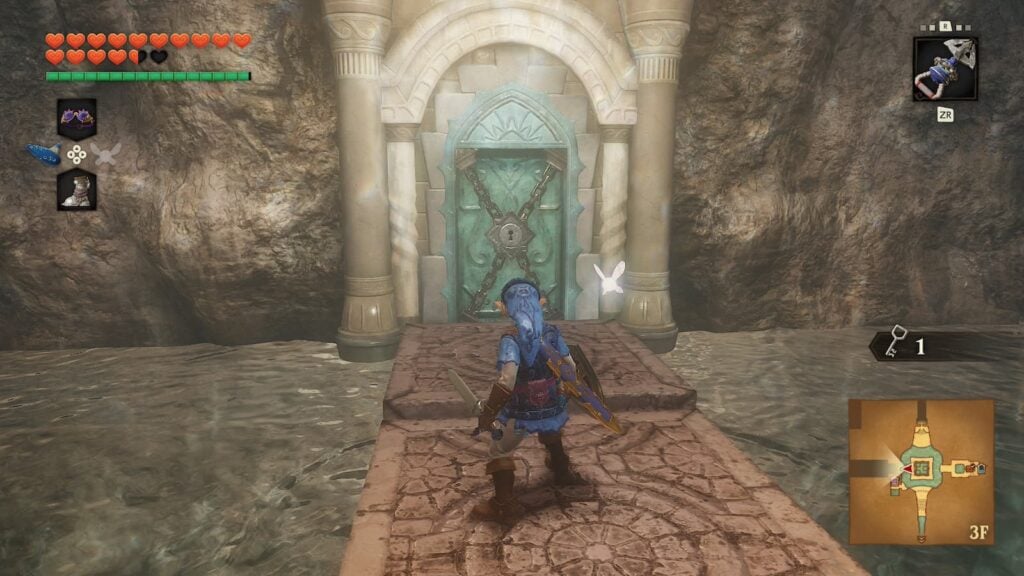
Thanks to us having collected every small keys in the areas surrounding the central room on all the previous floors, we’ll have just enough keys to unlock the door to the left side of the central area when the water level is raised to its highest stage.
Room 9
In this next room there will be to sets of platforms which lower into a chasm in the center of the area. Each of these platforms has a hookshot target on it so you probably know what you need to do.
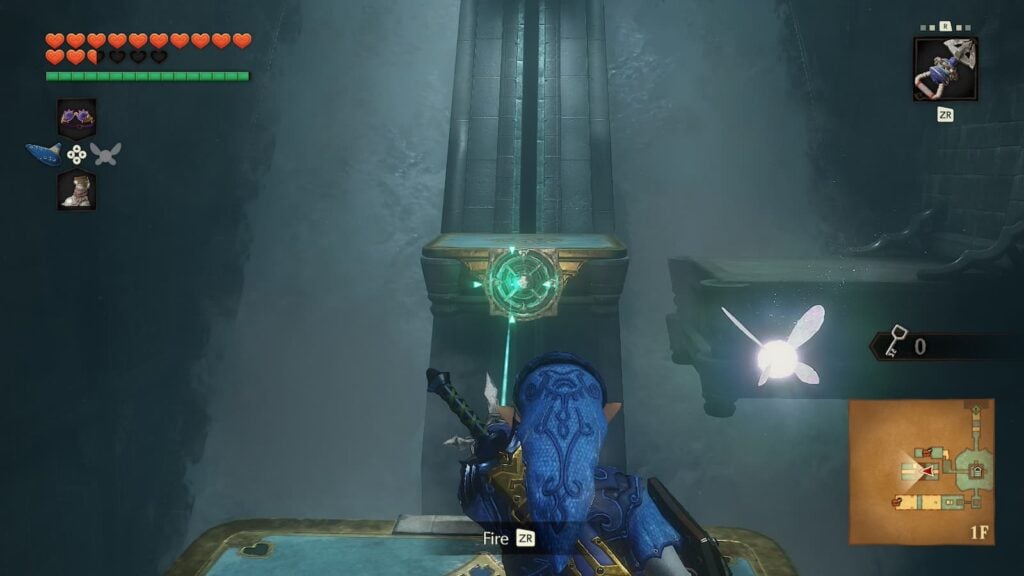
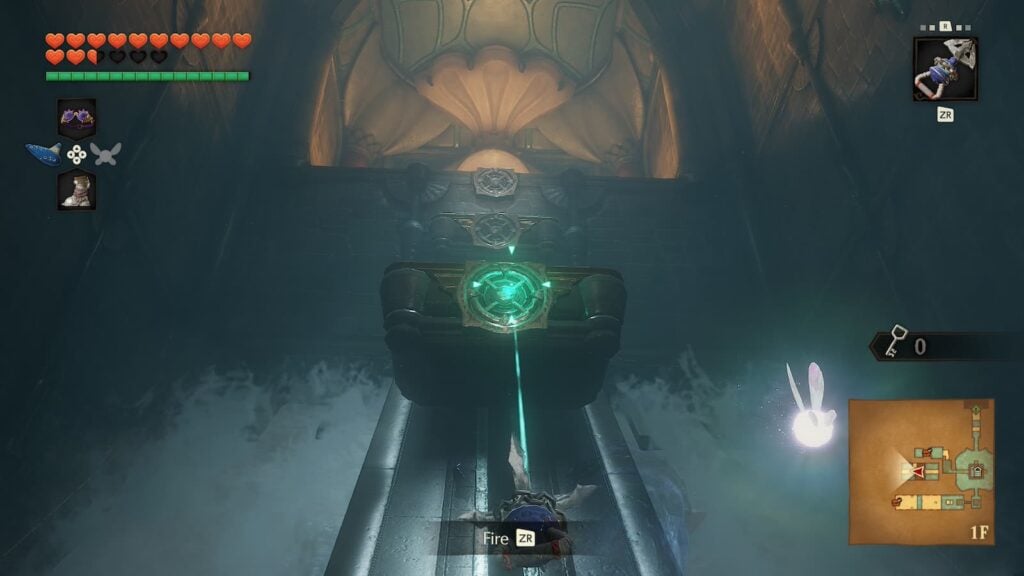
To cross the gap in this room you’ll need to repeatedly hookshot your way up the falling platforms until you have reached the ledge on the other side. Exit through the door there to continue through the dungeon.
Room 10
The next room will be one large crystal switch puzzle. Upon entering, hit the crystal in the center of the room with you hookshot to raise the water level. I’d advise fighting all of the tektites before moving on as they will follow you through the whole room. Once the tektites have been defeated, hookshot your way to the grapple point on the serpent statue nearest to the starting platform.
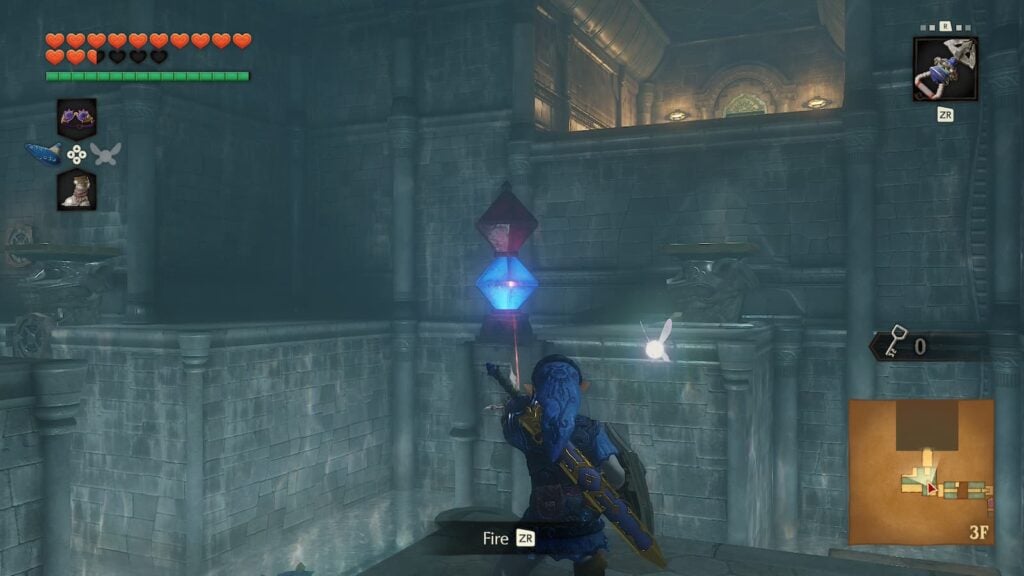
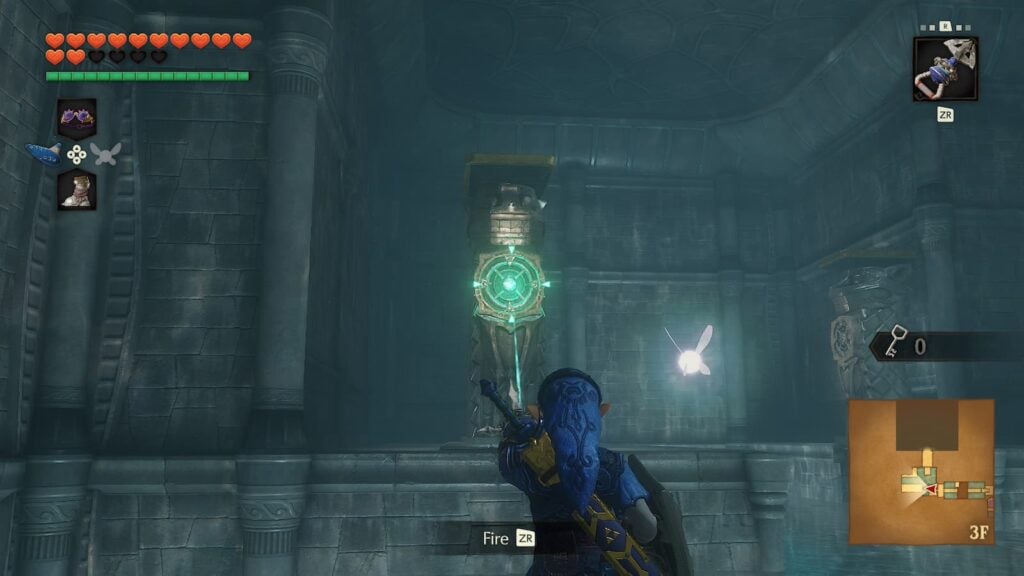
Do not grapple onto the second platform yet. As doing so will either result in you being stuck behind the second serpent statue or falling into the water, requiring you to start over either way. Instead, hit the crystal with you hookshot a second time to lower the second serpent statue. Then you can grapple over to the second platform and climb over the statue.
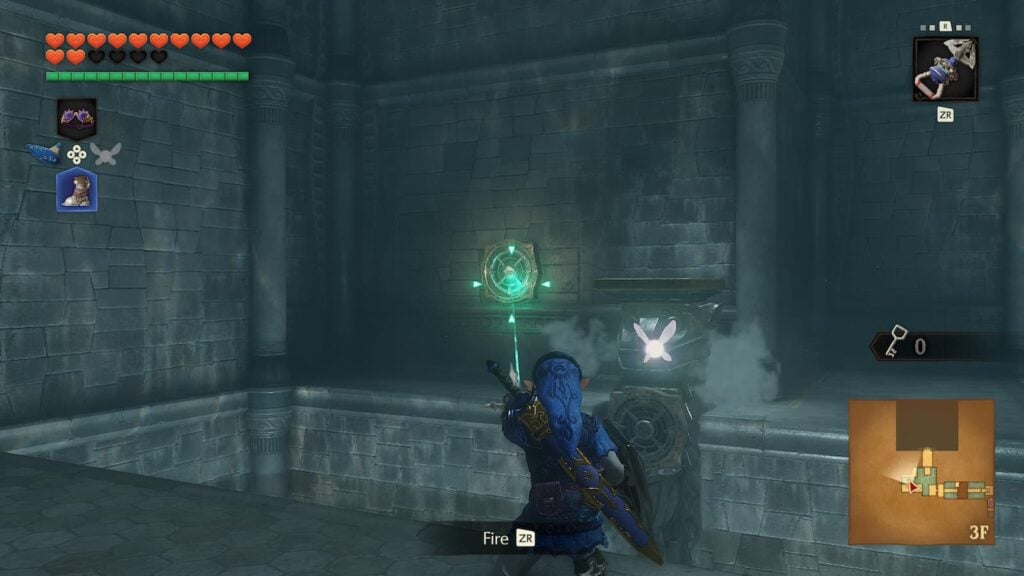
Hit the crystal a third time to raise the third serpent statue, then hit it again to lower the statue so you can stand on it. Hit the crystal one final time to make the statue rise high enough for you to reach the door leading out of the room.
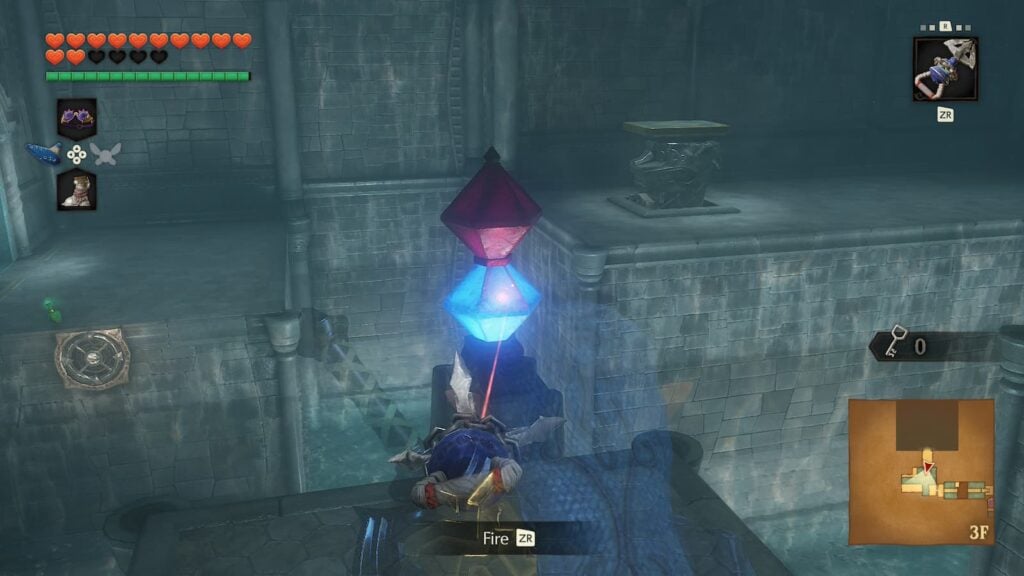
There will be several jars with hearts next to the door, make sure to collect them as its miniboss time.
Room 11 – Dark Link
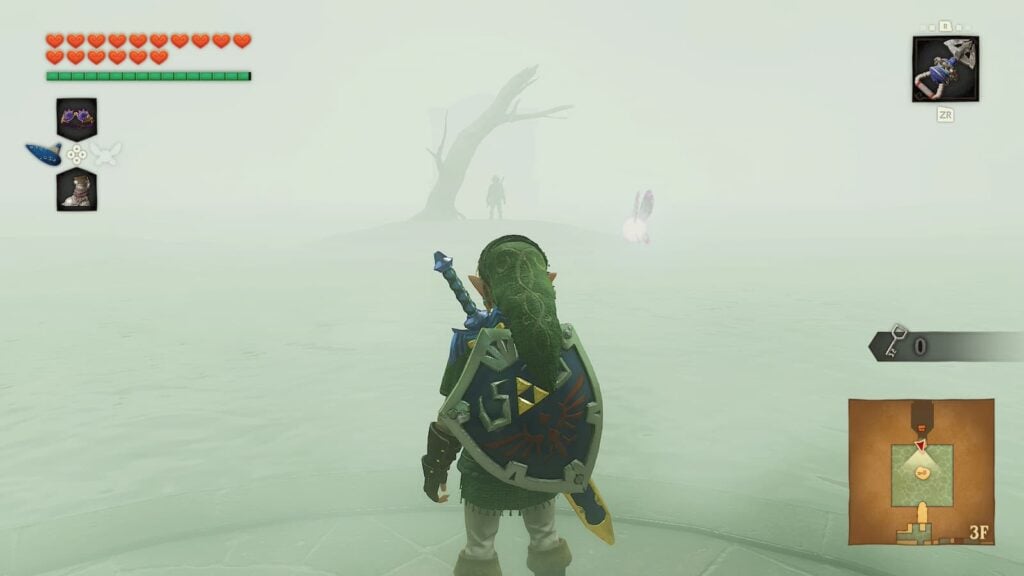
It’s time for a duel against your dark doppelganger. When fighting Dark Link it is absolutely vital that you do not use the forward stab attack, as he will counter by standing atop you sword and striking back at you if you’re slow to react.
A lot of tricks that worked on Dark Link in the original release, such as bypassing his shield with the Megaton Hammer, no longer work in this version. You’ll need to beat him with honest sword skills. Whenever Dark Link attacks, dodge with either a side-step or a backflip and wait for an opening. In the short window between him attacking and raising his shield again, you’ll be able to strike him.
When Dark Link reaches half health, a dark aura will appear around him and he’ll gain the ability to spin attack as well as deal extra damage with his attacks. Aside from that change, this phase is the same as the first. Just be patient and strike while you have the chance and you’ll eventually defeat him.
Room 12 – Longshot, Gold Skulltula 3
After defeating Dark Link, open the treasure chest in the next room to earn the dungeon’s main item: The Longshot. This item is identical to your hookshot but with one key difference: double the range. Test out your new item by grappling to the hookshot targets above you and drop down the nearby pool of water to reach a lower area of the room.
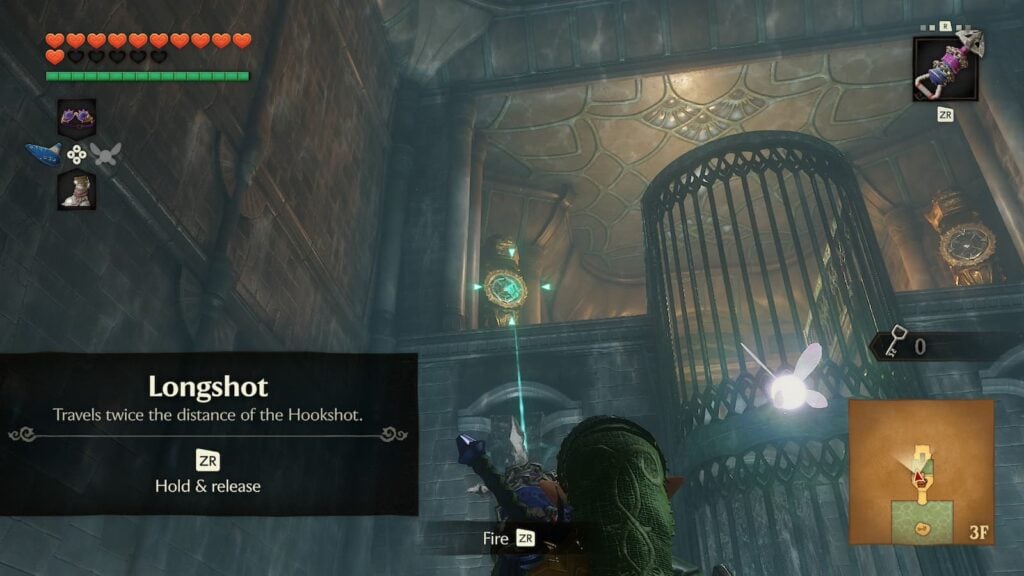
In this second area, you’ll have to navigate an river filled with rapid currents. To avoid the swirling whirlpools in the area you’ll need to either quickly tap the B button to swim faster or walk by them with your iron boots.
Near the end of the room there will be a Gold Skulltula hanging on a wall above the water. Make sure you equip your iron boots and grab its token with your longshot before you leave the river, otherwise you will need to backtrack all the way through the Dark Link path to collect it later.
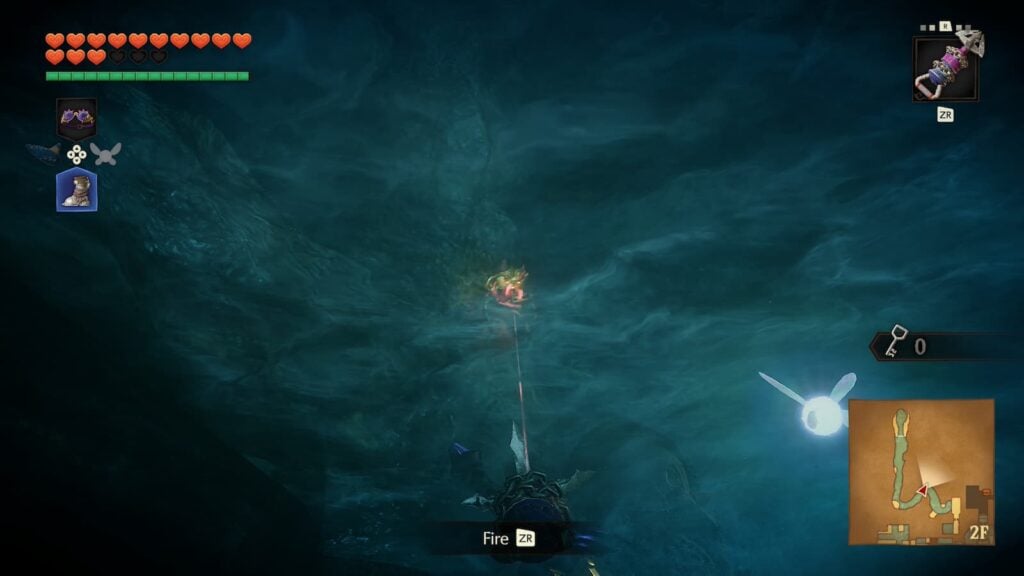
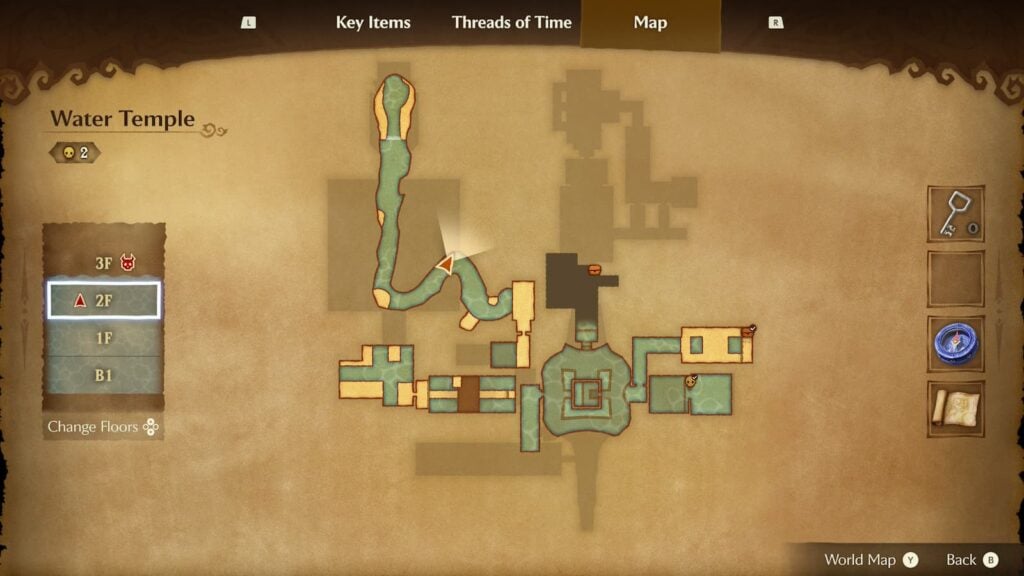
At the end of the river there will be an eye-target which opens a gate for a brief window of time, use your longshot to grapple to the target on the other side of the gate before it closes.
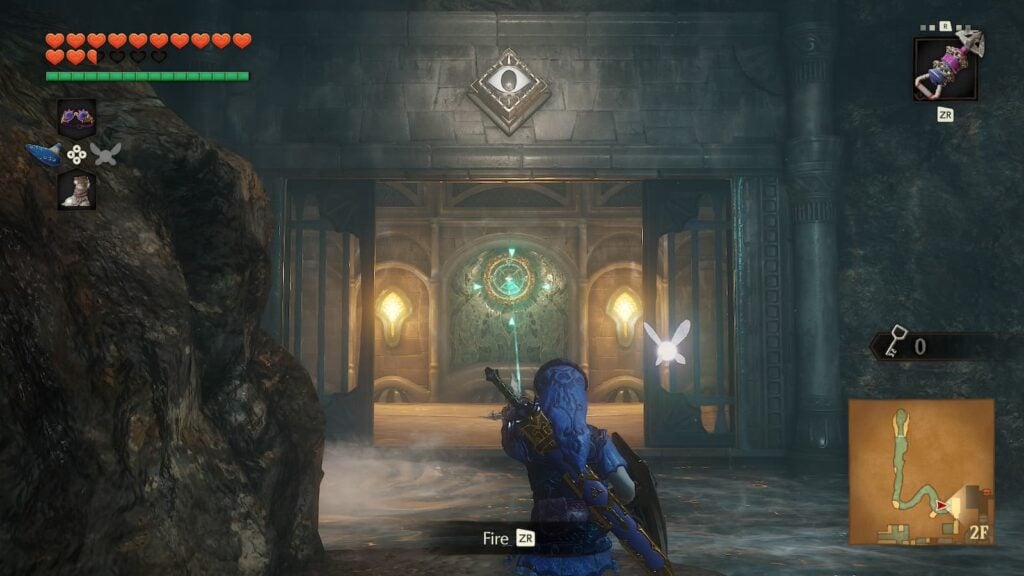
From here, there will be a door that leads all the way back to room 4 on the first floor of the dungeon.
Room 4 Visit 2
There isn’t anything new to do in this room, but it will allow you to see a secondary feature of the longshot: Being able to grapple onto treasure chests. Exit this room through its normal entrance and make your way back to the central room of the dungeon.
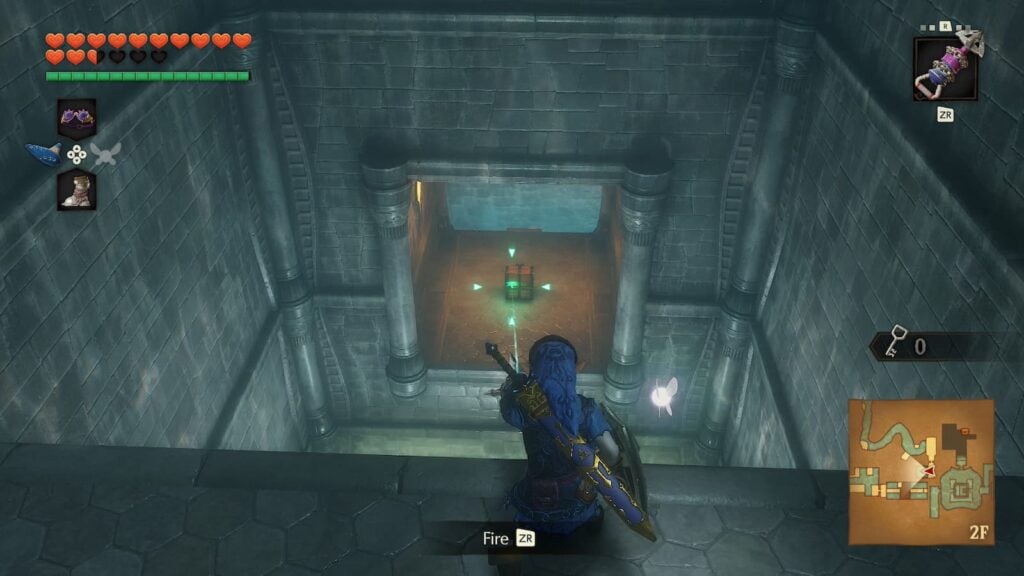
Central Room Visit 9
It’s time to begin our second loop of lowering the dungeon’s water level. So put on your Iron Boots and make your way back to room 2, where we first reunited with Princess Ruto.
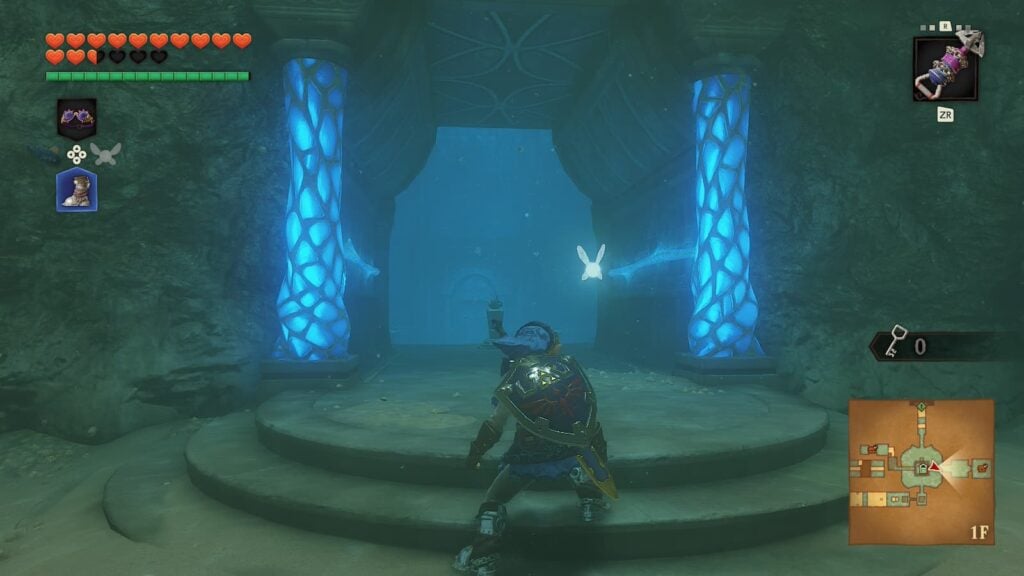
Room 2 Visit 3 – Water Level Change 4
Swim back to the top of this room just like you did near the start of the dungeon and play Zelda’s Lullaby to drain the dungeon’s water level back to its lowest stage.
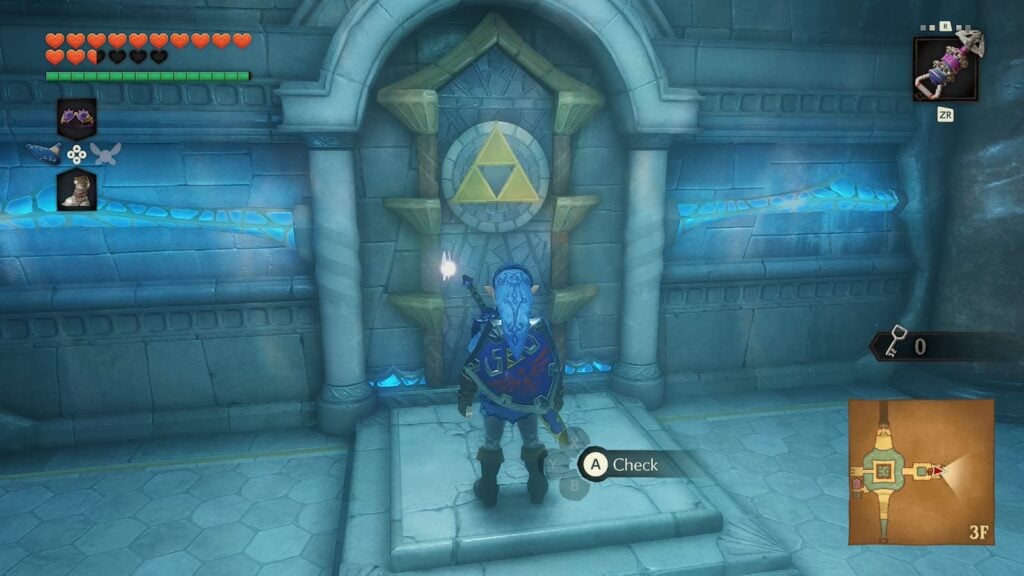
Central Room Visit 10
There isn’t anything for us to do on the bottom floor of the dungeon yet, so instead just enter the door to the second water level change area.
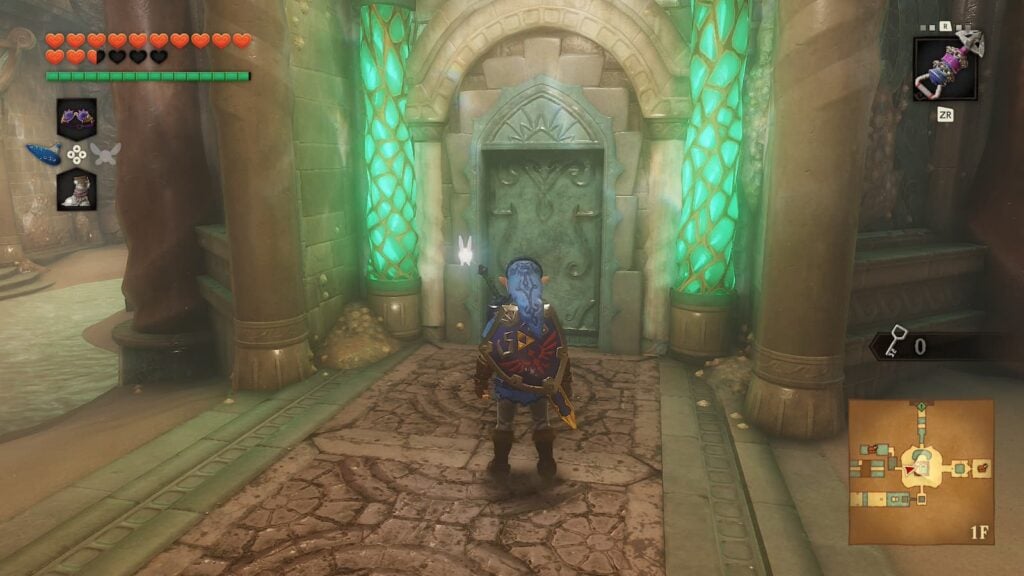
Room 6 Visit 2 – Water Level Change 5, Gold Skulltula 4
Before we play Zelda’s Lullaby to change the water level here, aim your longshot at the ceiling and you’ll spot another Gold Skulltula. Thanks to the range of your longshot, you’ll be able to grab its token with ease.
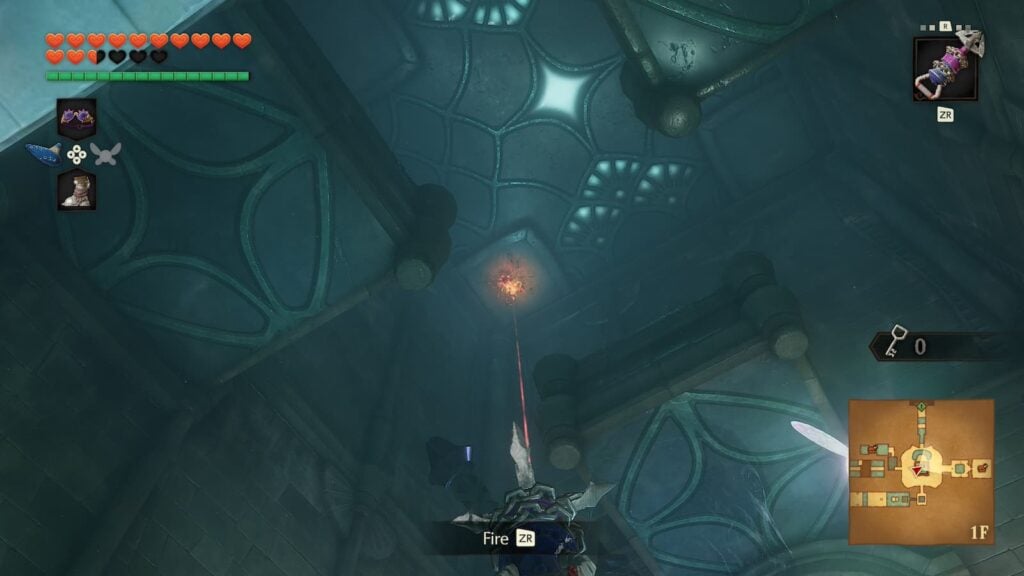
After collecting the token, raise the water level to its second stage and return to the central room.
Central Room Visit 11
Now that the water level is at its second stage, make your way to the north side of the room. Here there will be an eye-shaped target that you can shoot with your bow. This will open a gate for a short amount of time.
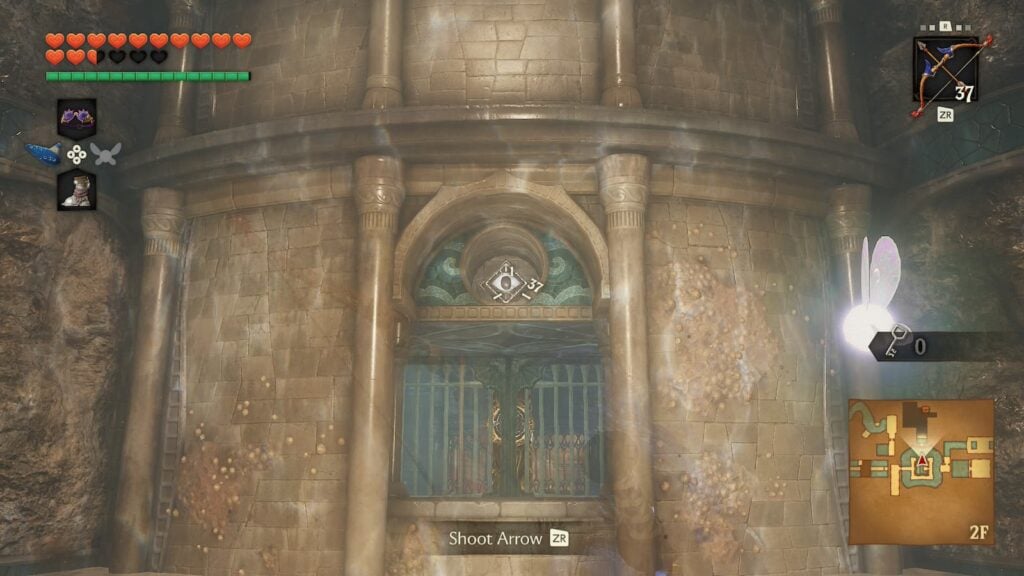
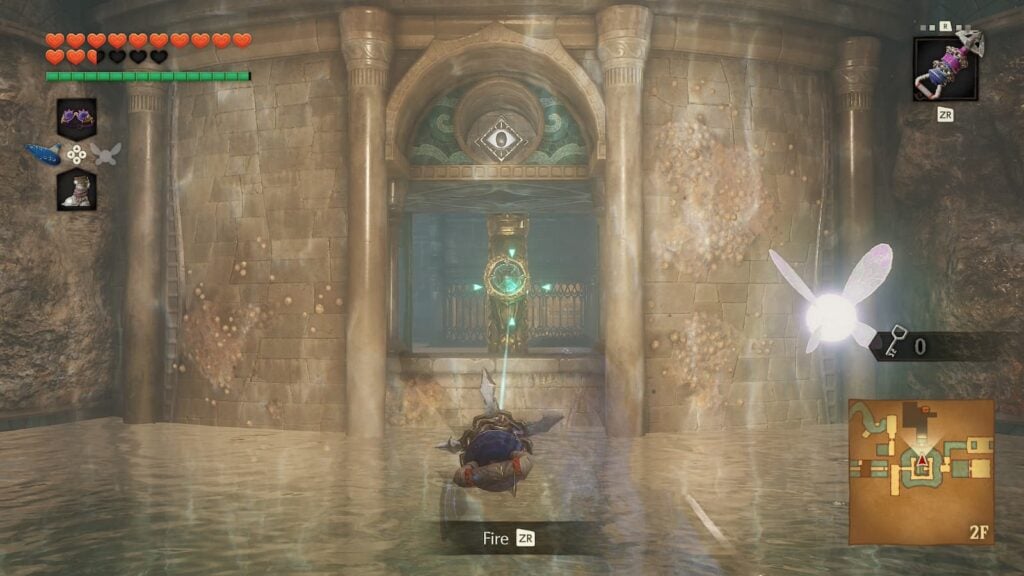
To get to the other side of the gate, quickly equip your longshot and grapple your way into the next room.
Room 13 – Small Key 4
Equip the iron boots and jump into the pool of water in this room. There will be a stone block in here that you need to pull as close to the doorway as you can.
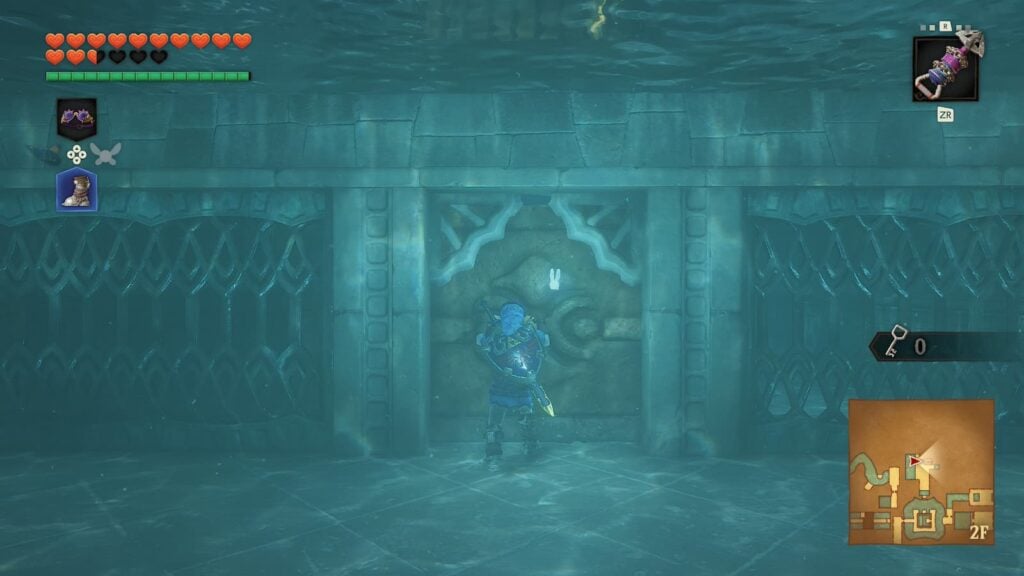
After pulling that block, leave the pool of water and look to the ceiling, there will be a hookshot target here that you can grapple onto to reach the other side of the pool of water. From here, you can push the stone block to the right.
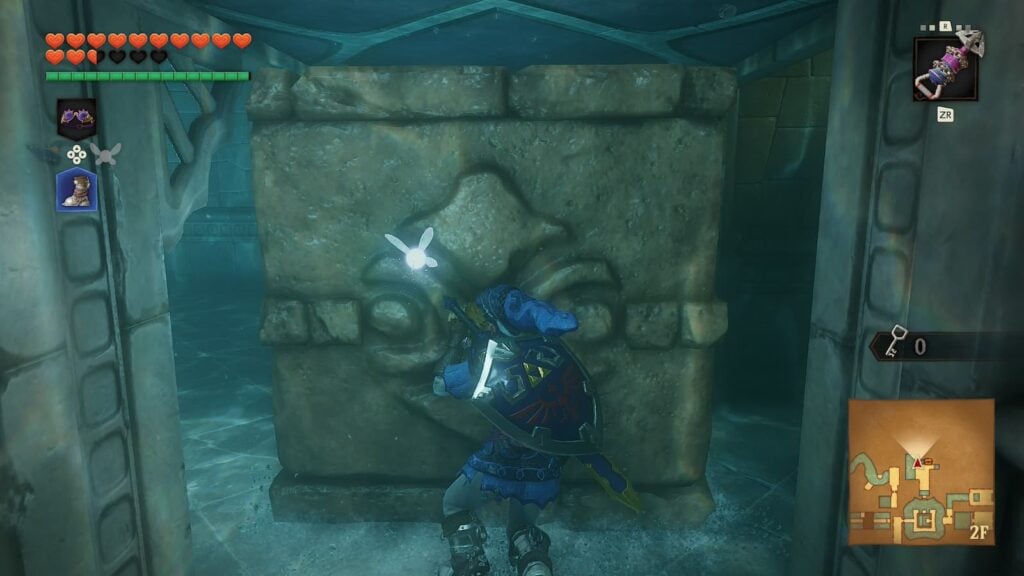
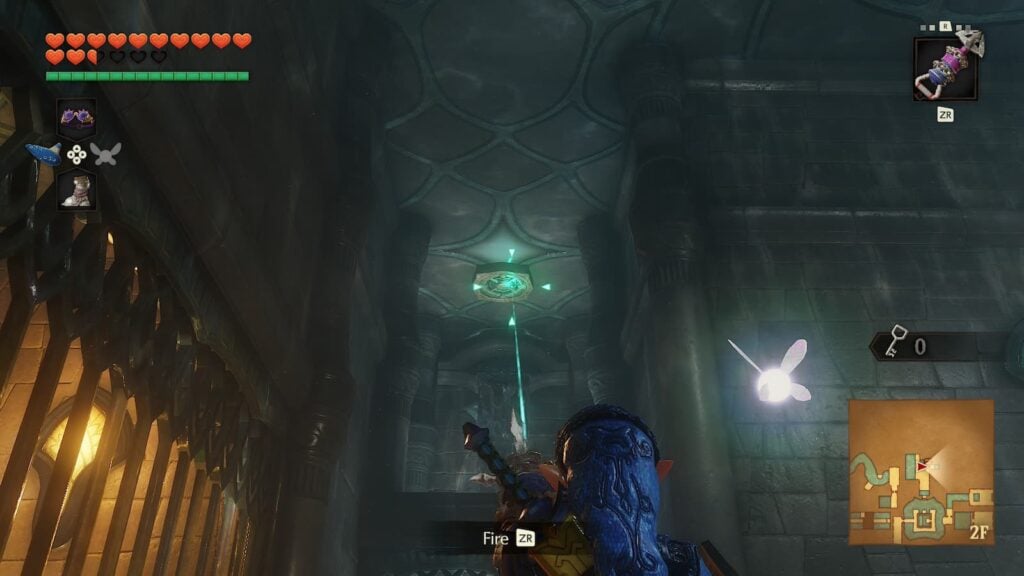
This will let you reach a higher ledge in order to open a treasure chest containing the dungeon’s final small key. Once you have it in you inventory, return to the dungeon’s central room.
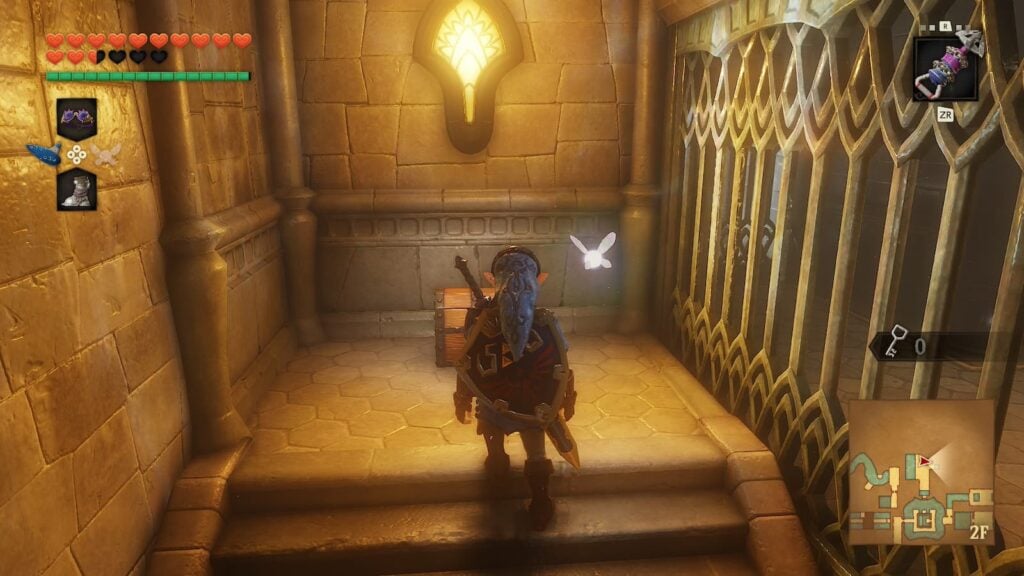
Central Room Visit 12
With both the longshot and another small key in your inventory, we can finally take care of the final room on the dungeon’s first floor. We won’t need to change the water level to get there, just put on your iron boots and let yourself sink into the hole on the ground.
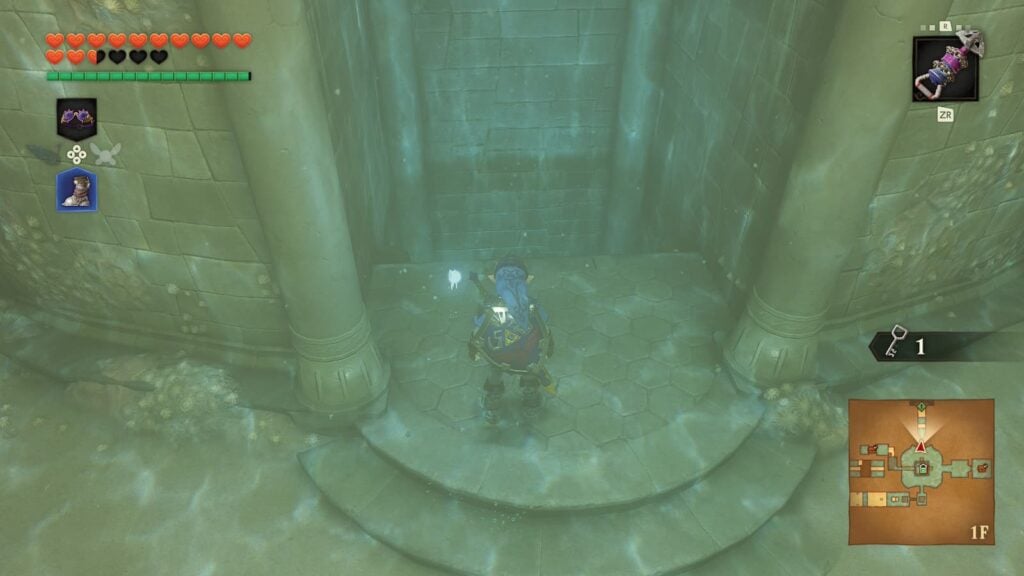
After emerging out of the pool where this hole leads, you’ll see a hookshot target and a locked door that you couldn’t reach before due to the normal longshots range. Longshot over to them and enter the next room.
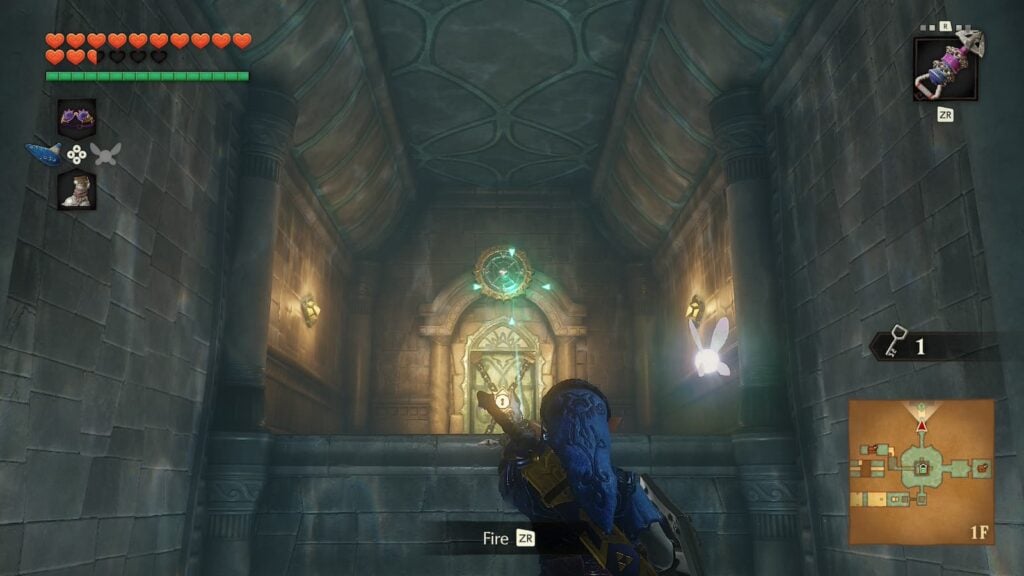
Room 14
This room will have a pool of water and multiple currents that will push you into whirlpools. Simply swim to the other side by repeatedly tapping the B button to swim faster and open the door to the next room.
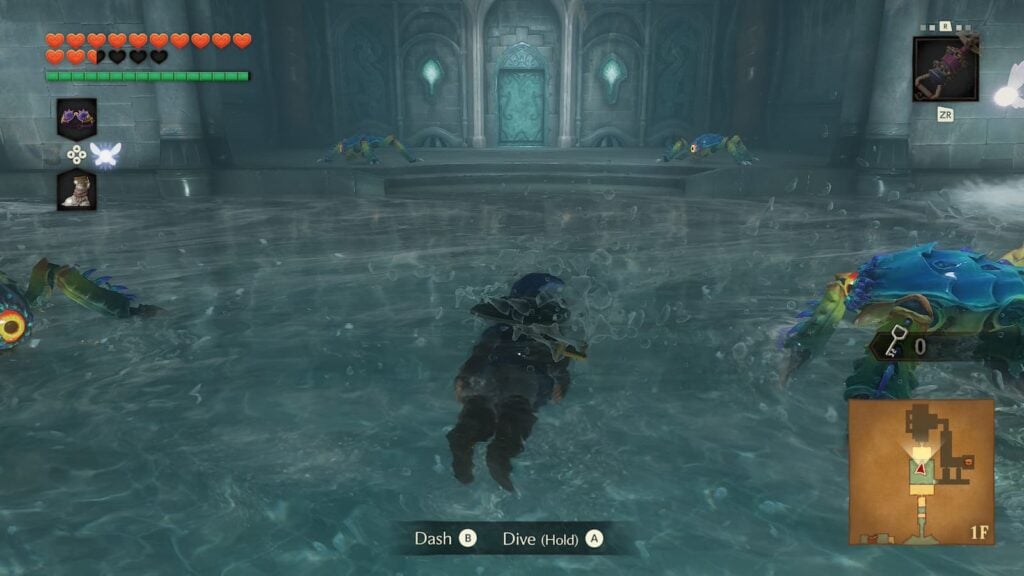
Room 15
In the next room there will be three destructible walls on the left side of the room. Destroy the middle wall with a bomb and then pull the stone block behind it as far toward the water as you can. Then, destroy either the right or left wall in order to get behind the block and push it onto the switch in the water.
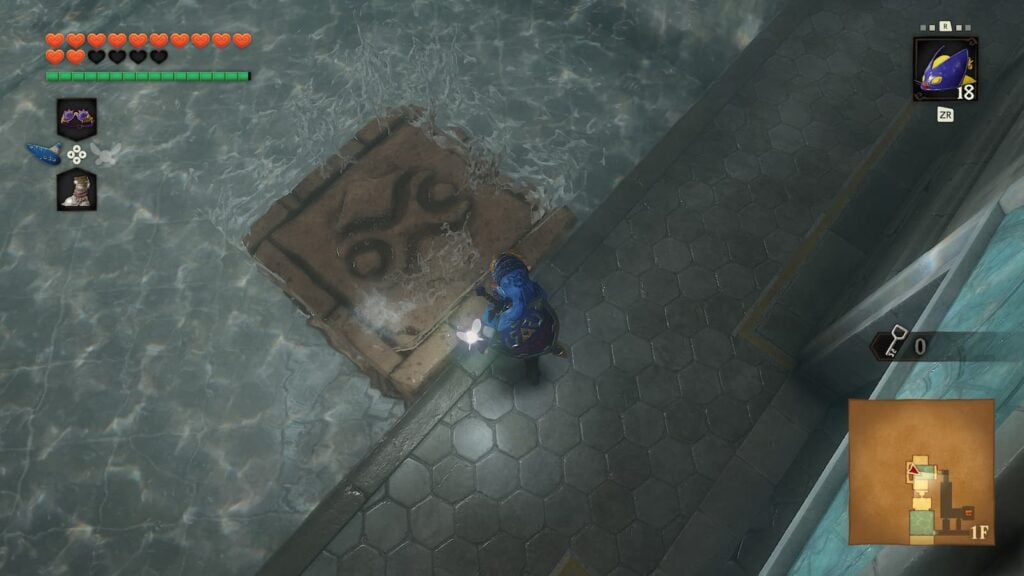
Once the switch is pressed, the room’s water level will rise and you’ll be able to swim onto a higher ledge. Here, there will be a button that you can stand on that will raise several platforms that you must jump across to reach the door to the next room.
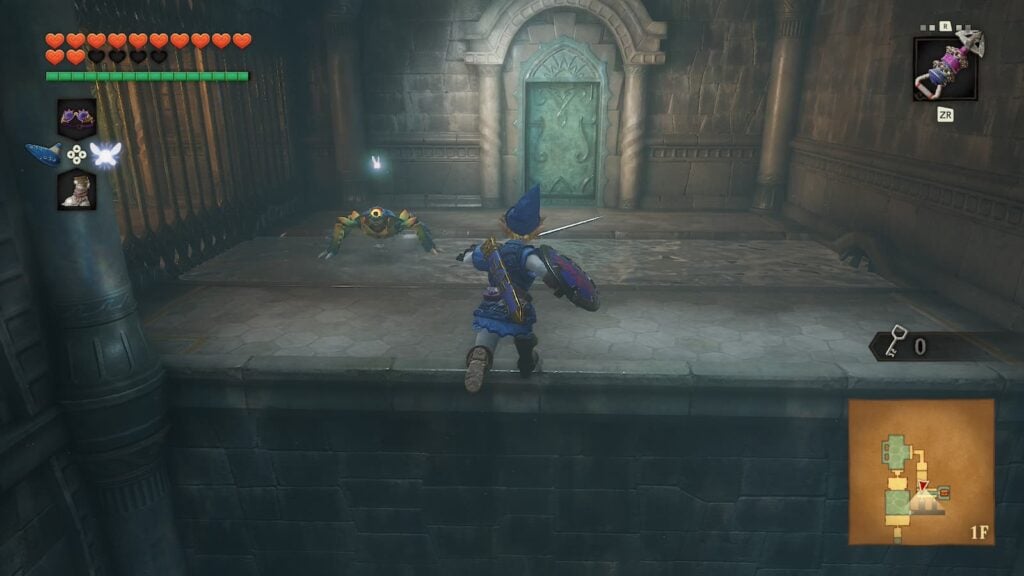
Room 16 – Gold Skulltula 5
This next room will be a small hallway where boulders will drop from the ceiling to roll and crush you. After walking past a waterfall in the hallway, aim your longshot at the ceiling and you’ll see a Gold Skulltula hiding behind the waterfall.
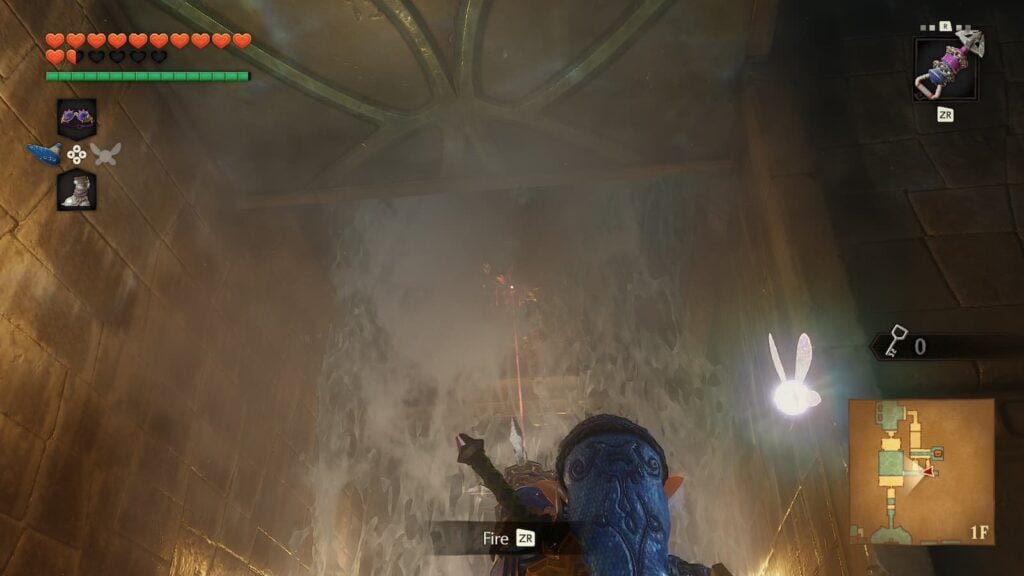
After collecting the Gold Skulltula, exit through the door near the end of the hallway.
Room 17 – Boss Key
You’ll then enter a small room with nothing but the boss key chest in it.
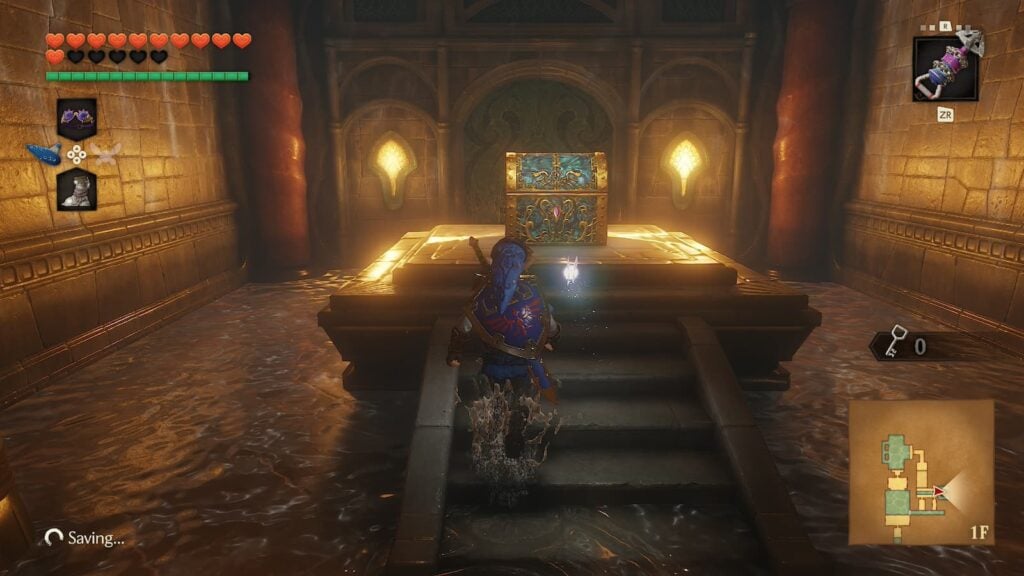
After collecting the boss key, return to the dungeon’s central room.
Central Room Visit 13
We’ve done everything we need to do at the lower water levels now, so we’ll be returning to room 8 to raise the water again.
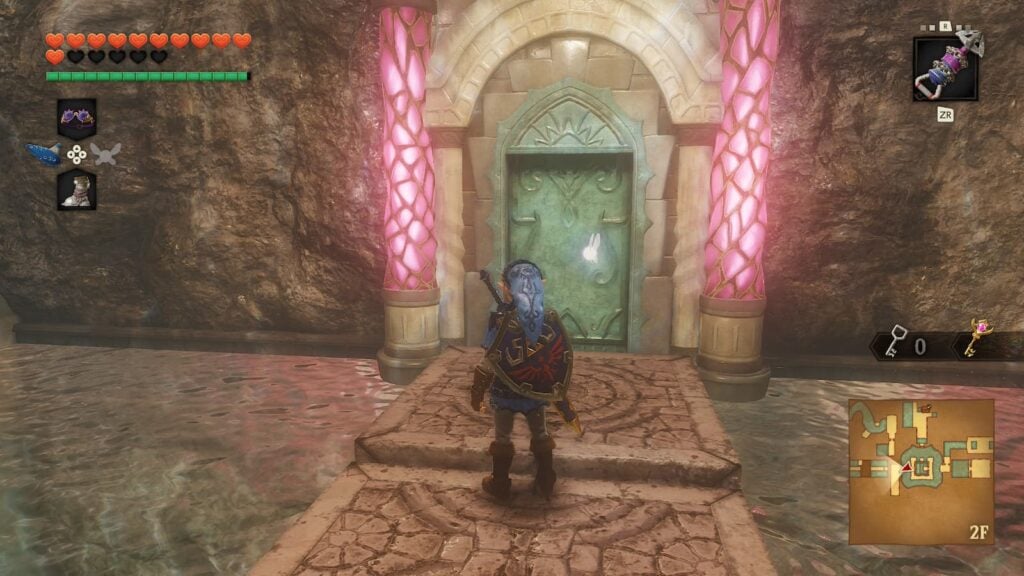
Room 8 Visit 2 – Water Level Change 6
Progress through this room the same way you did earlier and then play Zelda’s Lullaby to raise the dungeon’s water level one final time.
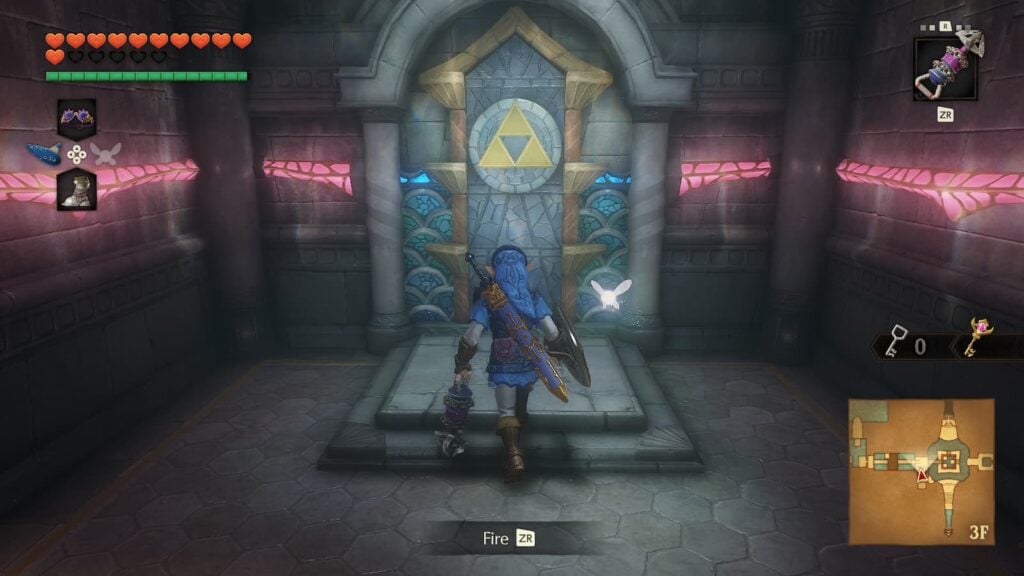
Central Room Visit 14
Now that we have the longshot, the boss key, and the water level of the dungeon is at its highest level, it’s time to head to the boss room. Grapple to the longshot target on the north side of the room and you’ll find the door to the dungeon’s last room.
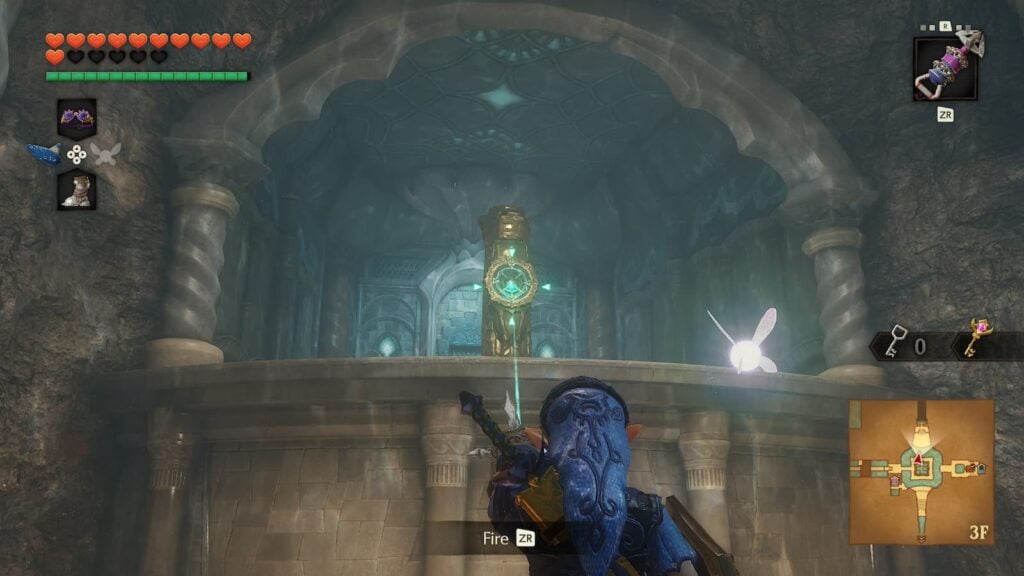
Room 18
This room will have a small slanted staircase with a waterfall flowing down it. Equip your iron boots and you’ll be able to walk up it to reach the boss room’s door.
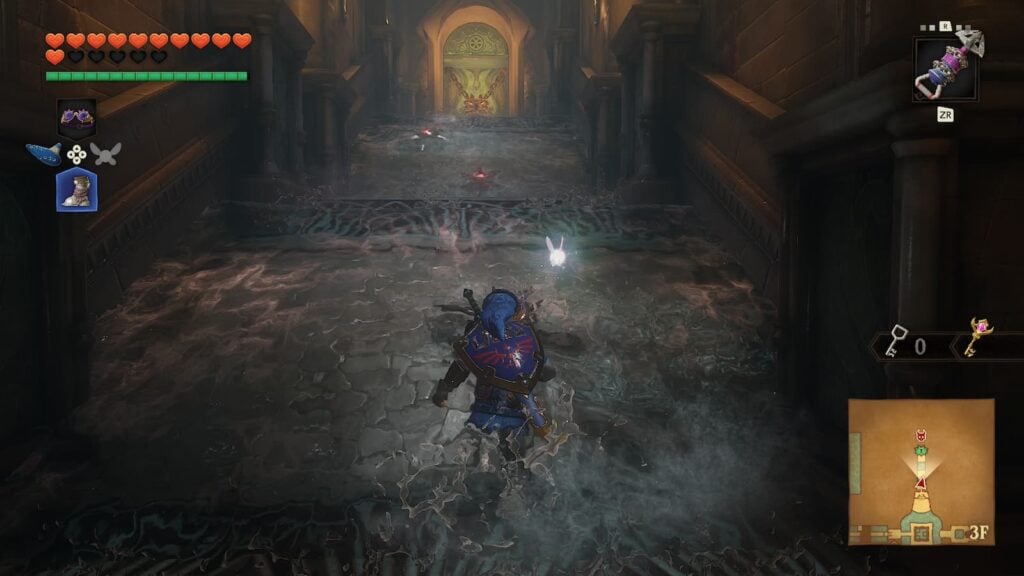
Boss Room – Morpha
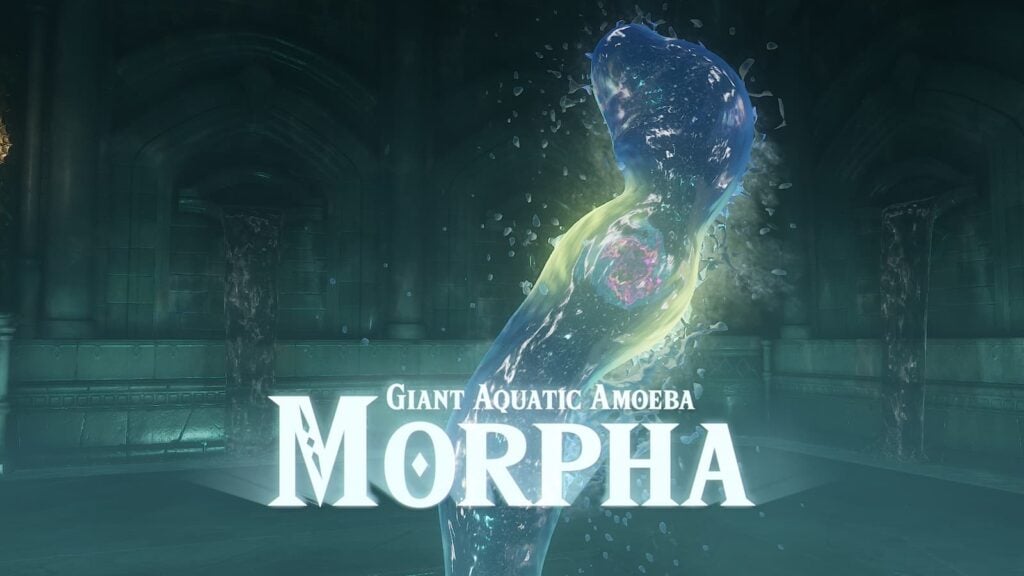
It’s time for the dungeon’s boss! Despite the famously complicated nature of the Water Temple itself, the dungeon’s boss is actually by far the simplest one in the Adult Era of the game.
During its first phase, Morpha will attempt to grab Link either by slamming it water tentacle down at him or by spinning. Dodge either of these attacks and Morpha will stop moving briefly, this gives you a window of time to use your longshot to pull Morpha’s brain out of the tentacle and attack it with your sword.
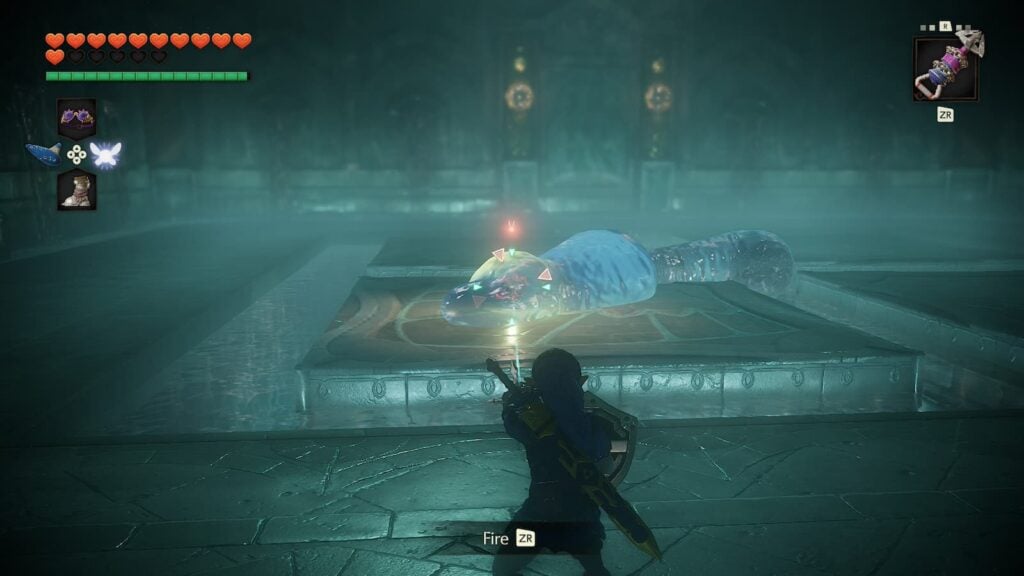
When Morpha reaches half health, its attack pattern will change. Instead of there being a single tentacle rising out of the water, nearly a dozen will rise instead. Only one of these tentacles has Morpha’s brain in it, so you must make your way to the other side of the room while dodge all of the tentacles to reach it.
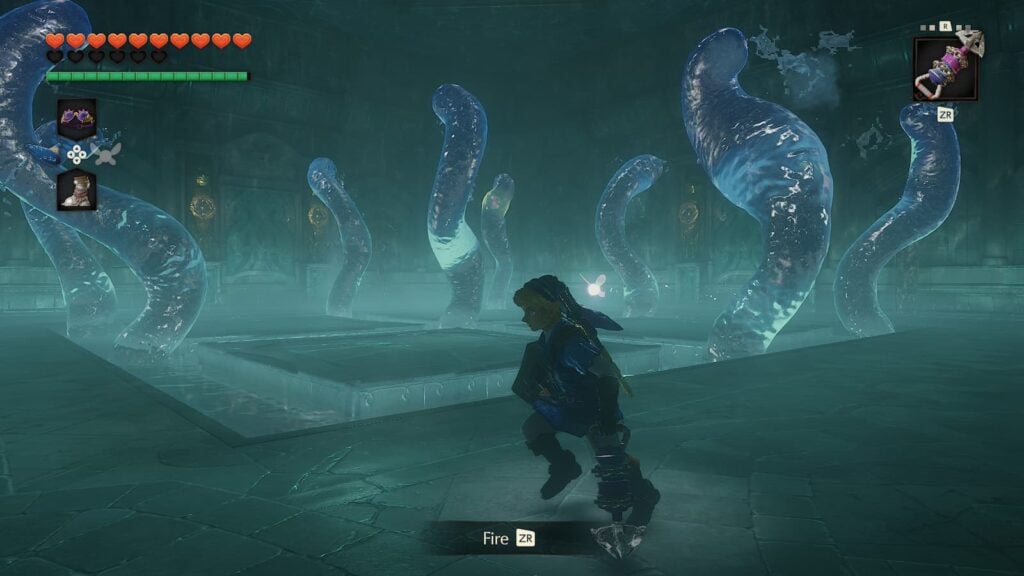
During this phase, Morpha’s brain will move in an attempt to dodge your longshot, but it won’t be able to dodge again for a few seconds afterward, giving you ample time to grab it. Once you have struck Morpha 18 times with your master sword, the fight will end.
Collect the Heart Container left behind by Morpha and exit through the portal to officially complete the Water Temple.