Want to see Raider King content first? Add us as a preferred source.
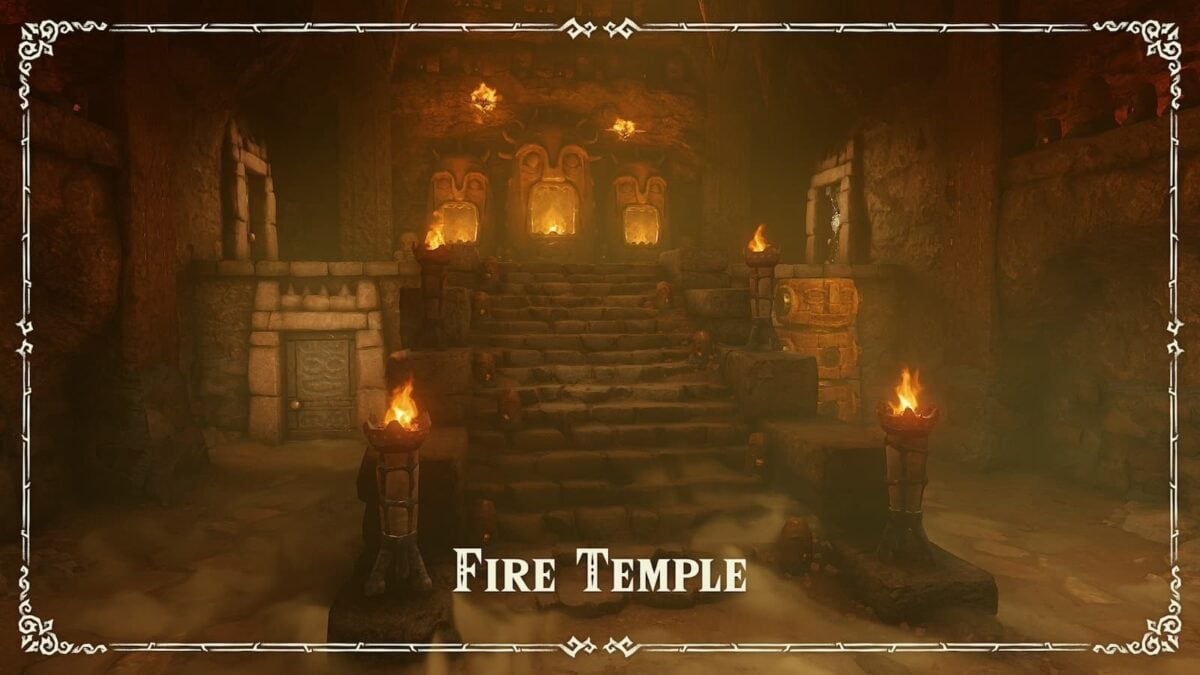
You’ve successfully traversed Death Mountain as an adult and obtained the Goron Tunic, now it’s time to traverse the Fire Temple and free the captured gorons before they are eaten. This dungeon is only slightly more difficult to navigate than the Fire Temple but there are still a few puzzles which may trip up the average player. If you need any assistance at all, please feel free to consult this walkthrough for completing the Fire Temple dungeon in the Ocarina of Time Remake.
Fire Temple Walkthrough
Room 1
This area is the entrance room. There are four doors here, but at the moment you’ll only be able to enter the door on your left.
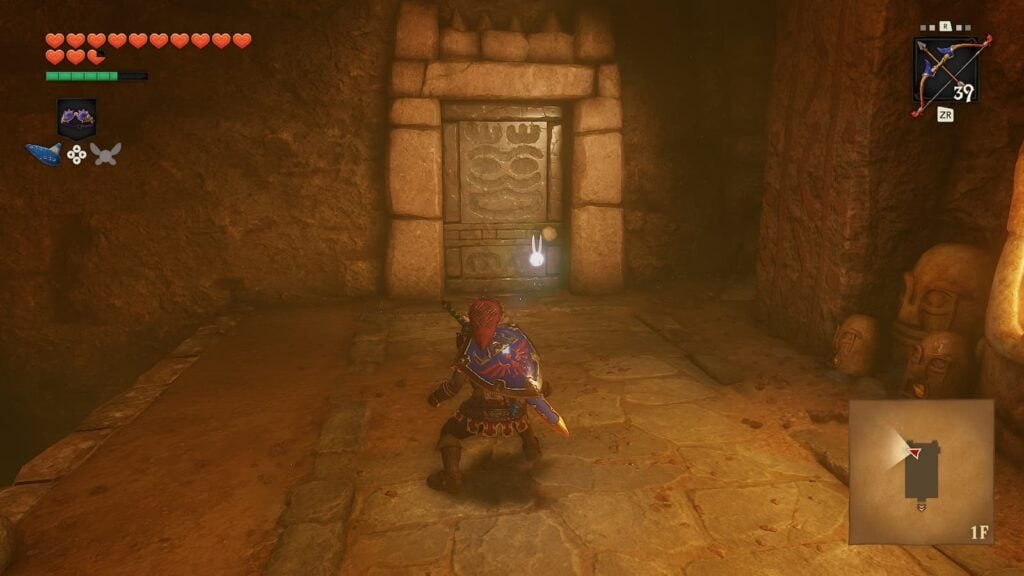
Room 2 – Small Key 1
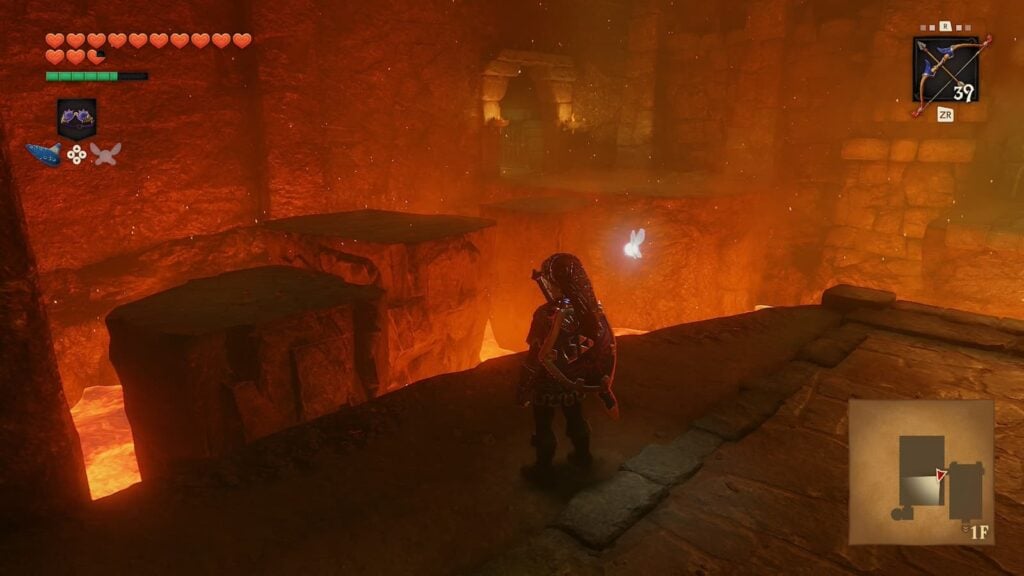
In the next room you’ll briefly be reunited with Darunia, who will ask you to save all eight Gorons that have been captured and imprisoned in the Fire Temple. You won’t be able to follow Darunia for now due to the large gap of lava between you and him, but you can jump to the left across some stone platforms.
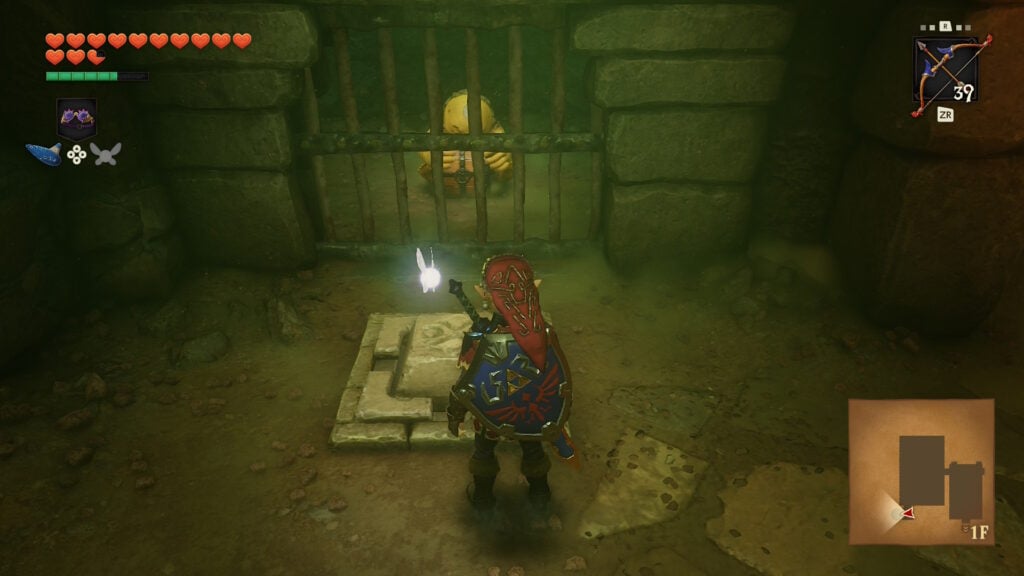
Here you will find a switch to open the jail cell of a very terrified Goron. Speak to him and you’ll be able to open the treasure chest he’s gripping. Inside of it is the dungeon’s first small key.
Once you have the key, return to the entrance of the dungeon so we can begin the Fire Temple for real.
Room 1 Visit 2
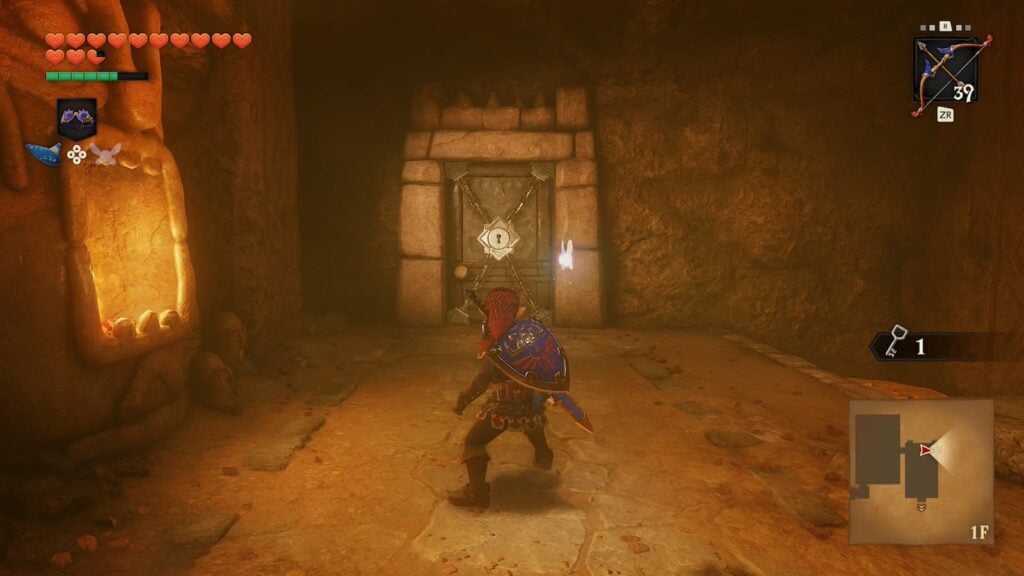
Not much to say here other than to tell you to walk straight forward and open the locked door with the small key you just got.
Room 3 – Small Key 2 and 3
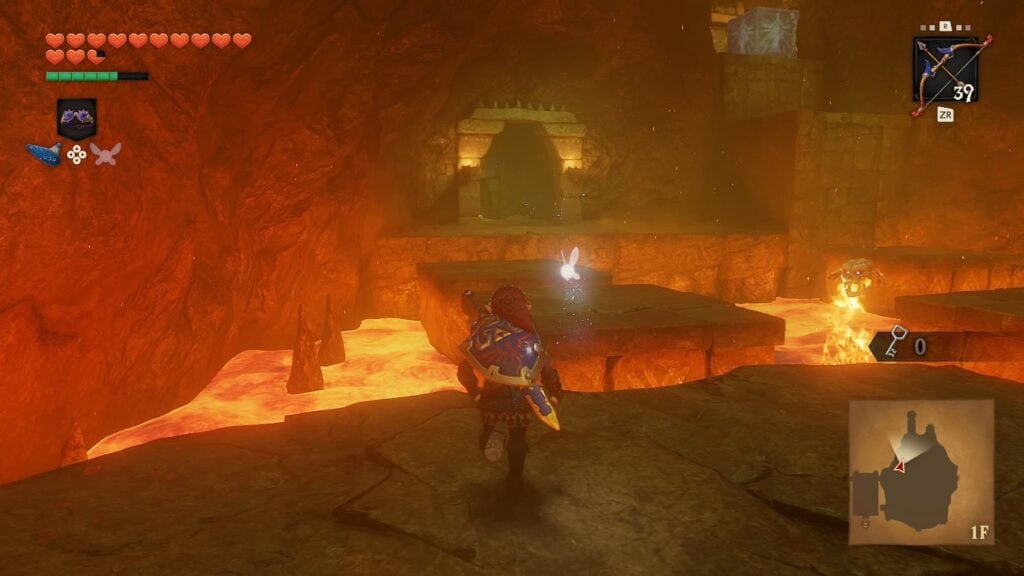
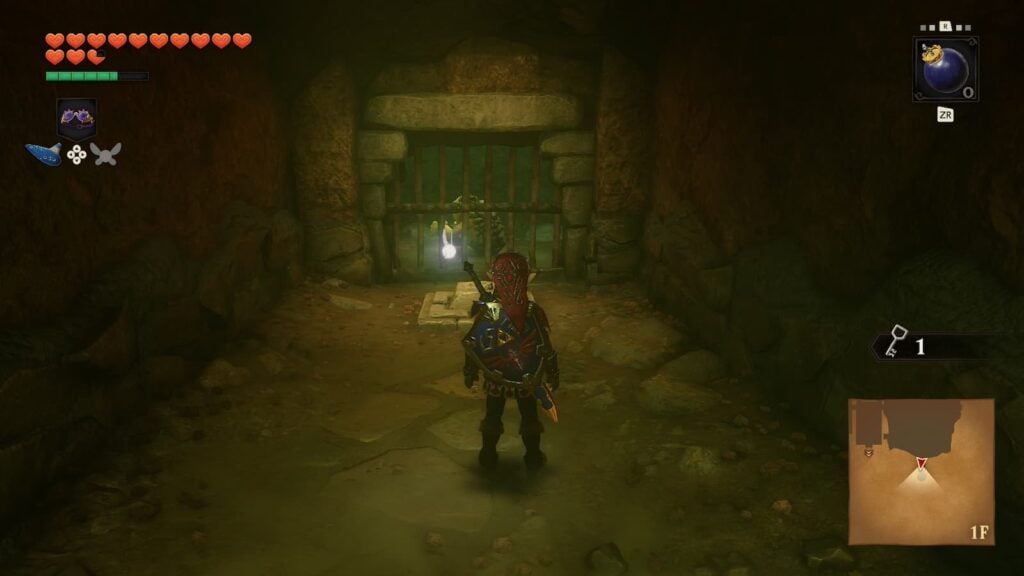
This may as well be the real first room of the dungeon with how little you’ve done so far. When you enter this room you’ll notice multiple pathways and doors. We’re going to start by heading to the left. here there will be a Goron cowering in fear. Free him from his cell to obtain the dungeon’s second small key.
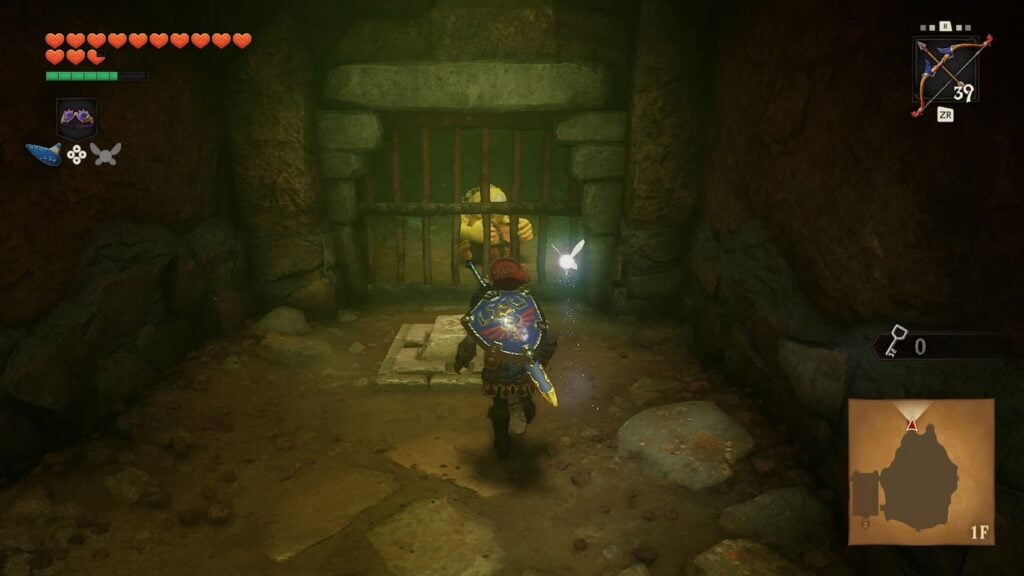
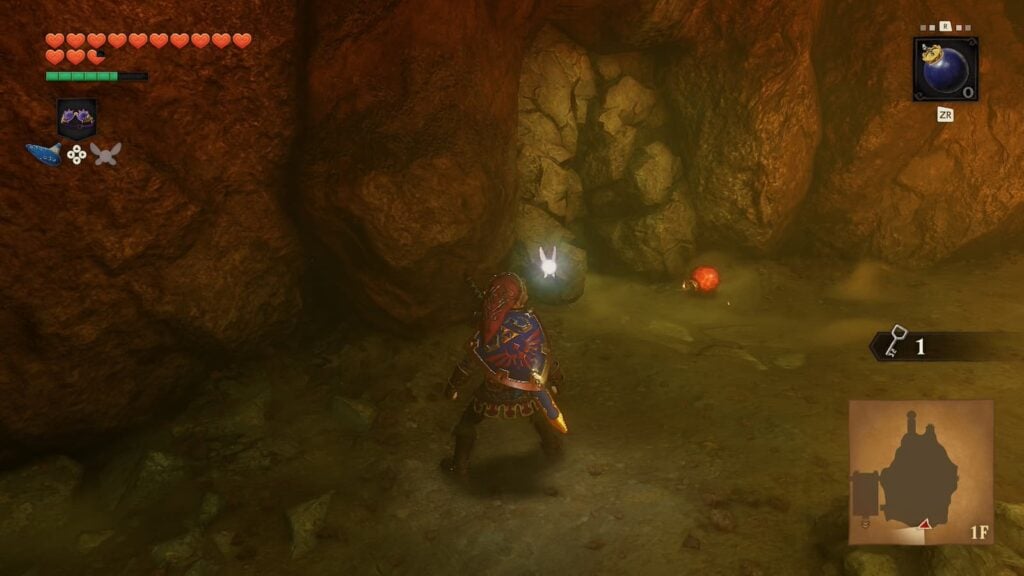
Next, head to the right side of the room where you’ll see a crack destructible wall. Toss a bomb at this wall and you’ll find another imprisoned Goron who is holding onto the third small key.
On the east side of the room there will be a platform in the lava which will raise when stood on. Use it to reach a higher platform where you’ll find a blue block that must be moved with the Song of Time.
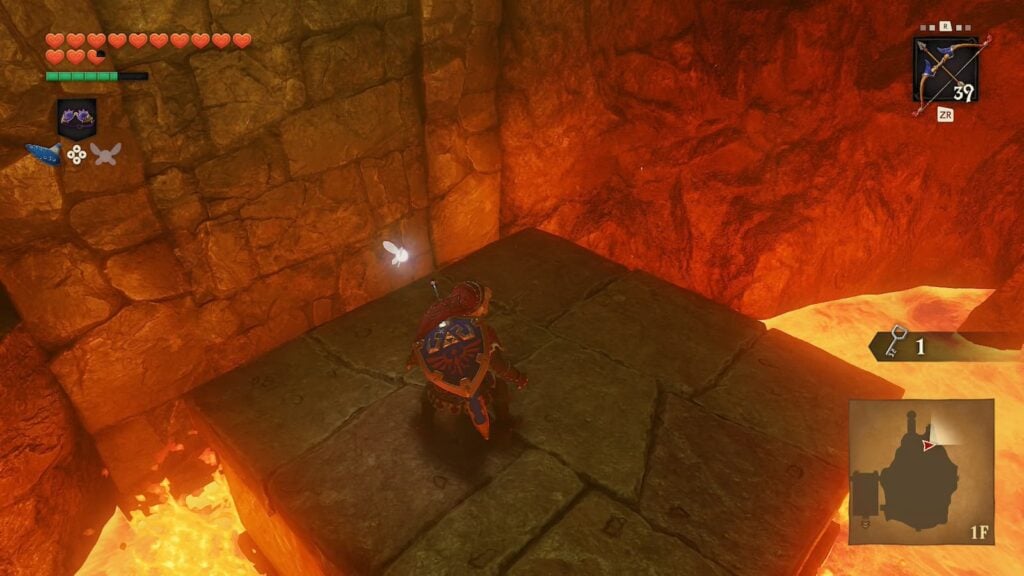
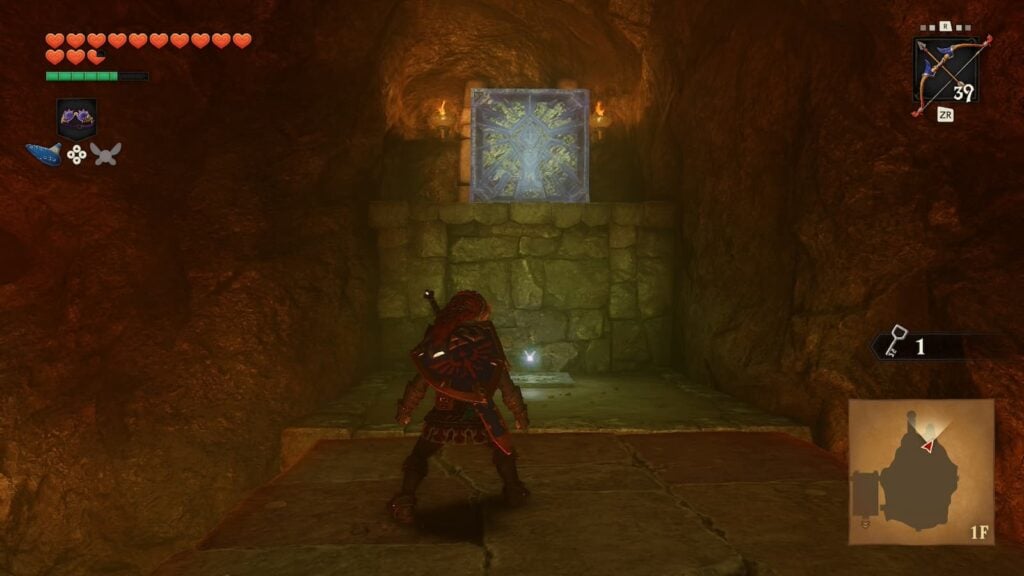
After playing the song, jump atop the newly moved block and exit the room through the door it was blocking.
Room 4 – Gold Skulltula 1
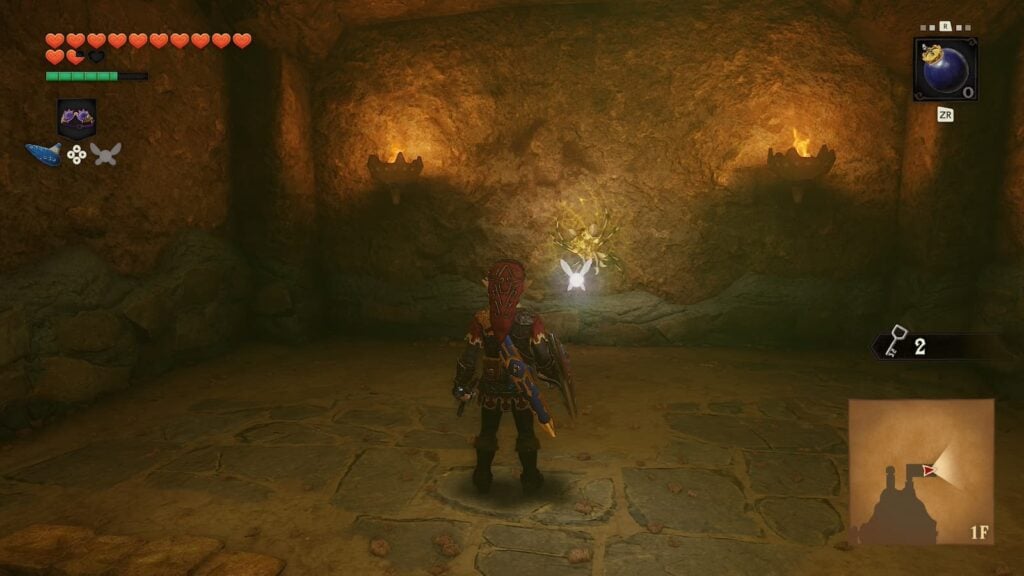
Inside of this room there will be several flying tile enemies and a Like-Like. Defeat them all and you’ll be able to kill and collect the Gold Skulltula in this room.
Return to room 3 after defeating the Skulltula
Room 3 Visit 2
Now that we’ve gotten everything we need from this area, it’s time to head to the right and use one of the two small keys we have on the locked door here.
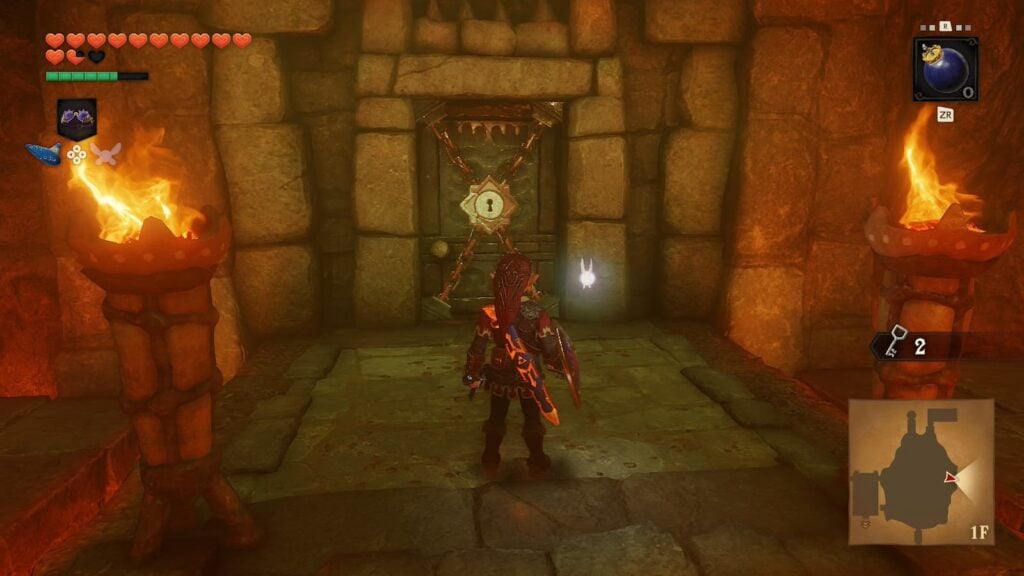
Room 5 – Dungeon Map, Gold Skulltula 2, Small Key 4
Upon entering the room, immediately head forward to unlock a door and enter the second half of the room. This is a trick that the Fire Temple will be employing frequently to make sure you never progress too far without saving all of the Gorons on a floor.
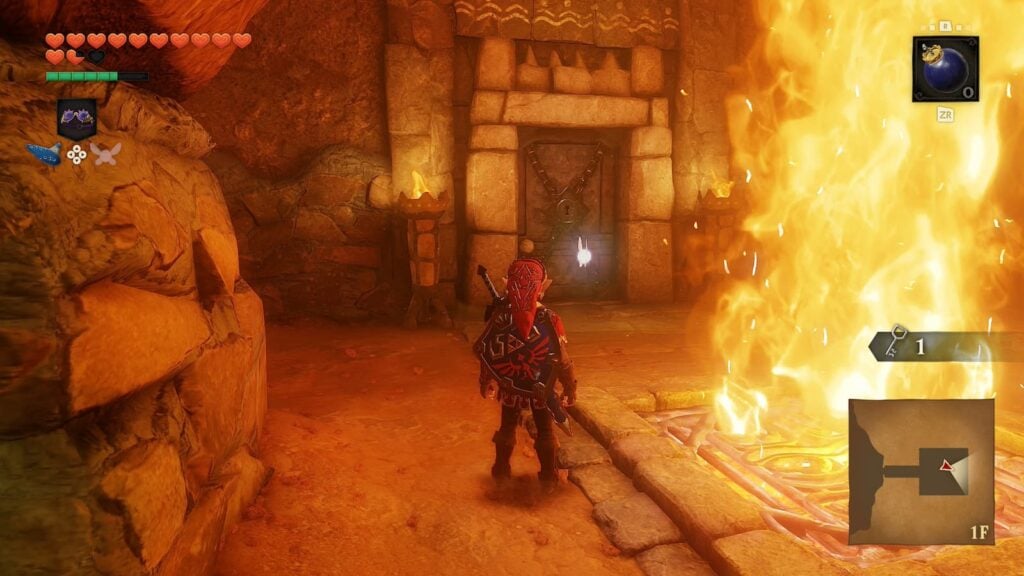
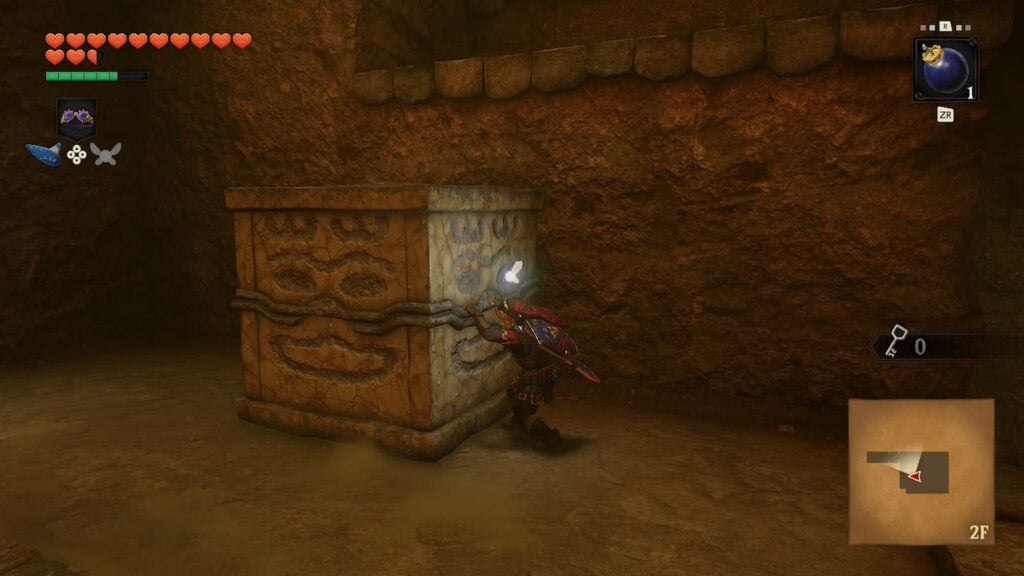
Climb the metal grate in front of you to reach the ledge on the upper half of this floor. From here, push the stone stone block onto the pillar of fire in the center of the room. This will turn the block into a makeshift elevator that you can ride to the second floor of the dungeon.
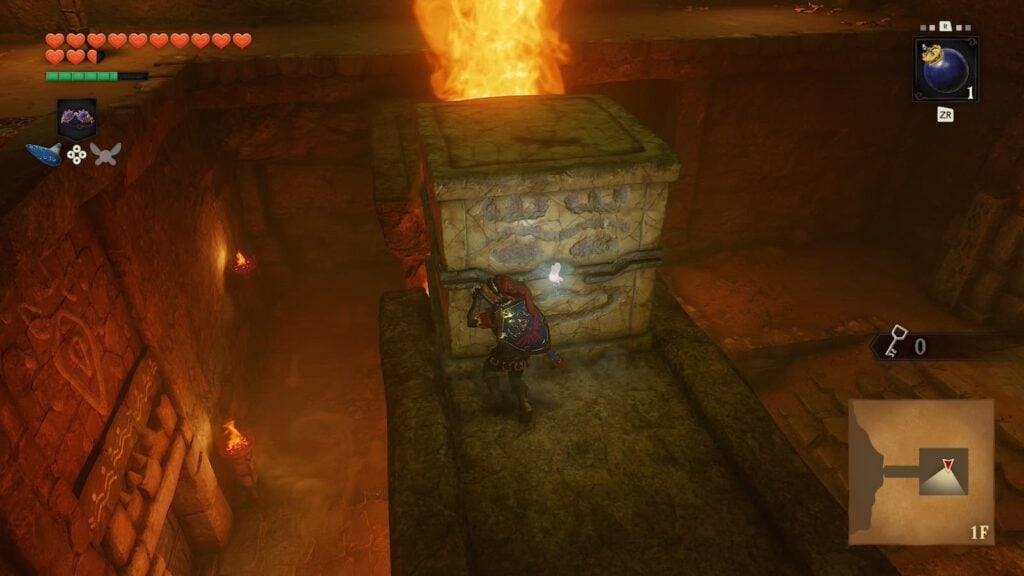
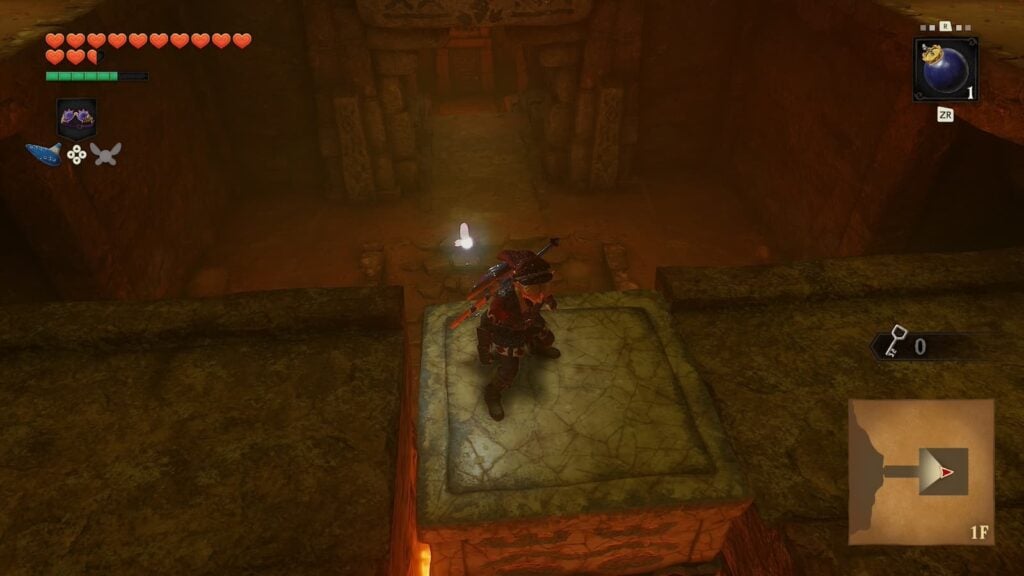
When the you reach the second floor, jump up the platforms until you reach a pink crystal. Strike it with any item and it will turn a wall of flame off on the ledge above you. Next, pull a nearby stone block next to that ledge and jump on it.
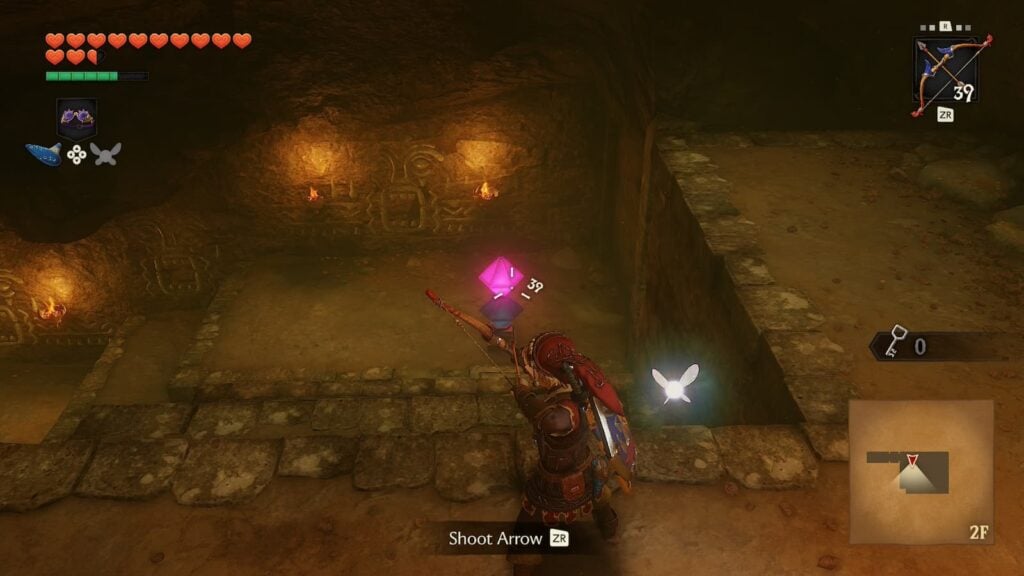
When you struck the pink crystal earlier, it turned the wall of fire on the ledge off, but it also turned another wall of fire that is currently in your way on. To turn off this second wall of fire, you’ll need to pull out your bow and shoot the crystal again from a distance.
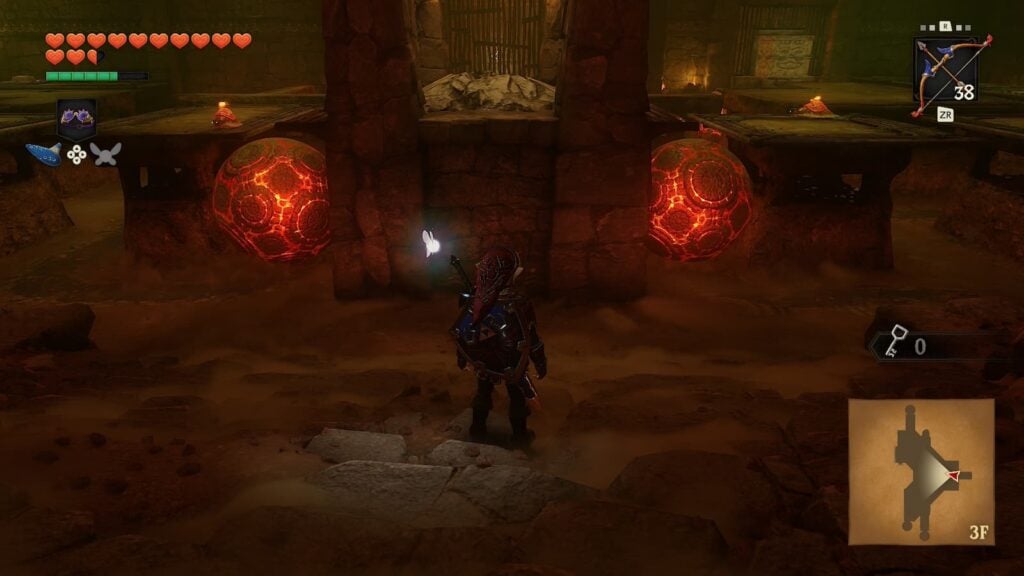
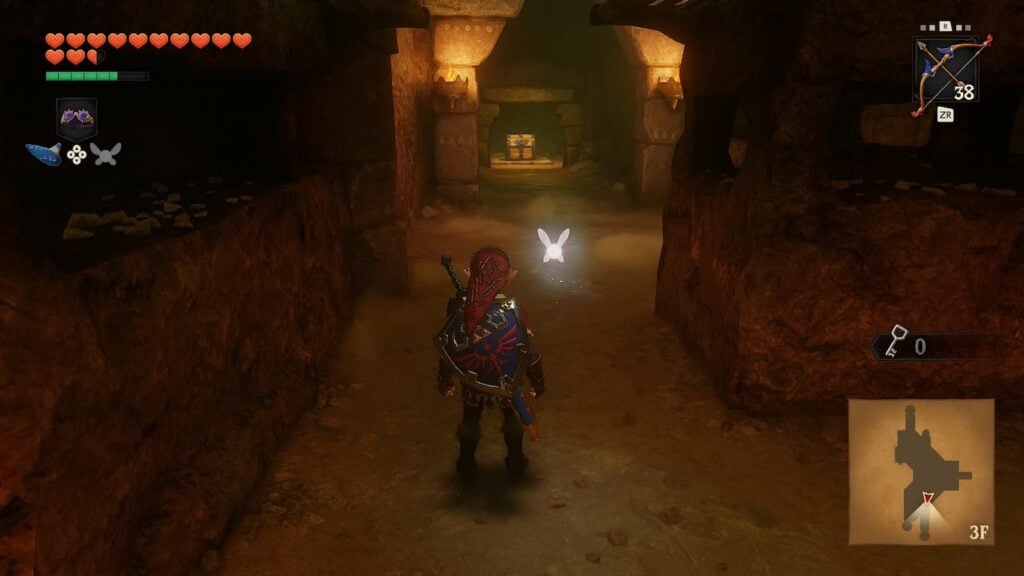
The next area of this room will be filled with rolling boulders that will deal damage to you upon contact. Run to the left of the room and you will find a large treasure chest which contains the dungeon’s map.
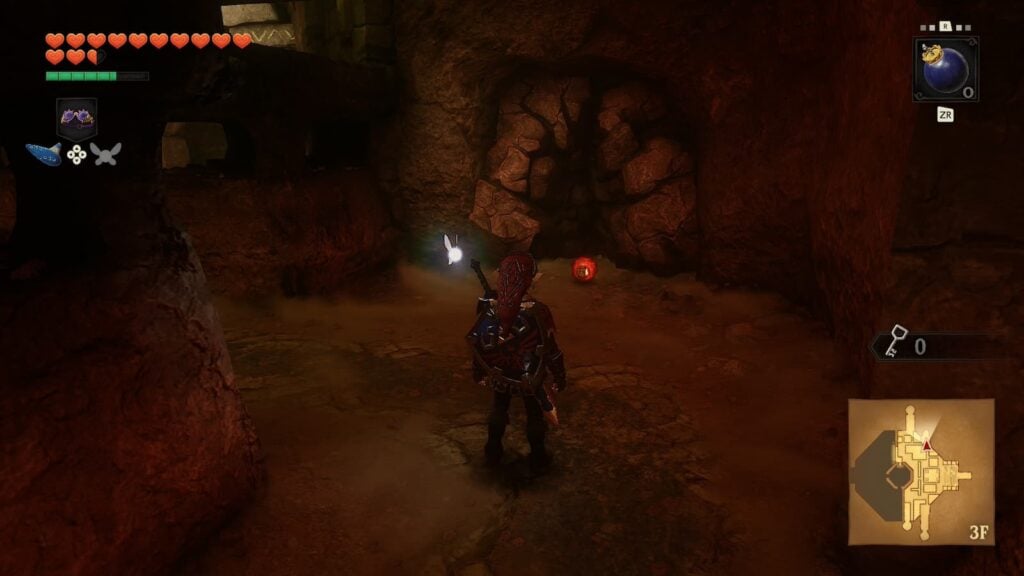
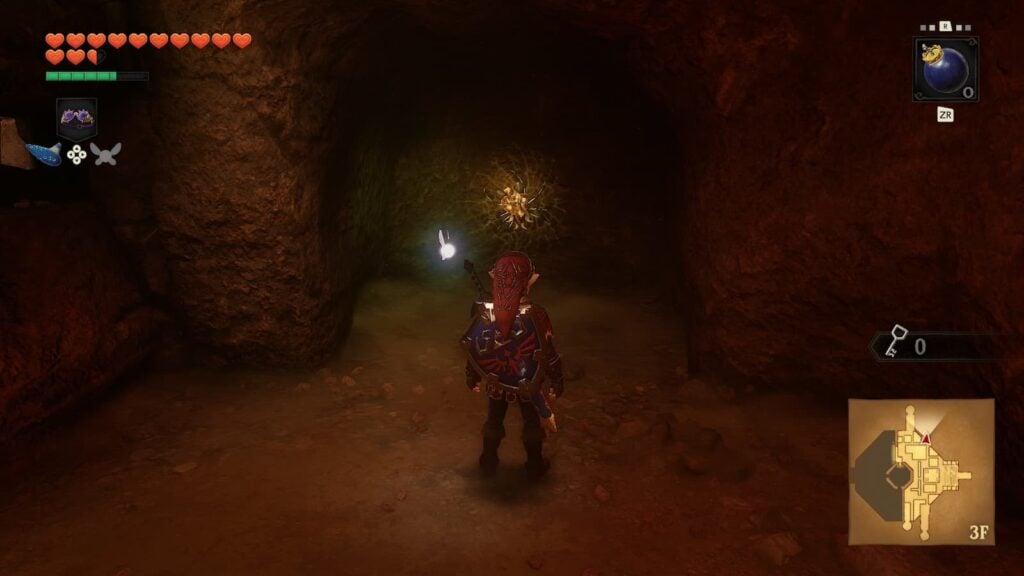
After collecting the map, run to the right side of the room. Here there will be another wall that you can destroy with a bomb. Behind it you will find the dungeon’s second Gold Skulltula.
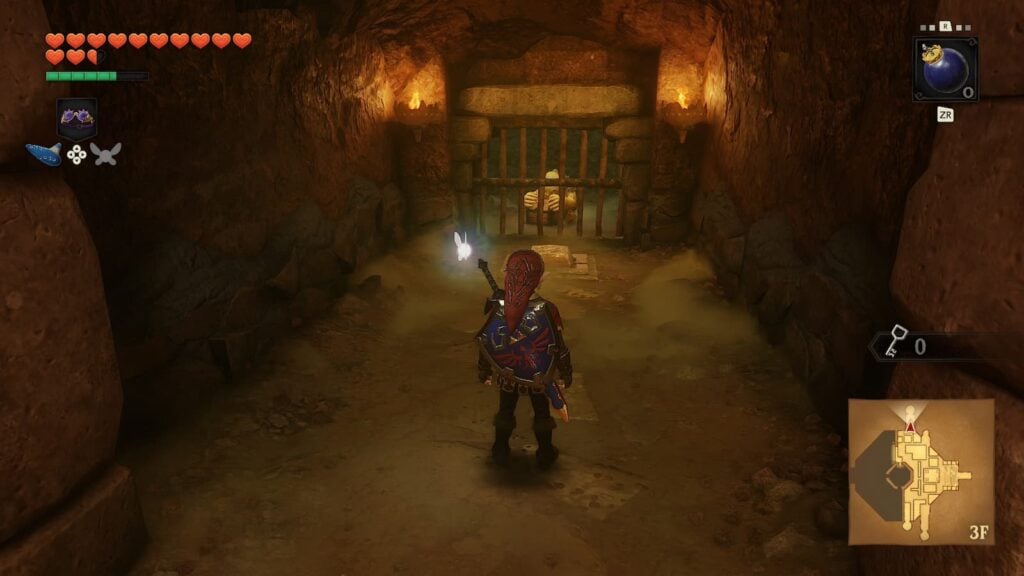
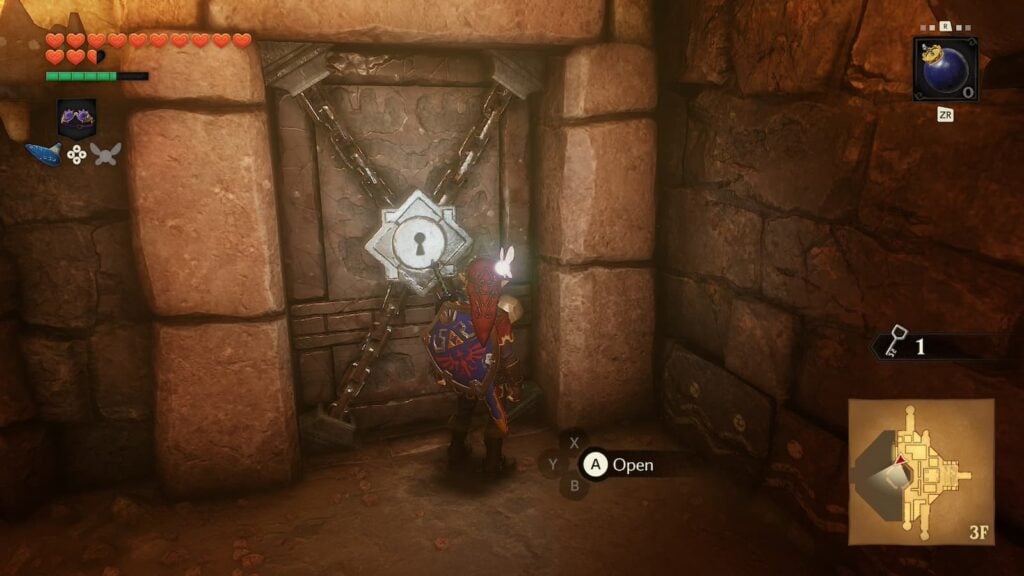
On this same side of the room you’ll also find another Goron trapped in a cage. Free him and collect the dungeon’s fourth small key. Once you do, you’ll find that the next locked door is only a few steps away. Walk through it to progress.
Room 6
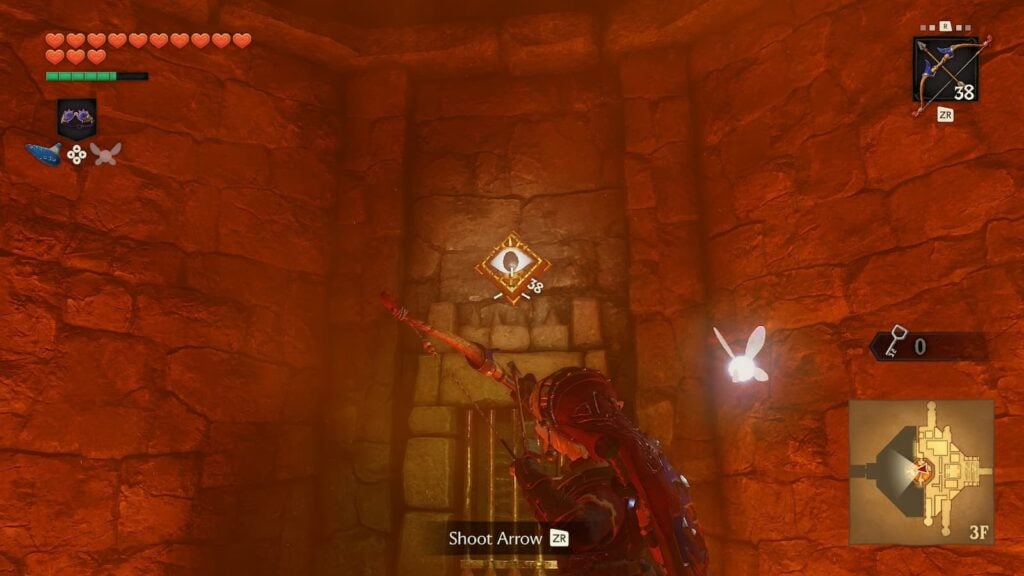
This room is a very small one that primarily exists to transition between other rooms. Shoot the eye-target on your right with you bow to unlock and then exit through the door on your right.
Room 5 Visit 2 – Compass
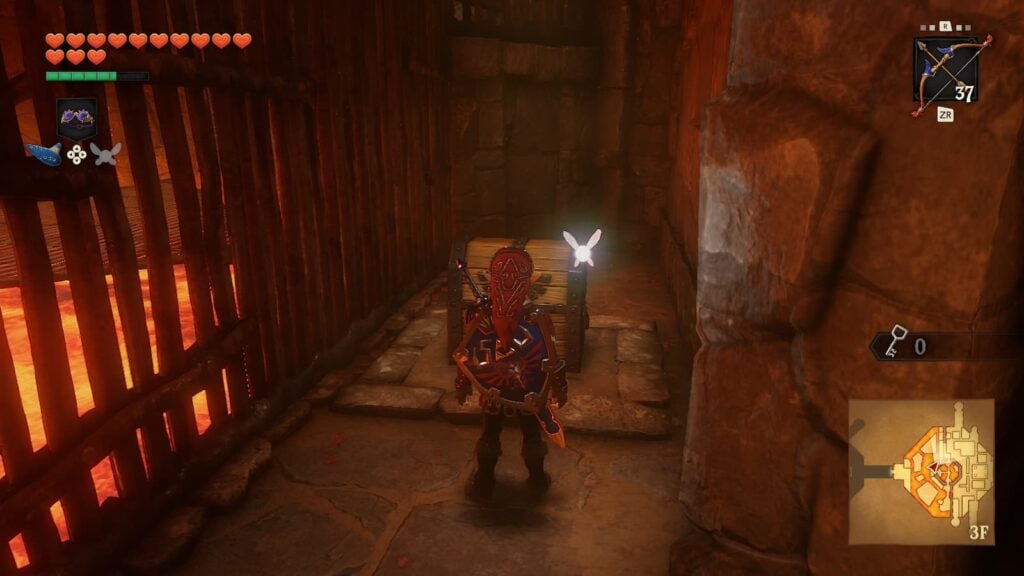
The door you entered will lead you to a small outcove in room 5 where you’ll be stuck behind a cage when you first enter here, but at least you’ll be able to open a large treasure chest with the dungeon’s compass in it. After getting the compass, return to Room 6
Room 6 Visit 2
After visiting this hallway again, go through the one door you haven’t already to reach the other half of room 5.
Room 5 Visit 3
Upon entering this room you’ll almost immedietely be chased by a wall of fire. Platform across the metal grates in this area until you reach the other side. From here, you’ll be able to push a stone block to reach the upper section of Room 5.
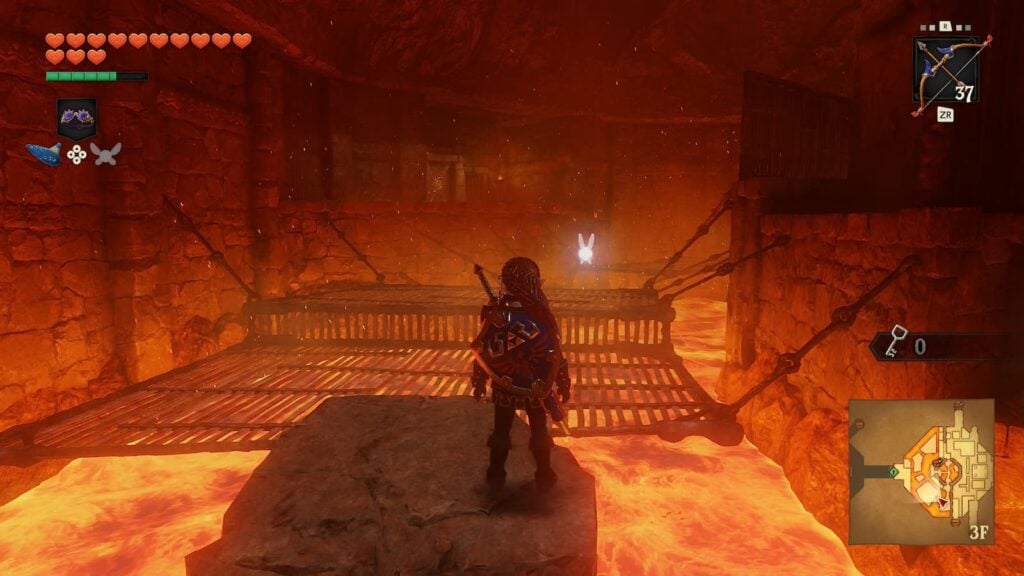
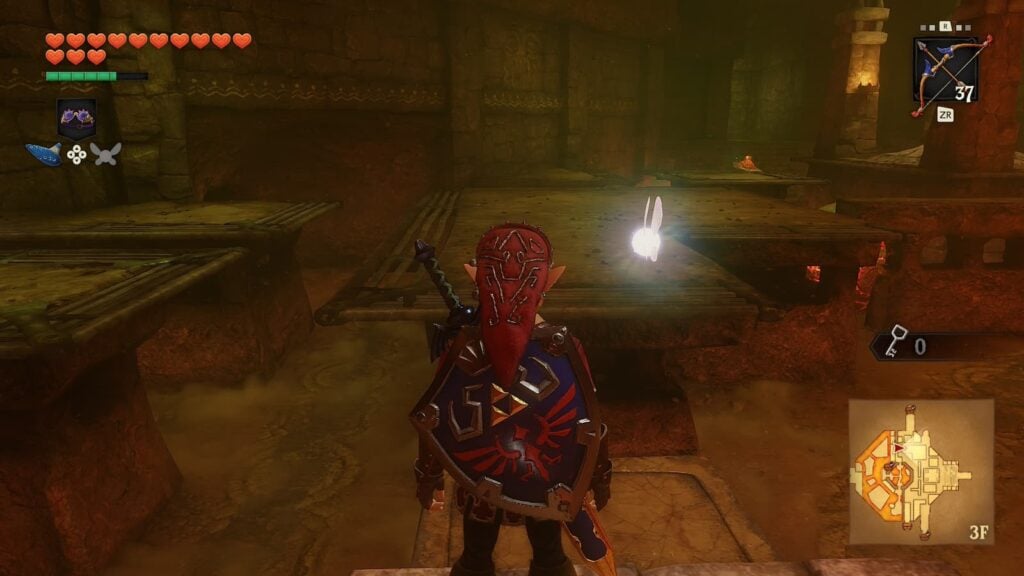
Before you do anything else, look up and you’ll spot a small wind cyclone. This is your cue to play the Scarecrow’s Song and hookshot your way to a higher floor. This will lead to a sequence of optional rooms not necessary for completing the dungeon, but shall nonetheless be covered in this walkthrough.
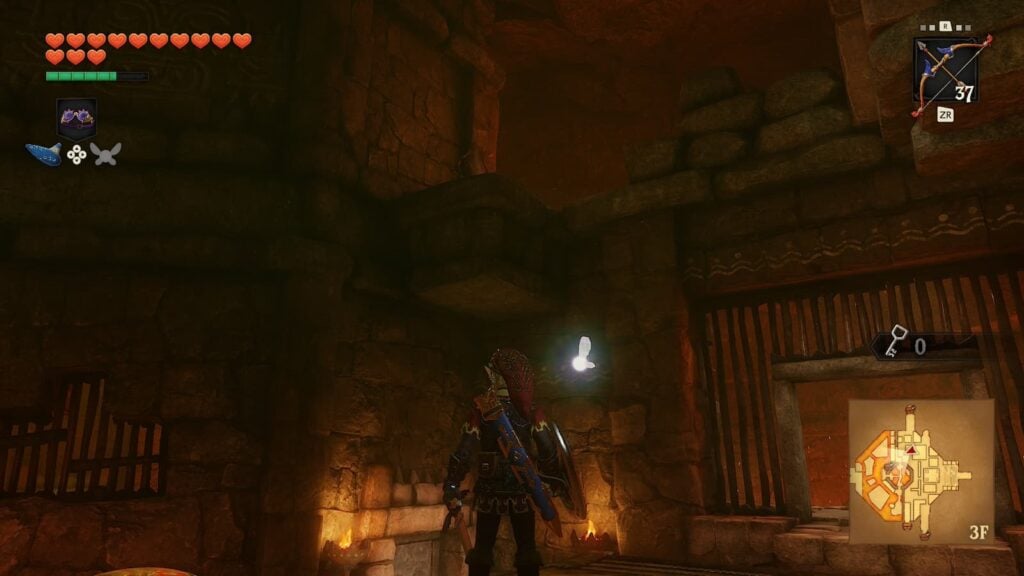
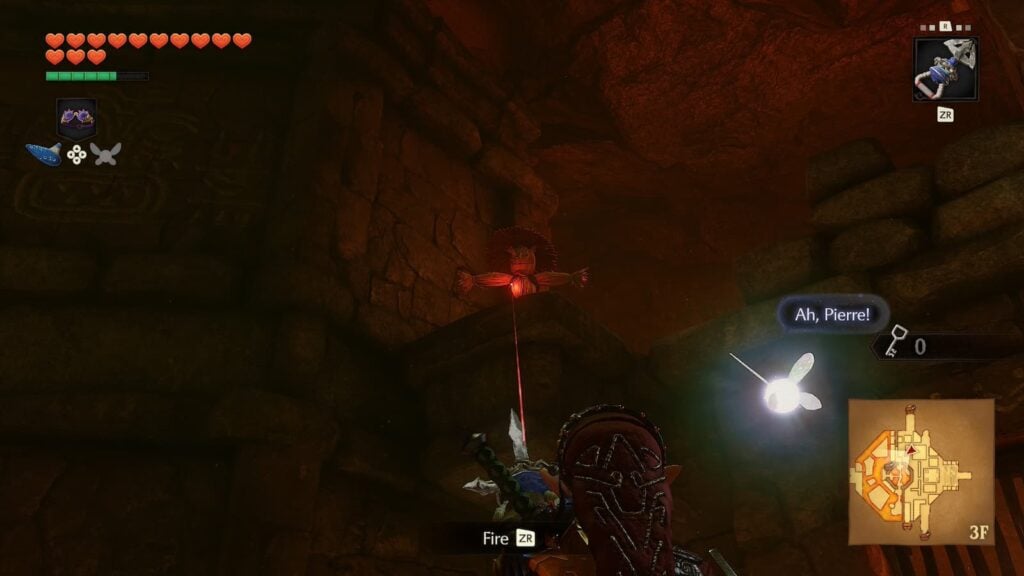
If you have not yet learned the Scarecrow’s Song, then skip ahead to the Room 5 Visit 4 section of this walkthrough to progress further into this dungeon.
After hookshotting your way to the scarecrow, jump toward a floating platform that’s near the ledge you’re standing on. This platform is an elevator which will take you to another room in the dungeon.
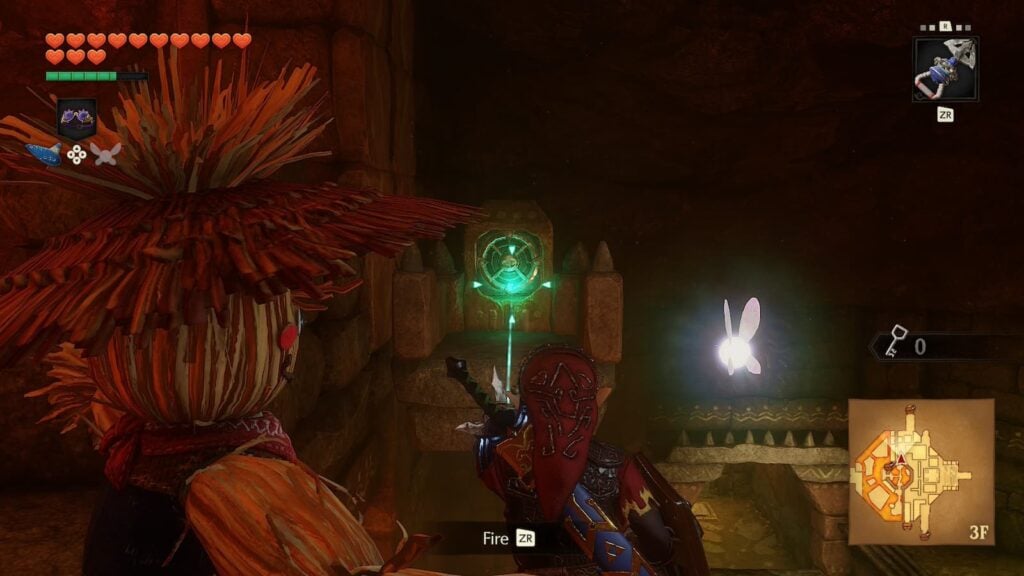
Room 7 – Gold Skulltula 3
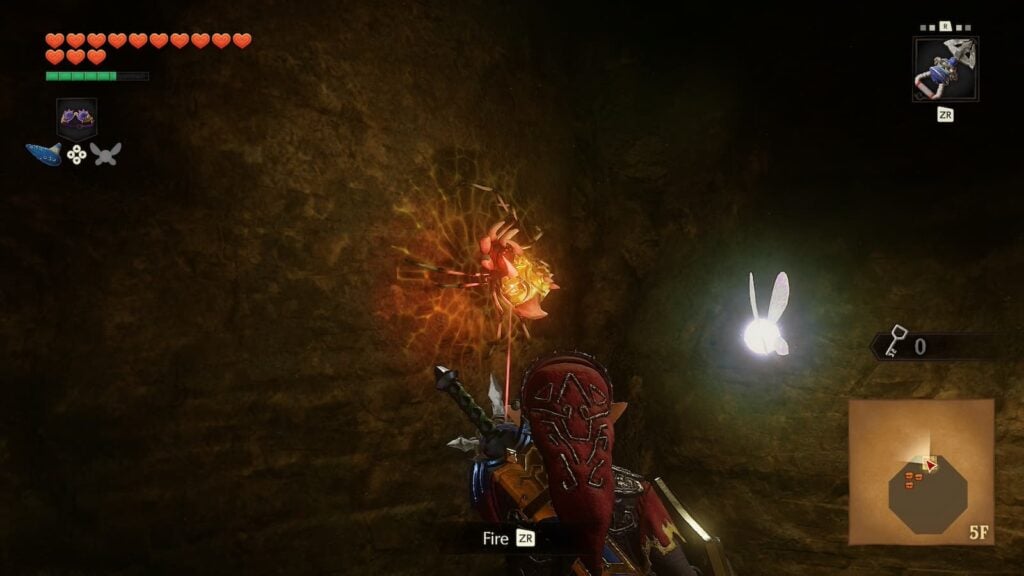
This room is primarily a transitional one as you climb your way to the third floor of the dungeon. Before you exit through the next door, attack and collect the Gold Skulltula that’s climbing by it.
Room 8 – Gold Skulltula 4
Upon entering the next room, immediately turn to your right and you’ll see a Gold Skulltula hanging over a pool of lava. Use your hookshot to defeat it and collect its token.
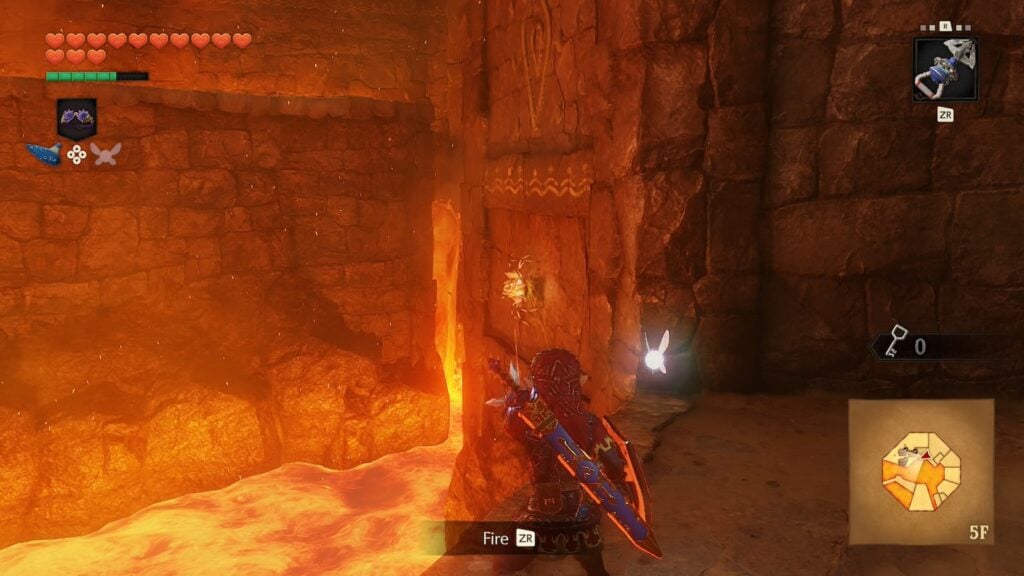
In this room there will also be a switch that you can stand on. Once activated, two hookshot targets will appear from the ground for a limited time. You need to quick rush to both of these targets and grapple onto them to cross both of the room’s lava gaps before they return to the floor.
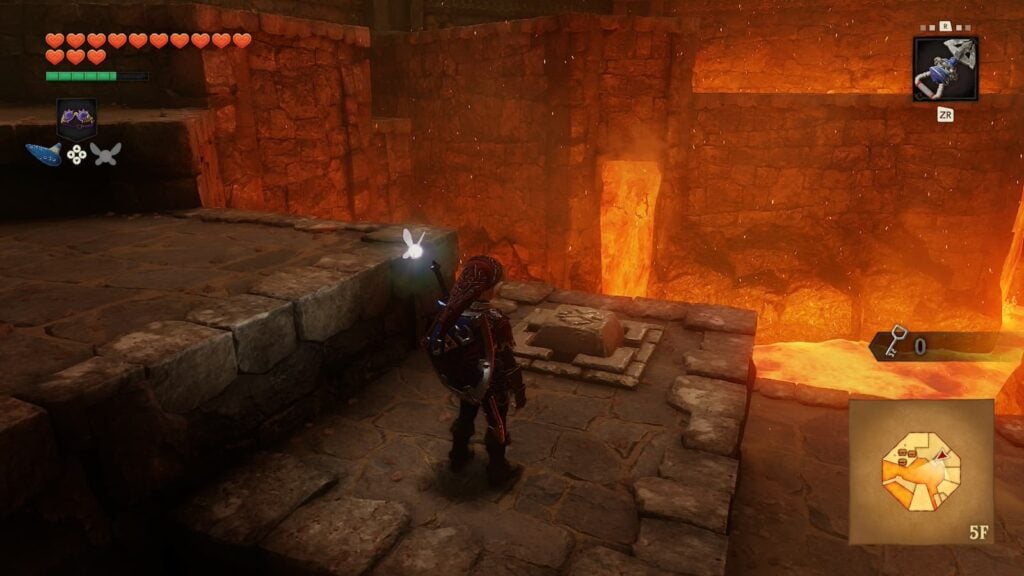
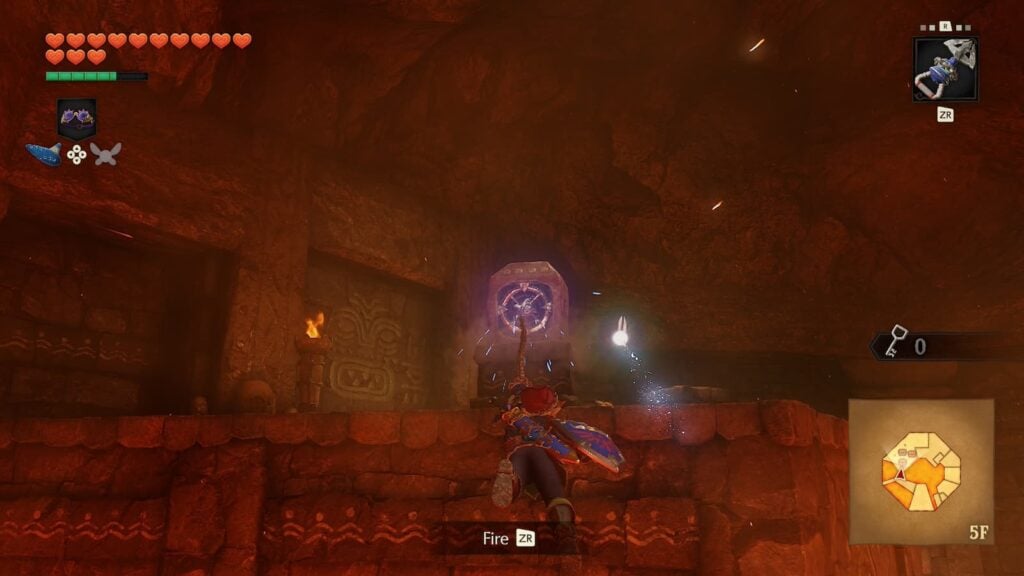
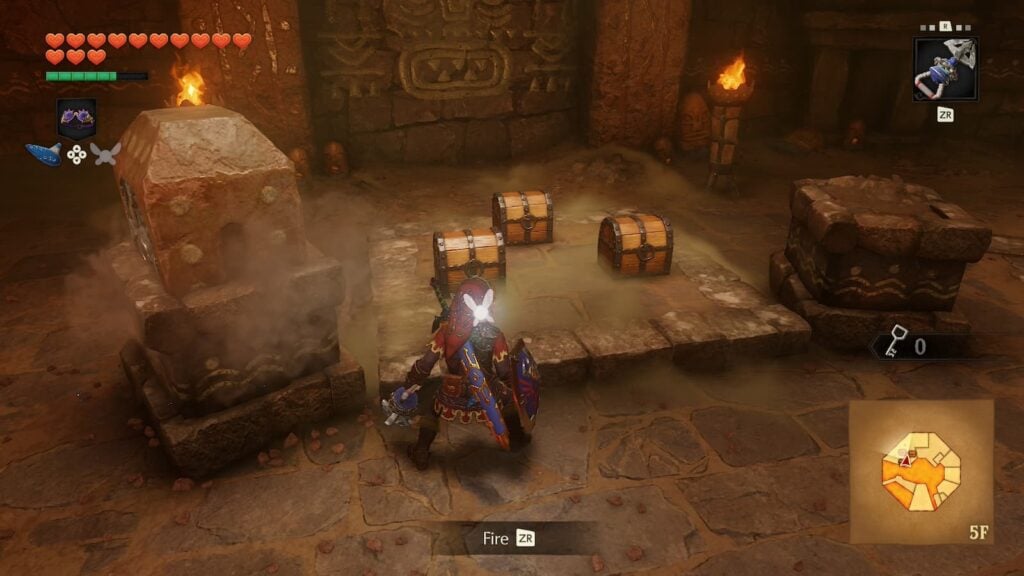
If you successfully cross all the lava in time, you’ll be rewarded with three small chests and a total of 90 rupees. Now that we’ve gotten everything we need here, we can return to room 5.
Room 5 Visit 3 – Small Key 5, Small Key 6
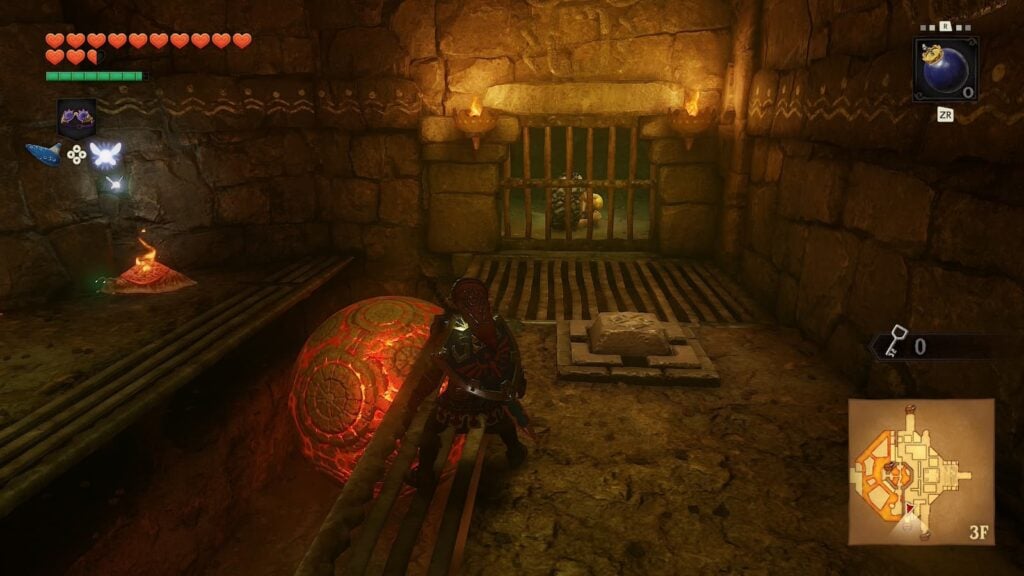
Now that our Scarecrow detour is done with, let’s get back to saving the Gorons. Platform to the other side of the room without falling down and you’ll find an imprisoned Goron who will reward you with the fifth small key.
Next, In the center of the upper half of room 5, there will be a large cracked rock on the floor. Place a bomb here to blow it up and drop down the hole that appears.
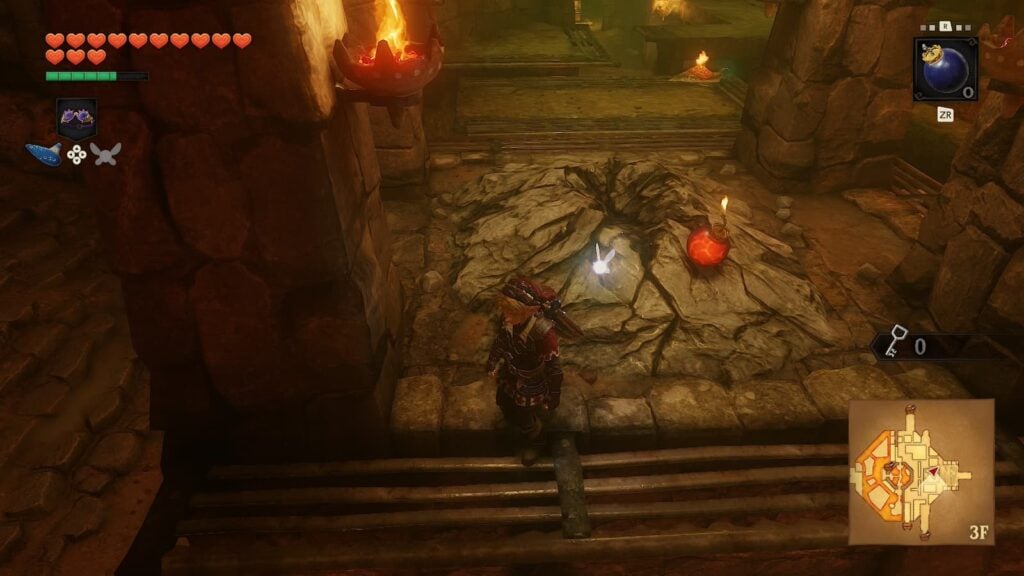
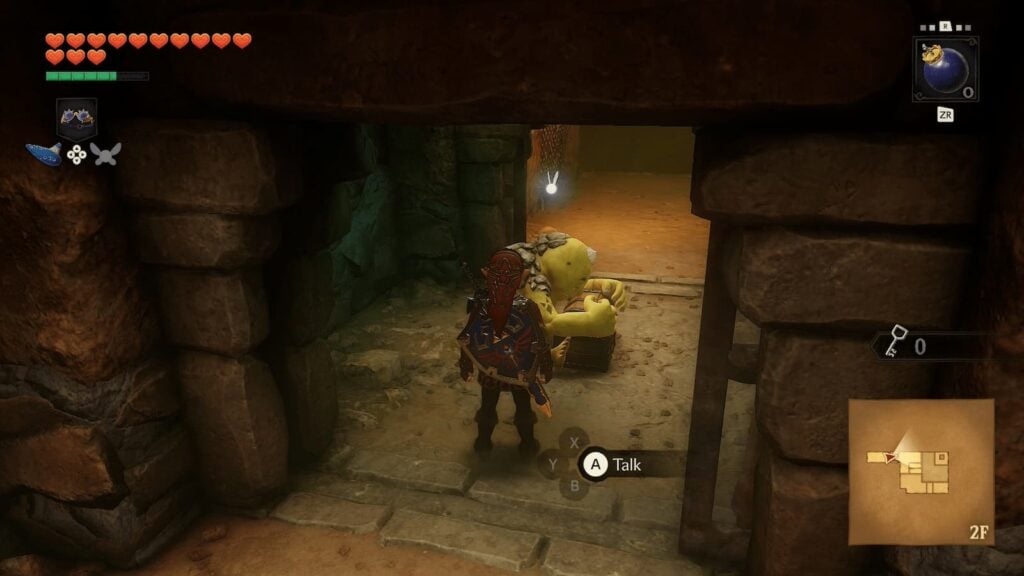
Down here, you will find another imprisoned Goron and collect the sixth. small key. Once you have it, climb back up to the main area of Room 5 and make your way back to the metal grate where you outran a wall of fire. Here there will be another locked door which you’ll need to go through next.
Room 9
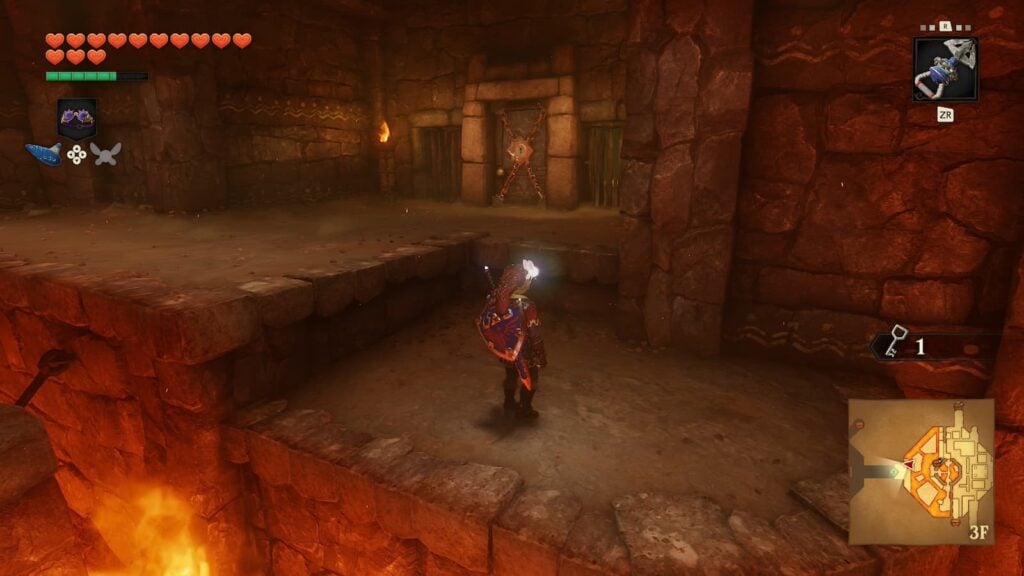
This room is a maze. Get too close to an area that you’re not supposed to go and a wall of fire will pop up. Carefully navigate your way through the narrow area that you can move through and you’ll reach a locked door that you can enter with the other small key we just got from room 5.
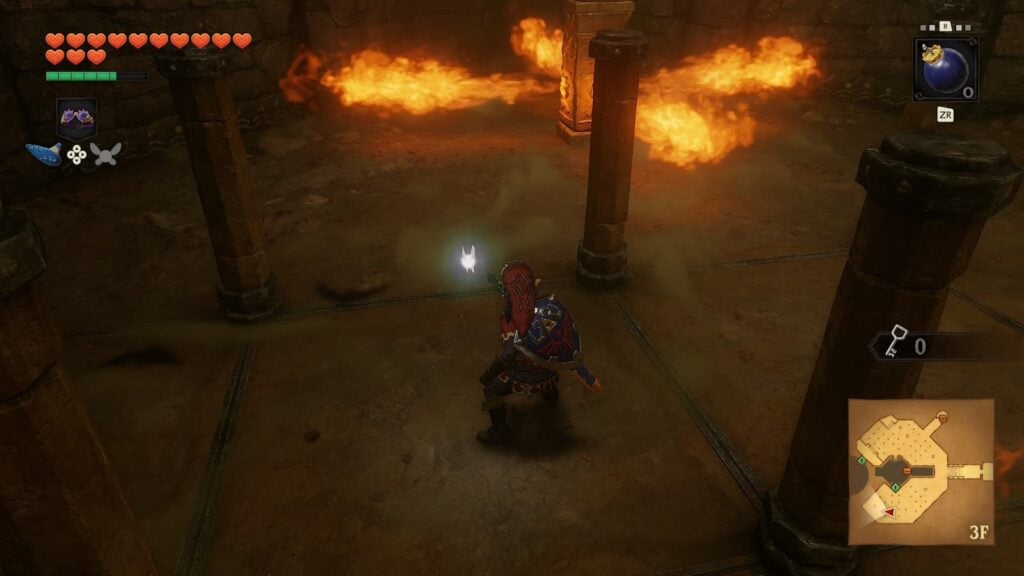
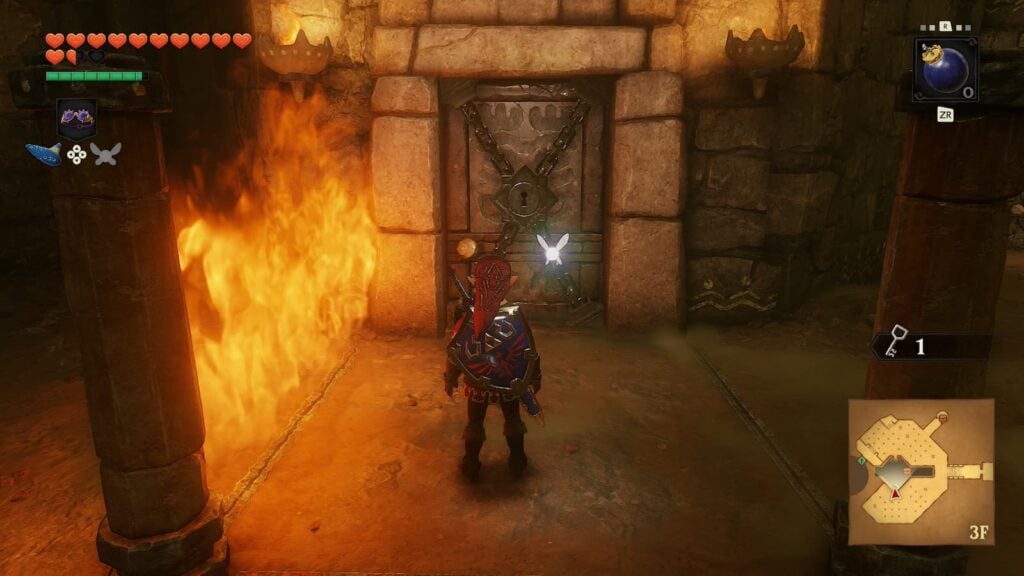
Room 10
This room is a prison for another Goron, but we won’t be able to do anything here for now, so just walk forward to the door that leads to the other half of room 9.
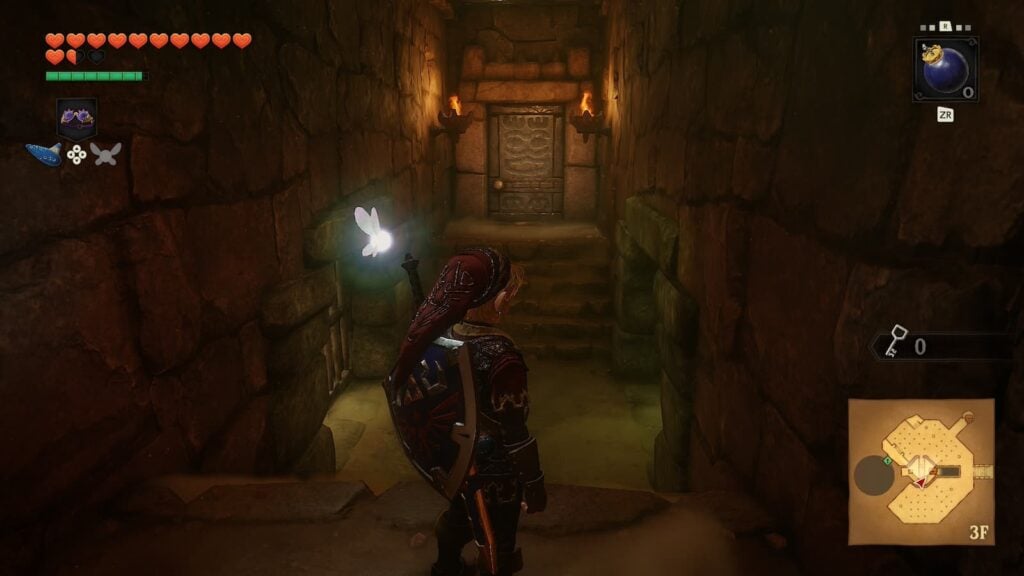
Room 9 Visit 2 – Small Key 7
There will be two ways to go in this part of the flame maze. We’ll want to go to the right as that will lead us to some small stone blocks that we can carry around. If you can take one of these blocks to the switch on the ground near the left side of the room and place it down, then all flame walls in this area will turn off permanently.
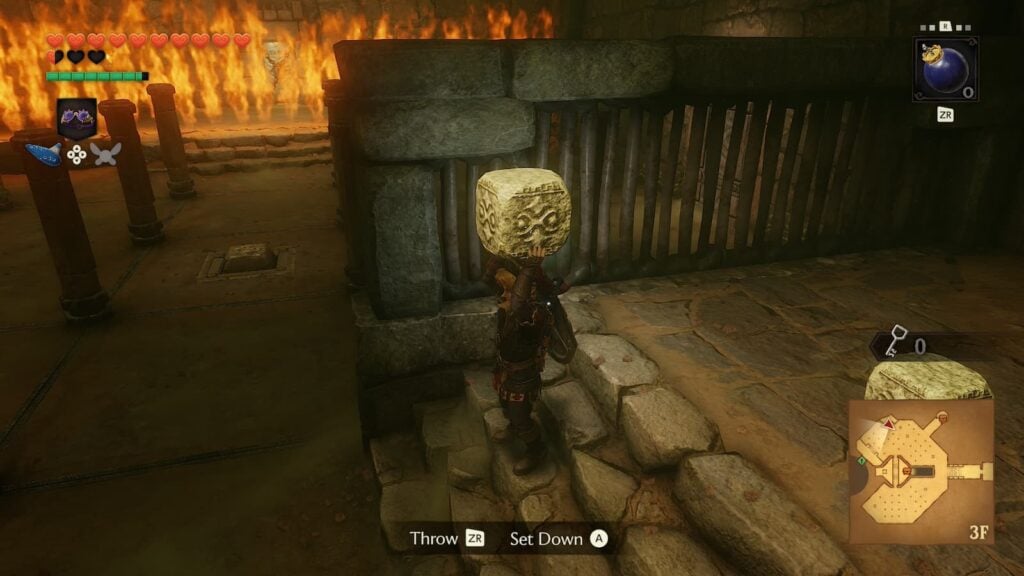
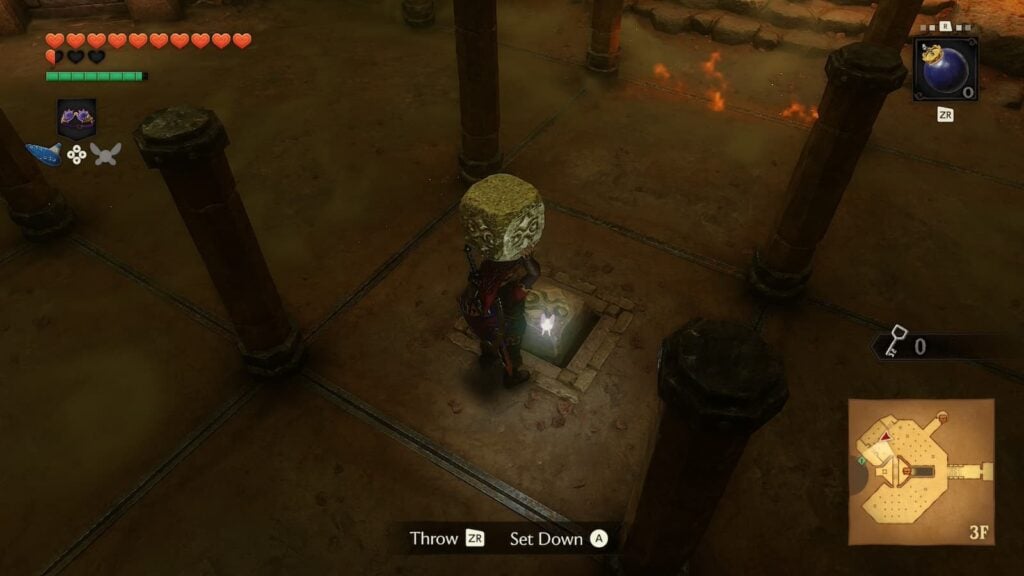
With the flame walls turned off, you’ll easily be able to walk to the Goron in this room to rescue him and collect the seventh small key. Unlock the one door in this room that you haven’t gone through yet to progress.
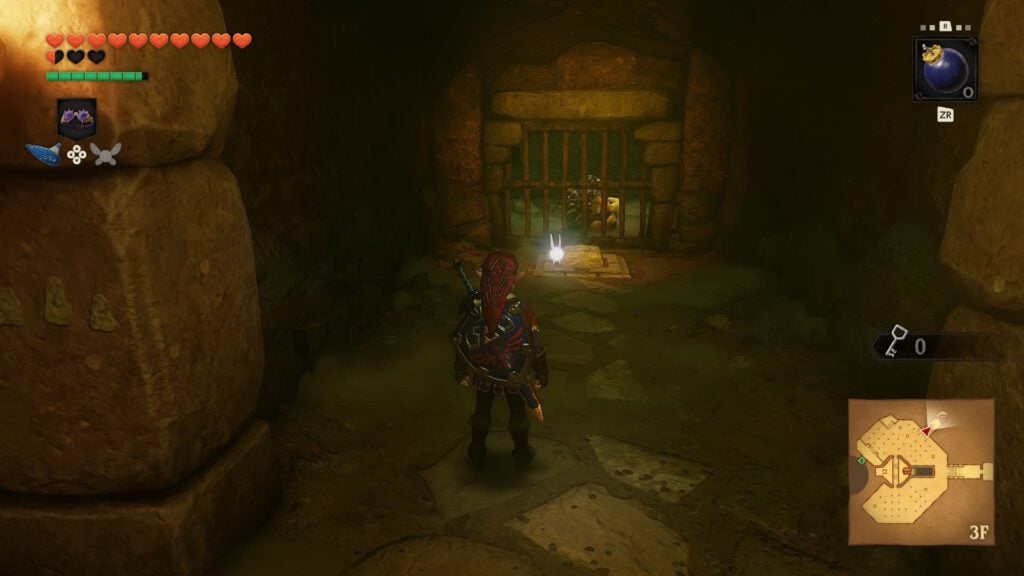
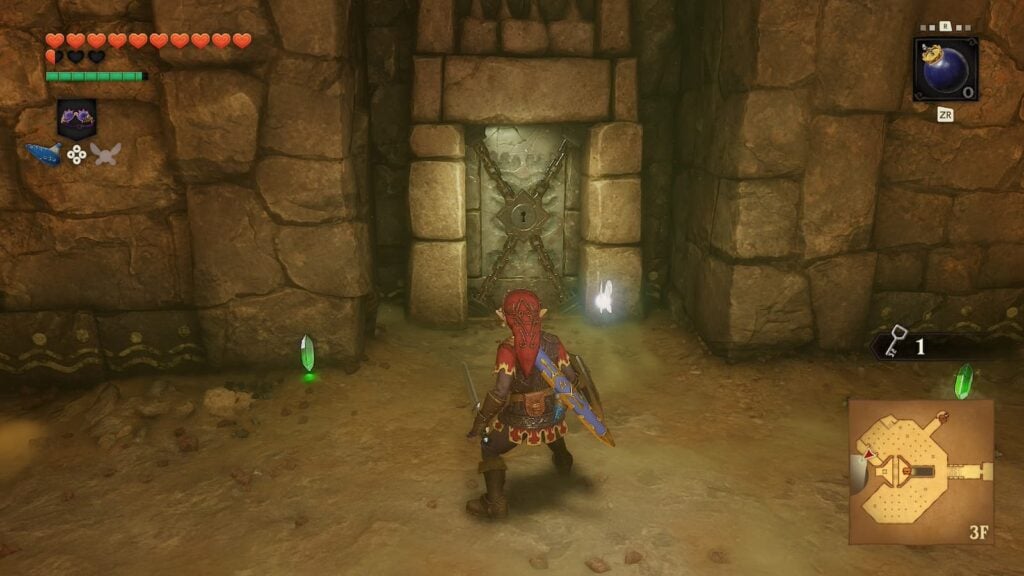
Room 11 – Megaton Hammer
Enter the next room and you’ll be confronted with the Flare Dancer miniboss. This enemy is completely invincible from all damage while it’s on fire. However, there is a very easy way to dose its flames. Equip you hookshot and target the Flare Dancer as it’s charging at you. Link will tank the secretly tiny monster out of its flames, leaving it vulnerable to be attacked.
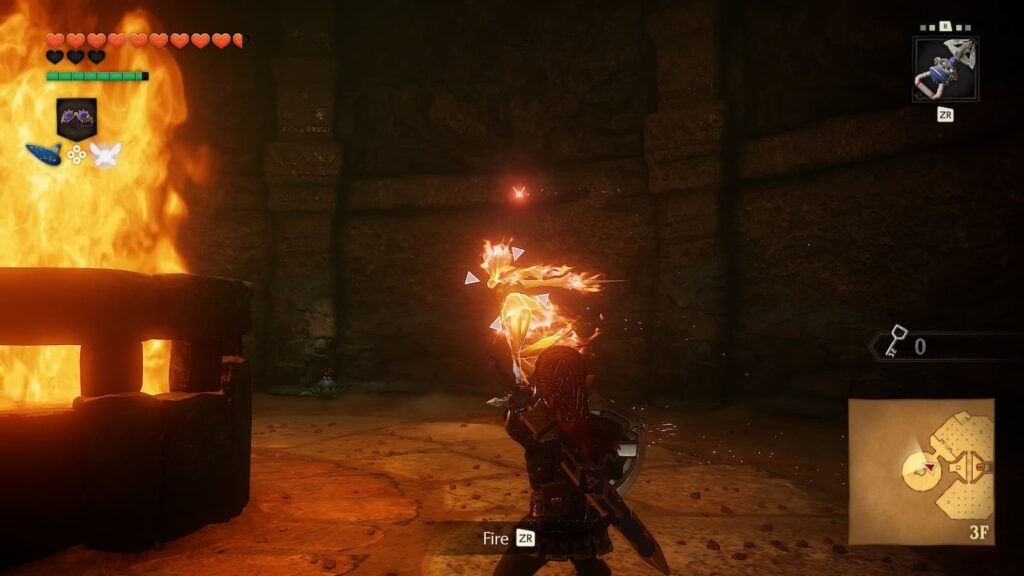
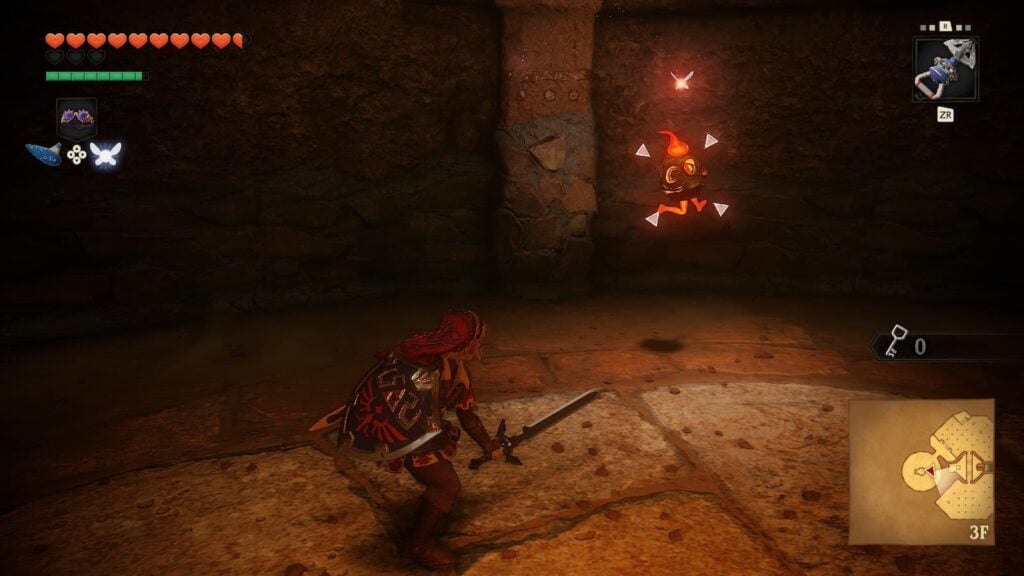
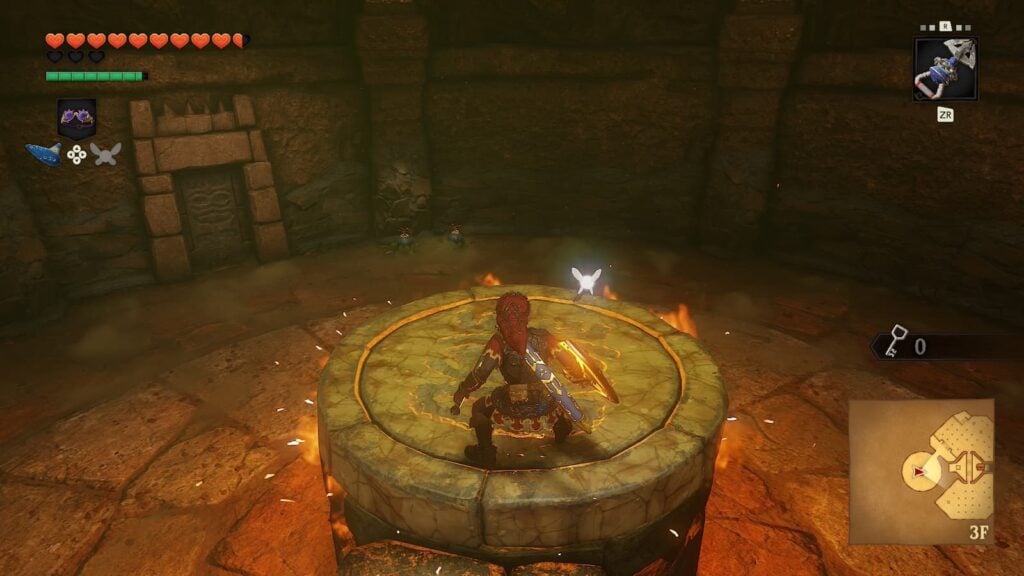
After a set amount of time, the Flare Dancer will reignite itself and begin to run around again. Repeat this process three times and the mini-boss will be defeated. With the Flare Dancer gone, the fire in the center of the room will be turned into an elevator that you can ride to the dungeon’s third floor.
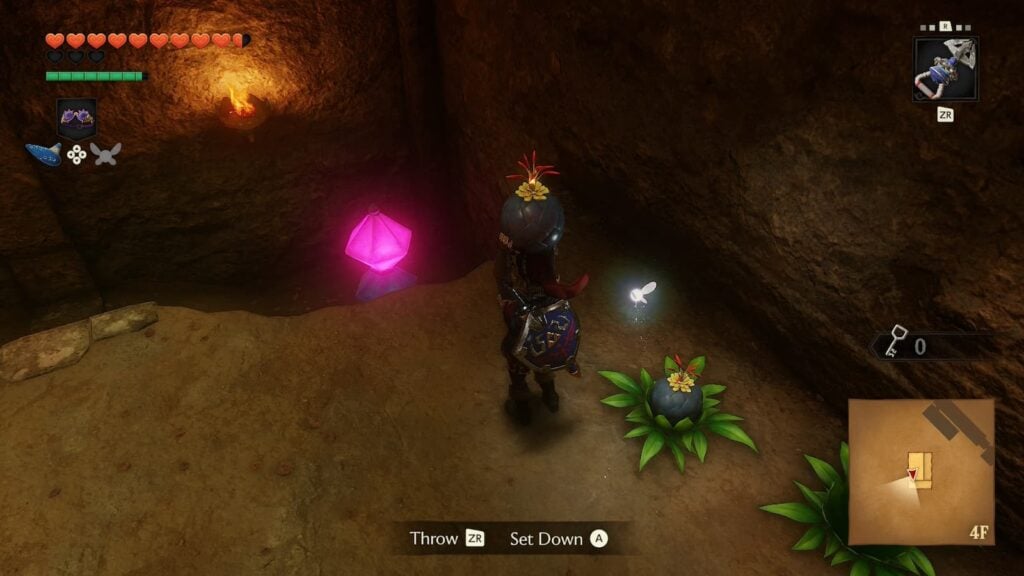
Up here, there will be another pink crystal that you can hit to switch two walls of flames. However, the walls are much further from the crystal this time, so you won’t be able to simply hit it from a distance with your bow. Instead, you’ll need to place a bomb near the crystal and run past the flames that would appear before the bomb explodes.
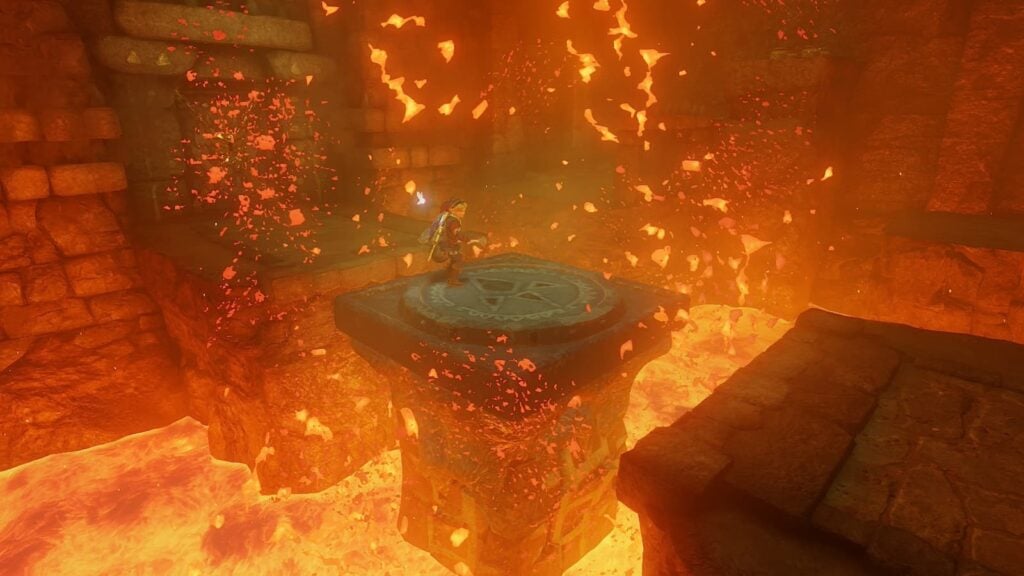
Once you have made your way past that puzzle, you’ll finally be at the top floor of the dungeon. Here, there will be a switch that you can stand on to make a set of stone stairs appear in the lava. These stairs will lead to a large treasure chest, but they won’t stay around for long. You’ll need to be very quick while scaling them, otherwise you’ll fall into the lava.
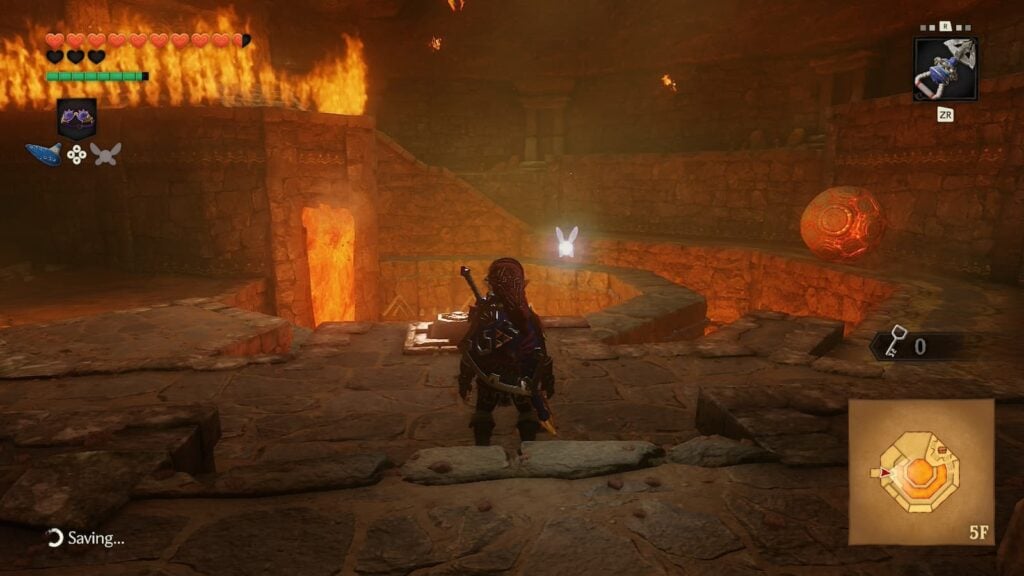
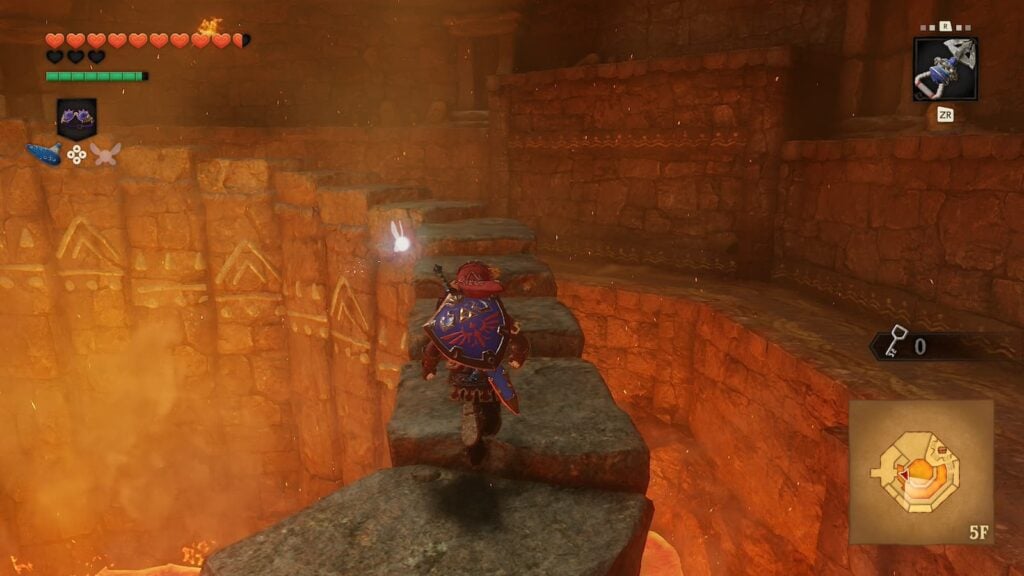
If you can reach the treasure chest, you’ll be rewarded with the dungeon’s main item: The Megaton Hammer. This hammer can both heavily damage enemies and break rocks that not even your bombs could break. It will be the key to completing the dungeon.
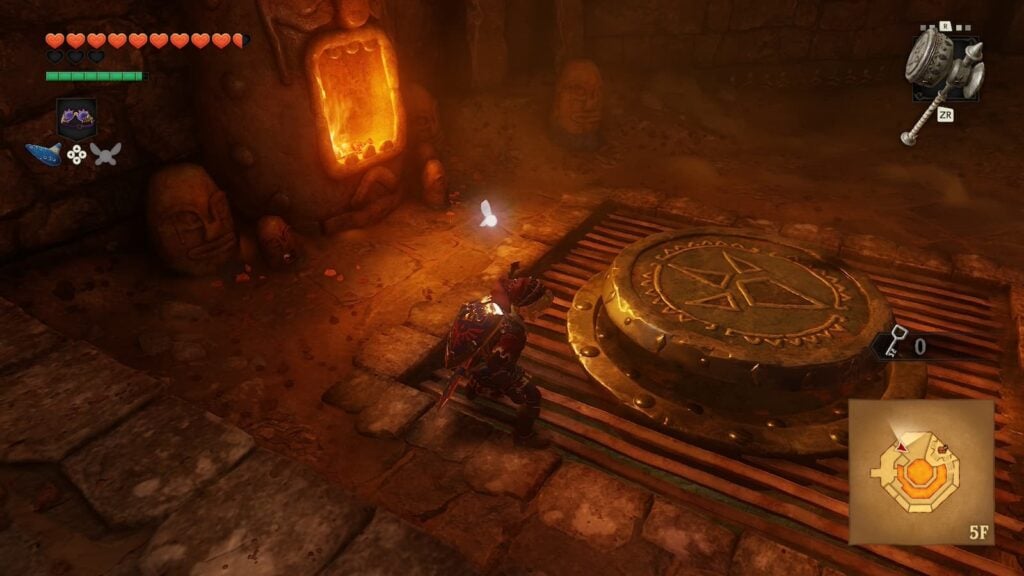
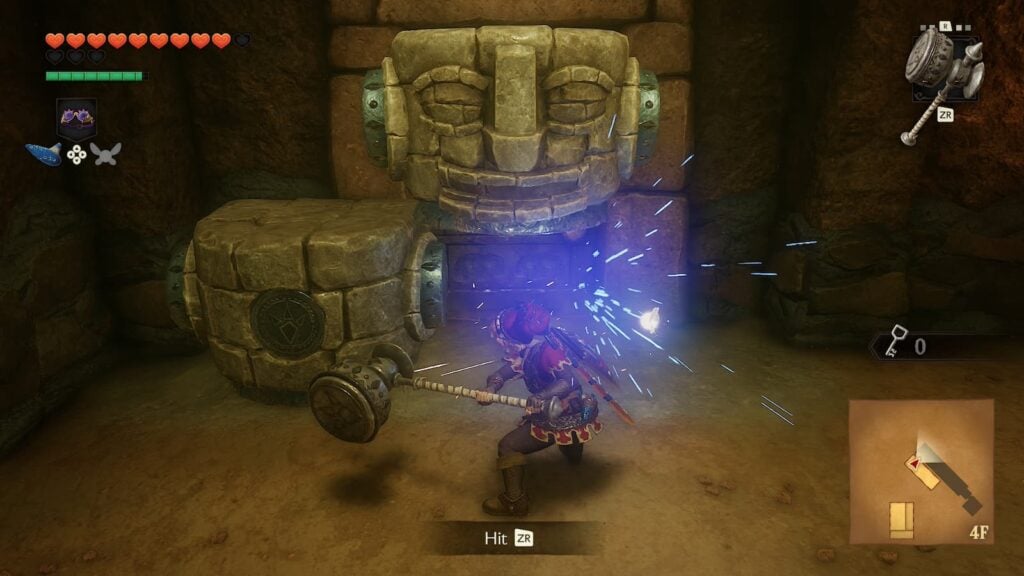
Next to the switch that you stood on to raise the stairs, there will be a giant circular nail. Hit this nail with the Megaton Hammer and you’ll fall to a lower part of the floor. On this part of the floor there will be a door that’s blocked by the statue. Use the hammer to destroy this statue and then enter the door.
Room 12
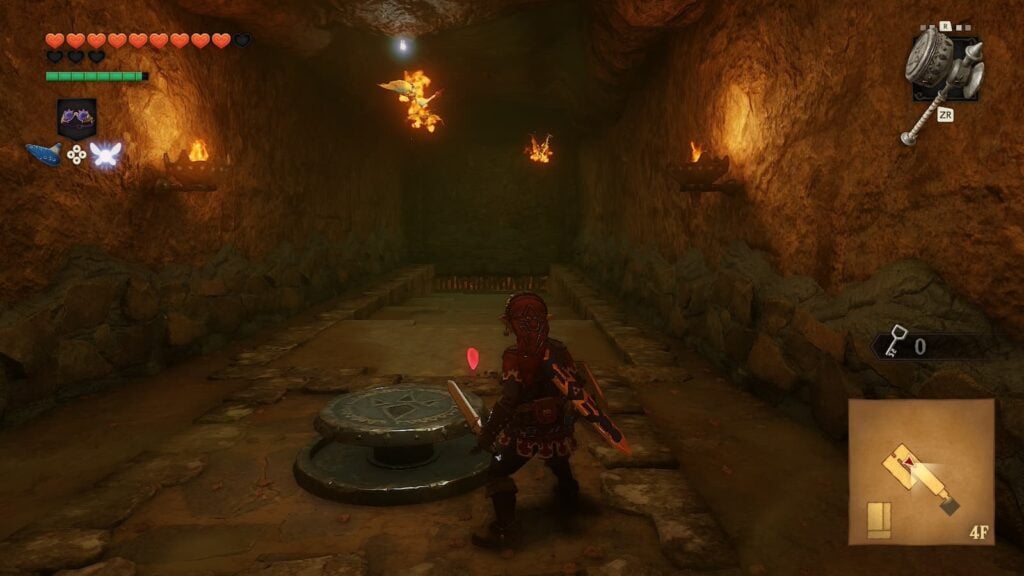
This room is another quick tutorial for the Megaton Hammer. Smash the hammer down on the nail in the center of the room. It’ll create a staircase leading to another door.
Room 9 Visit 3
You’ll find yourself on a metal grate above room 9. Smash the hammer on the nail here and you’ll fall down to a part of the room that you couldn’t reach before. Here, there will be several black stones blocking a door. To remove these stones, smash them away with your Megaton Hammer
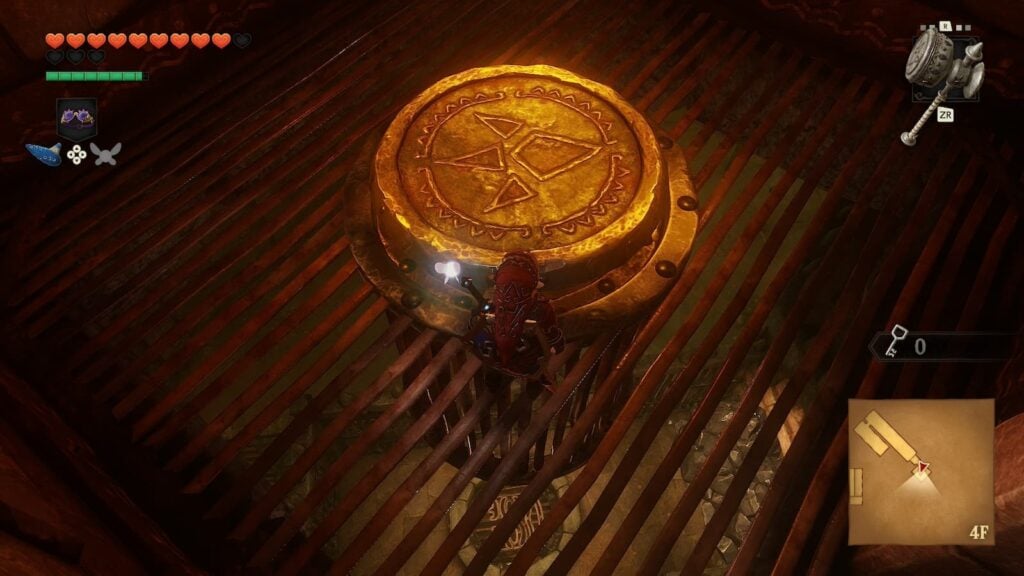
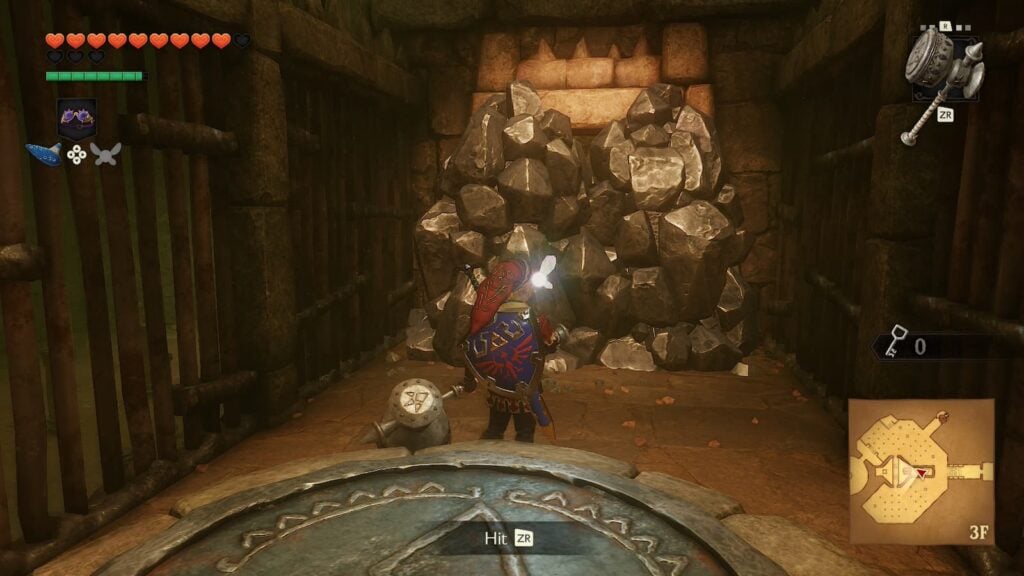
There will then be another blue stone block in your path. Just like the one earlier in the dungeon, you can make vanish by playing the Song of TIme in front of it. Proceed through the door to continue.
Room 10 Visit 2 – Small Key 8
You’ll now find yourself on the side of the Goron’s prison cell with the switch that you can activate by smashing it with your Megaton Hammer. Speak to this Goron and you’ll earn the dungeon’s final small key.
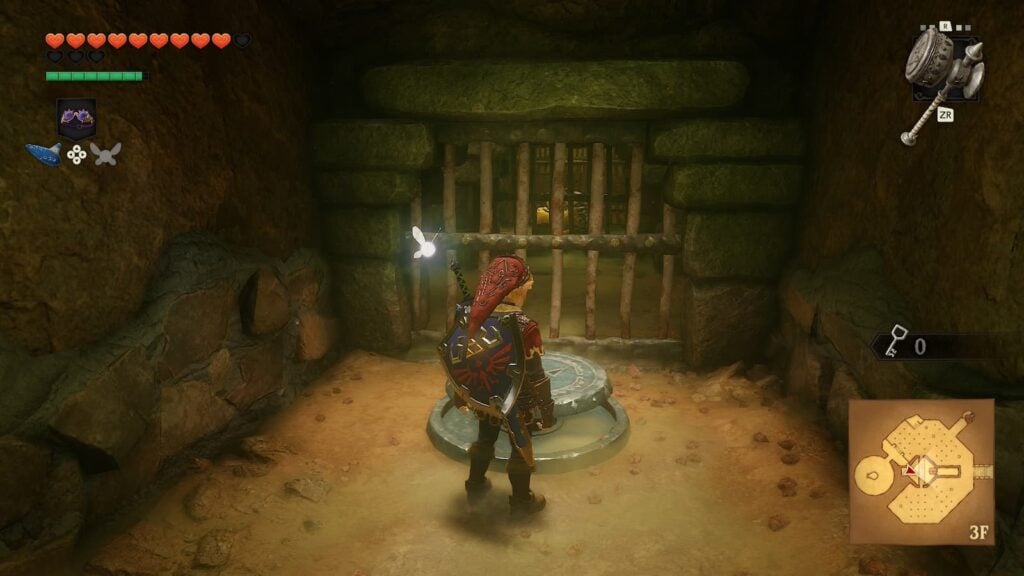
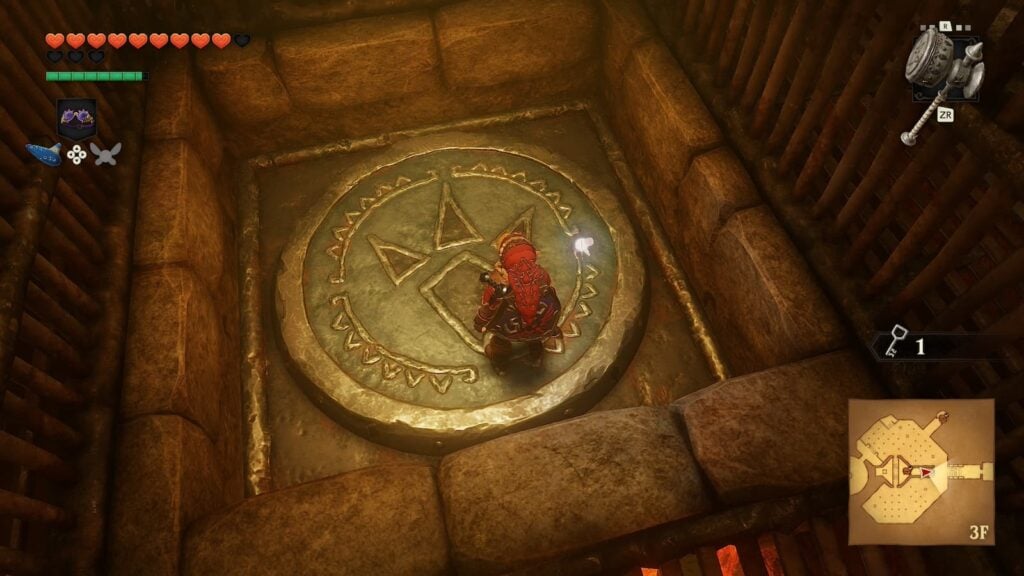
After collecting the key, smash the stone nail by the Goron and you’ll find yourself dropping down to the second room of the dungeon. From here, return to the entrance.
Room 1 Visit 3
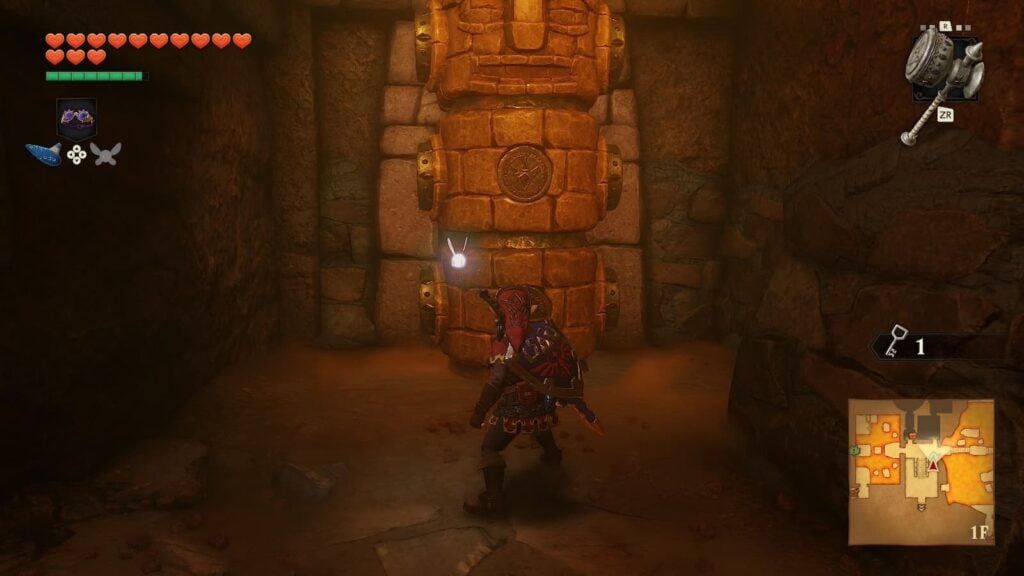
On the east side of the stairs by the dungeon entrance there will be a statue that you can destroy with your Megaton Hammer. Behind this statue will be a locked door that you shall now go through with your final small key.
Room 13
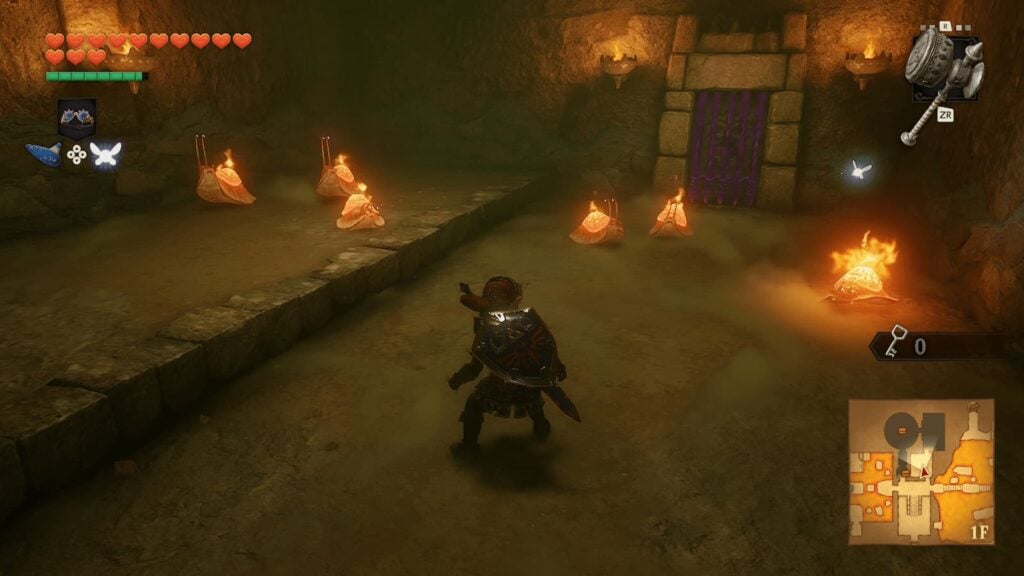
This will be a small combat room filled with Fire Slugs in order to teach you the Megaton Hammer’s use as a weapon. Smash the hammer on the ground and the slugs will flip over, leaving them open to be attacked. When all of the slugs have been defeated, the door to the next room will unlock.
Room 14 – Gold Skulltula 5
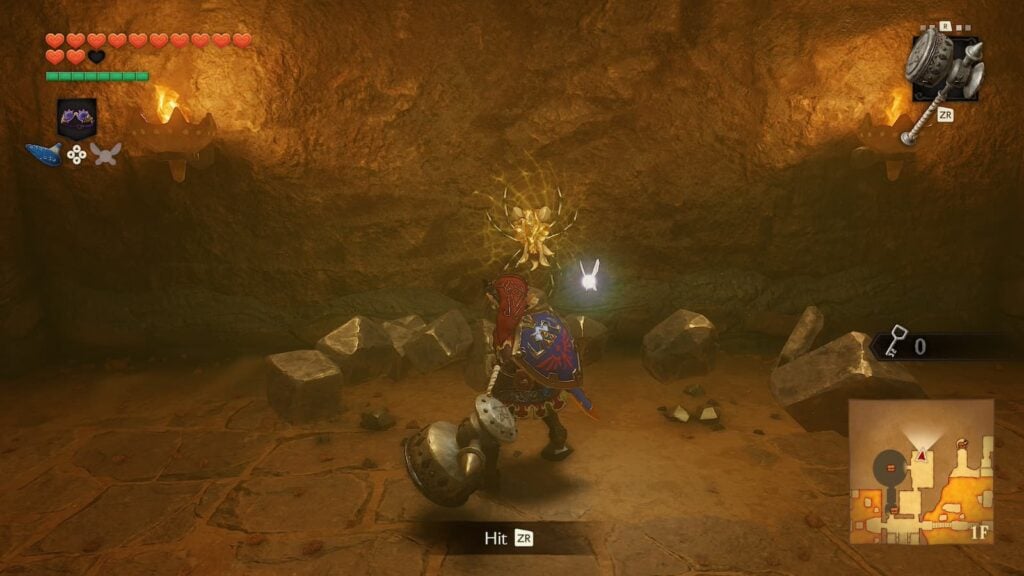
There will be several flying tiles and a Like-Like in this room, just like the room with the first Gold Skulltula. After beating all of the enemies, smash the rocks in this room with your hammer to reveal the Gold Skulltula and move on to the next room.
Room 15
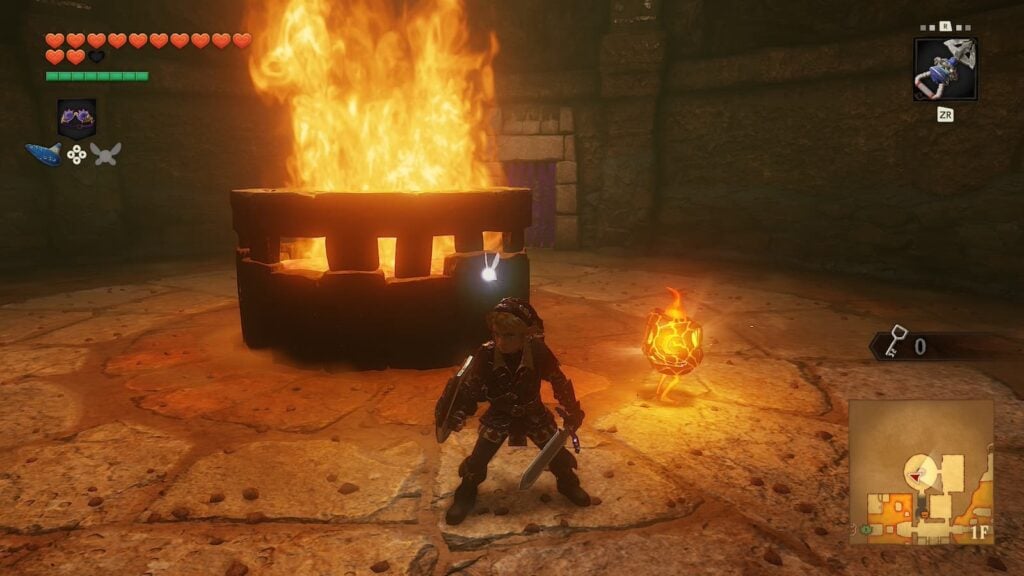
It’s time for another miniboss as the Flare Dancer is back with a vengeance. The exact same strategy that you used to defeat the first Flare Dancer will be effective on this one. Once it is defeated, the door to the next room will unlock.
Room 16 – Boss Key
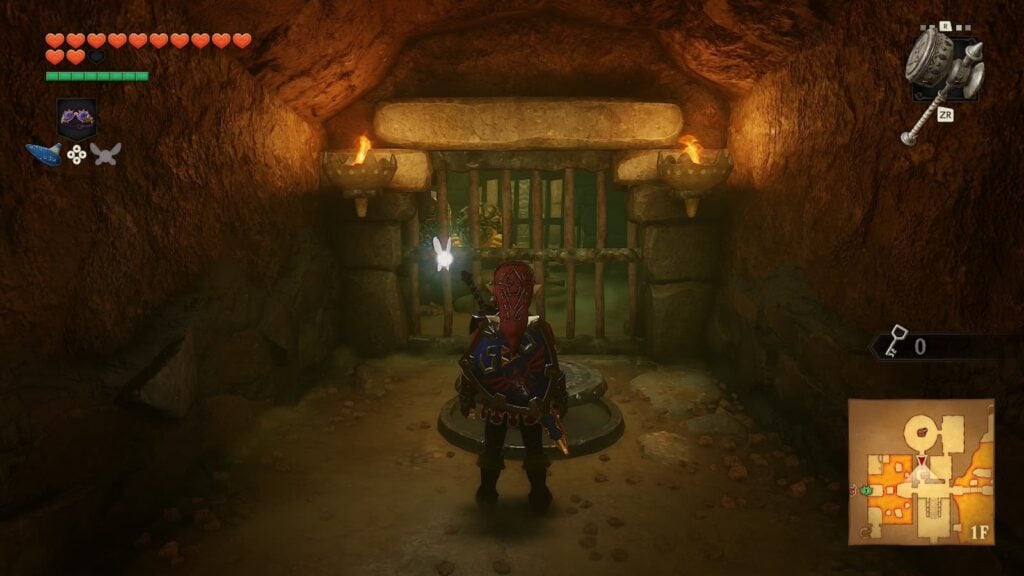
This room will be nothing more than the final Goron cage. Smash the switch with your hammer and speak to the goron to obtain the boss key. There is a door to Room 1 in this room, from here it’s a straight shot to the boss room door in room 2.
Boss Room – Volvagia
It’s time for the dungeon’s boss: Volvagia. This flaming dragon will begin the fight by sticking his head out of a whole in the ground to charge an attack. Counter this by smacking him with the Megaton Hammer like a game of whack-a-mole and Volvagia will be made vulnerable to normal attacks.
After Volvagia recovers, he will begin to fly around the arena breathing fire. This is one of the two main attacks that you’ll need to worry about during this fight, as the fire will stay on the ground for a brief period after Volvagia hits it, reducing the amount of arena you’ll have to run around in.
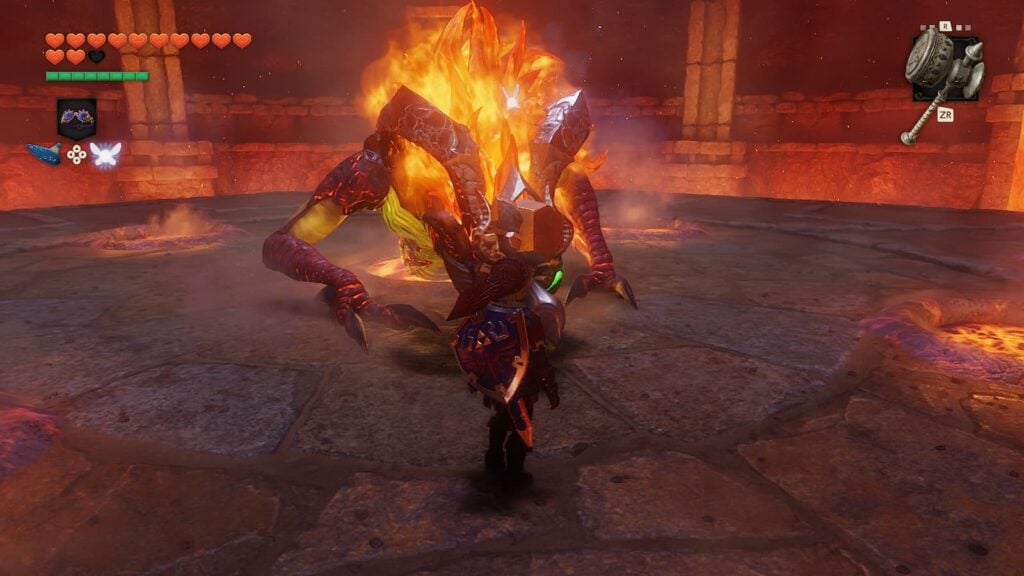
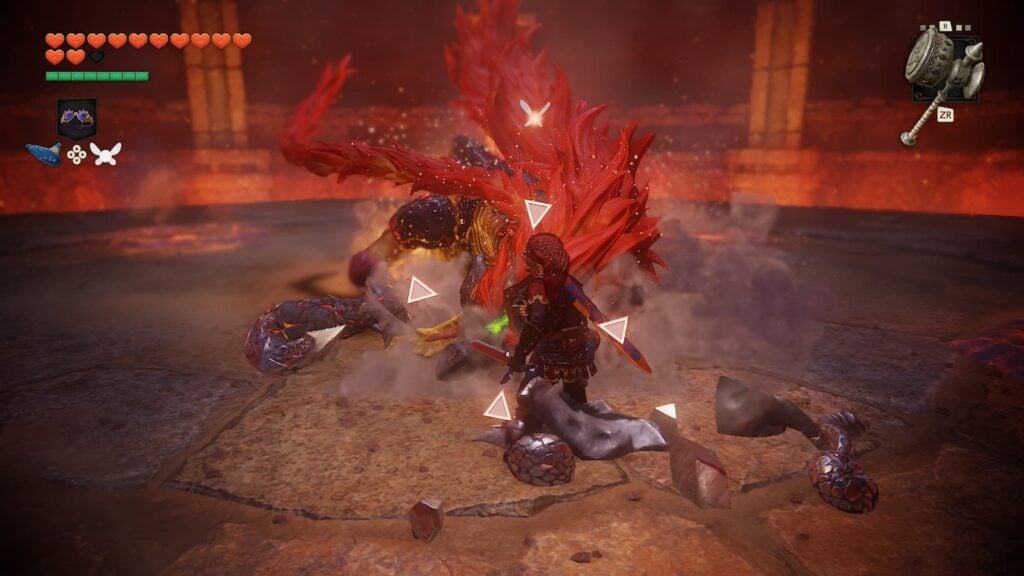
Once Volvagia returns to his hole and sticks his head out again, repeat what you did before and strike him with the hammer and then your sword. From this point on Volvagia will also rain meteors from the ceiling as he flies around, further reducing the amount of arena you can run around in.
Repeat the pattern of smacking Volvagia with the hammer and your sword about five times and he’ll eventually run out of health. After defeating Volvagia, pick up the heart container he leaves behind and exit the dungeon.