Want to see Raider King content first? Add us as a preferred source.
So you’ve final become an Adult and you’re trekking through your first dungeon in this era to find the Seven Sages. Unfortunately, this is also when the game takes the kiddy gloves off for the dungeon design. Not only will there be a lot more backtracking and memorizing what rooms you’ve been in, but you’ll also need to deal with new items like dungeon keys. If you’re lost at all between these new mechanics, then please feel free to use this walkthrough for navigating the Forest Temple in the Ocarina of Time Remake.
Forest Temple Walkthrough
Room 1 – Small Key 1
Upon walking into the first room of the Forest Temple, you’ll immediately be attacked by two wolfos enemies. Unlike when you were playing as Child Link, where a single wolfos was strong enough to be a mini-boss, Adult Link is strong enough to defeat them both with only a few slashes of his sword.
Once the wolfos are taken care of, climb the vines to your right to reach a ledge where there will be a small treasure chest containing a small key. Dungeons in the Adult Era all have locked doors that need to be unlocked with keys like these, so we’ll need to keep an eye out for them.
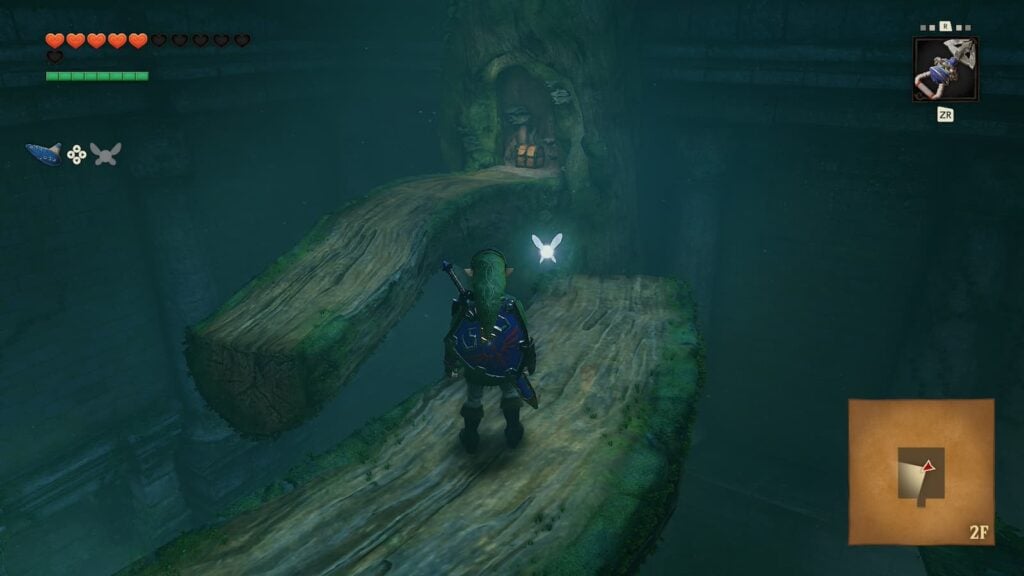
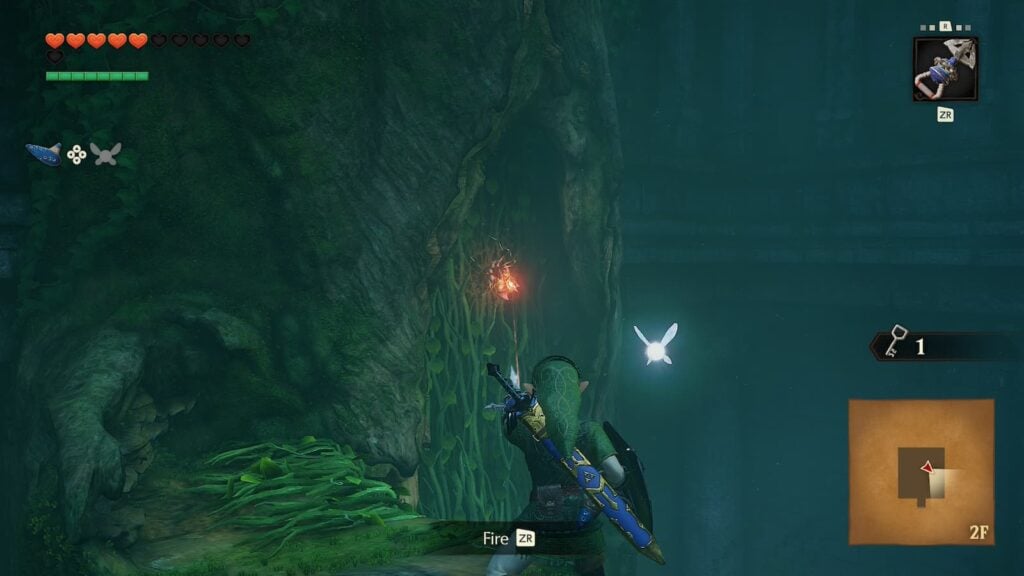
Before jumping back down, aim your hookshot at the vines you just climbed to defeat and collect the token of the dungeon’s first Gold Skulltula. Once you have, jump down and move on through the locked door, spending your small key in the process.
Central Room
After passing through a small hallway you’ll find yourself in the central room of the dungeon. When entering this are for the first time there will be a brief cutscene of the four poe sisters taking flames away from the elevator to make it lower to the point of being unusable. Our main goal for this dungeon will be tracking down these sisters to make the elevator return.
Before we do anything else though, head straight forward to the door on the other side of the room. Before entering it, aim your hookshot behind you where you’ll find another Gold Skulltula climbing on the wall. Use the hookshot to bring its token to you.
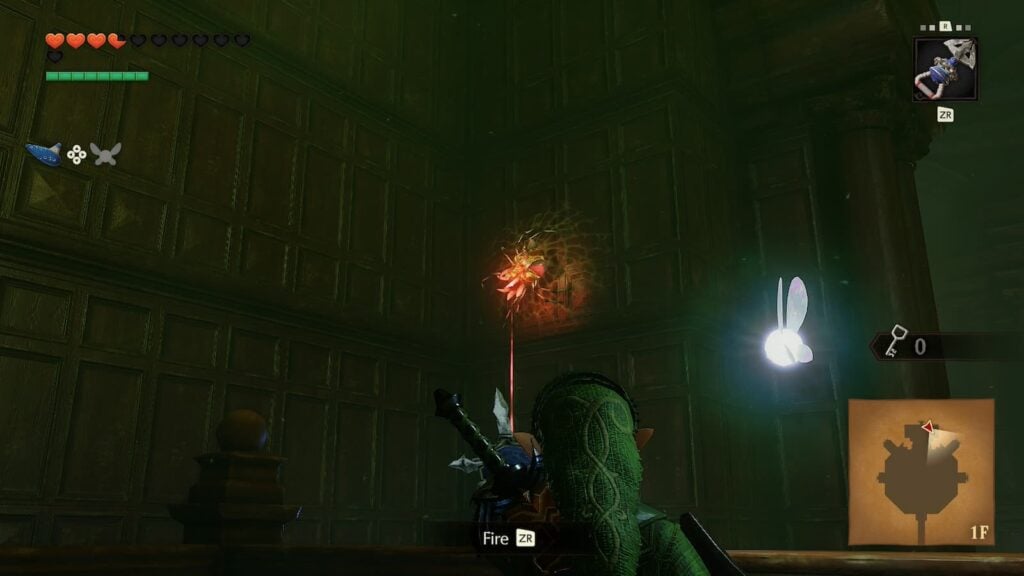
After defeating the Gold Skulltula, exit the room via the door by it to progress.
Room 3 – Small Key 2
In this room you’ll find yourself in a fight against two Stalfos enemies. Unlike Lizalfos, Stalfos don’t get knocked off balance when you block one of their attacks. To make them vulnerable, you’ll need to either side step when they’re attack you or strike at them while they’re attacking.
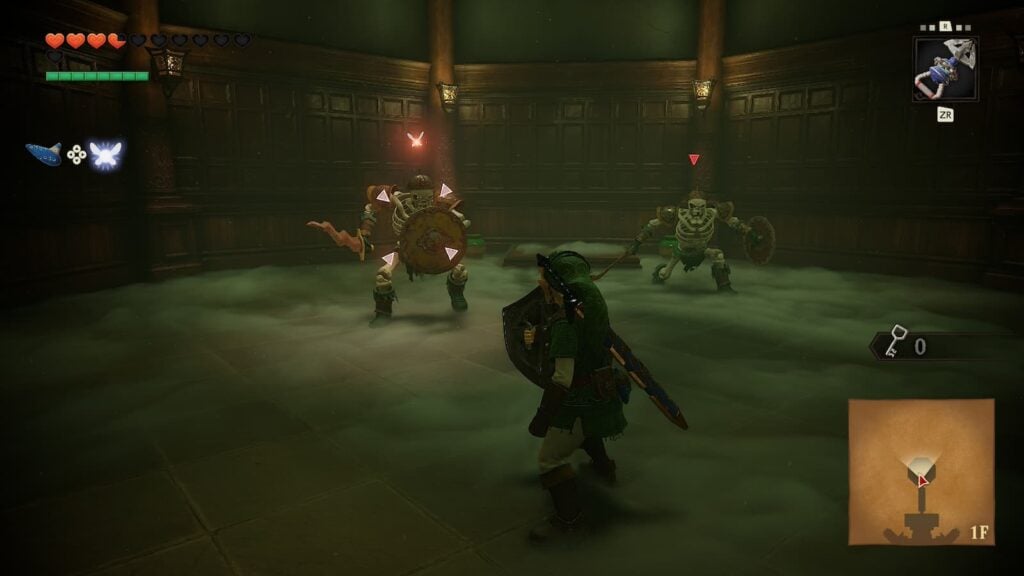
Once both Stalfos has been defeated, a treasure chest containing a small key will appear. Collect it, then return to the Central Room.
Central Room Visit 2
Make your way to the door in the northwestern part of the central room. There will be a large blue block in front of this door to prevent you from progressing. To make blocks like this vanish, pull out your ocarina and play the Song of Time.
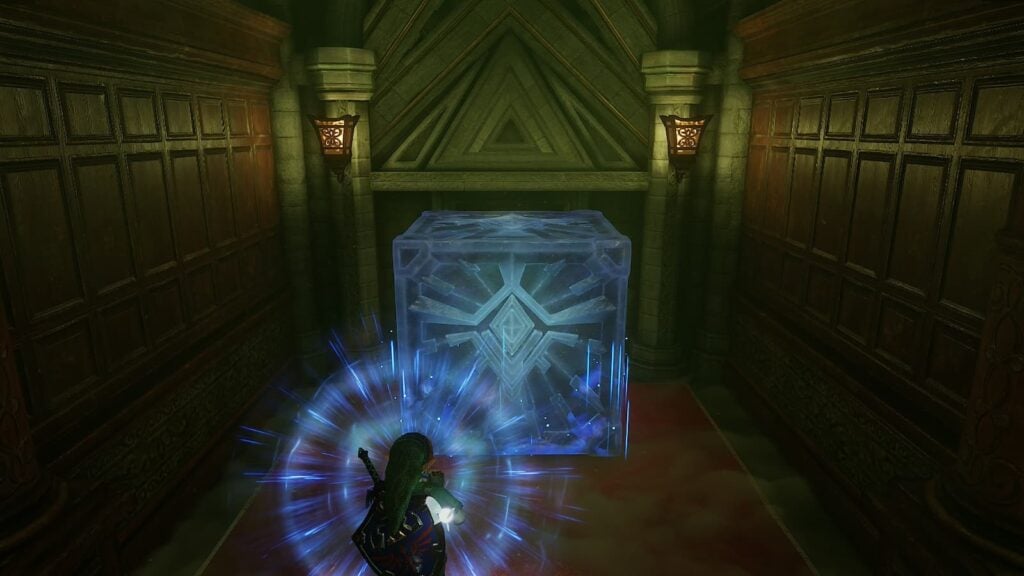
Once the block has disappeared, exit through the door that the block was in front of.
Room 4 – Dungeon Map, Small Key 3
You’ll next find yourself in an outdoor courtyard-like area. On the east side of this room there will be a large group of vines that you can climb, but there’s skulltulas on them. Use you hookshot to kill all three of these skulltulas so you can climb the vines yourself.
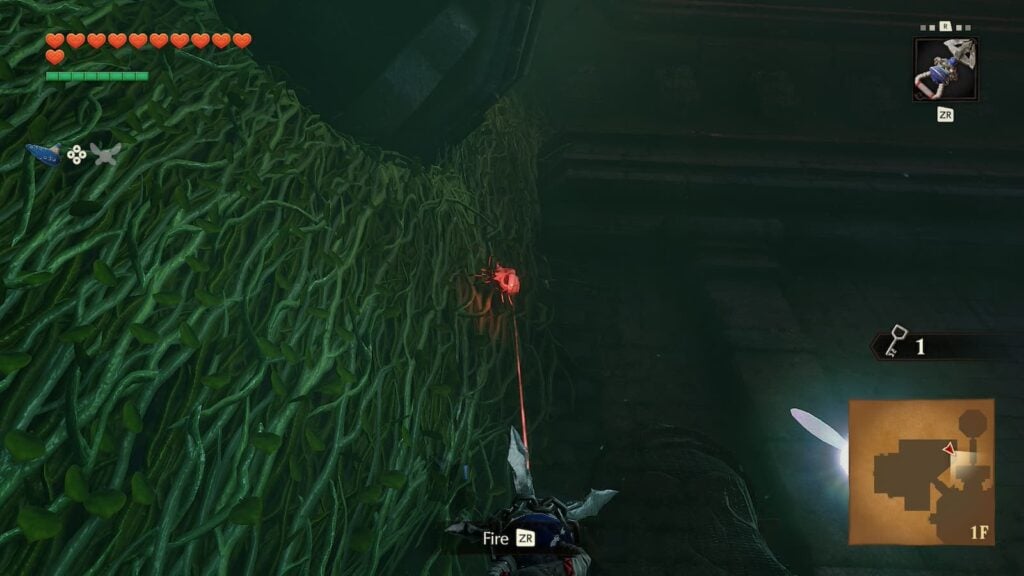
Once you have climbed the vines, aim your hookshot to the right and you’ll find a target that will grapple you toward a balcony platform. From here, walk a few meters to the left and you’ll find a switch that will drain the water in the courtyard’s well.
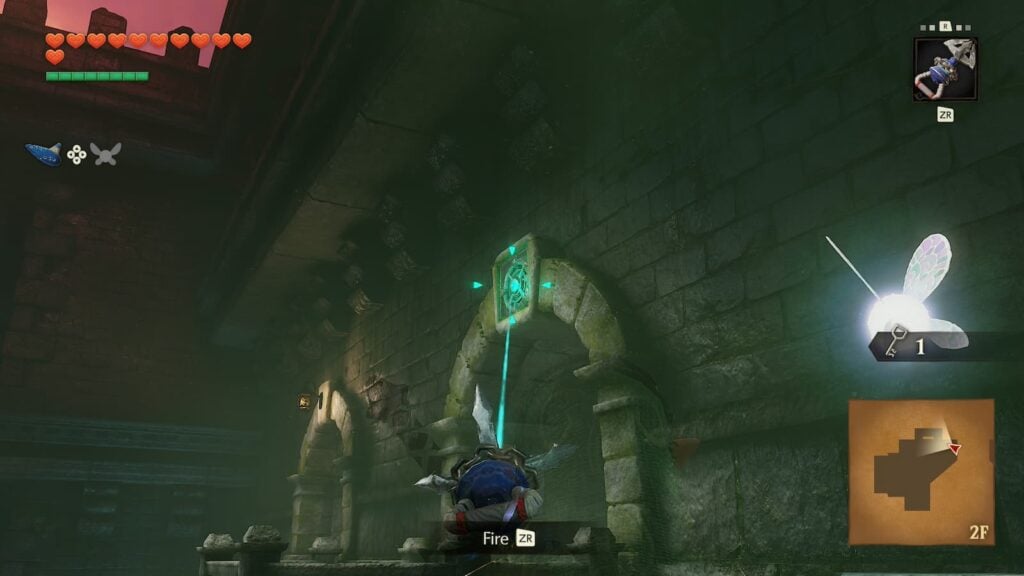
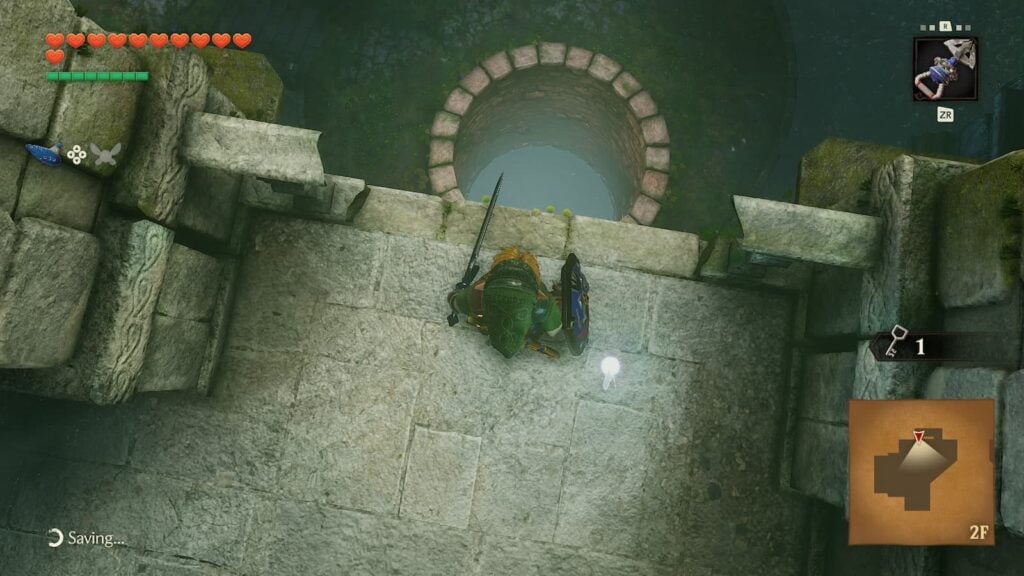
Jump down the well and you’ll find yourself in a small hallway that contains a treasure chest. Inside of this chest you’ll find a third small key. There will also be a ladder here that’ll lead you to the eastern side of the room.
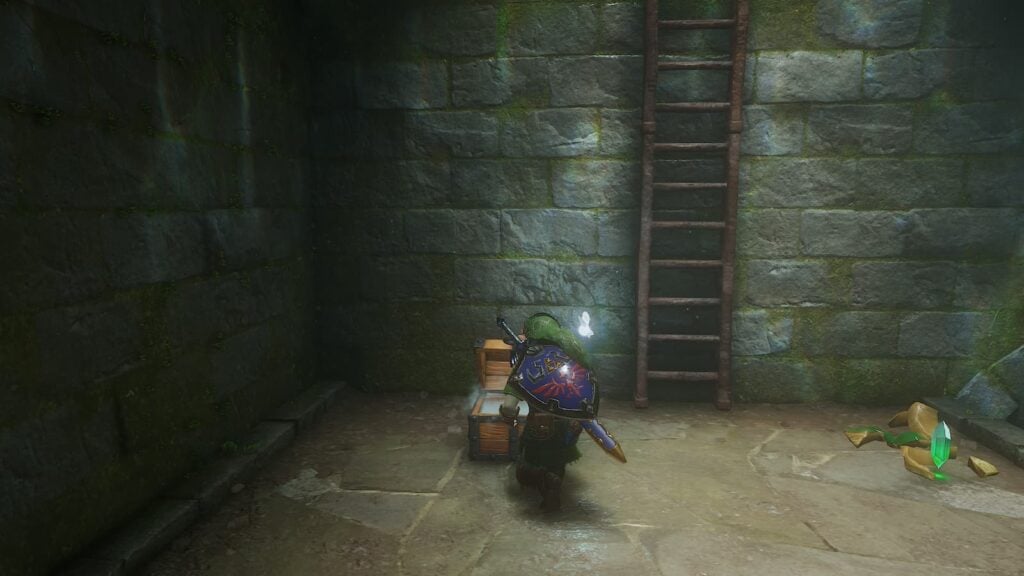
Now that you’re on the eastern side of the room, pull out your hookshot again and grapple your way to the large chest on the other side of the pond in this room. Inside of this chest you’ll find the dungeon map, revealing that the Forest Temple is indeed larger than any of the Child Link dungeons.
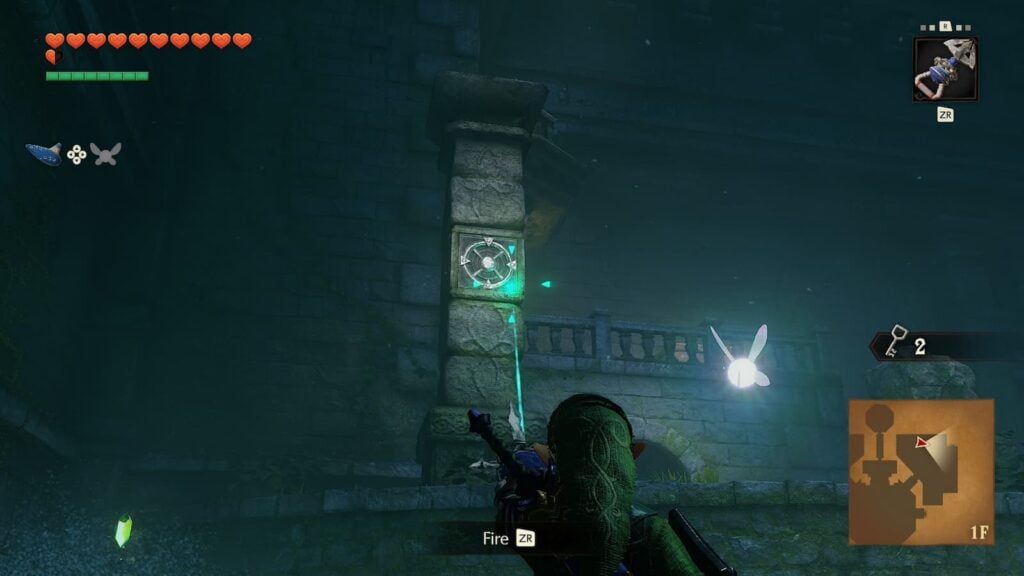
There’s more to do in this room, but we have no way of doing them for now. So instead we’ll need to leave through the door that leads to the eastern side of the central room.
Central Room – Visit 3
Now that we’ve entered the Central Room via the north eastern door, step on the switch in front of you to make the metal bars that were blocking this door before vanish. This will serve solely as a way for us to easily backtrack if we get lost later.
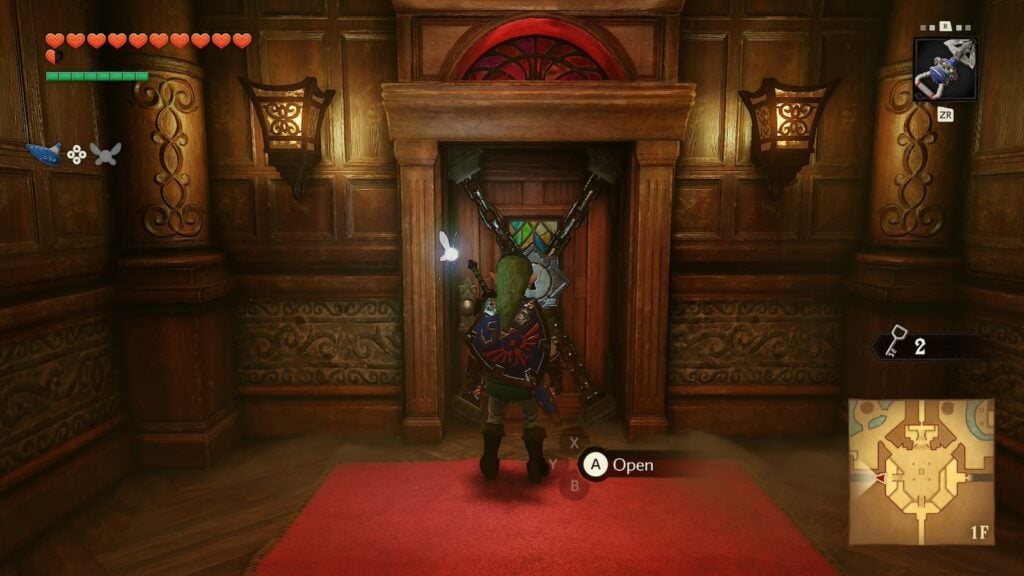
Head to the western door and use Small Key 2 to unlock it, progressing further into the dungeon.
Room 5
Upon entering the next room you’ll notice that there is a purple spotlight above Link. This is your warning that there’s a Wallmaster in the room with you. Wallmasters are large hand-shaped enemies which will drop from the ceiling to grab you and return you to the dungeon entrance.
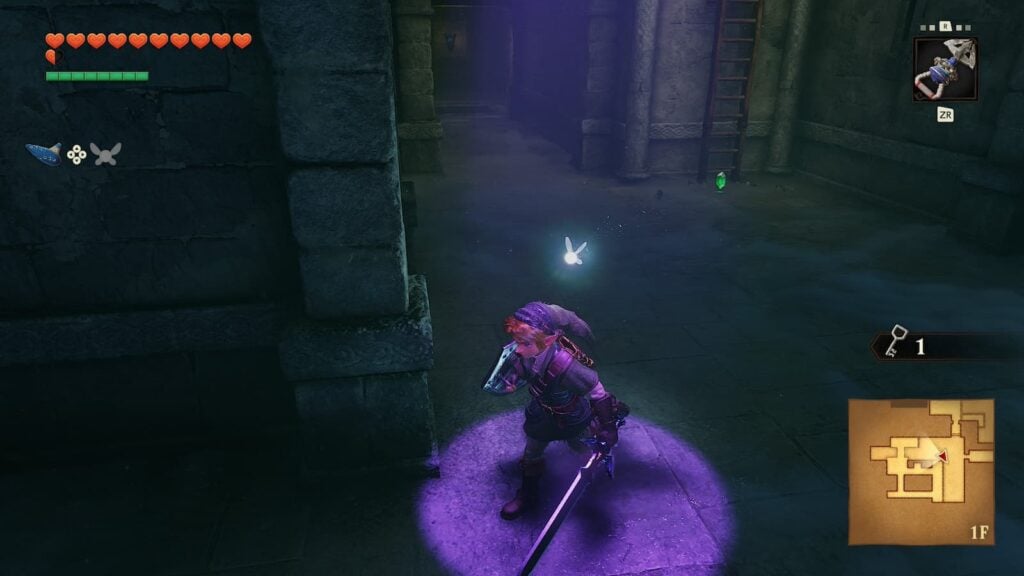
To defeat a Wallmaster, keep moving until they drop from the ceiling. Once they land, slice them with your sword to eliminate them.
After taking care of the Wallmaster, climb the nearby ladder to find yourself in a series of tight corridors. There will be multiple arrows engraved on the ground and a large stone block. Push/pull the block along these along these arrows until you can’t move it anymore. After reaching a dead end, loop around the corridor to the other side of the block and then continue to push it until it falls into a small hole where it cannot be moved anymore.
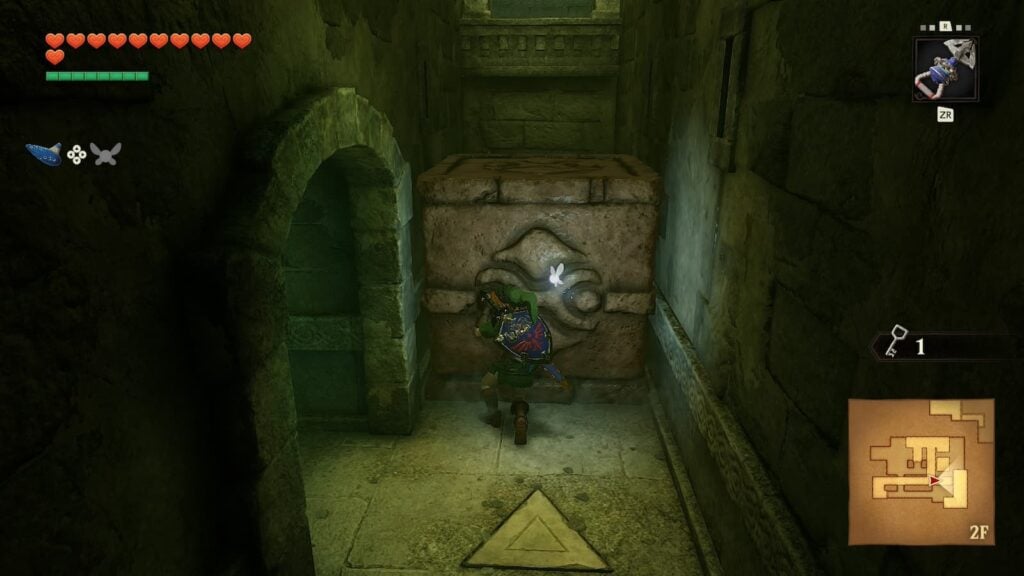
Next, find a ladder in this corridor and climb it to reach the second floor. There will be a second stone block here for you to repeat what you did on the lower floor. Once you reach a dead end with this block, backtrack to the lower floor and jump up the first block you pushed to get behind this second block so you can continue moving it.
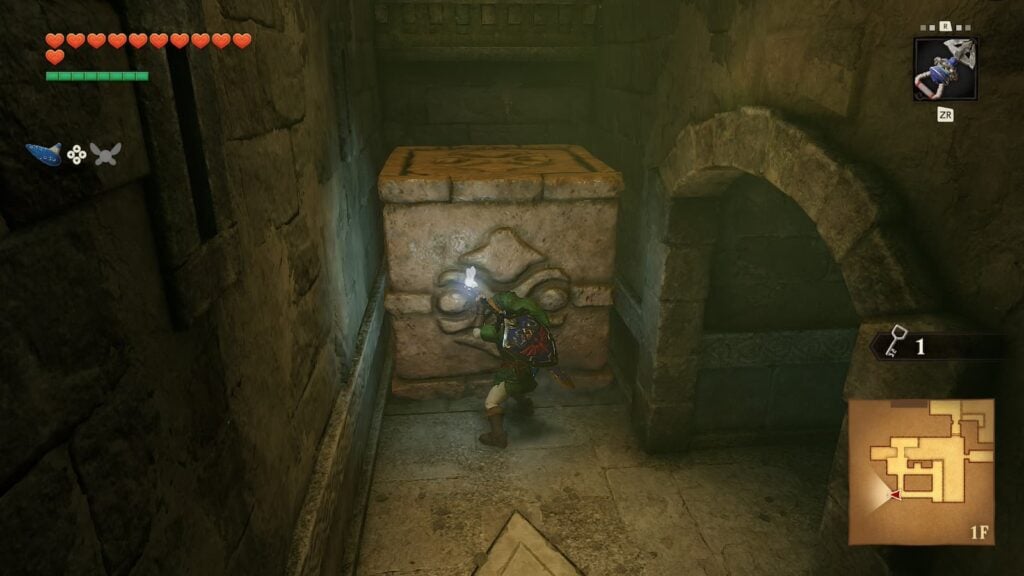
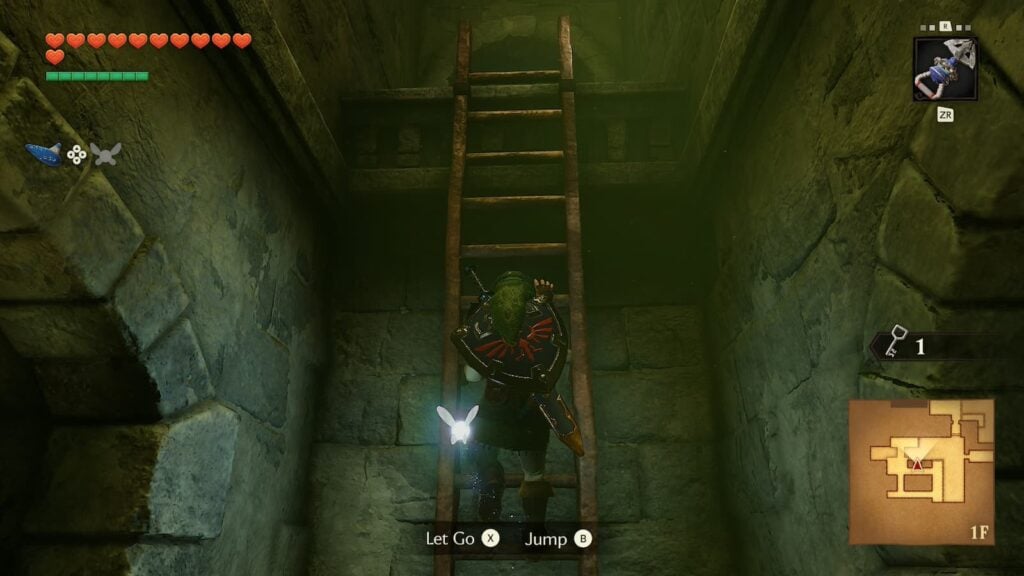
After pushing these blocks and reaching the main part of the second floor, push the button to your left to activate a small elevator so you won’t need to deal with the block corridor again. Then, exit the room via opening the nearby locked door with Small Key 3. You will once again have 0 Small Keys.
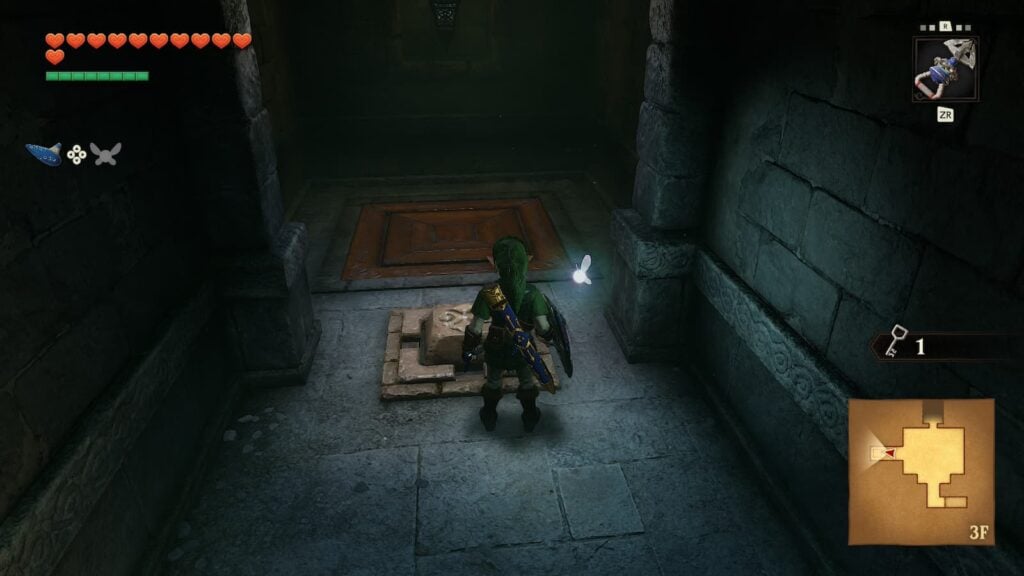
Room 6
Next you’ll find yourself in a twisty hallway. There isn’t anything we can do in this room for now, so just run forward until you reach the door for the next room.
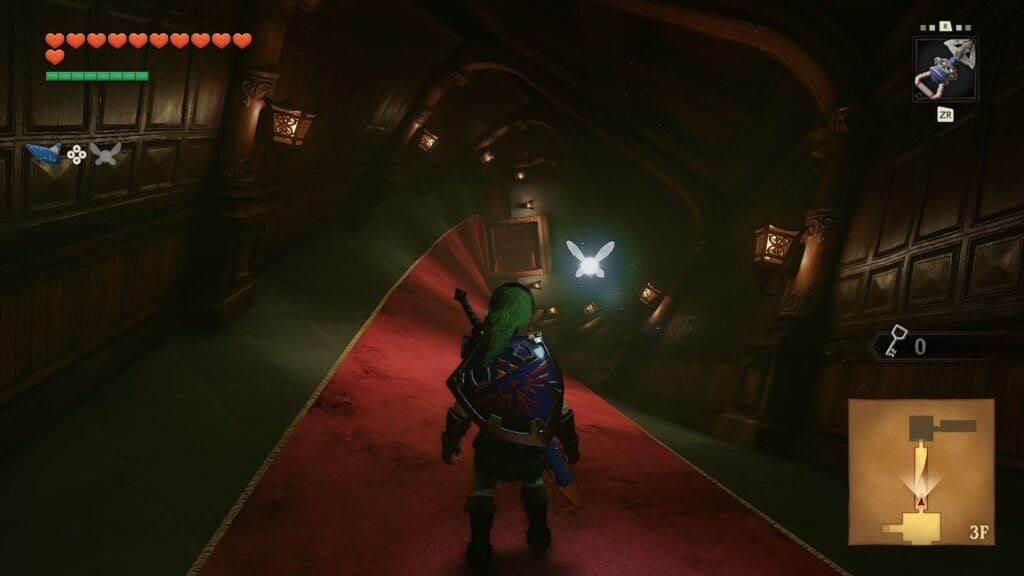
Room 7
Now you will walk into a red room with several staircases. One of the Poe Sisters is floating in the paintings here, but you will be unable to do anything to her for now. Your only choice is to descend down the stairs and continue through the dungeon.
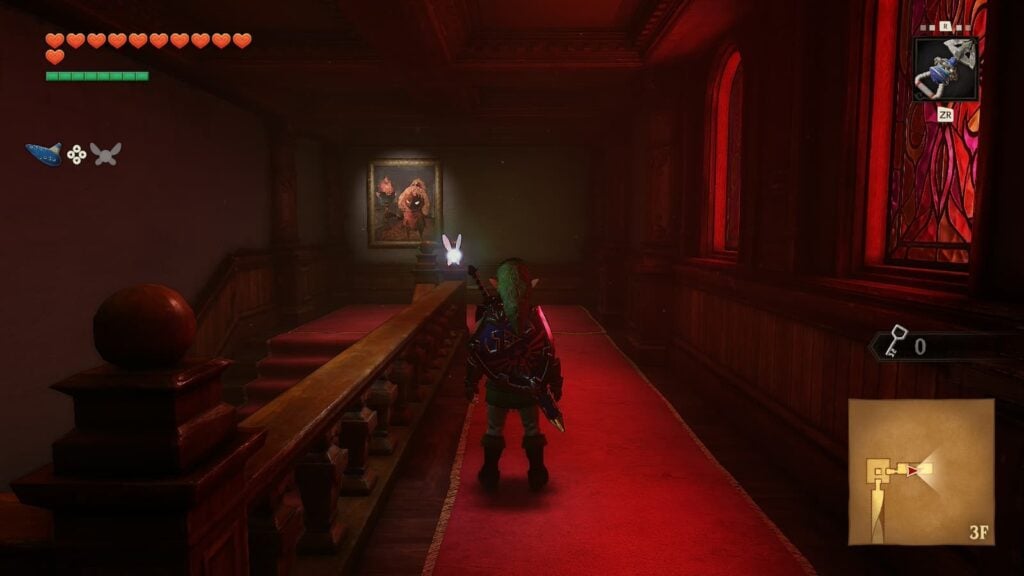
Room 8 – Fairy Bow
In the next room you will be ambushed by three Stalfos. This fight isn’t any more or less difficult than the fight against two Stalfos earlier in the dungeon so just take care of them any way you wish. Once they have been defeated, a large treasure chest will appear. Inside of this chest will be the dungeon’s main item: the Fairy Bow.
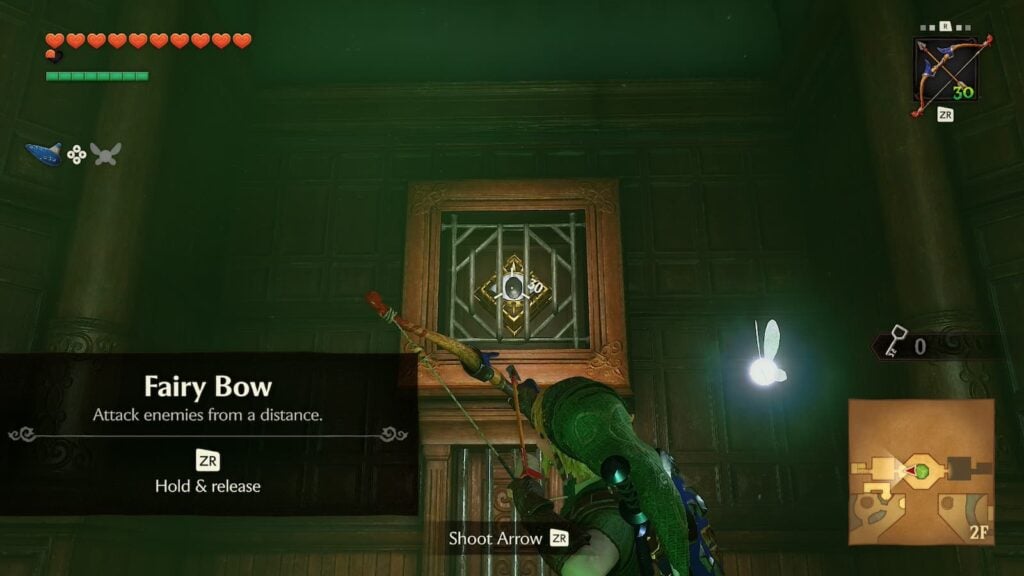
The Fairy Bow is a stronger, more adult-friendly, version of the slingshot that Child Link used during his section of the game. To test of the bow, aim for the eye-shaped target above the entrance to the room you were just in to unlock it and backtrack to Room 7
Room 7 – Visit 2, Poe Sister 1, Small Key 4
Now that we have a bow, we’ll be able to begin actually hunting the Poe Sisters. Backtrack to the red stairway you were just in and aim you bow at the painting that the Poe Sister is in to destroy it. Repeat this for all three paintings in the room and she’ll physically manifest.
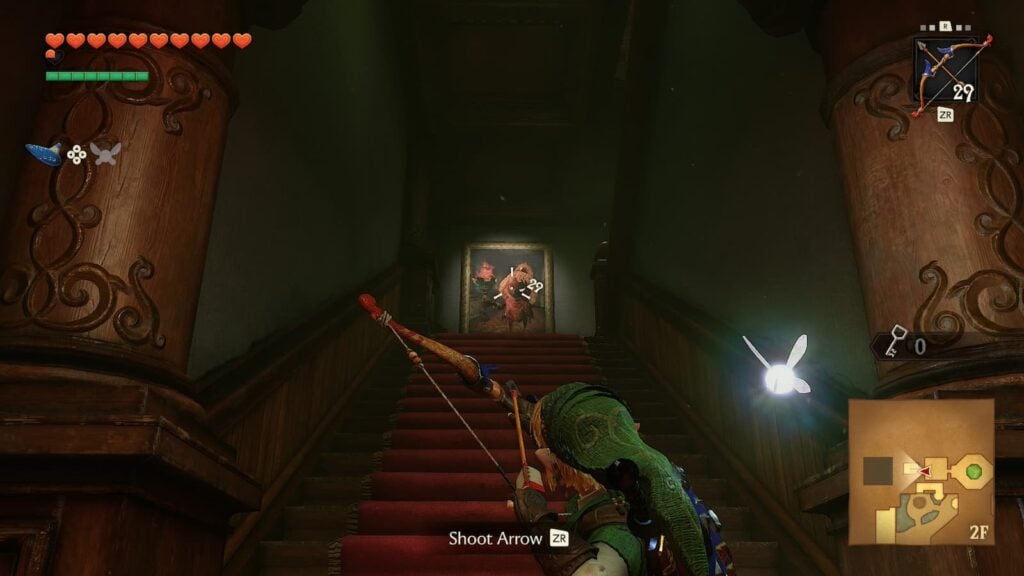
Once the Poe Sister has revealed herself, the fight will begin. She has only one attack, where she’ll spin at you before exhausting herself. When she is exhausted, she’ll be vulnerable to strikes with either your sword or bow.
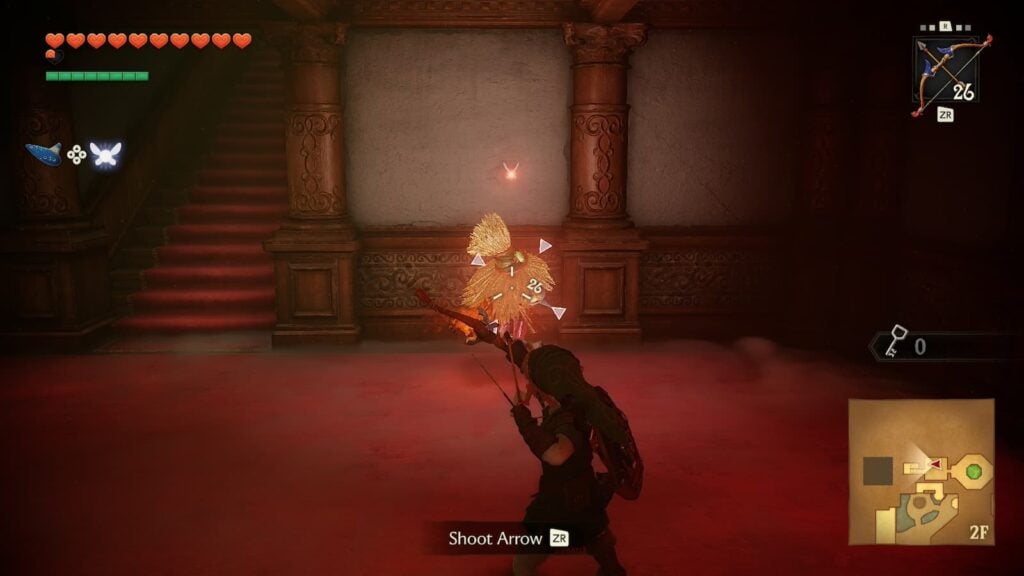
After defeating the Poe Sister, a lantern in both this room and the central room will be lit. In addition to that, a treasure chest containing the fourth small key will appear next to you. Collect the key, but don’t move on in the dungeon just yet.
Instead, backtrack to the twisty hallway and then backtrack further into Room 5, where you pushed those blocks earlier, as there are a few new things we can do in that room.
Room 5 – Visit 2
Once you’re back in Room 5, make your way back to the balcony where you first began pushing the second stone block. Here there will be an eye-shaped target for you to shoot with your bow. This causes a treasure chest to appear, inside of it will be a purple rupee that’s worth 50 rupees.
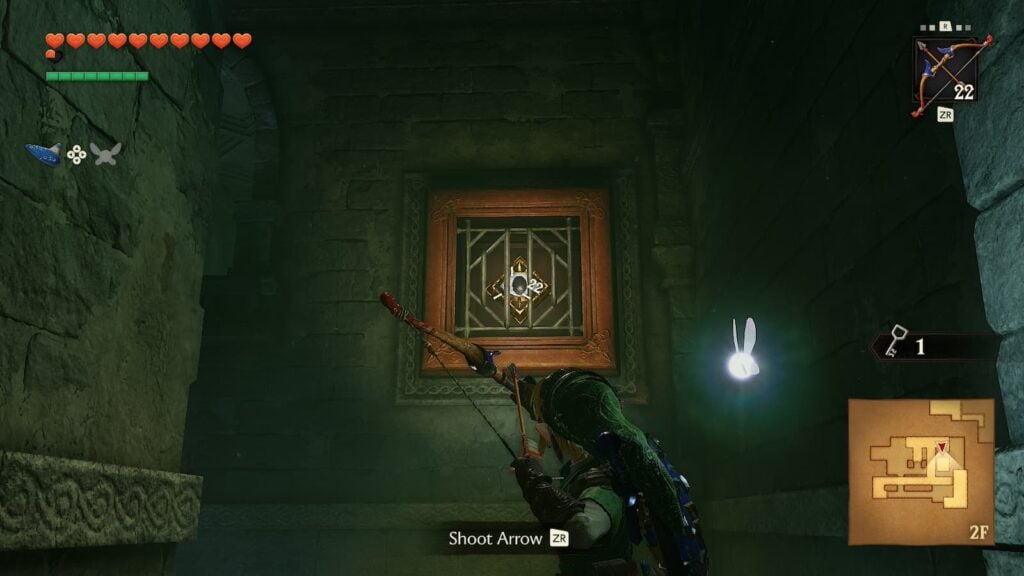
The main reason we’re in this room though is related to one of the most important items in the dungeon. Make your way back to the top of the room and aim above the door which leads to Room 6, the twisty hallway. Shoot the eye-target here and the hallway will morph, no longer being twisted and instead being a normal straight hallway.
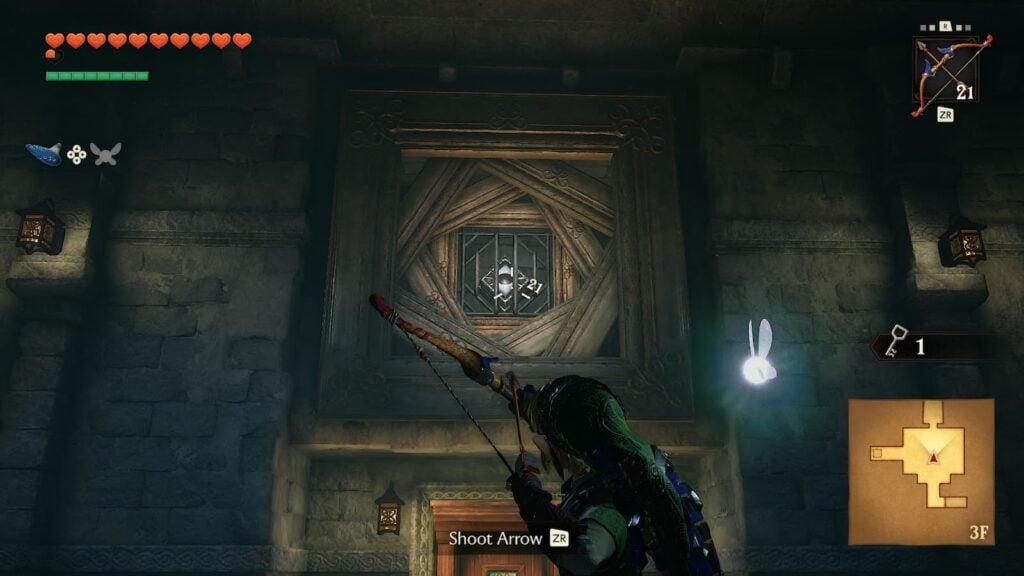
With the hallway no longer twisted, enter the door back to Room 6.
Room 6 Visit 2 – Boss Key
Run through the no-longer-twisted hallways and you’ll find yourself in a red room with a large treasure chest. This chest contains the dungeon’s Boss Key. All dungeons in the Adult Era of the game require you to find large keys like this before you can complete them.
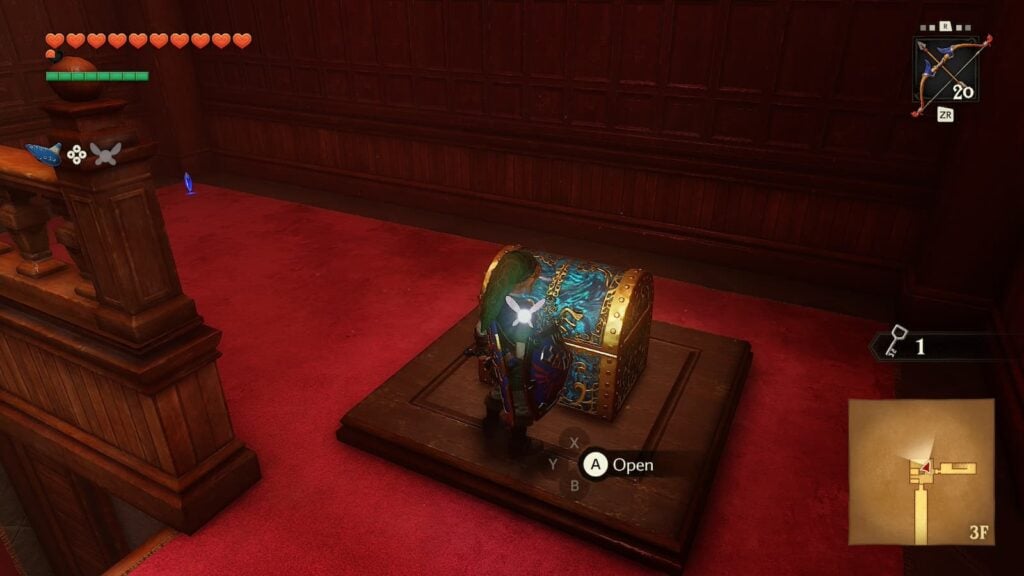
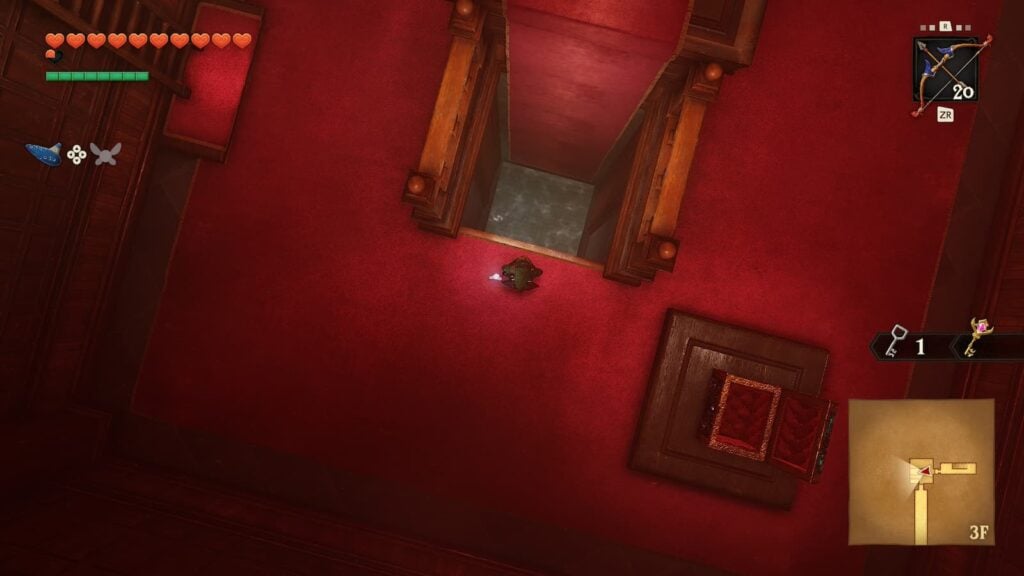
After opening the chest, drop down the large hole in the center of the room and you’ll land in a pool of water. Exit through the only door down here and you’ll find yourself in a new part of Room 4 from earlier in the dungeon.
Room 4 – Visit 2
You’ll find yourself now on top of a previously unaccessible ledge of the dungeon’s outdoor courtyard. Before doing anything else here, inch your way to the left side of the ledge and aim your hookshot at the wall. Here you will find the dungeon’s next Gold Skulltula.
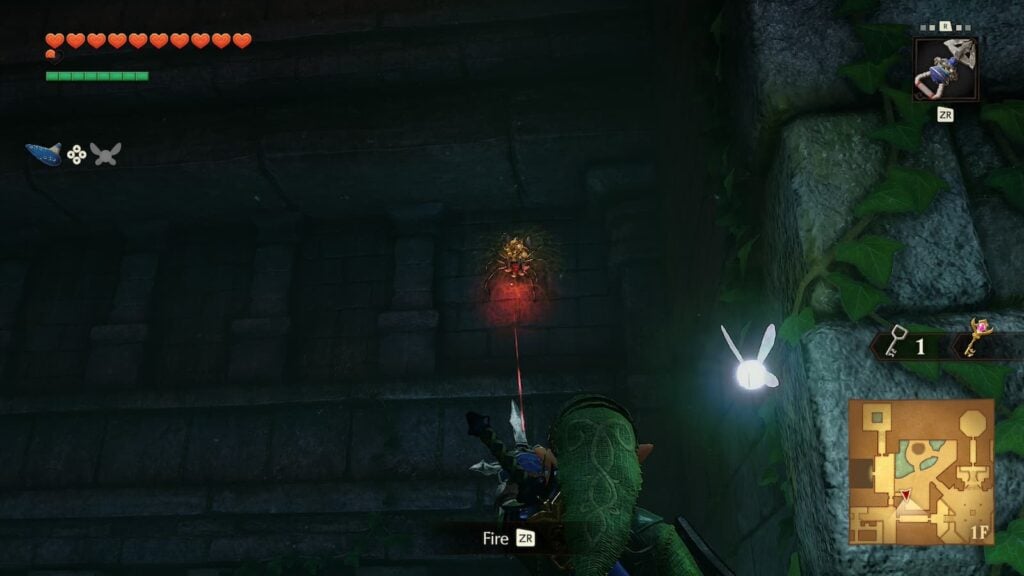
After collecting that Gold Skulltula, open and enter the room to your right.
Room 9 – Small Key 5
This cramped little room will have your fight against a Floormaster. These enemies are very similar to Wallmasters but instead of taking you back to the entrance of the dungeon they’ll split into three smaller hands when attacked.
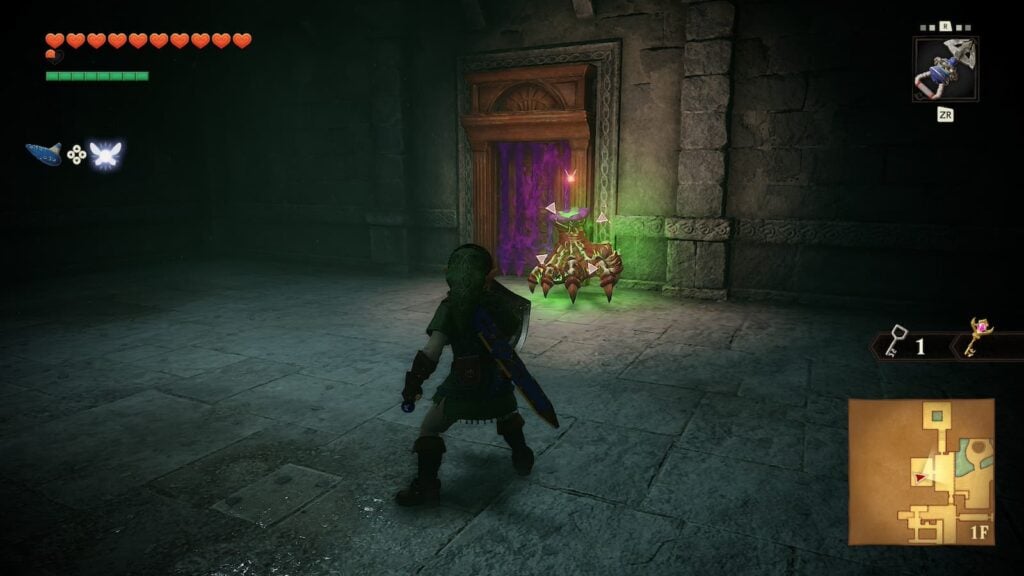
After they split, you’ll need to defeat all three hands quickly, otherwise they will reform back into the larger hand. Once you have defeated the Floormaster, a small treasure chest will appear. Inside of it will be the dungeon’s fifth small key.
Once you have gotten the key, make your way back to Room 5 again.
Room 5 – Visit 3
Now that we have gotten what we needed from the non-twisted hallway, shoot the eye again to re-twist it. Then enter the twisted hallway and keep going forward until you are once again in the room where you acquired the Fairy Bow
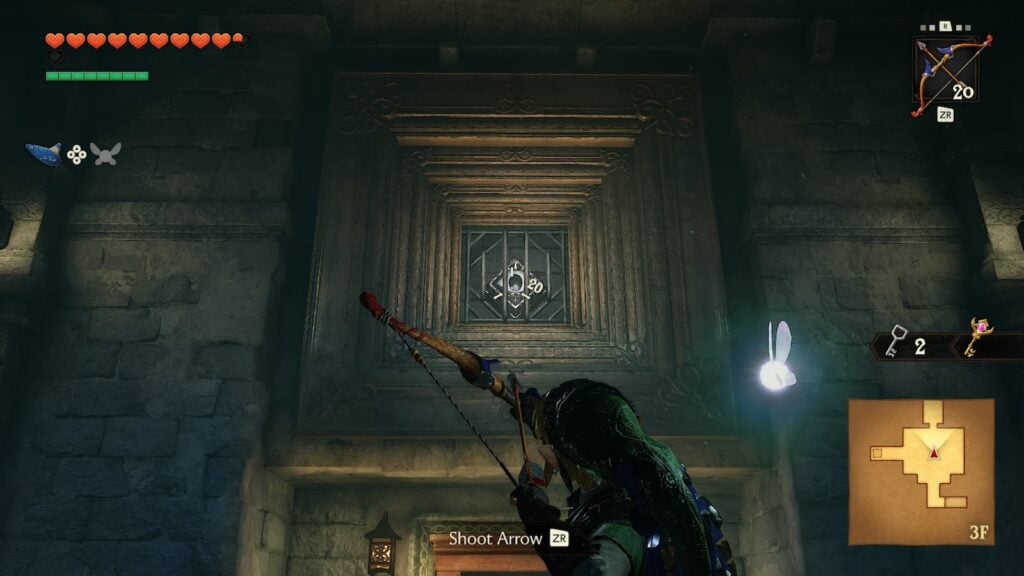
Room 8 – Visit 2
Now that we have two small keys, we can confidently progress without issue. Open the locked door in the room where you got the Fairy Bow and move on.
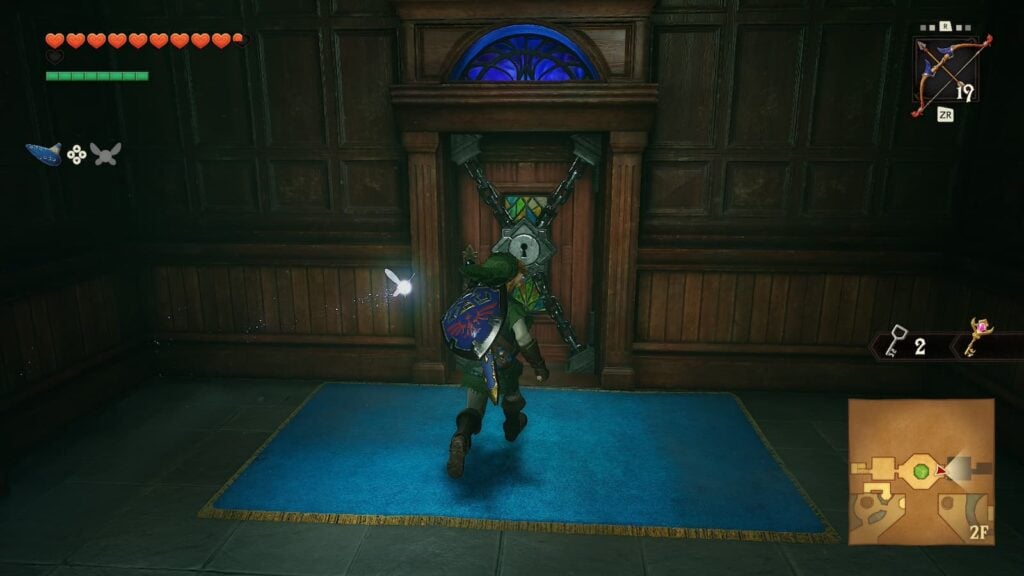
Room 10 – Poe Sister 2, Compass
Enter the room and you’ll be met with a series of blue staircases which are identical to the ones in the room that the first Poe Sister was in. That’s not the only thing that’s the same here, as you’ll also need to take out your bow and shoot three portraits to lure out the second Poe Sister.
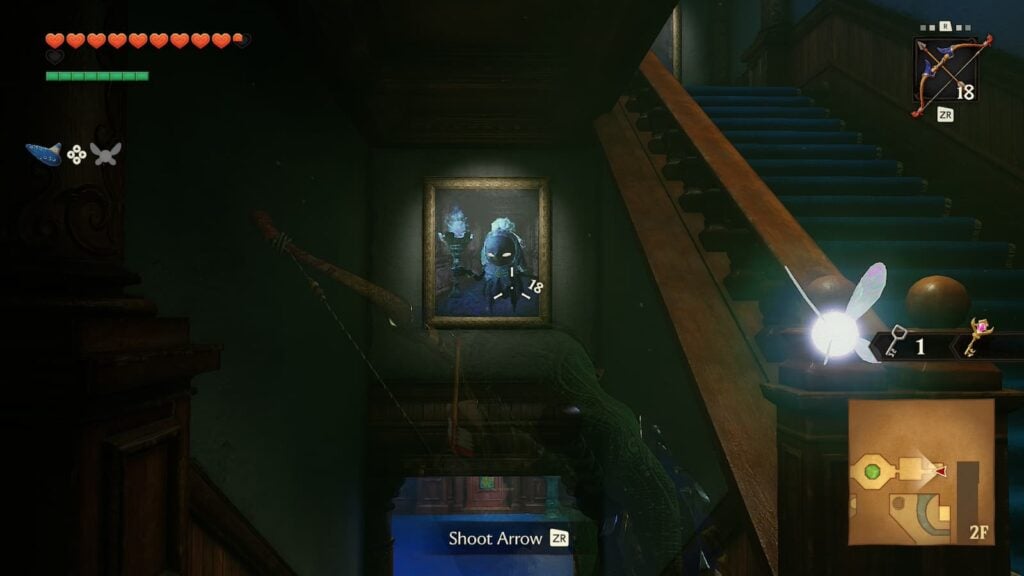
Once you have defeated the second Poe Sister, a large treasure chest containing the dungeon’s compass will appear in the room. After opening it, continue upstairs and leave the room.
Room 11
This room is the complete opposite of the red hallway we visited earlier. However, just like that one we won’t be able to do anything on our first visit here. Simply continue down the hallway and unlock the door with a small key. You will once again have 0 keys in your inventory.
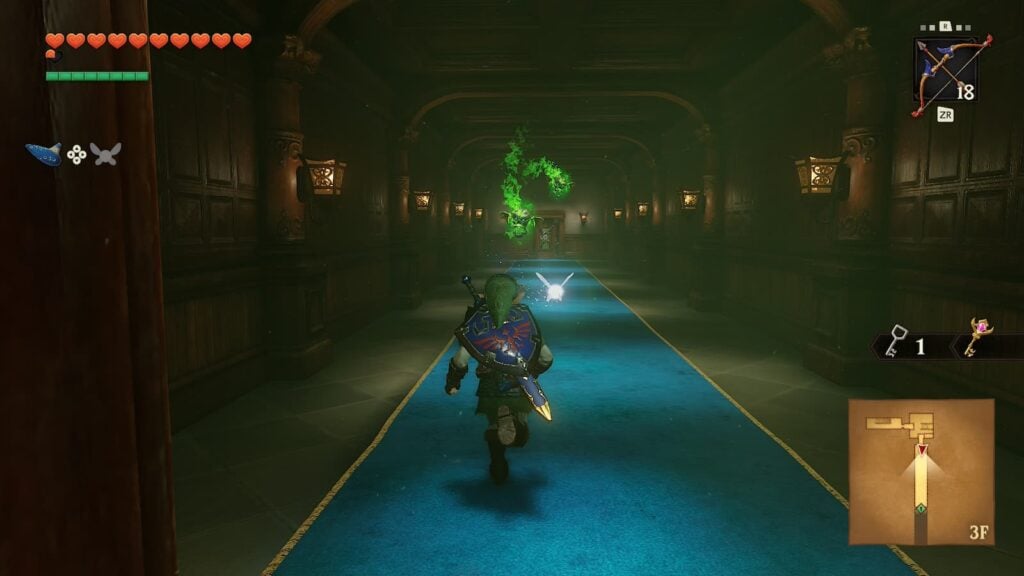
Room 12
The next room will be cold and frozen. Stand on the switch here and a torch in the center of the area will ignite. There is a frozen eye switch above the door you just came in through. To unfreeze it, aim your bow so your arrow will pass through the fire of the torch to melt the ice around the eye.
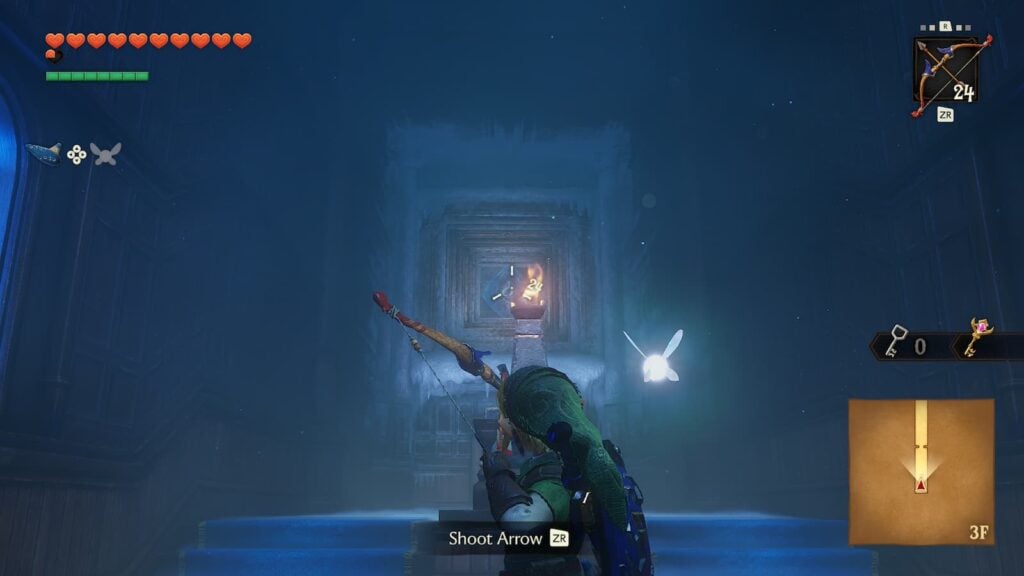
After the eye has been unfrozen, shoot it again to twist the blue hallway and exit this room.
Room 11 – Visit 2
Upon re-entering Room 11, you’ll find that the large blue hallway has now twisted, allowing you to reach a new part of the room. Here, there will be a large hole for you to jump down.
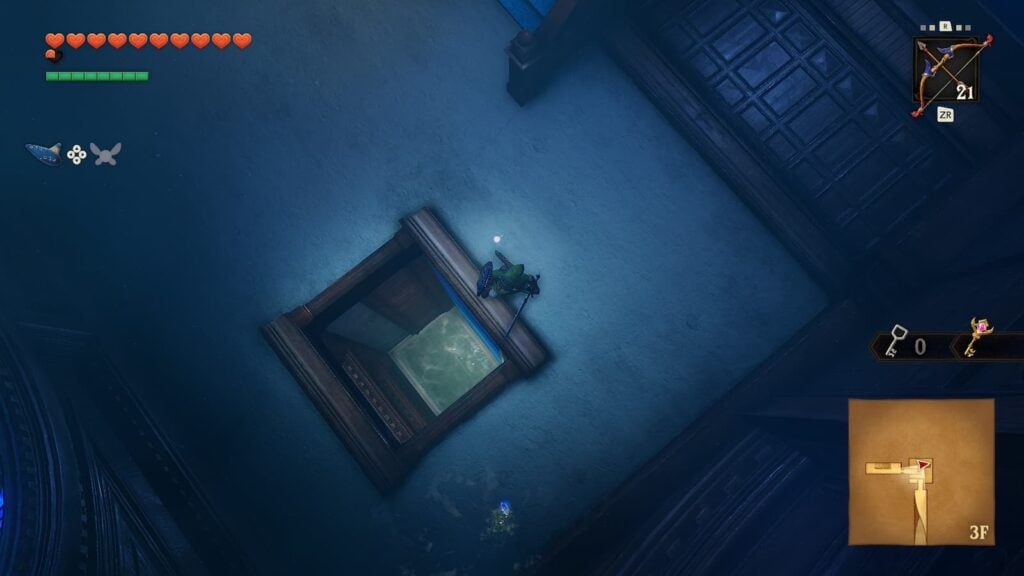
After landing in the water below, you will be in a trap-room where the ceiling repeatedly falls and raises. Before we mess with any of that though, exit through the door to your right to reach another new part of Room 4.
Room 4 – Visit 3
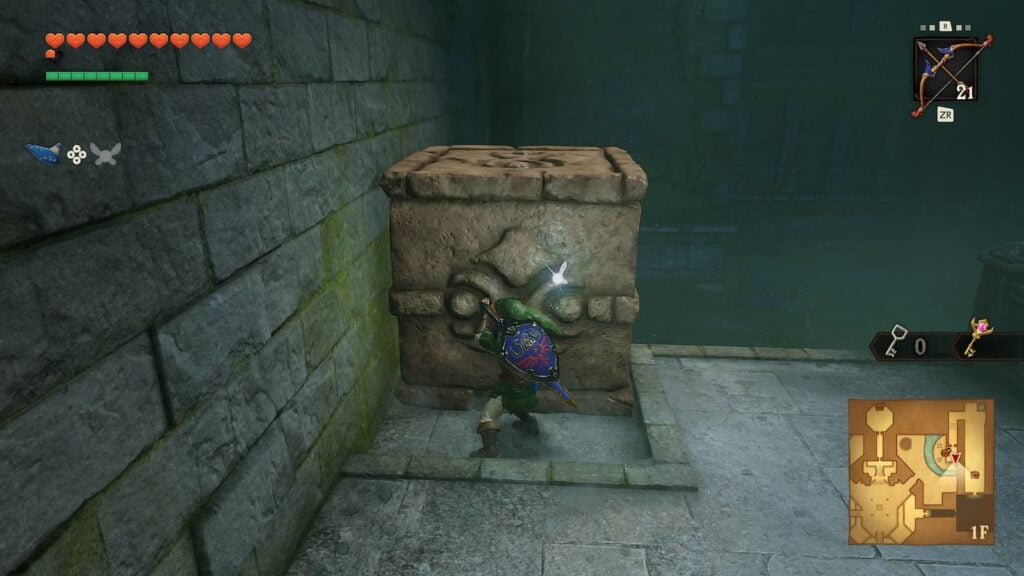
Upon re-entering this room, you’ll see that you’re on a ledge that you couldn’t access before. Push the stone block that’s here off the ledge and you’ll be able to quickly revisit this area of the dungeon without needing to trek your way through the twisty hallways again.
From here, look up and you’ll see a small cyclone of wind. play the Scarecrow’s Song and you’ll be able to hookshot your way up to an even higher ledge where a Gold Skulltula awaits you.
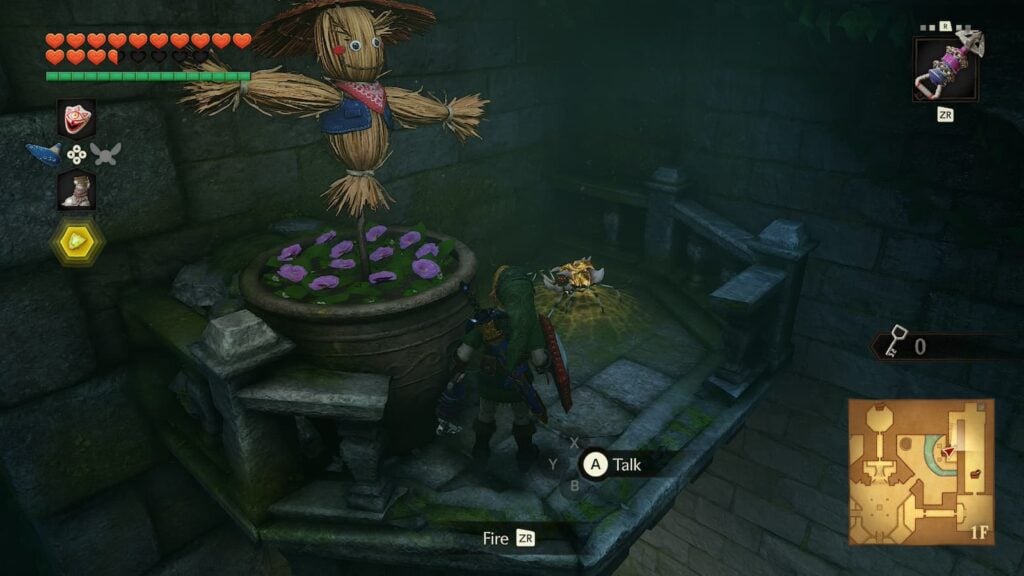
After collecting that Gold Skulltula, make your way back through the door you just came from to return to room 11
Room 11 – Visit 3
Time to actually make your way past the raising and falling ceiling trap. You’ll notice that several of the tiles on the floor have sunlight shining on them, that means they’re safe to stand on. Run forward and stand on the switch in the center of the room to unlock the door.
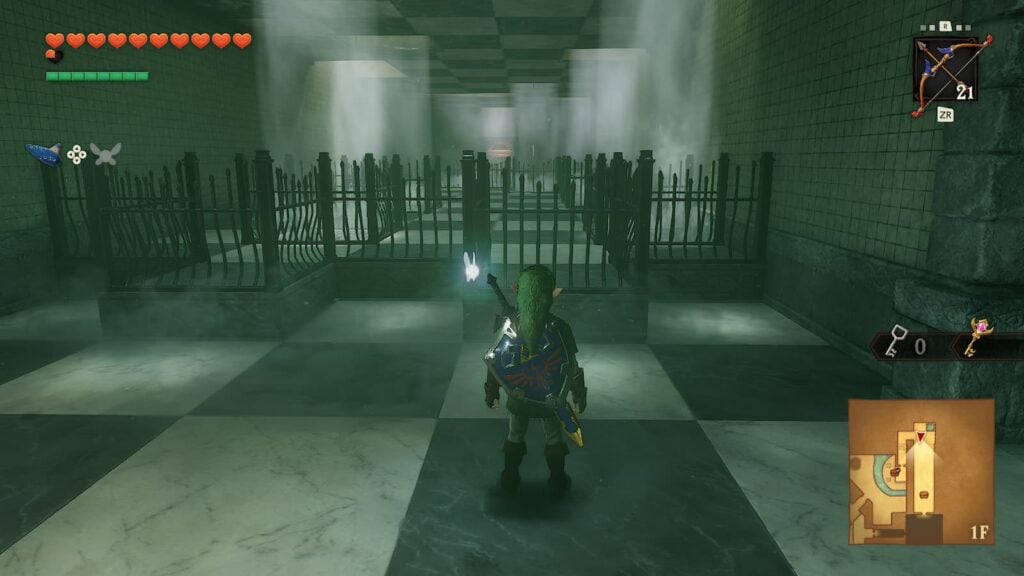
There is also a small treasure chest in here containing five bombs if you’re willing to risk it. Once you are ready, head into the next room.
Room 12 – Poe Sister 3
Enter the next room and you’ll see one large portrait with the third Poe Sister in it. Shoot it, and instead of immediately fighting you the Poe Sister will turn into blocks. To make her truly appear for the fight, you’ll need to push together four blocks which form the Poe Sister’s body.
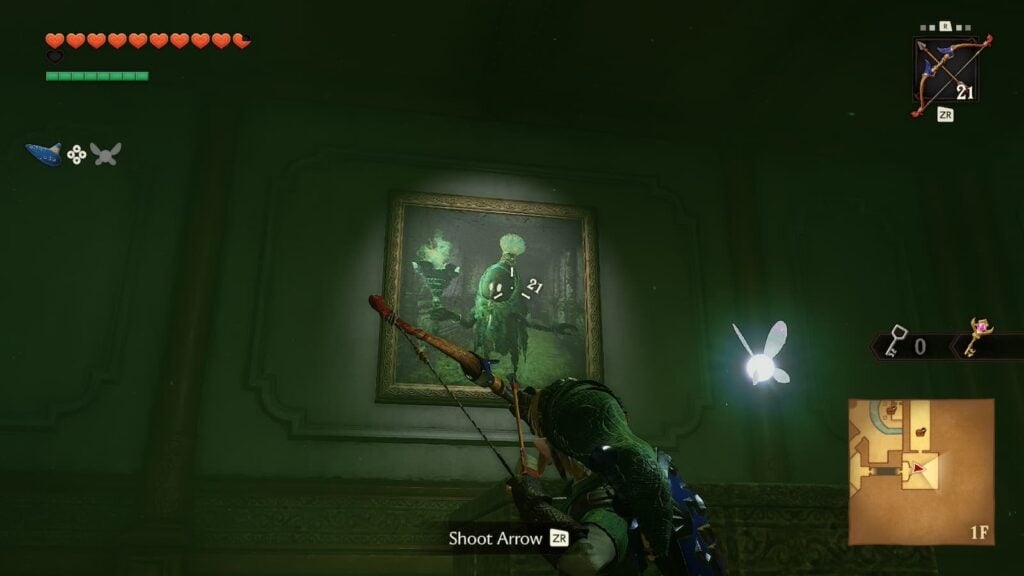
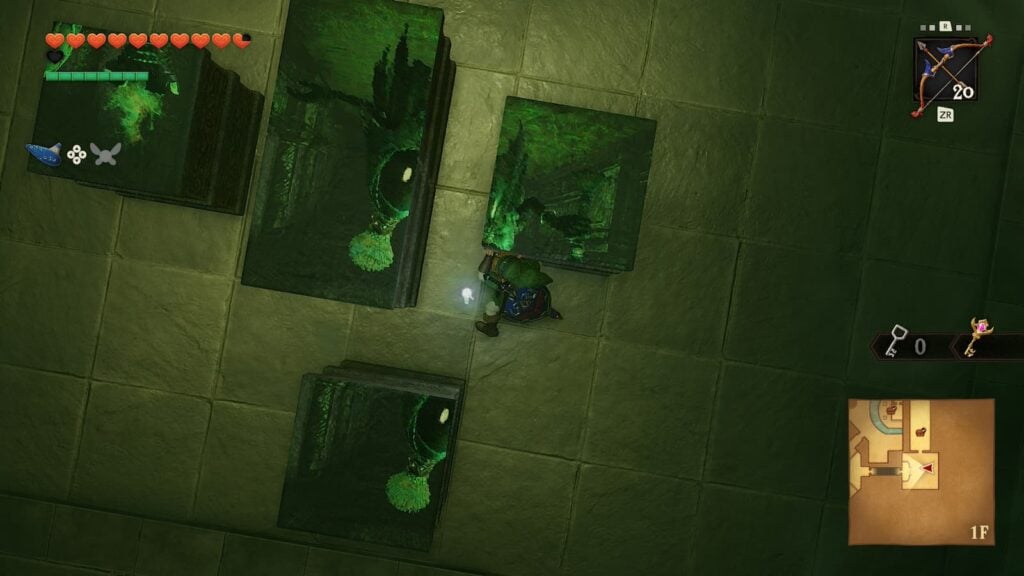
One of these blocks will be a fake, different from the others as the image inside of it does not move and thus does not count when pushed into the others for the puzzle. After co mpleting the image, the Poe Sister will appear for a fight identical to the previous two. Once you have defeated the Poe Sister, progress to the next room.
Central Room Visit 4 – Poe Sister 4
You’ll next find yourself in a small hallway with a portrait of the final Poe Sister. Shoot this and she’ll appear in the central room of the dungeon, which is also where this hallway leads.
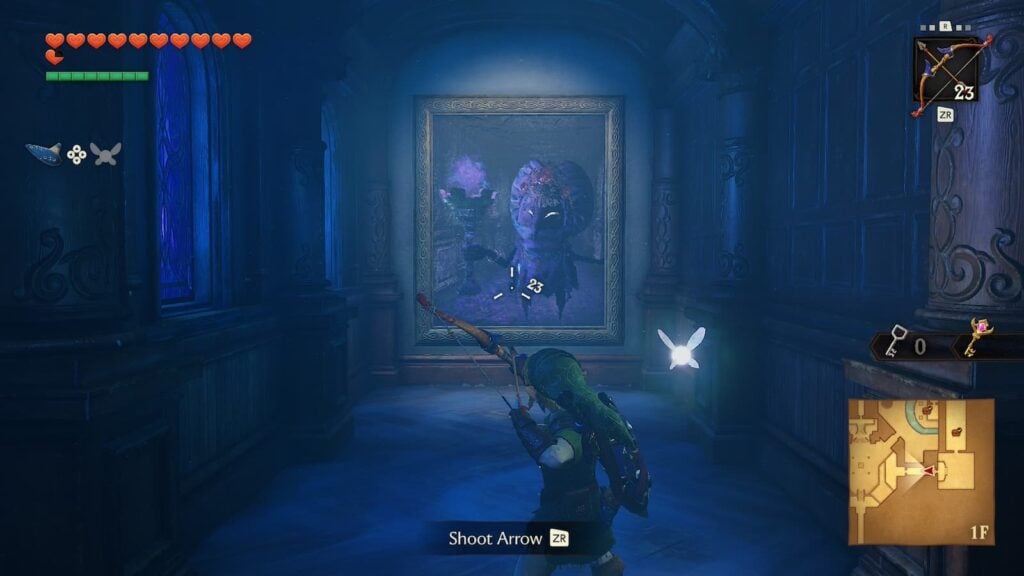
Approach the final Poe Sister to begin the last of the miniboss fights. Unlike the other Poe Sisters, she won’t have the exact same attack pattern, Instead, she’ll summon three duplicates of herself. To make her vulnerable to sword strikes, you’ll need to shoot the real Poe Sister with you bow.
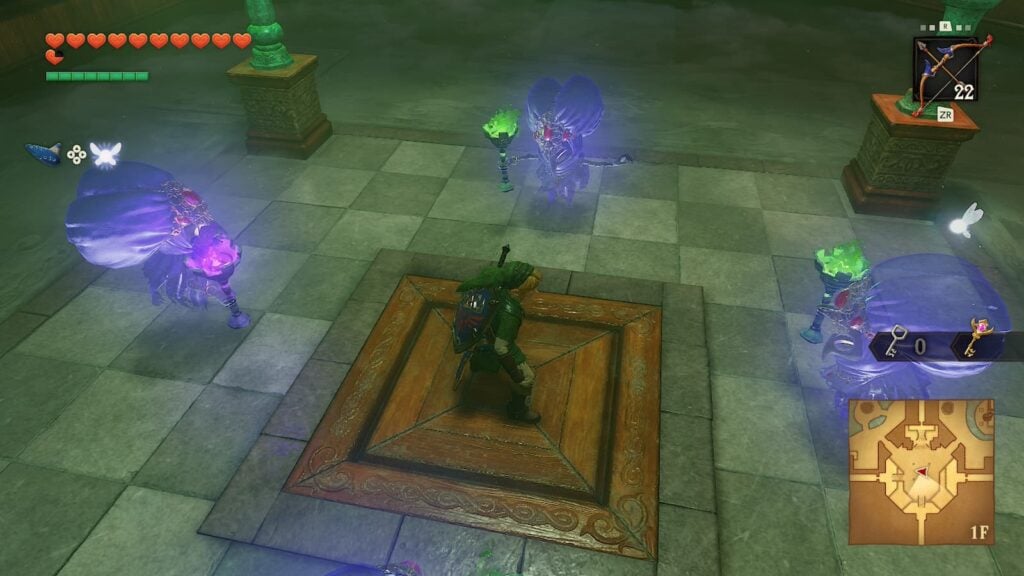
There will always be a visual cue separating the real Poe Sister from the fake ones. This typically comes in the form of her torch being different from the others, but it can also be more subtle differences like her moving different from the others when she’s low on health.
Once the Poe Sister has been defeated, the elevator in the center of the room will rise once again. Head down the elevator to reach the basement floor of the central room.
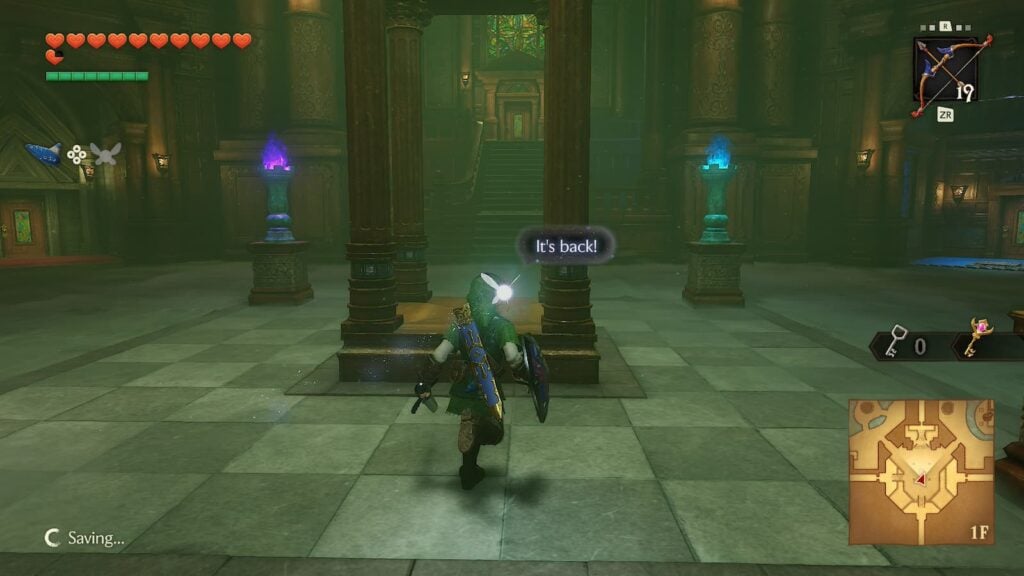
In the basement there will be a giant turntable that you can use to spin the room to move where the doorways lead. Before you do that though, head into the one area you can now and equip your hookshot to collect the dungeon’s final Gold Skulltula.
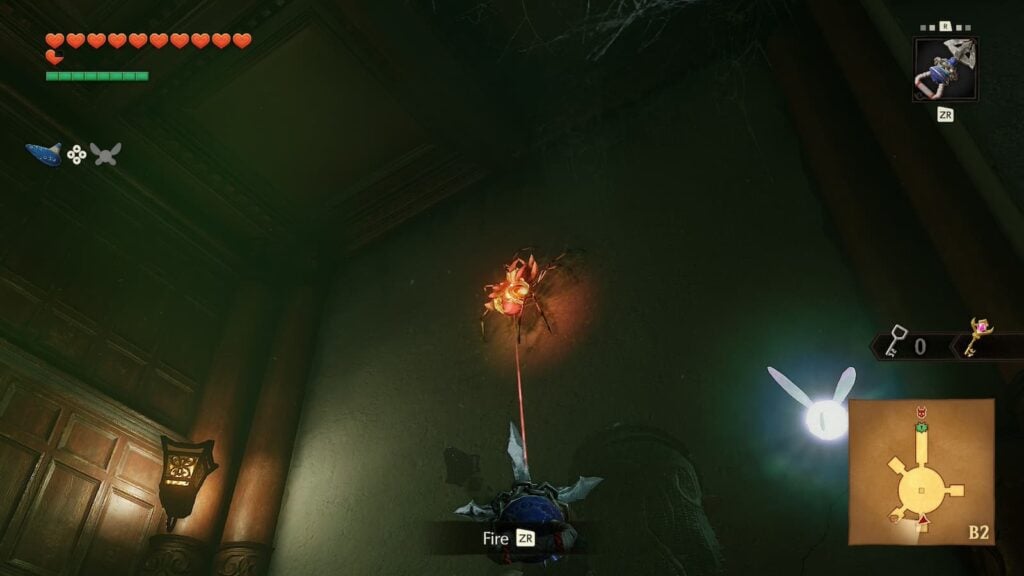
Next, spin the room until the doorway leads to a small outcove with a switch. Stand on this switch to make a torch in one of the room’s windows light on fire. Once the switch is on fire, keep turning the room until said torch is in front of an eye-switch. Use an arrow to unfreeze the eye and then another arrow to shoot it and remove some metal bars blocking your way.
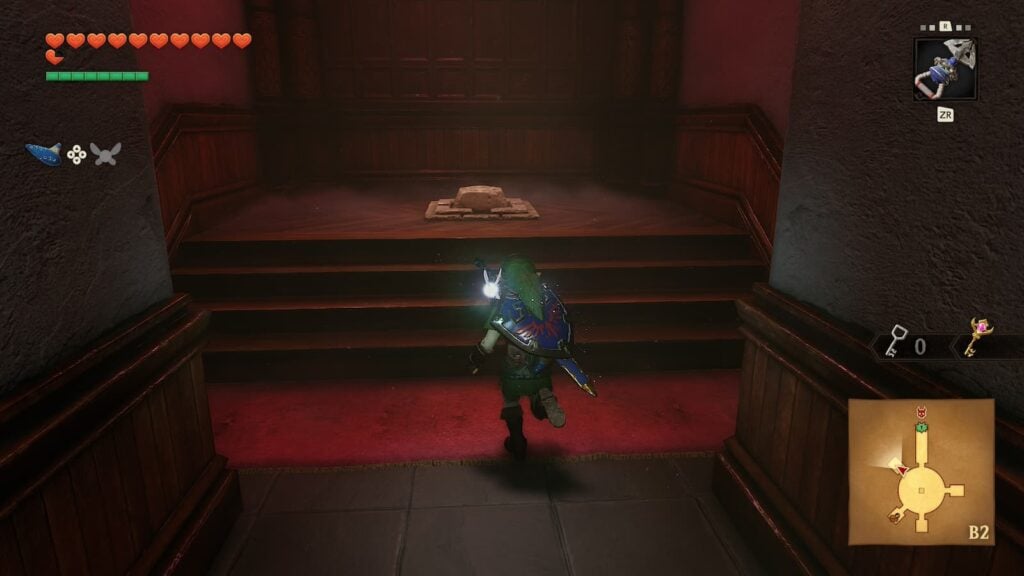
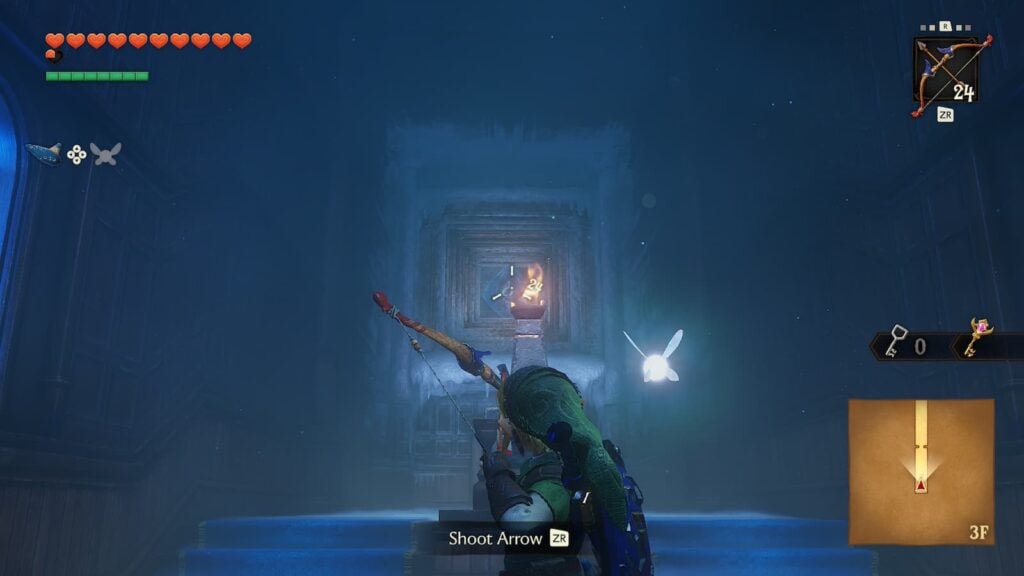
With all obstacles removed, push the room until the doorway is in from of the boss door. Enter it for the final challenge of the dungeon.
Boss Room – Phantom Ganon
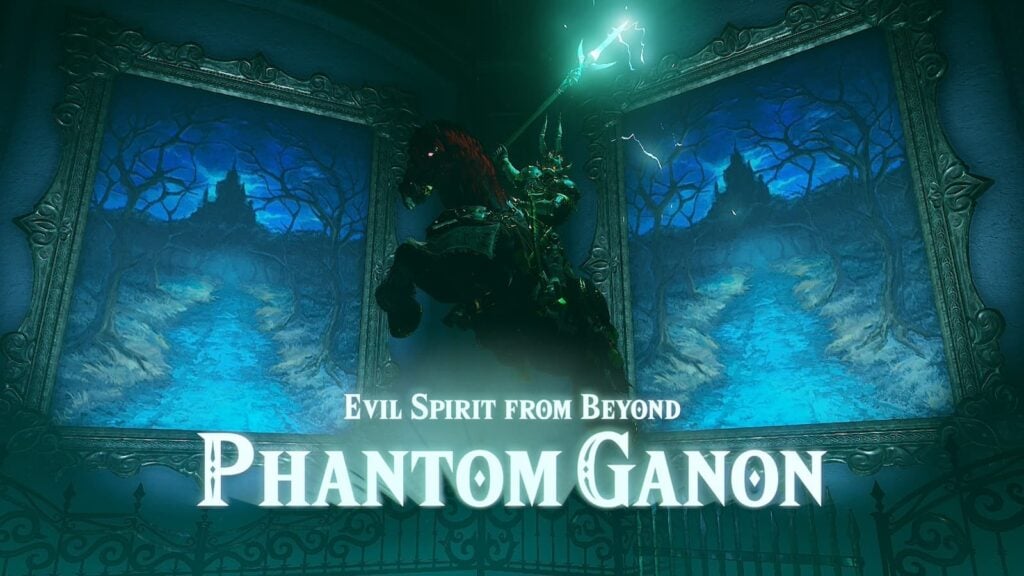
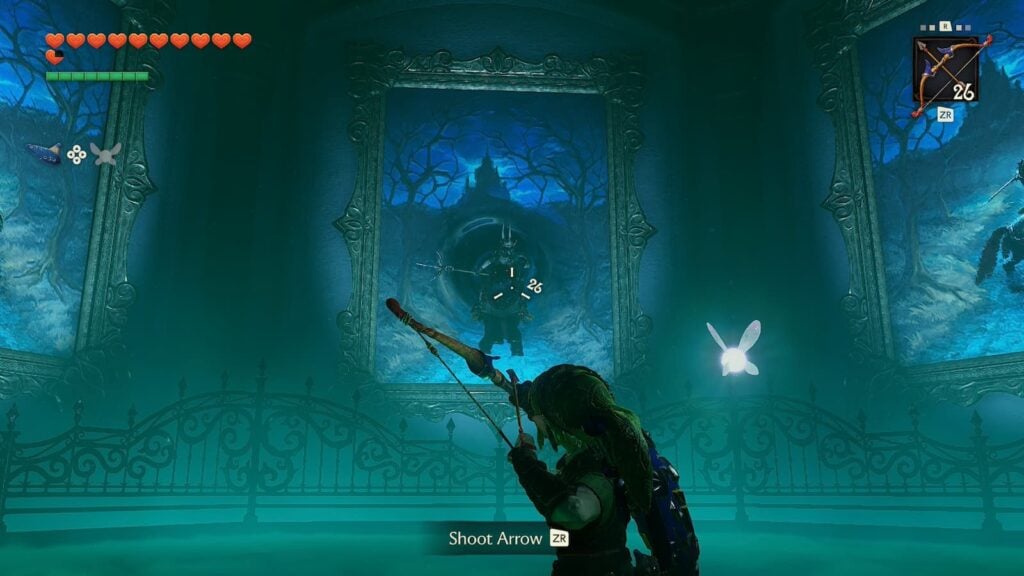
It’s time to fight Ganondorf….not! Ganondorf has sent a phantom duplicate of himself after you. When the fight begins, it will start in a very similar fashion to the Poe Sister fights as Phantom Ganon will ride with his horse into the paintings that surround the boss arena.
Four images of Phantom Ganon will begin to ride through the portraits to attack you. If you can shoot the real Phantom Ganon before he fully exits a painting, he will run back in and repeat the process. Shoot him with three arrows and he’ll abandon his horse to begin the second phase of the fight.
During this phase, Phantom Ganon will create and throw a green energy ball at you. Strike this energy ball and you’ll send it back to him. This is the beginning of a Dead Man’s Volley, where you must repeatedly strike the projectile until Phantom Ganon fails to hit it himself. Once his own attack hits him, he’ll be stunned and vulnerable to attacks.
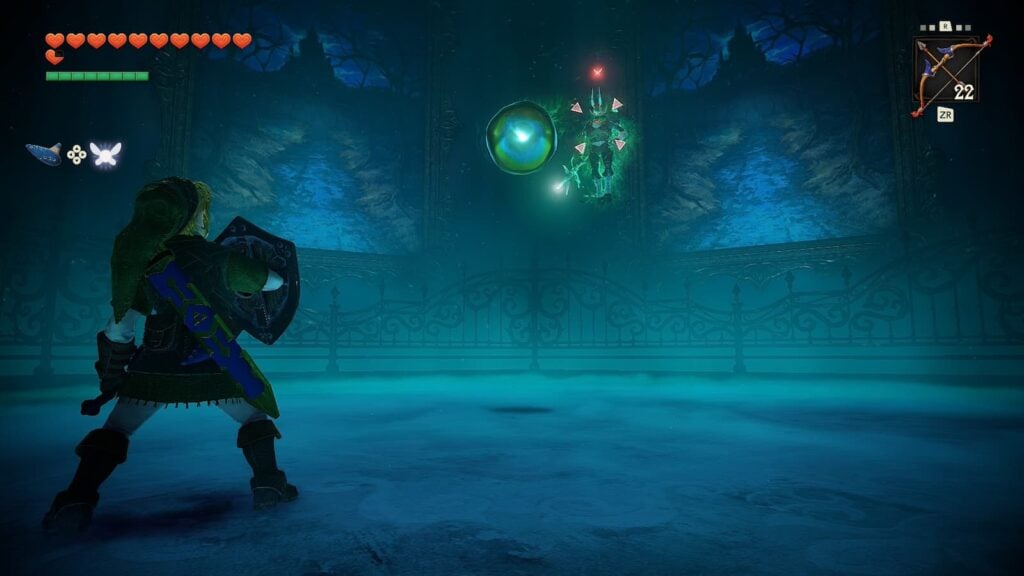
Repeat this process until you have struck Phantom Ganon 18 times with your Master Sword. Once he is out of health, the fight will end. Collect the Heart Container that Phantom Ganon leaves behind and exit through the portal to complete the dungeon.