Want to see Raider King content first? Add us as a preferred source.
The Adventures of Elliot is a game that seems to be a pretty straightforward right until the end game, where players will suddenly be directed to the final boss’ location without any clue about who they are or why they have placed a curse upon Princess Heuria. Defeating them will also give an unsatisfying ending that indicates that there’s more to this story than you thought. So how do we get the other endings when our quest markers only direct us to the final boss? By going on an adventure of course! If you are confused about how to get all the endings in The Adventures of Elliot, then please feel free to consult this walkthrough.
All Endings in The Adventures of Elliot
There are three different endings in The Adventures of Elliot, with each one adding a different colored medal to the player’s save file upon completion. While the Bronze Ending and Silver Ending do not lock you out of the other endings after completing them, the Gold Ending does. Because each ending has an achievement tied to it, it is highly recommended that you complete the Bronze and Silver endings BEFORE the Gold ending.
Below I have detailed what you need to do to get each ending in order.
As Long as Any Hope Remains (Bronze Ending)
This ending is very much the bad ending, and is also the easiest to get. In order to earn this ending, we’re just going to follow our quest markers and do what the game tells us to do at all times instead of going on an adventure to find the truth.
After clearing the Mount Phoenix dungeon in the Age of Reconstruction and watching the cutscenes that follow, we’re going to go straight to the Northern Tower dungeon in the Age of Safekeeping. This dungeon is short, but it’s filled with multiple bosses.
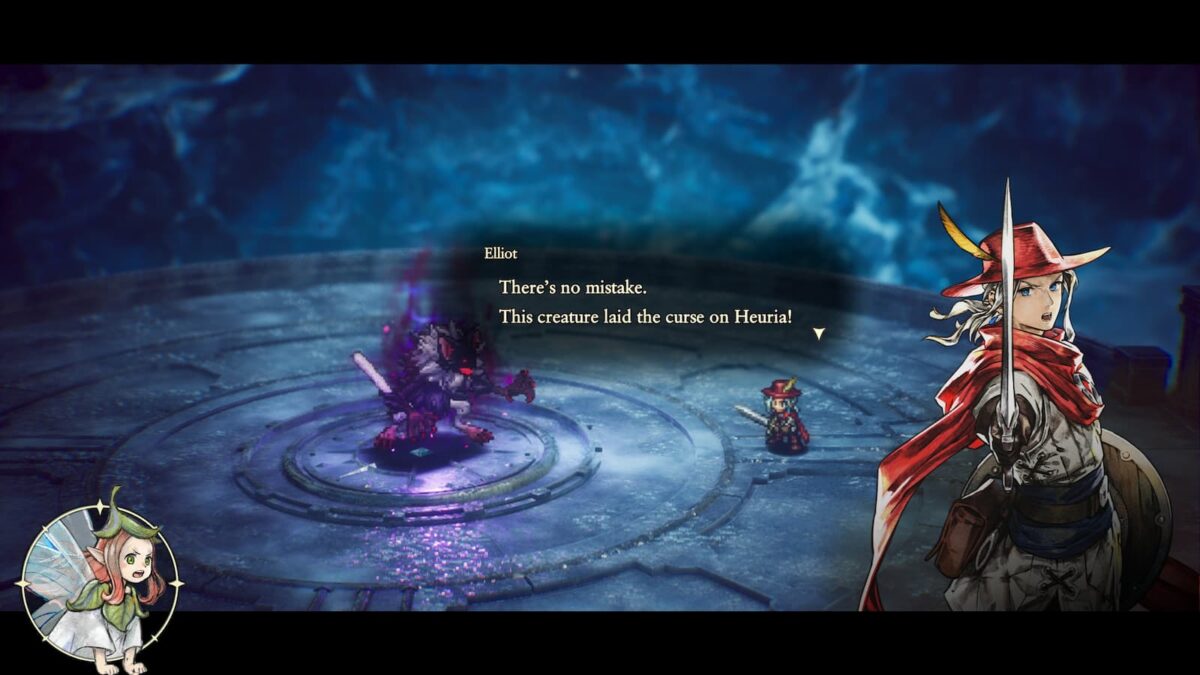
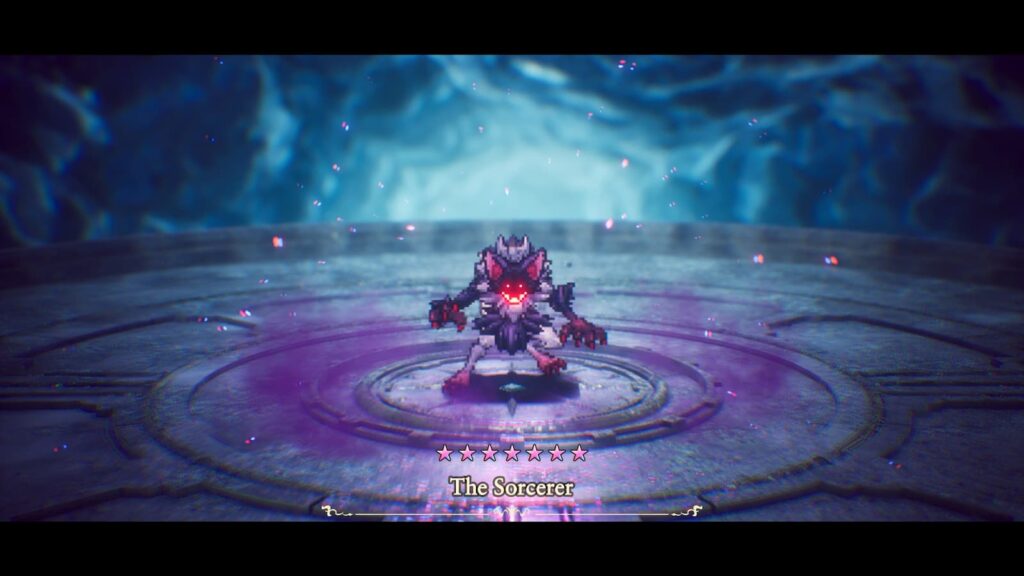
At the end of the dungeon we’ll be met with the final boss: The Sorcerer. This is a tough battle but as long as you’ve brought enough potions you’ll beat them easily enough. After beating this boss we’ll instantly be sent into the bad ending.
Getting this ending will add a bronze medal to your save file. Saving clear data will allow you to reload the game from right before the fight against The Sorcerer.
The Peace in Which We Walk (Silver Ending)
Now that we’ve gotten the bad ending, let’s do some adventuring and obtain the normal ending! To get this ending we’re going to do two things before we fight The Sorcerer
- Obtain the Leytstaff
- Learn Elliot’s ultimate attack: Nomutota
We’ll need to get the Leytstaff before we can learn the attack, so let’s go grab it
How to Obtain the Leytstaff
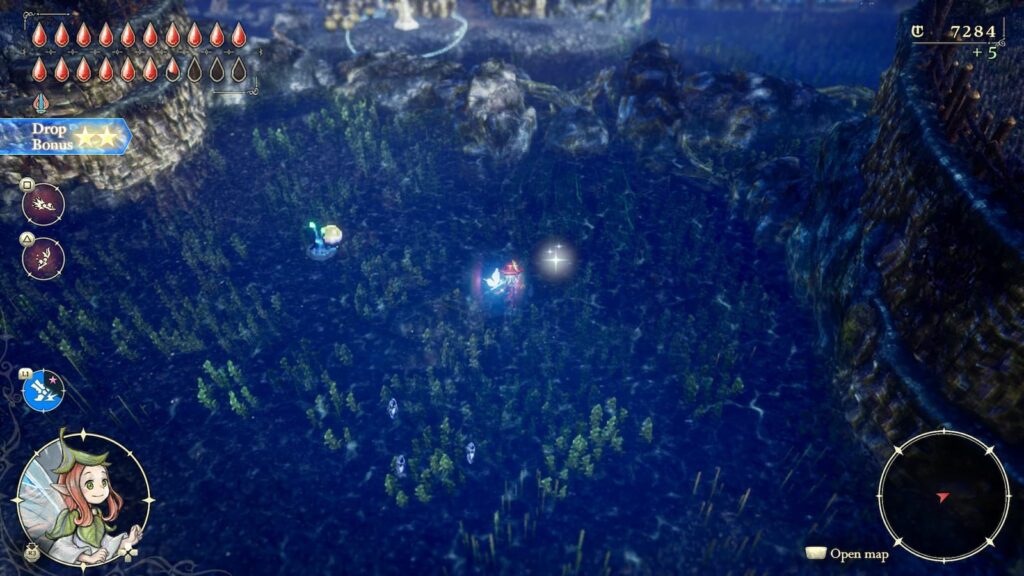
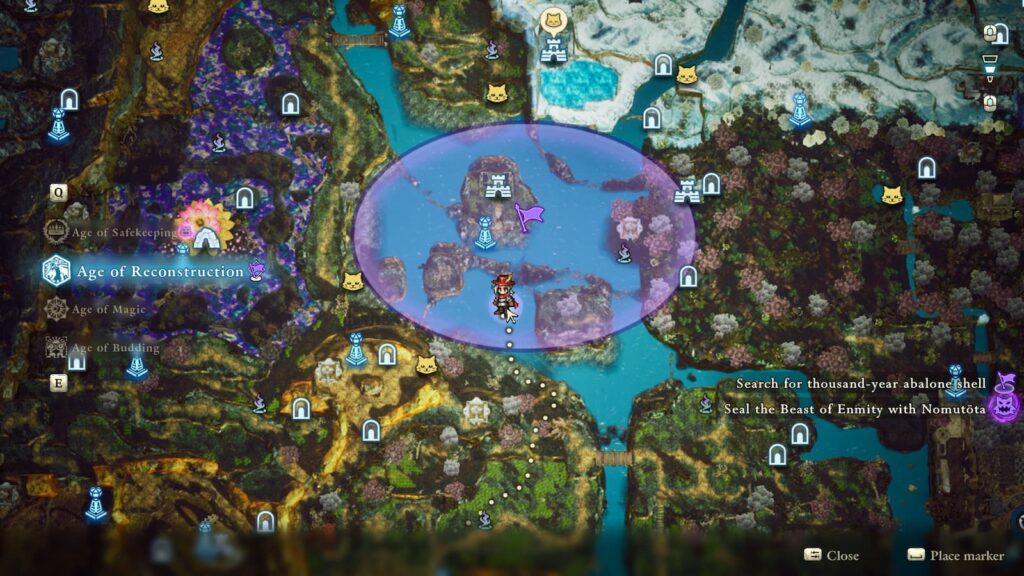
Getting the Leystaff is actually pretty easy, although I was dumb enough not to get it until after the I got the bad ending. In every age you may have noticed the Water Ruins in the center of the map. Attempting to visit it in most ages will just result in you getting blocked off before you cannot dive underwater. There is one exception though: The Age of Reconstruction.
If you visit the Water Ruins in the Age of Reconstruction, you’ll be able to find a treasure chest that will teach you how to dive underwater. This is an incredibly useful skill, but not the only thing we’re here for. Make it to the end of the dungeon and there will be a large red treasure chest containing the Leytstaff, the best sword in the game.
In order to make full use of this sword though, we’re going to need to do a bit of time hopping and learn Elliot’s ultimate move from the various characters we’ve met so far.
How to Learn Nomutota
In order to learn Elliot’s ultimate attack, we’re going to travel around the various ages, interact with characters, and explore some optional dungeons in order to meet the three sages. Below are all the required steps to learn Nomutota.
Age of Budding Sage
While you won’t be directed to this plot point once the Northern Tower opens, there’s a good chance you’ll stumble across it while exploring the world. After being directed to the Northern Tower, go to the town of Hiyotori in the Age of Budding where you will see multiple cutscenes before being directed to visit Lyudmila’s house.
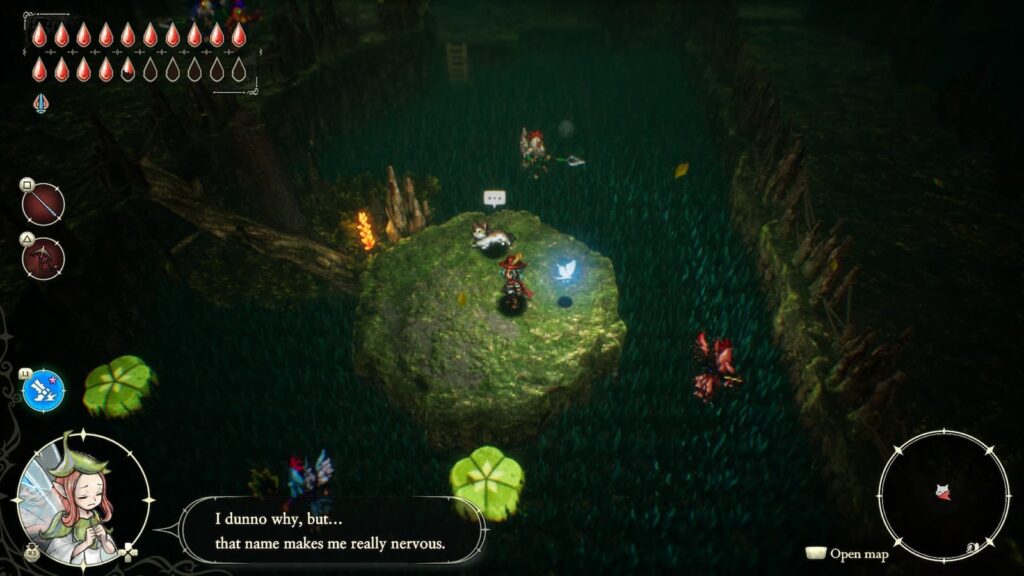
Lyudmila will give us a bell that will let us meet the three sages, but we’re not done learning information yet. Make your way back to Hiyotori where you’ll see an argument break out. Once it has, talk to the Cat-Loveing NPC and you’ll be directed toward the Grandtree.
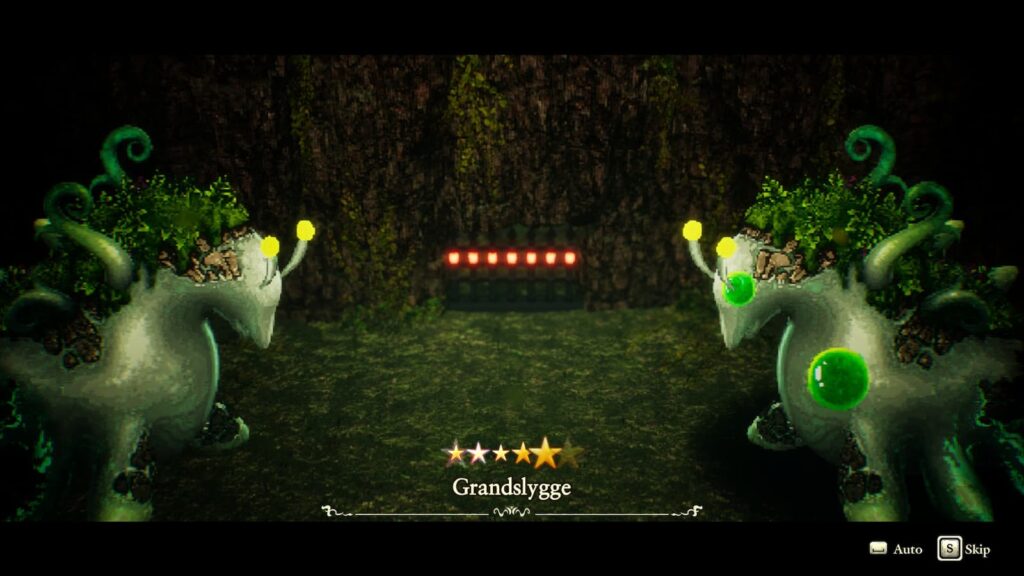
That means it’s optional dungeon time! Travel to the Grandtree in the eastern part of Neverwither. If you’ve been exploring the whole world, you may have poked your head in here once or twice already.
We’re looking for a sage that looks like a cat, and we’ll find them on the first floor of the dungeon (you might need to do a bit of floor hopping to reach her). Now that we’ve gotten this sage’s wisdom, let’s travel to another age.
Age of Reconstruction Sage
While we needed to start at the last time period, let’s go back to an earlier one for our next sage. Enter Littlehope Village and you’ll again see a small series of cutscenes. You’ll then be sent into a long endurance battle against a horde of monsters as you defend the village.
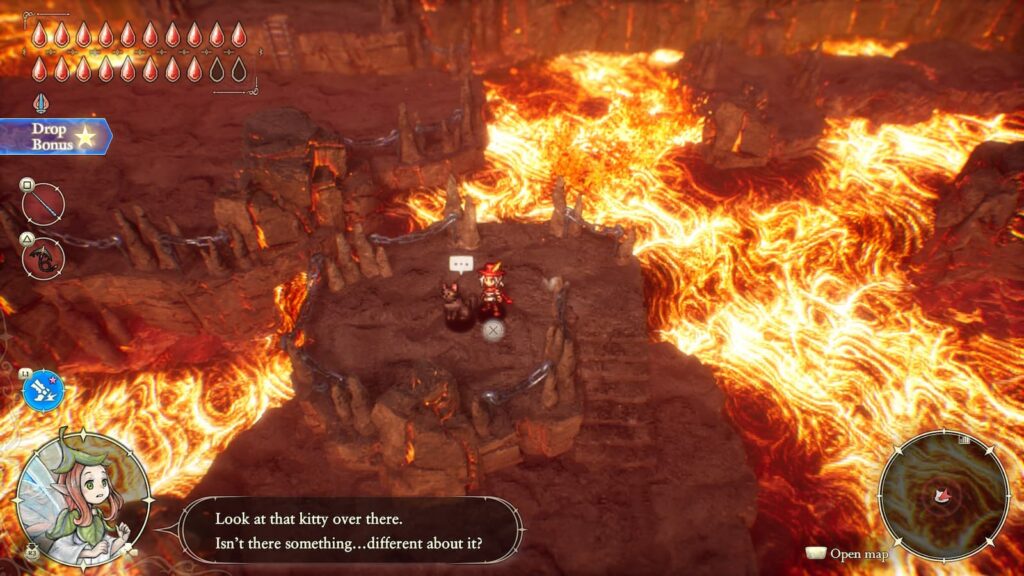
Survive the attack on the village and once again talk to cat-loving NPC. He’ll direct you toward Mount Phoenix. Just like in the Age of Budding, you’ll need to look for and find the cat within the dungeon. He’s actually right by the entrance so you won’t need to go very far.
Age of Magic Sage
Finally, we’re going to look for the sage in the Age of Magic. Head to Weyzn and just like in the previous two ages there will be an emergency for us to handle involving the townsfolk. This sequence is a bit strange as it is the only instance of non-voiced story dialogue in the whole game.
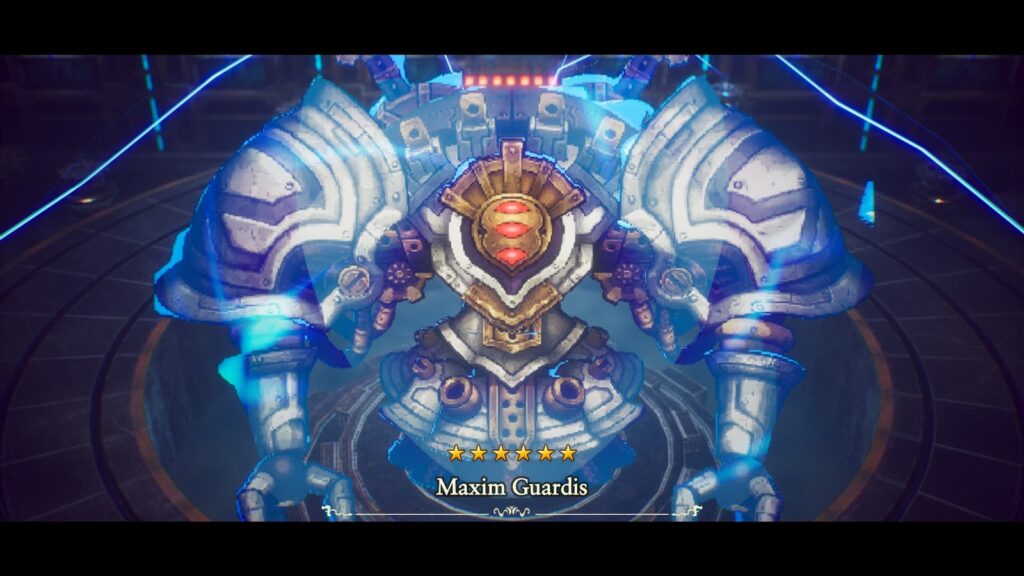
After defeating some out of control Thaumata, we’ll once again be able to talk to the cat-loving NPC. He’ll tell use that the third and final cat sage is currently in the Geared Ruins. Unlike the other two sage dungeons, which you may have visited earlier in the game, this dungeon’s front door won’t unlock until you meet the Age of Budding Sage.
Because this dungeon exists for this searching for the sages quest, you’re going to need to go through the entire thing and defeat the boss at the end before you’ll meet the sage. Once you do though, Elliot will learn his sword’s final charge attack: Nomutota. Now it’s time to get our ending
How to Get the The Peace in Which We Walk Ending
Now that we’ve learned Nomutota, it’s time to go and get our second ending! The actual method for getting this ending is almost identical to the first one. We will once again need to fight our way through the Northern Tower in the Age of Safekeeping and challenge The Sorcerer again.
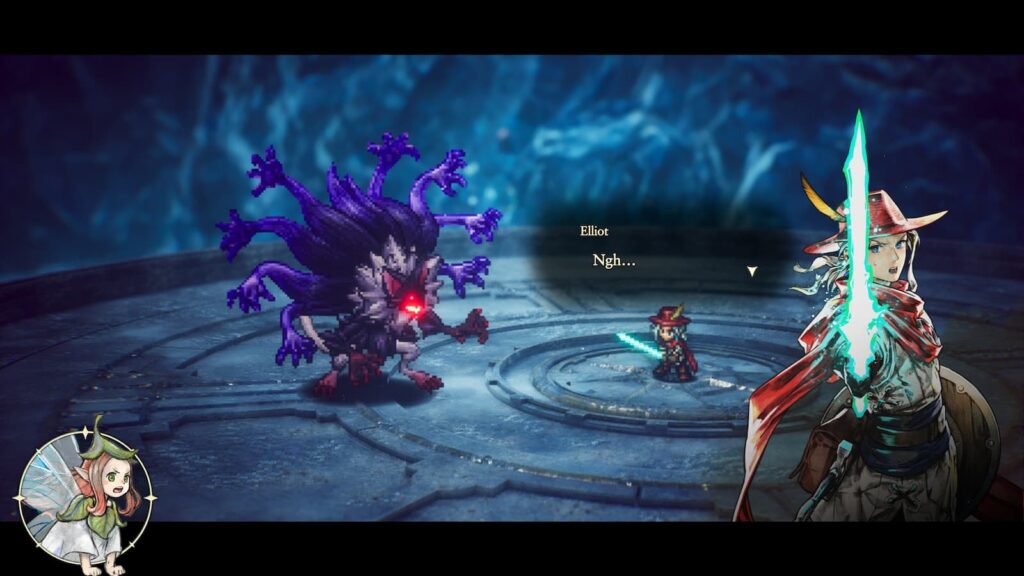
However, this time we are going to use Nomutota to deal the final blow. Make sure you end the fight with that attack and you’ll earn this second ending.
This ending is undeniably better than the bad ending, and will reward us with a silver icon on our save file, but there is still clearly a lot we haven’t learned yet. That means there’s another ending for us to find out there. Like before, you’ll be able to load your clear data from right before the final boss fight.
At the Thousand-Year Journey’s End
So how do we get the game’s best ending? Well unlike the previous one where we had multiple related tasks to handle, this ending’s requirements will instead send us on a single optional questline that takes place across all four time periods. First, we’ll need to travel to the Age of Budding and return to Lyudmila’s house. She won’t be there, and instead you’ll be directed to return to the Dragonpillar dungeon.
After watching the cutscenes there, we’ll get to return to the Grandtree dungeon and actually be able to fight the boss there this time. At this point you’ve surely got a ton of health and also Elliot’s most powerful attack, so you’re not going to have any trouble with this fight.
After clearing the dungeon and watching the cutscenes that follow in Hitoyori village, we’re next going to travel to the Age of Magic. More specifically, we’re going to go and visit Mao’s house. Like in the Age of Budding, she won’t be home but we’ll at least get to pick up her pendant while we’re here.
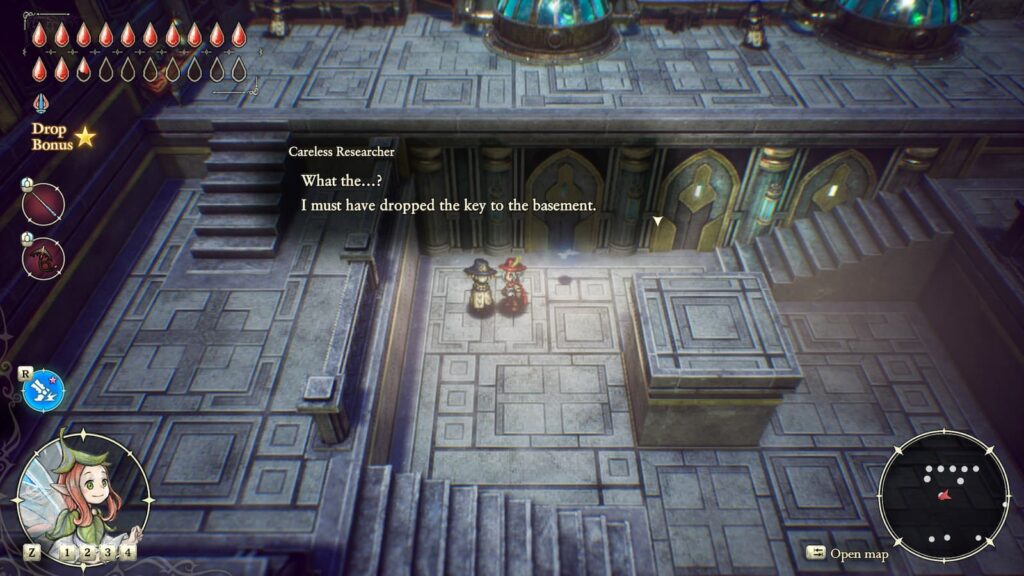
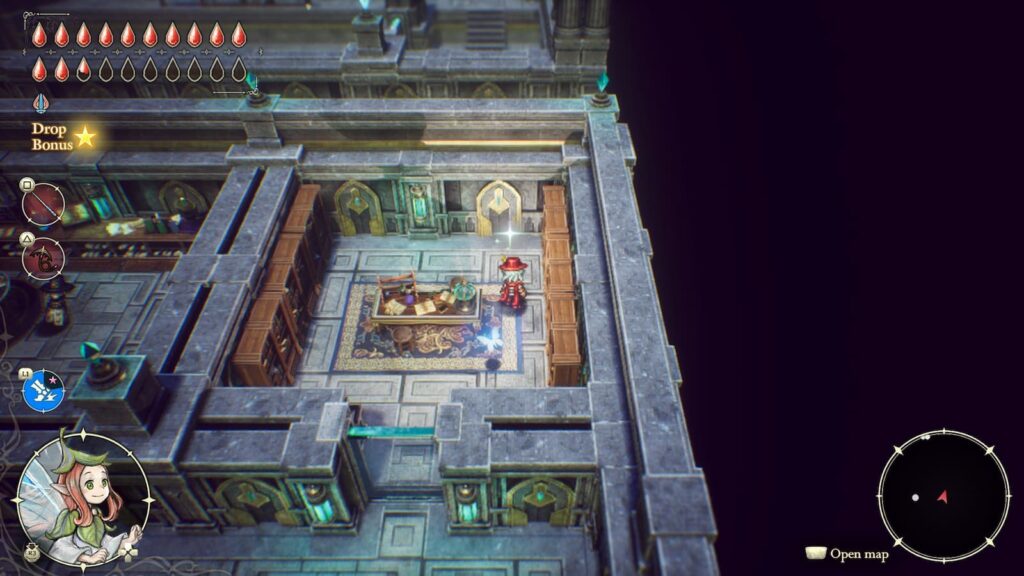
You’ve likely noticed that this is the only age we haven’t explored the Northern Tower in, so let’s head over there to look for Mao. Unlike in the other ages, the Northern Tower isn’t a fully dungeon but just a research lab. We won’t be able to get to the basement because it’s locked, but if you talk to an NPC on the first floor you’ll learn he dropped his key. Said key can be found in the room all the way to the right.
After watching the cutscenes here, we’re going to need to search for a pair of hostages. The game won’t tell you where they are, but if you head to the Southern Caves – Western Edge, you’ll find some Thaumata guarding a building. This is our goal.
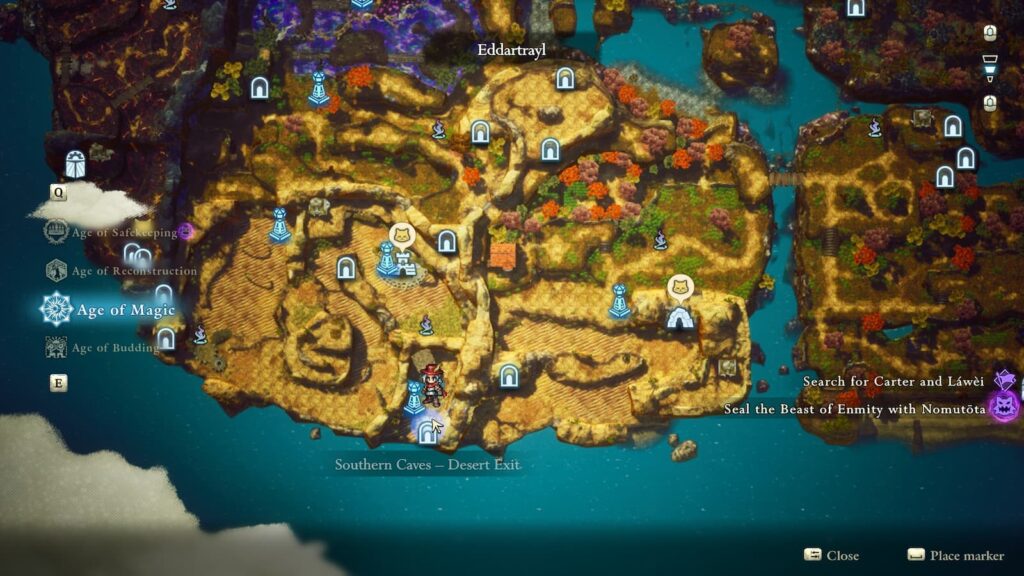
Once we interact with this building, there will be a long escort sequence where you’ll need to go all the way from the Southern Caves to the Doorway of Time. After completing this section, return to the Northern Tower for some cutscenes. While things may look bleak, that’s all we can do in the Age of Magic for now.
Next, we’re going to go to the Age of Reconstruction and again head to Mao’s house. Surprisingly, you’ll find her here; albeit injured. Our task in this age involves gathering whatever ingredients the doctor tells us to. First, we’ll need to gather a shell as medicine. It can be found in the water of the lake just north of the Western Fields of Flon.
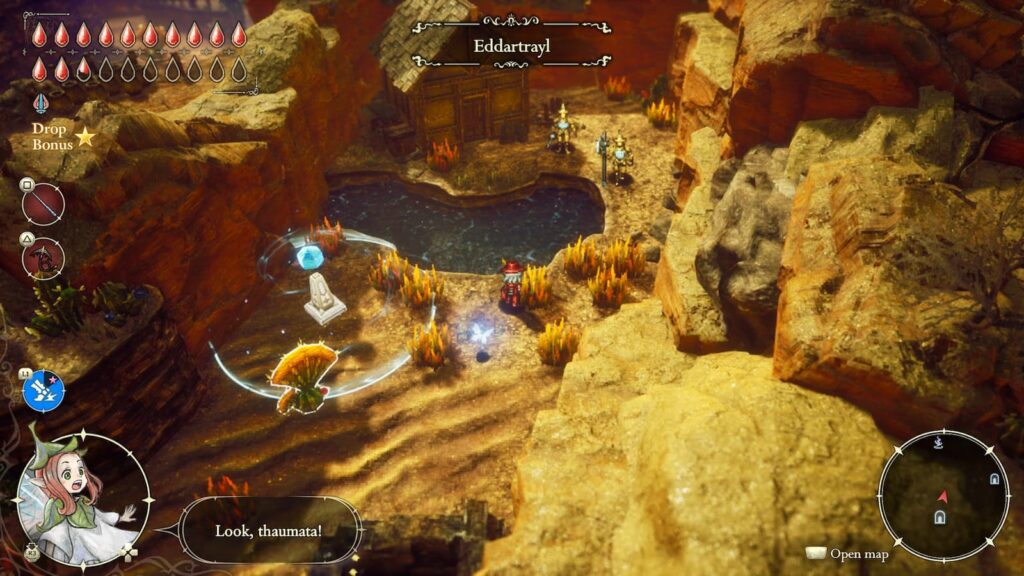
Next, we’ll need some Prickly Pear Flowers that can be gathered via slicing apart the cacti in Eddartrayl. The third ingredient we’ll need, Lavacotton Leaf, can be gathered by slicing up the red grass in Garretbelt. Once we’ve delivered the third ingredient, we’ll need to leave the age and then return to progress time slightly and check in on Mao again.
After the cutscenes that follow, we’ll need to head back to the Age of Safekeeping. In the Kingdom of Huther you will be driven along through a series of cutscenes once you enter town that will soon bring you to the castle. After the king sends to the Eldertree, we’ll need to figure out a way to save Mao.
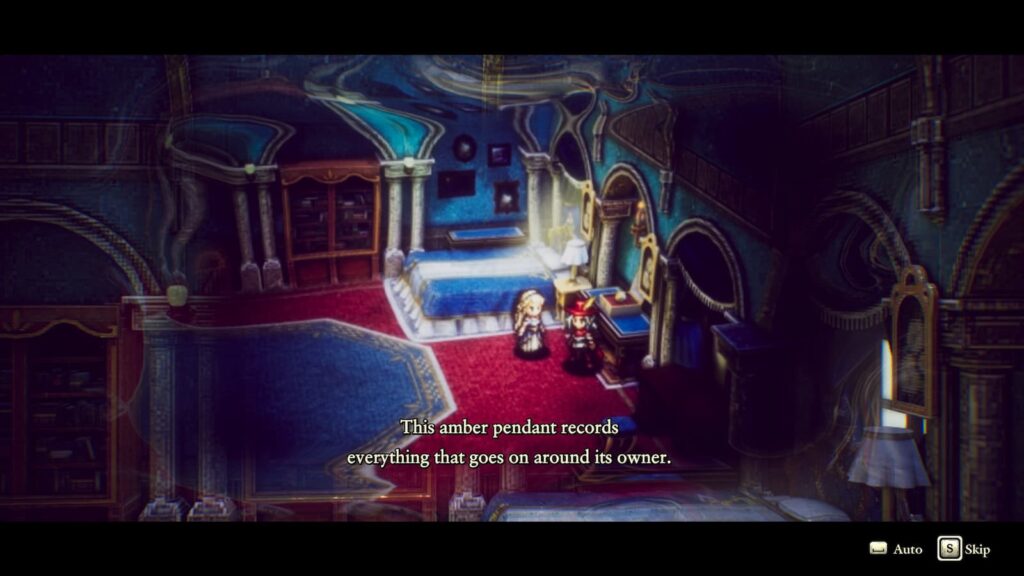
Remember Mao’s pendant? The one that can show memories of what its owner sees? That sure sounds a lot like the Amber Pendant that the princess uses and we have been using to rewatch cutscenes the entire game. Head to the princess’ room and grab the pendant. This will be our final key to getting the best ending in the game.
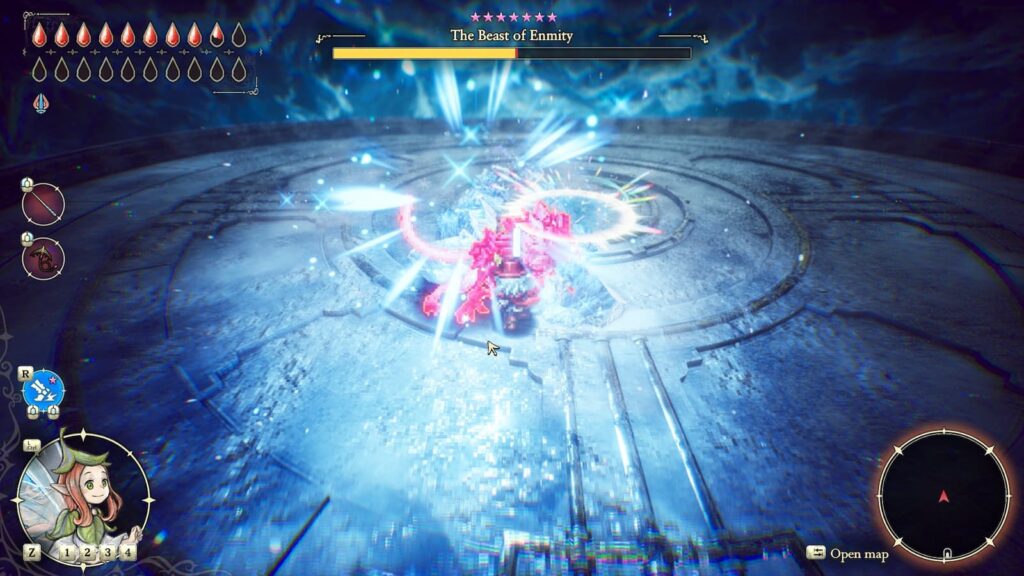
Before continuing you should probably take some time to complete the side quests that just unlocked, as you won’t have much time to do them. Once you have, make sure you EQUIP the Amber Pendant and head to the Northern Tower one last time.
This time, do NOT attack The Beast of Enmity. Instead of fighting her, you need to perform a perfect guard three times. Each time you succeed a cutscene will play out. After the third guard, the fight will end and you’ll officially be locked into the true end route for the game. There’s still a bit of game to go, but it’s all straight forward from here.


")