
Want to see Raider King content first? Add us as a preferred source.
As the player progresses through Episode 1 of Snap & Grab, they’ll encounter more and more complex heists which require them to think outside the box to get the item they want. The game’s fourth heist, the Emerald Hourglass, is a perfect example of this as even grabbing the item is a difficult task that will require you to use both of your crewmates to your advantage and make them perform actions simultaneously. This is quite the difficulty jump from the previous heists, so If you are having any trouble stealing this object, then please use the following guide detailing all viable methods for stealing the Emerald Hourglass in Snap & Grab.
How to Steal the Emerald Hourglass in Snap & Grab
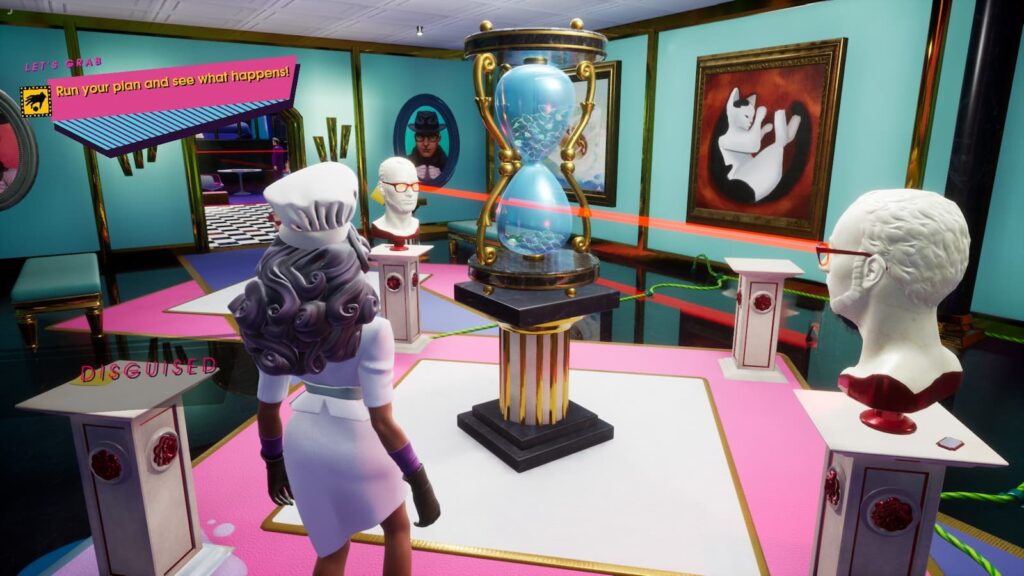
Before we even think about planning our heist, we need to first find the Emerald Hourglass and make note of the obstacles in our path. The hourglass is located in the Rooftop Museum, which is already an off-limits area. The entrance to this room is guarded by a security guard named Kenny on the first floor of the apartment. While we can sneak by him fine with the Chef outfit, we’ll need to find a way for our crew to get by him too.
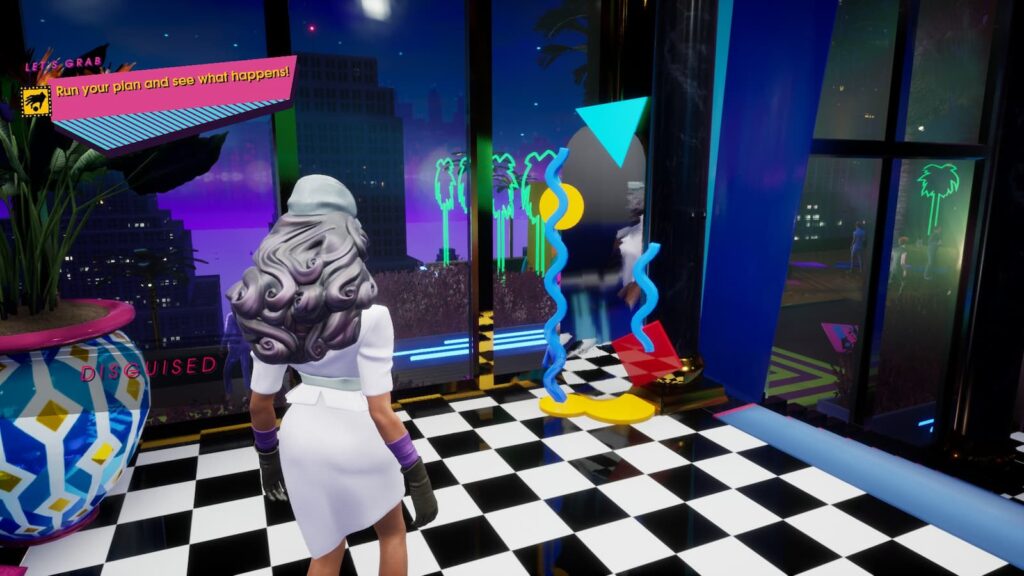
Upstairs in the Rooftop Museum, you’ll immediately spot the Emerald Hourglass in the middle of the room. Unfortunately, there are two lasers pointed directly at it. Any attempt to grab it will involve touching said lasers and activating the alarm. This is our main obstacle for this heist, how do we get around those lasers?
Method 1 – Short Circuit the Lasers with Water
For our first attempt at stealing the Emerald Hourglass, we’re going to use the number one enemy of all electronics: water. Getting your crew into the Rooftop Museum is actually quite easy as all you’ll need to do is make sure the Conversationalist talks to Kenny as the first step of your heist.
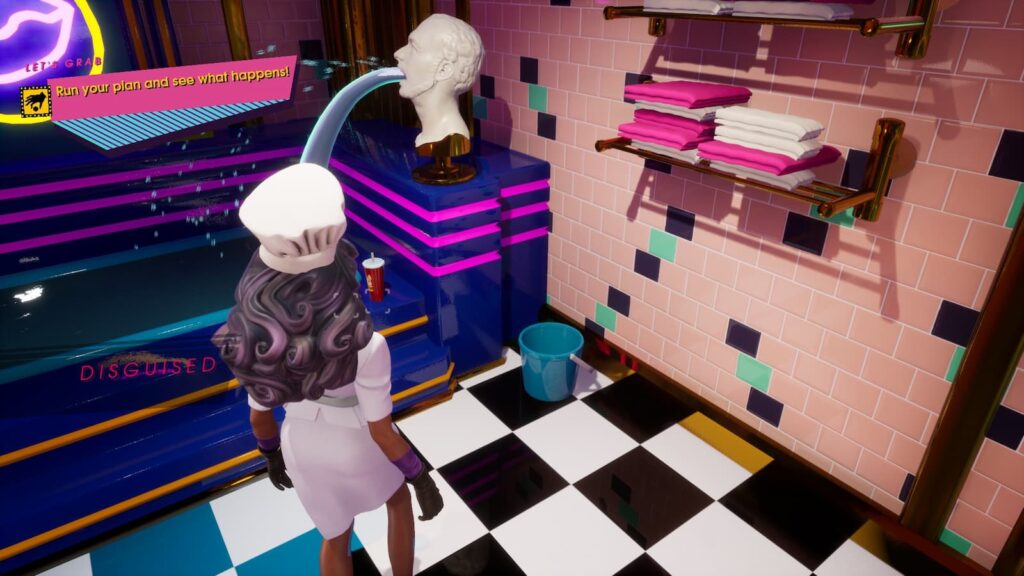
Now as for getting water up there, we’re going to need to gather some buckets. As far as I can tell, there are two buckets in the apartment. The first is really easy to find as it’s in the bathroom directly next to the Emerald Hourglass. The other however, is guarded by the janitor on the staff floor of the building.
As we learned in the previous heists, there doesn’t seem to be any way to actually distract this janitor. So instead we’ll need to make sure there are no guards nearby for him to call when he does spot your crew. This can be done by tapping the glass near the security room. Once the guard is gone, the bucket will be free to steal.
This will be our first heist that absolutely requires making two members of your crew do something simultaneously, as Brick and the Conversationalist need to pour their bucket of water of the two statues at the exact same time. Make sure the two orders are parallel to each other as you set up the following steps for your heist.
- Conversationalist Converses with Kenny
- Conversationalist Taps the Loud Glass near the security room
- Conversationalist Grabs the Bucket on the staff floor
- Brick Grab the Bucket in the Rooftop Museum bathroom
- Conversationalist Pours water on Left Erik Pop Statue AND Brick Pours water on Right Erik Pop Statue in the Rooftop Museum
- Brick Grabs the Emerald Hourglass
With one successful Hourglass heist in the bag, let’s go over the other viable methods for stealing it.
Method 2 – Reflect the Lasers
How about instead of breaking the lasers, we just find a way to not touch them while we grab the Hourglass? To do this, we’ll need to grab some mirrors. Thankfully, we won’t need to go far as you can find two mirrors in Erik Pop’s bedroom that’s attached to the Rooftop Museum.
This heist method is going to be incredibly similar, and actually simpler, than our previous one as we’re going to just substitute the buckets we used before for these mirrors. Take out your heist planner and input the following plan
- Conversationalist Converses with Kenny
- Brick and Conversationalist Grab Mirrors
- Brick Brings Mirror to left Erik Pop Statue AND Conversationalist Brings Mirror to right Erik Pop Statue
- Brick Grabs the Emerald Hourglass
Method 3 – Disable the Security Lasers
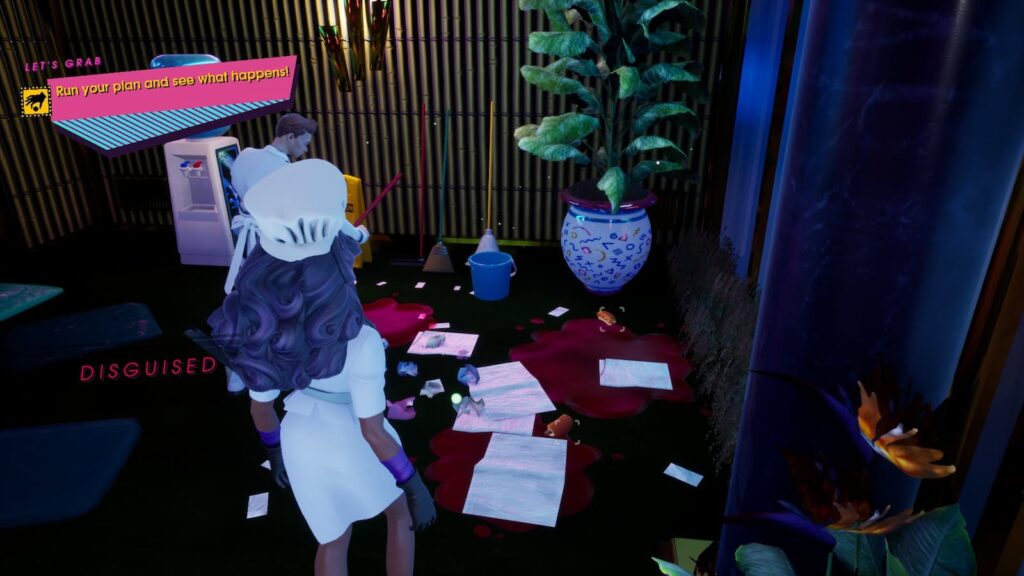
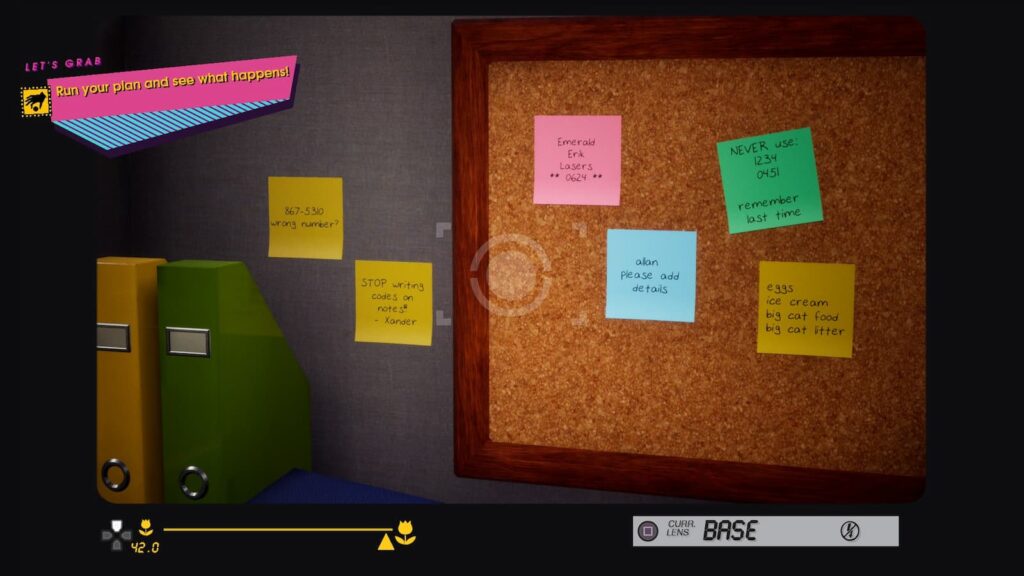
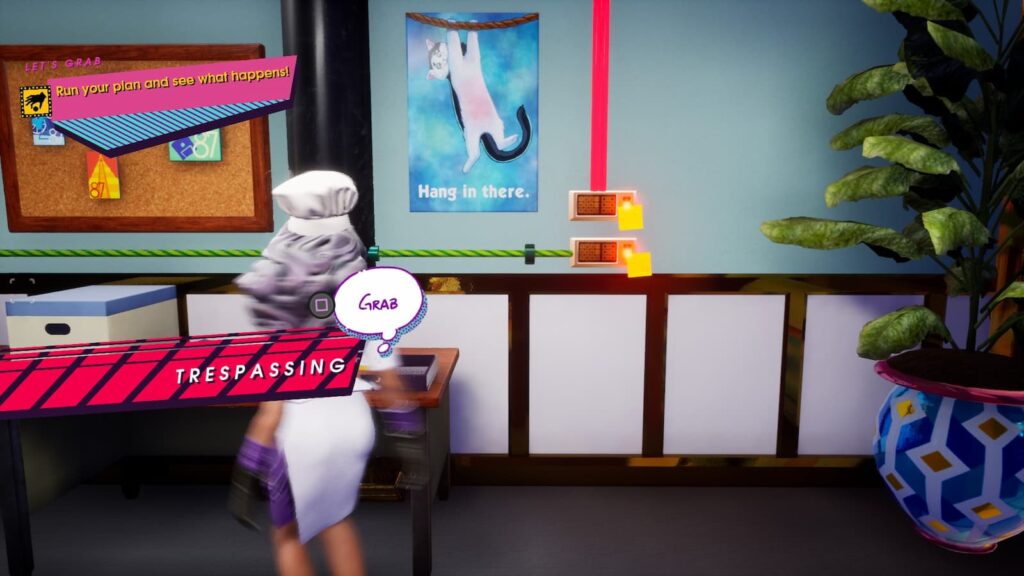
Now that we’ve gone over heist methods which make the alarm useless, let’s go over one where we just turn it off entirely. If you go down to the security room on the staff floor, you can find in the central cubicle with the code to turn off the alarm. While I am unaware if taking a photo of this code is necessary, do so and then take a photo of the alarm control system itself.
This heist is going to be very similar to the one we used to lure the Toilet Shark into the Golden Toilet. As we will need to lure a guard away to get our crew downstairs and then lure the second guard away from the security room. Open your heist notebook and put together the following plan:
- Brick Breaks the Erik Fountain
- Conversationalist Taps on Loud Glass near Security Room
- Conversationalist Inputs Code in the Security Room
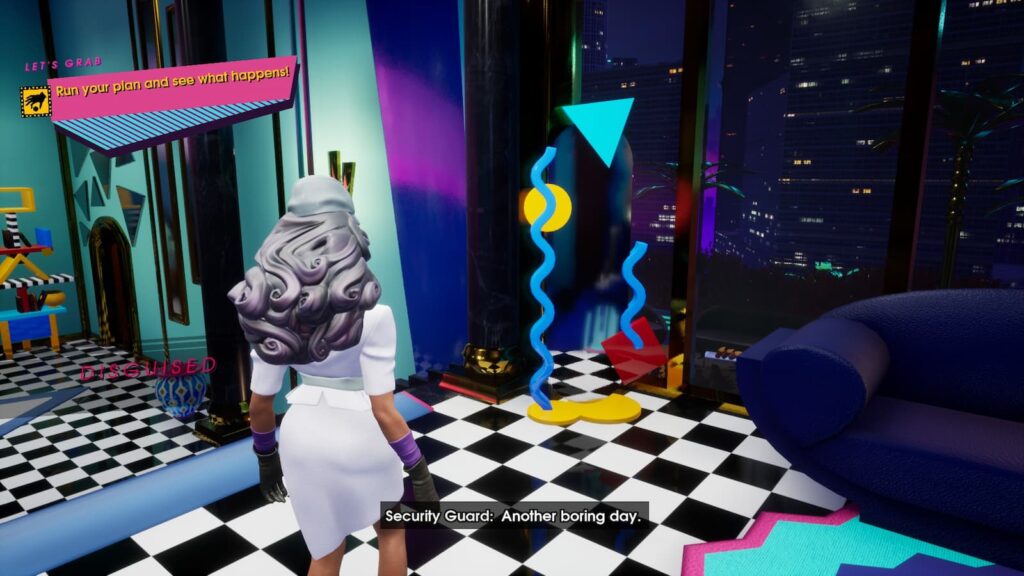
- Conversationalist Converses with Kenny the Security Guard
- Brick Grabs the Emerald Hourglass
")
")
")