Want to see Raider King content first? Add us as a preferred source.
007: First Light’s eighth chapter, All The Time In The World, is where the game truly begins to open up in terms of challenges. Not only does nearly every segment of this chapter have multiple different solutions for the player to figure out, but there are also several optional tasks for them to complete along the way. While any player will inevitably clear some of these challengers during a casual run, the sheer amount of different challenges in this chapter can be quite intimidating. If you are having trouble with any of these challenges, then please feel free to use this guide on how to clear every challenge in the All The Time In The World chapter in 007: First Light.
Every All the Time in the World Challenge in 007: First Light
There are 27 named challenges for All The Time In The World chapter. While that number may seem intimidating, if we remove the Completionist challenge and the others which simply require you to complete multiple other challenges then the actual number is a slightly more manageable 23. Here is a list of every challenge in the chapter.
| Challenge Name | Description |
|---|---|
| Completionist | Complete all challenges in “All The Time In The World” to unlock the Chauffeur uniform for TacSim. |
| Pacifist | Complete “Uninterrupted Service” and “Peace Studies”. |
| Ghost | Complete “Squeaky Clean” and “Silent Study”. |
| Assault | Complete “Getting Dirty” and “Indiscrete”. |
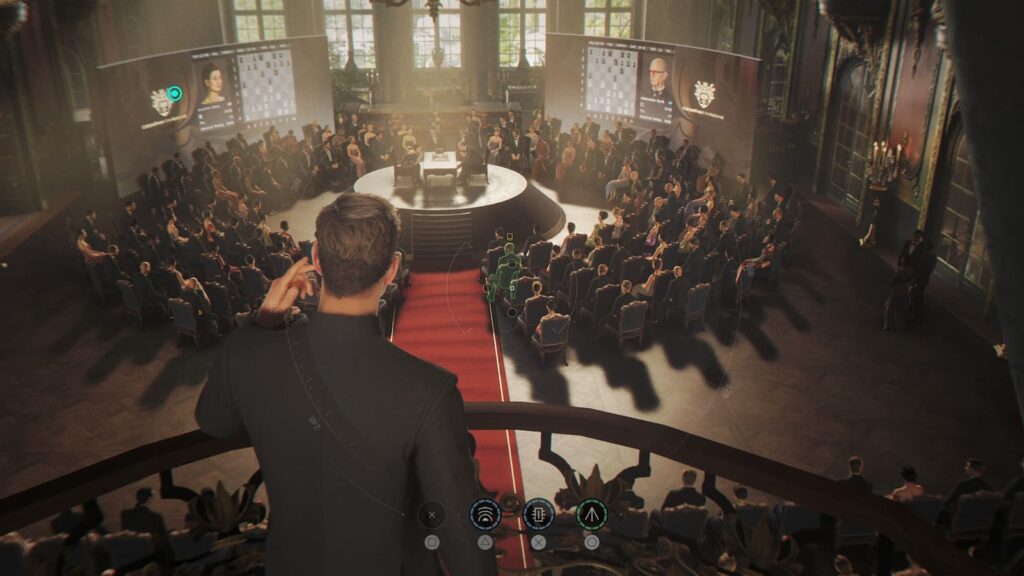
| Press Only | Enter the chess tournament as a member of the press. |
| Self Check-In | Enter the chess tournament using an alternative entrance. |
| Lone Wolf | Don’t get spotted by any of the other recruits. |
| Bellboy Hat | Find the Bellboy hat. |
| Wine Connoisseur | Open the hotel manager’s safe. |
| Peace Studies | Get through the study room without harming any guards. |
| Silent Study | Get through the study room without getting spotted. |
| Indiscreet | Defeat 5 of the private security in the library. |
| The Manager | Enter the hotel manager’s office. |
| Housekeeping | Get a staff member to open Room 205. |
| Elementary | Find all the clues in room 206. |
| Do Disturb | Enter room 207. |
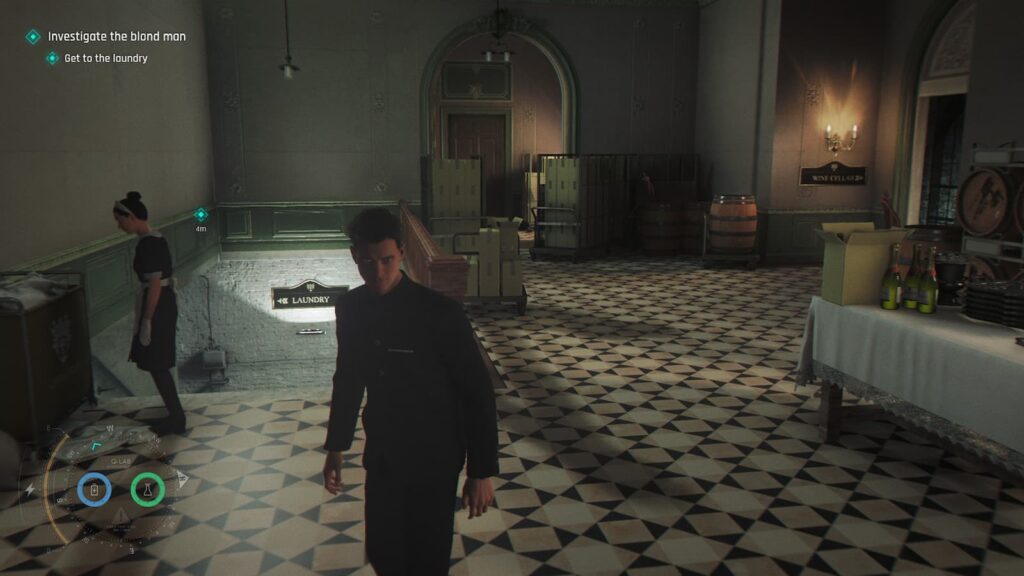
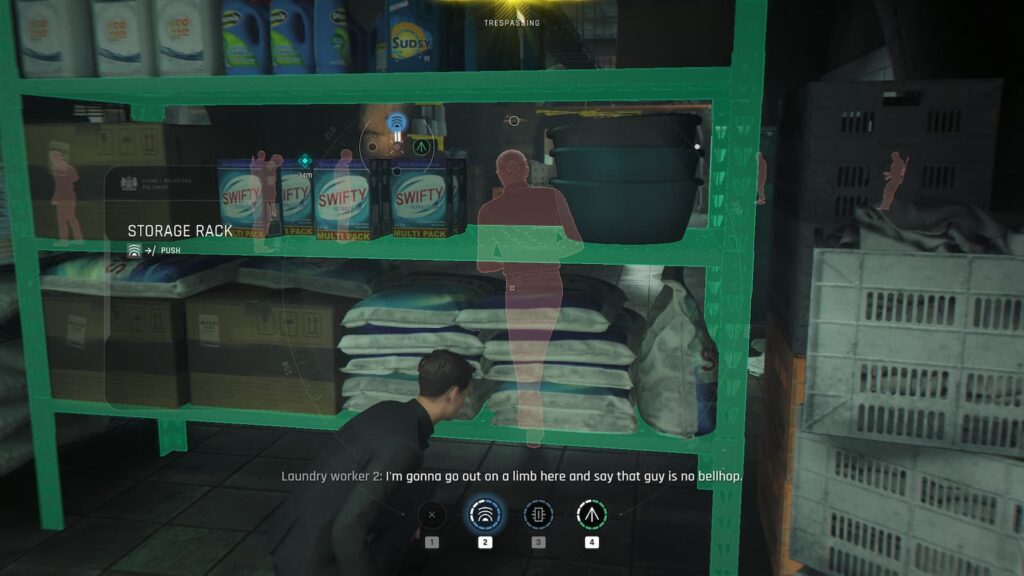
| Old School Hacking | Discover the code to access the laundry area. |
| Laundry Day | Disguise yourself as a laundry worker. |
| Uninterrupted Service | Get through the laundry without harming any of the workers. |
| Squeaky Clean | Get through the laundry without getting spotted. |
| Getting Dirty | Defeat 5 laundry workers in the laundry area. |
| Chimera | Solve the puzzle in the dining room on the first try. |
| A Beautiful Waste | Destroy 5 premium wine bottles during the cellar fight. |
| Floor It! | Reach top speed during the car chase. |
| Firebrand | Destroy 5 explosive barrels. |
| No Brakes | Dislodge the vehicle locking mechanism in the airplane. |
| Traveling Light | Throw three hostiles from the aircraft. |
As you can probably guess from all of those contradicting descriptions, you’re going to need to play nearly every segment of this chapter multiple times to clear every challenge. Below I have written detailed descriptions for the intended methods of clearing each of them.
Press Only
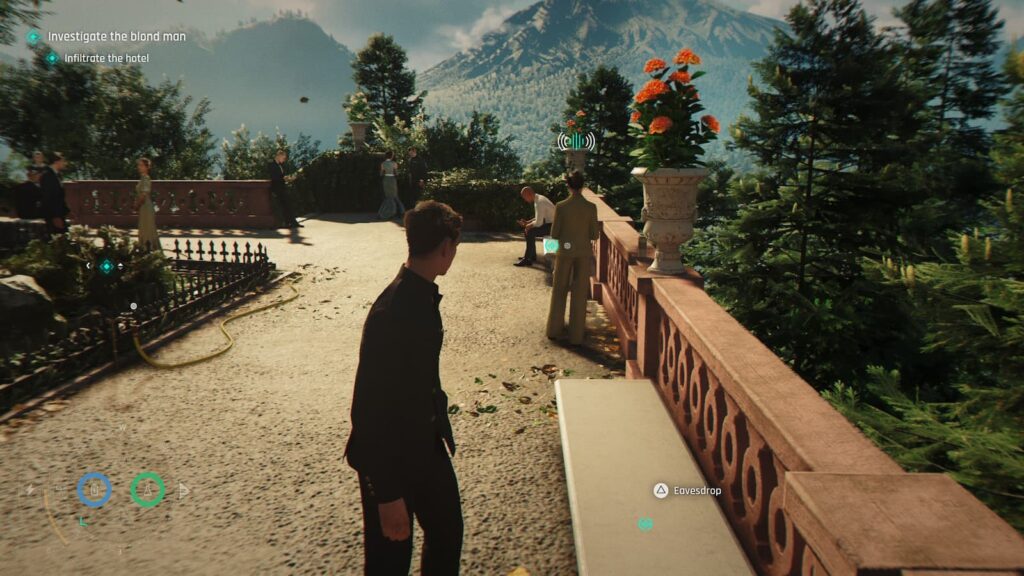
To complete this challenge we’ll need to start at the “In Position” checkpoint and find a way to just walk into the hotel through the press entrance. To do that, we’ll need to find a press badge. In order to get one, we will first need to eavesdrop on this woman near the door and hear about how she hid a rival journalists’ press badge in a pot somewhere.
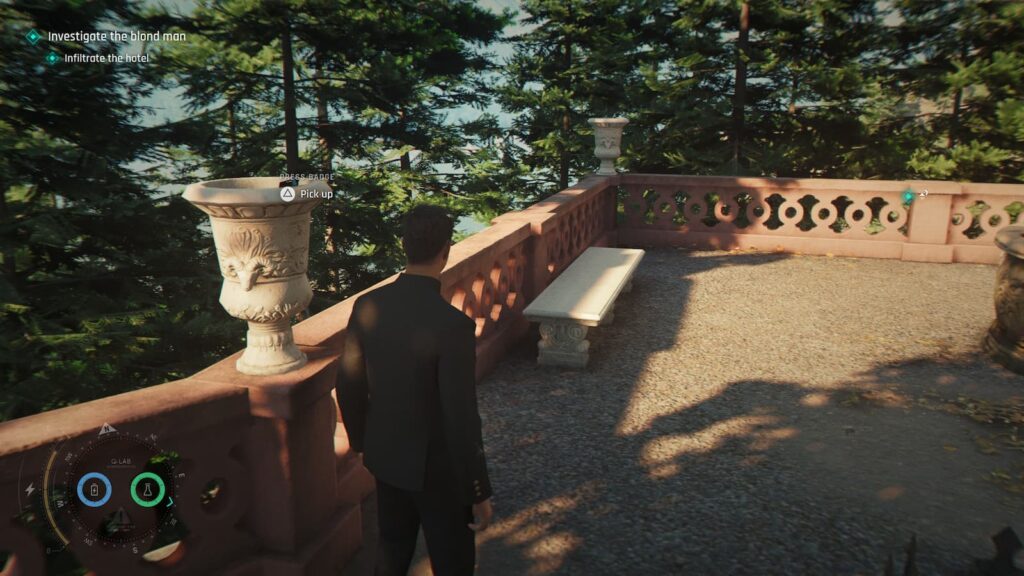
After learning this, walk down the stairs and to the right to find this press badge in a pot. Once it’s been picked up, just walk on inside of the hotel.
Self Check-In
For this next challenge, instead of walking in through the entrance we’re going to find a window to climb into and sneak our way inside. To do that though, we’re first going to need to do some light arson. After starting the mission, climb the first set of stairs and walk to your left. Here, you will find a hose you can turn on to make a guard leave the bench he is sitting on. While the guard is distracted, he will leave his lighter on the bench, steal it.

With the lighter in hand, make your way back to the door you walked through in the previous challenge and look to the left to see a pile of dry leaves. Light them on fire to distract a guard, allowing you to jump over the blue-clothed balcony that he’s guarding.
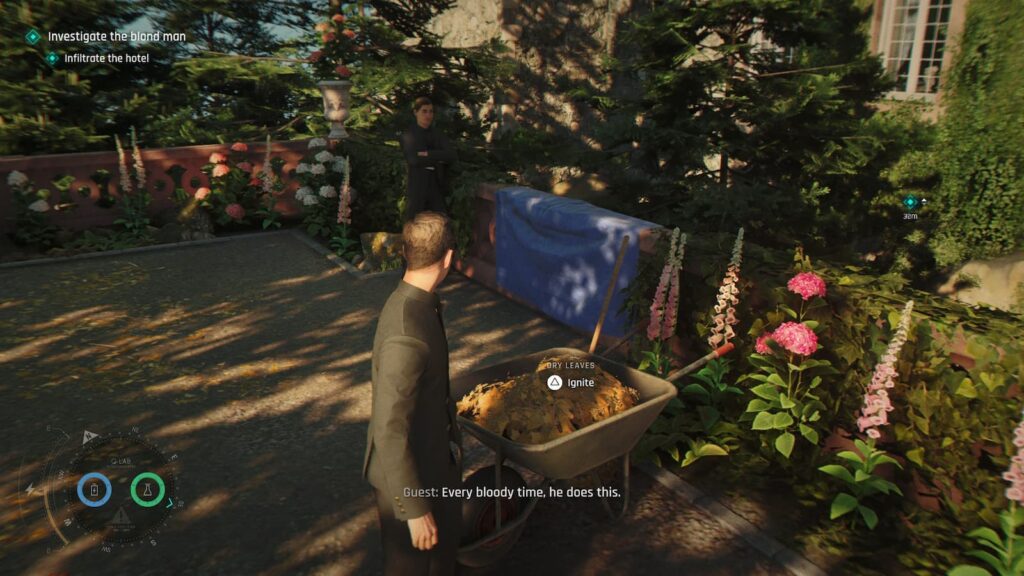
Once you’ve climbed over the balcony, just following the path until you reach the window. Climb through it to complete the challenge.
Lone Wolf
When sneaking through the hotel, you’ll be able to run into your fellow MI6 agents, for this challenge we want to completely avoid them. They’ll always be marked with a yellow mark over their head and a green glow when using your watch’s scanning ability. Just stay far away from them and make sure you check if they’re behind a wall before you enter a room to complete this challenge.
Partway through the mission there will be a cutscene where Bond meets with Monroe to discuss his search from the Blond man. Talking to Monroe here is required, you will not fail the challenge when this cutscene occurs.
Bellboy Hat
When entering the Laundry Room for the first time, instead of immediately going down the stairs, head to the door on the left side of the room. This door can only be opened via the Cellar Key you earn from completing the Wine Connoisseur challenge, but inside of it you’ll find the Bellhop’s Hat. Examine it to complete the challenge.

Wine Connoisseur
To complete this challenge, we’ll need to open the safe in the Manager’s Office in the first floor of the hotel. Doing this will also get us the “The Manager” and “Old School Hacking” along the way and also give us the Cellar Key we need in order to complete the Bellboy Hat challenge listed above.
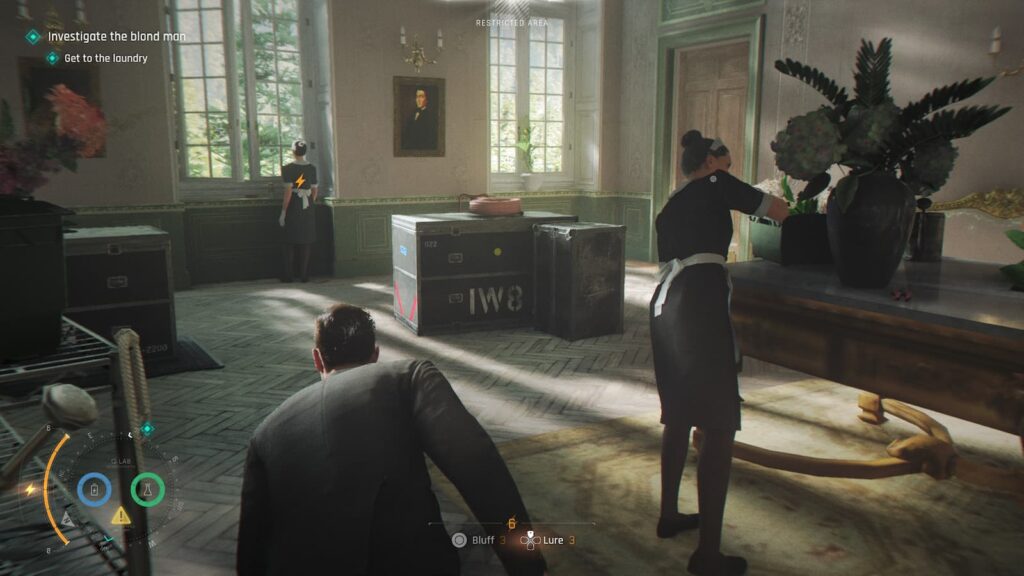
In order to break into the Manager’s Office, we’ll first need to open the door that’s in the hallway behind the reception desk that’s marked as Staff Only. There will be two maids here, but they can be easily snuck past. Exit this room through the door you didn’t enter from to reach the Manager’s Office.

Once in the Manager’s Office, you’ll find a locked safe beneath his desk with a four digit combination. In order to learn this combination, open the drawer on the right side of the room to find some Wine Tasting Notes. According to these notes, the Manager’s favorite wine is Sacramental. This particular wine is a vintage from 1952, that’s our four digit combination.

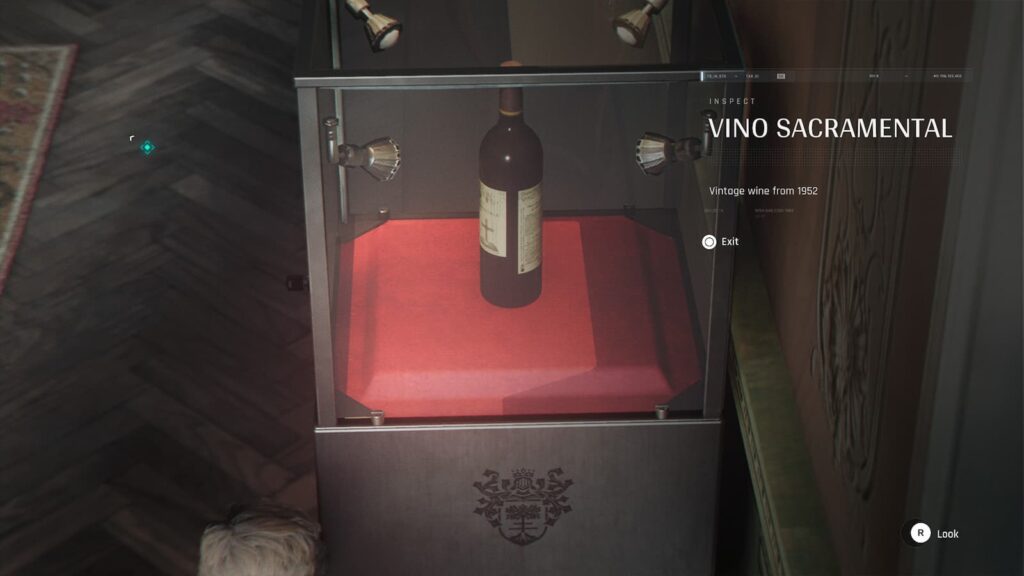
Use the code 1952 to open the safe and you’ll not only complete this challenge, but you’ll also gain the Cellar Key.
Peace Studies
For this next challenge, we’ll need to load up the “The Study” checkpoint and sneak out of the room without harming any guards. This is easiest to do just by not being seen so here’s the quickest way to stealth your way through this area.
1. Immediately sneak your way over to the room on the left
2. Turn on the vacuum cleaner to lure one of the two guards in this room toward it
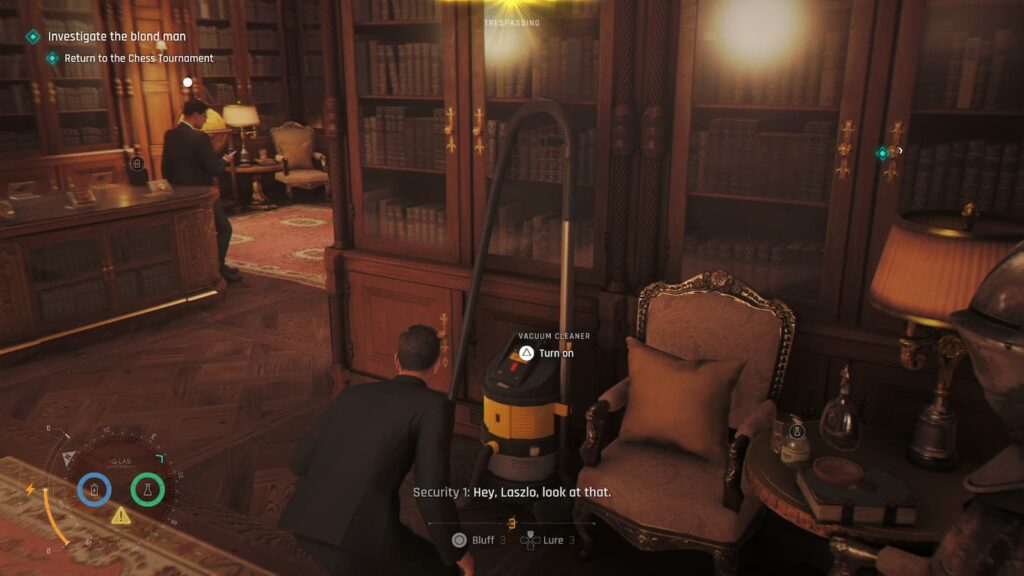
3. Shoot the other guard with a sickness dart (This doesn’t count as harming him)
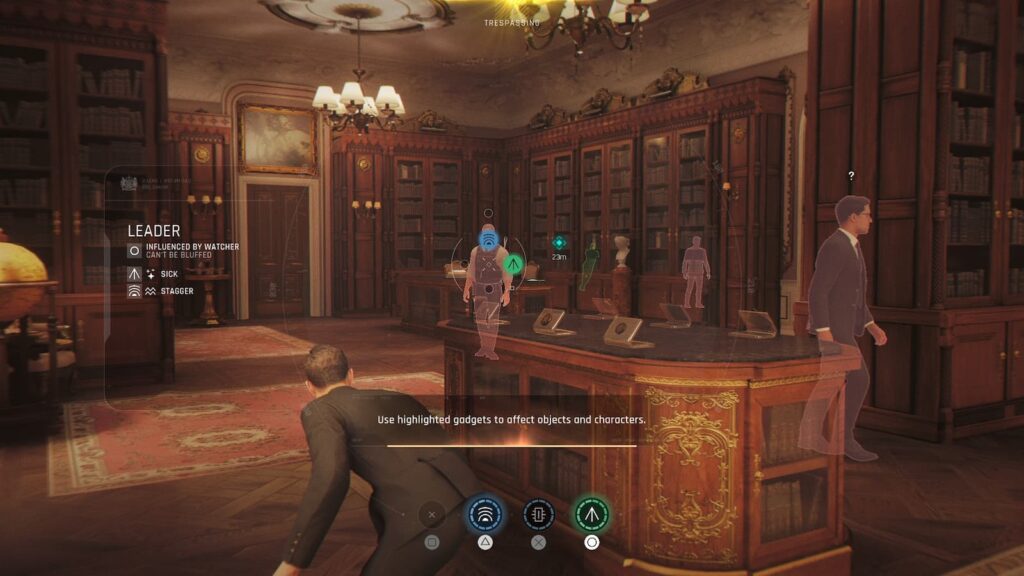
4. Walk past the sick guard (He cannot spot you now) and exit through the door, completing the challenge.
Silent Study
For this challenge you’ll need to leave the study without being seen. I already explained how to do this in the above challenge walkthrough, so follow those steps.
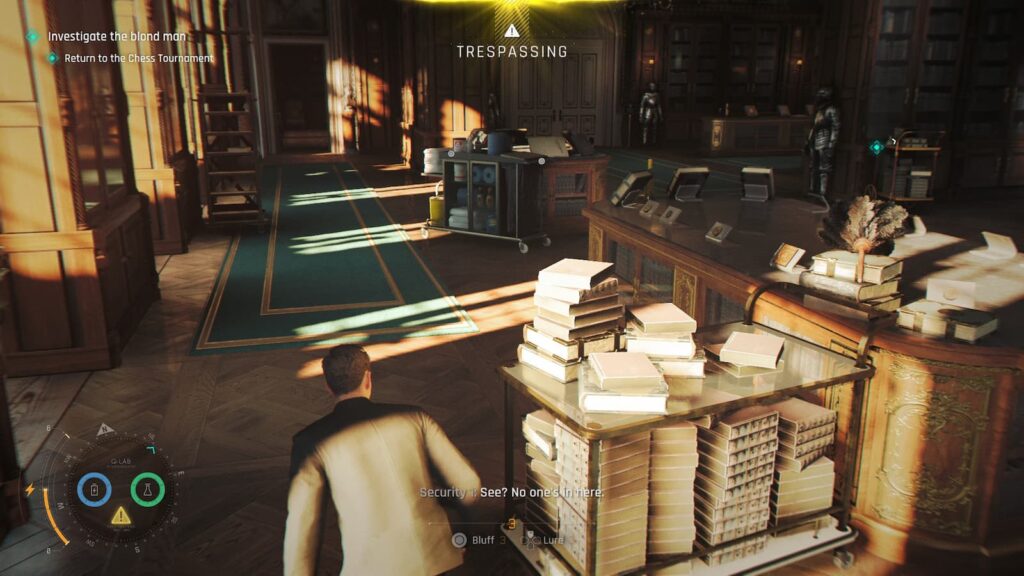
Indiscreet
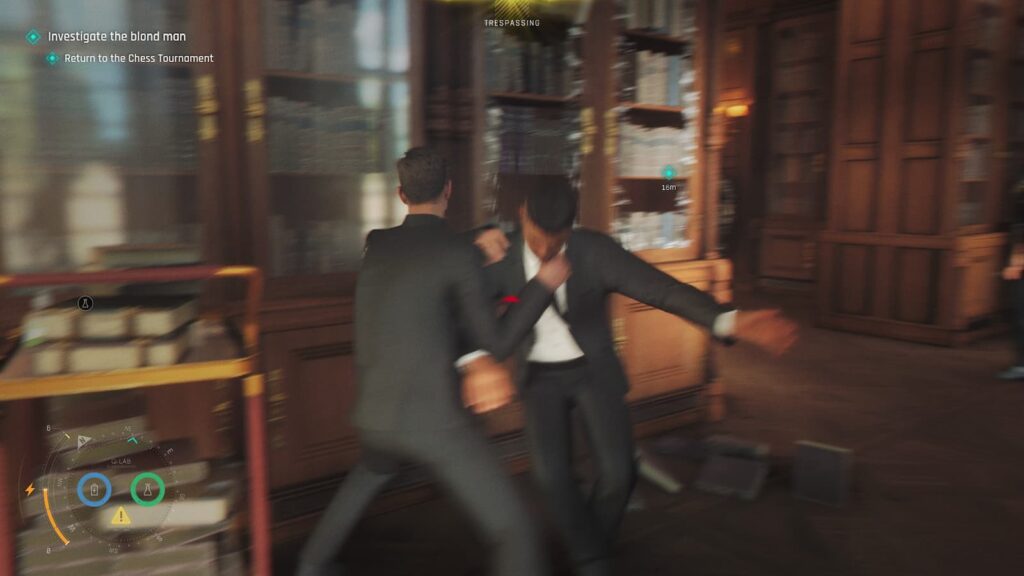
This next challenge will require you to forget the meaning of the word stealth and simply beat up every single enemy in the study. There’s only five of them and they aren’t heavily armored, so this should be a quick and easy one for you.
The Manager
I already explained how to sneak into the Manager’s Office for the WIne Connoisseur challenge, but just in case you’ve skipped to down here, We’ll first need to open the door that’s in the hallway behind the reception desk that’s marked as Staff Only. There will be two maids here, but they can be easily snuck past. Exit this room through the door you didn’t enter from to reach the Manager’s Office.
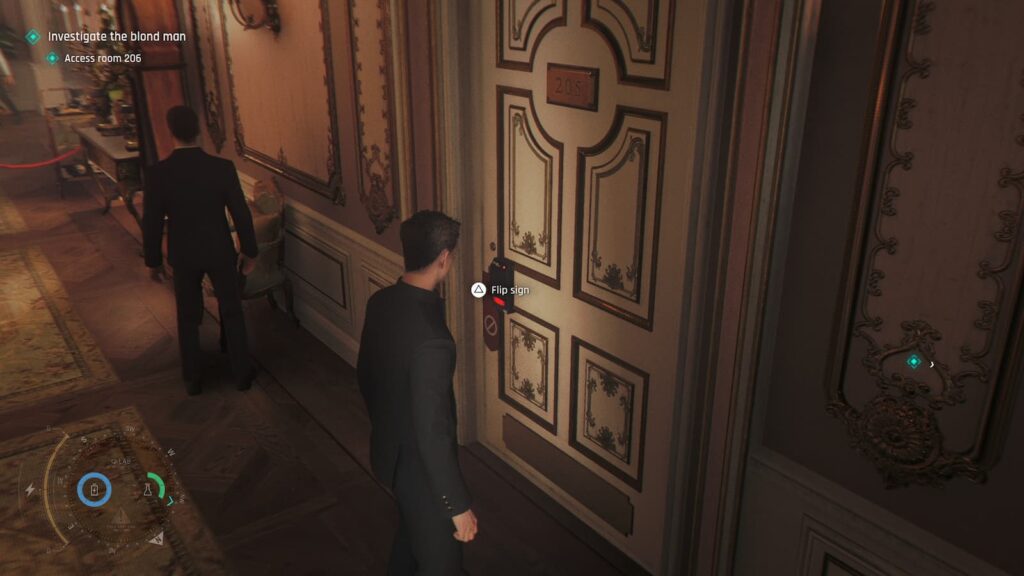
Housekeeping
During the “Reach Room 206” checkpoint, eavesdrop on the maid standing outside of the room to learn about the hotel’s cleaning policies. Then, shoot a dart at the nearby grandfather clock to distract nearby watchers.
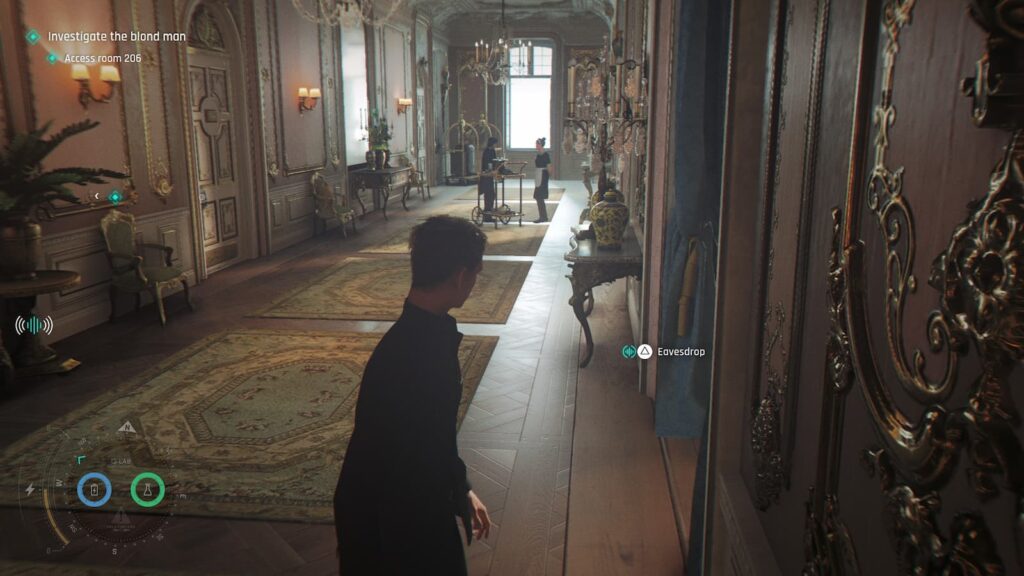

While they’re distracted, flip the Do Not Disturb sign on the door and wait for the maid to open it to complete this challenge.
Elementary
When searching through room 206, examine every single object in the area (Leave the fireplace for last) to complete this challenge.
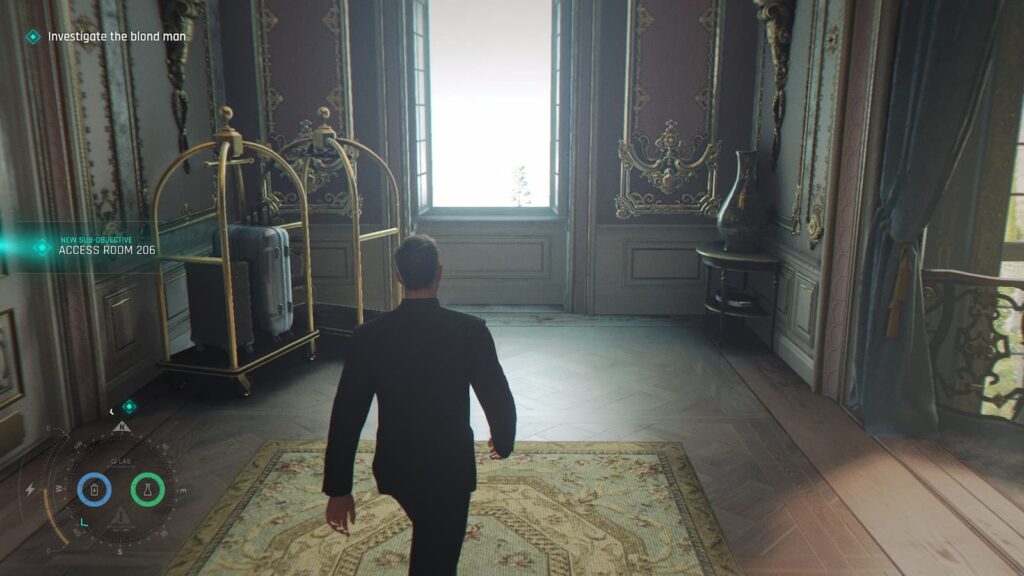
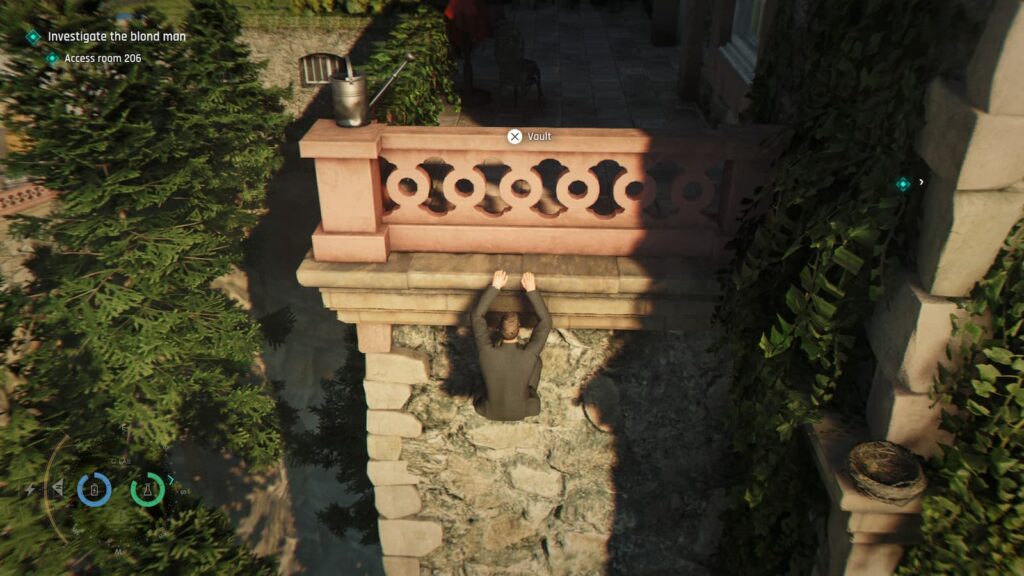
Do Disturb
For this challenge, jump out the window in the hallway containing the door to Room 206 and climb across the balcony. Instead of going all the way to room 206, climb into room 207 and disturb the guest in there for some amusing dialogue and a quick challenge completion.
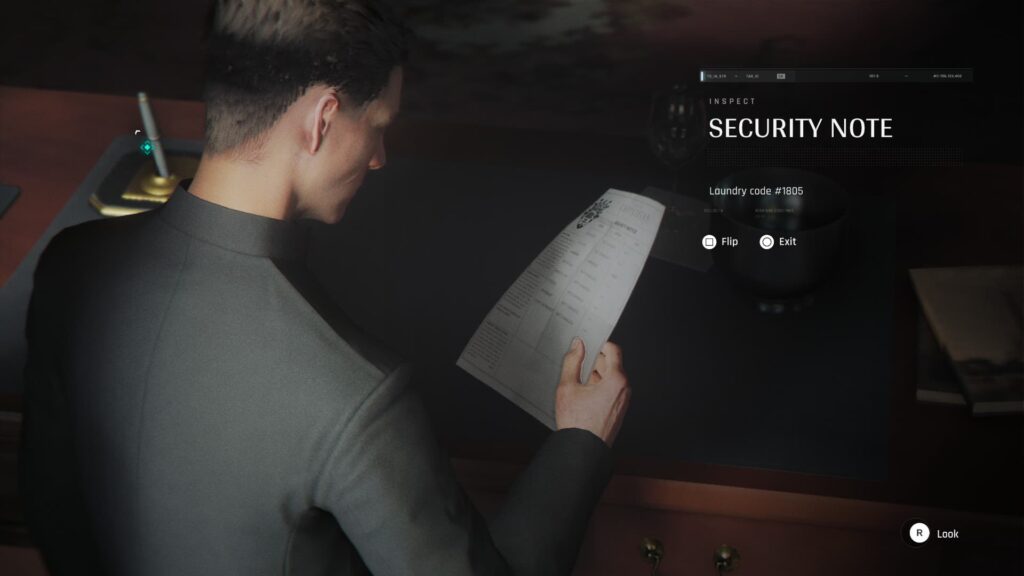
Old School Hacking
To complete this challenge, you’ll need to learn the code for the Laundry Room door. This code is located in the Manager’s Office, which I’ve already explained how to get into twice for the “Wine Connoisseur” and “The Manager” challenges. In this room you can find a note with the combination sitting on the table.
Laundry Day
The next few challenges are all centered around the “laundry” checkpoint. This one requires us to disguise ourselves as a laundry worker via a hat hidden in the laundry room. Because this challenge is essential for sneaking through the laundry room unseen, I’ll go over the full stealth route now.
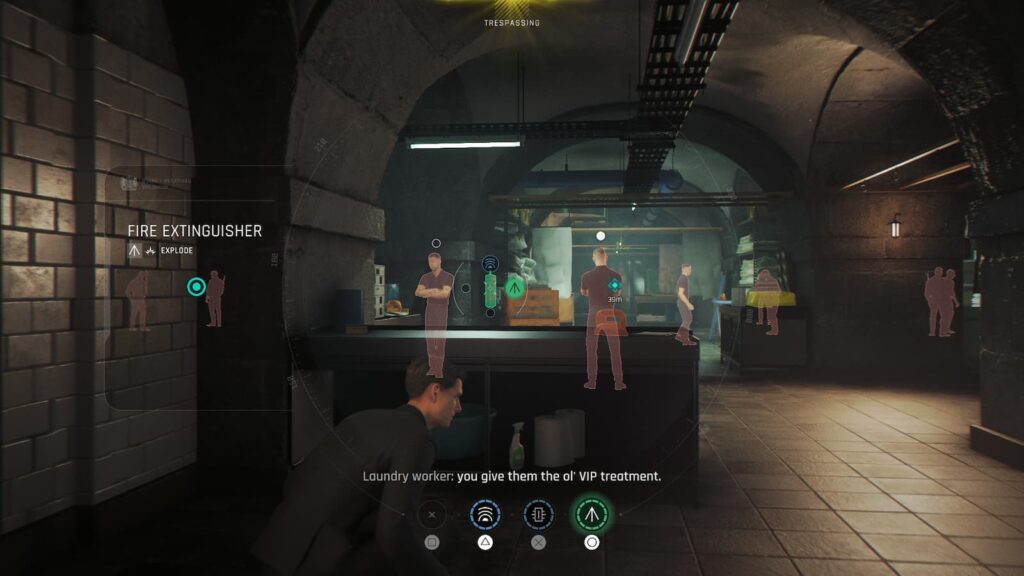
1. Upon starting the mission, make your way to the left side of the room

2. Shoot a dart at the fire extinguisher, then quickly kick in the door near you while the guards are distracted. Hide in that room room quickly before you’re seen.
3. Inside of this room you’ll find two guards standing by the table with the laundry hat. Use your watch on the air conditioner above them to release a smoke screen and quickly put the hat on before it fades. When wearing the hat, no enemies in the room will be able to spot you.
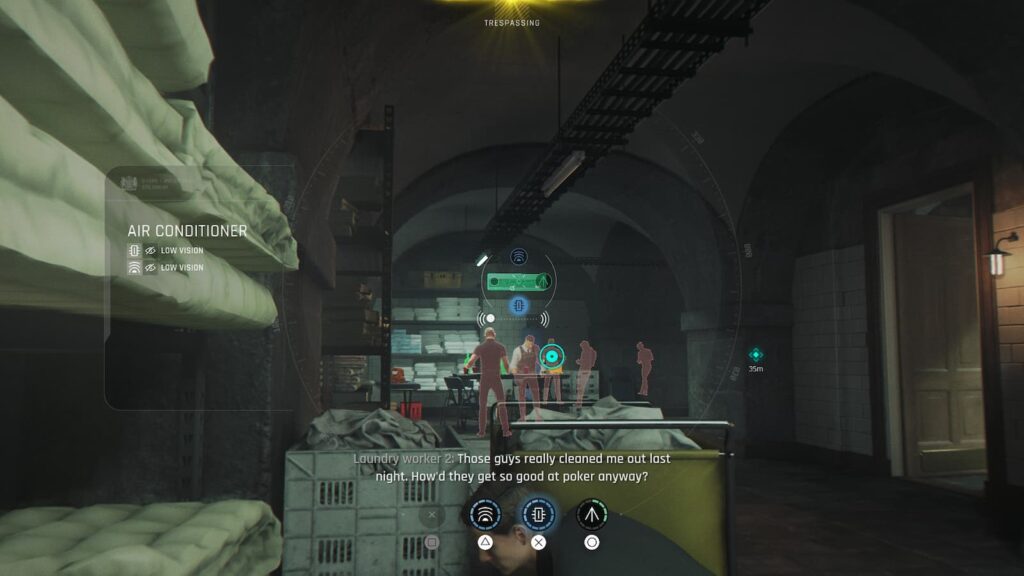
4. With this disguise, simply walk toward the exit to leave unseen.
Uninterrupted Service
This challenge requires sneaking out of the laundry room without harming any of the workers, please read the “Laundry Day” section for an explanation on how to do this
Squeaky Clean
Another challenge related to getting out of the laundry room unseen, again please read the “Laundry Day” section for a walkthrough on how to sneak out of here.
Getting Dirty
For the next challenge we’ll need to defeat five enemies in the laundry room. This is easy enough to do, but my favorite method for this is to push the large shelves around the room on top of them.
Chimera
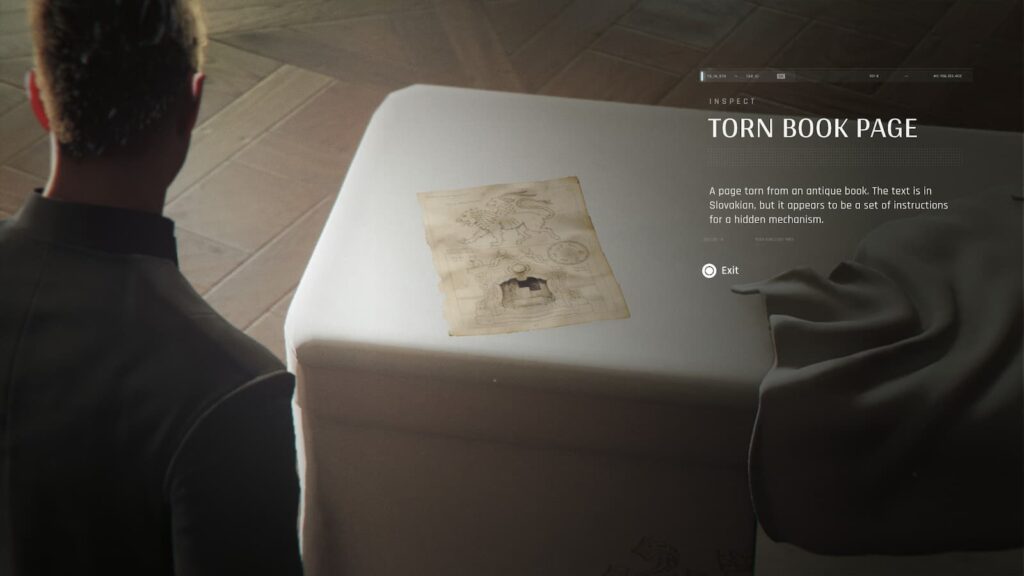
This challenge can be quickly completed at the “The Vanishing” checkpoint. Here, you will simply need to solve and input the solution for the Dining Room Puzzle without getting it wrong. If you mess up, just reload the checkpoint for the challenge to reactivate.
A Beautiful Waste
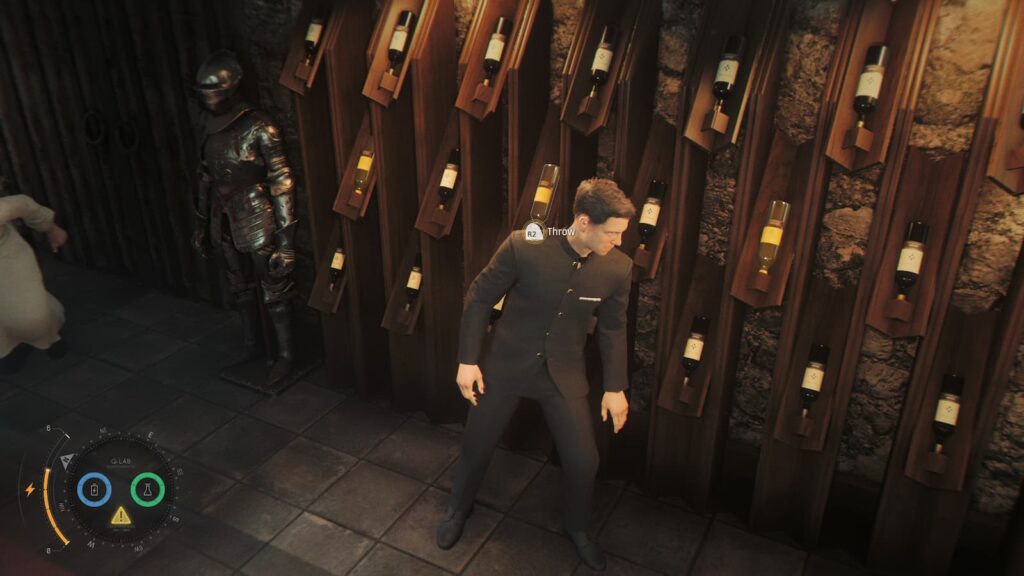
Load up the fight in the “First Casualty” checkpoint for this next challenge. While fighting the mysterious blond man, you will be able to throw the bottles of wine that are lining the walls of the room. Throw five of these during this fight (not the fight after it) and you’ll complete the challenge
Floor It!

During the car chase near the end of the chapter there will be plenty of straight roads and even an open field to drive through. It’s very likely you’ll reach top speed naturally during your playthrough.
Firebrand
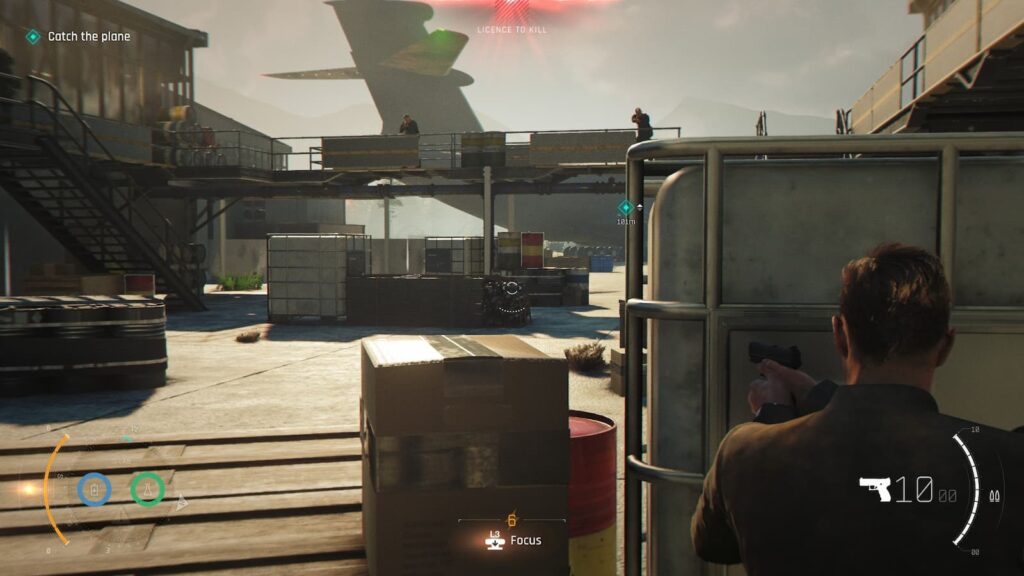
Next, we’ll need to shoot 5 explosive barrels during the gunfight at the airfield. You’ve played a video game before, the red barrels are the ones that explode. Shoot them.
No Brakes
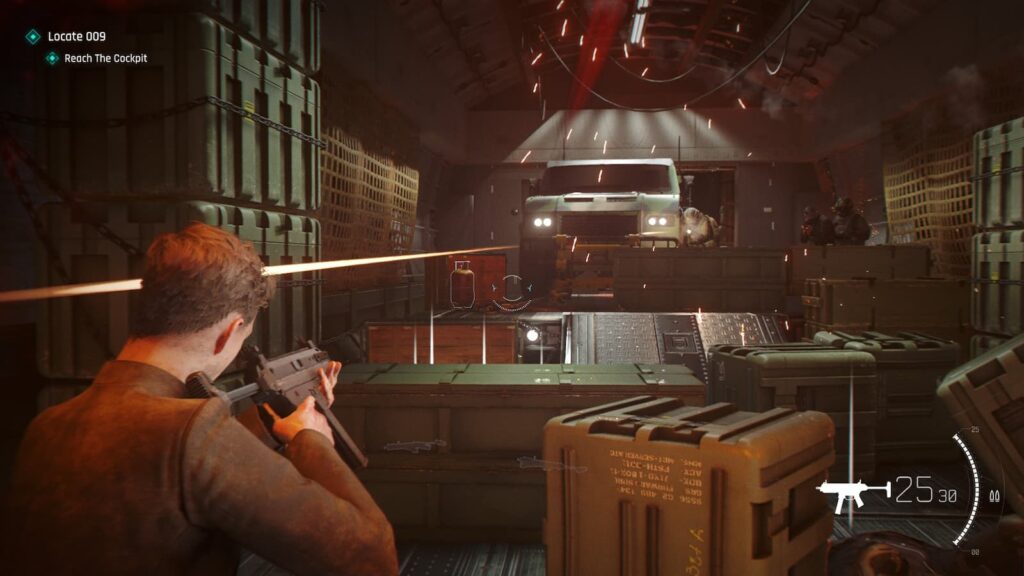
The next two challenges are both located in the final checkpoint of the chapter. Once you gain control of the plane and tilt it a few times, shoot the red barrel next to this car to loosen its brakes. Once you do that, tilt the plane in any direction to complete this challenge.
Traveling Light
During the final section of the chapter, several holes will break in the plane. Tilt the plane so three enemies fall out of these holes to complete the final challenge of All the Time in the World.
")

