Want to see Raider King content first? Add us as a preferred source.
You’ve now gotten far enough into your Ocarina of Time adventure that it’s time to beginning preparing to venture into the Water Temple to save Zora’s Domain. However, before you can get to the bottom of Lake Hylia you’ll first need to find a way to sink to the sea floor. The secret to doing this is the iron boots found in the Ice Cavern mini dungeon located in the Zora Fountain area. This dungeon is short but it has one very tricky puzzle. If you’re having any trouble with it, here is a quick guide on how to complete the Ice Cavern dungeon in the Ocarina of Time Remake.
Ice Cavern Walkthrough
This dungeon doesn’t have door so my typical walkthrough method of separating each part of the dungeon into rooms doesn’t quite work as well, but hopefully upon seeing them yourself you’ll understand what parts of the dungeon I’m counting as each room.
Room 1
The introduction hallway of the Ice Caverns is filled with several Freezard enemies and moving metal spikes. The enemies in this area aren’t too difficult, but you’ll immedietey notice that running in here is much harder due to the lack of friction beneath your feet on ice.
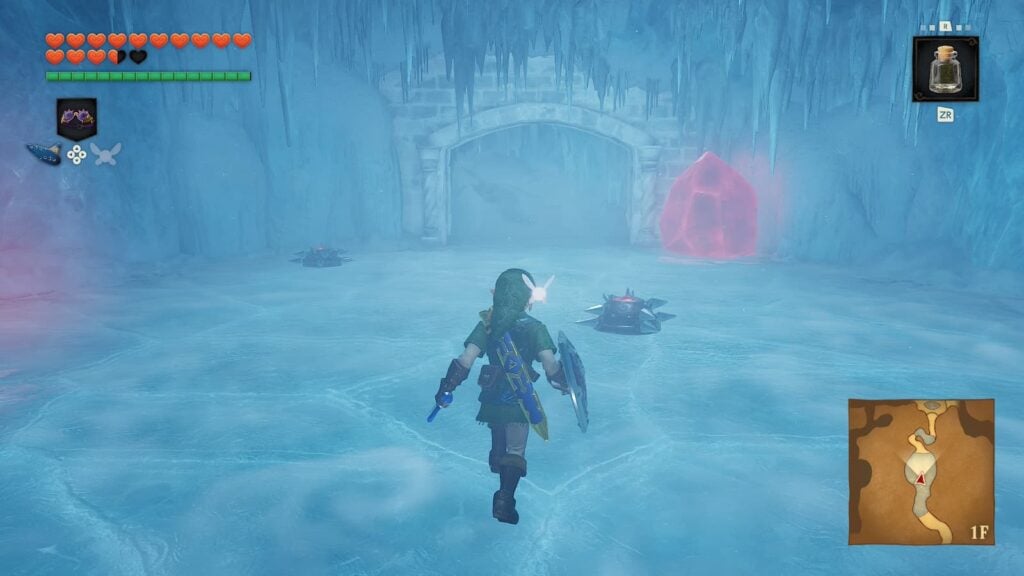
Make you way forward into the next area to progress through the dungeon.
Room 2 – Gold Skulltula 1
This room will be a small circular area where a sycthe made of ice will spin around the area, damaging you if it makes contact. The goal here is to collect five silver rupees scattered throughout the room in order to unlock the door on the northern end of the room. All five rupees are in plain sight and easy to collect.
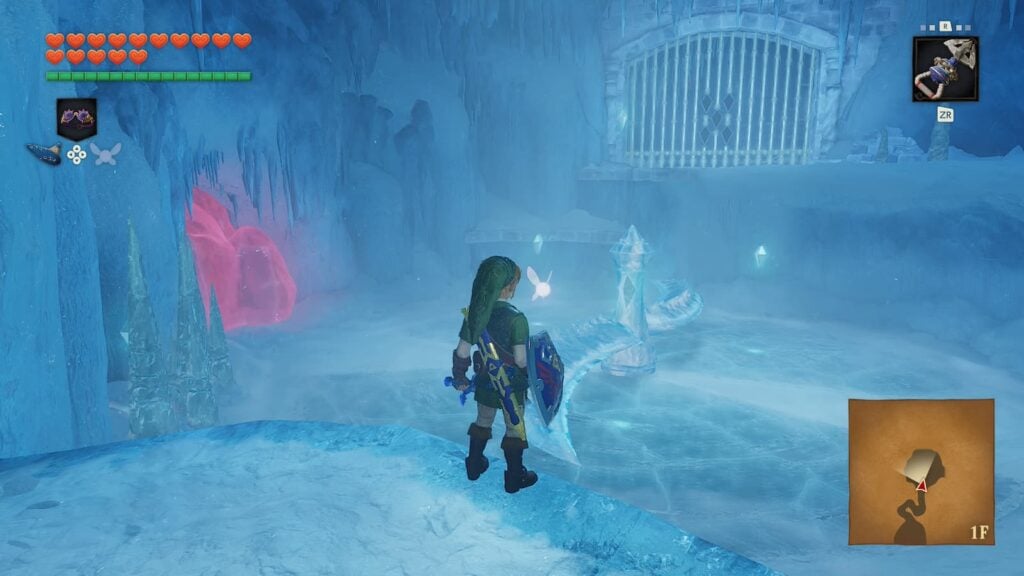
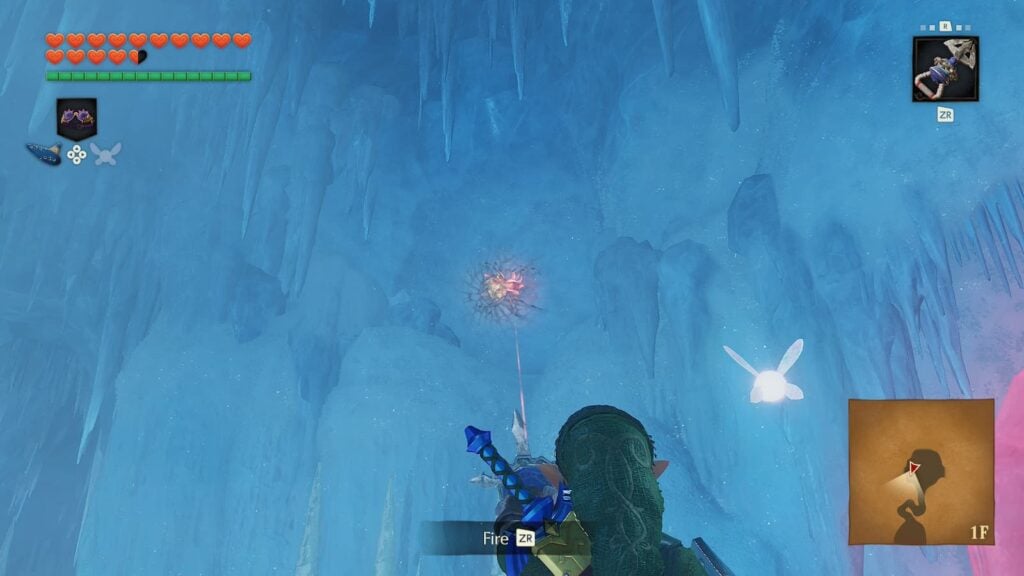
Before you leave this room, aim your hookshot near the top of the southwest wall, here you will spot a Gold Skulltula that you can collect. After grabbing its token, exit the room via the northern exit.
Room 3 – Dungeon Map
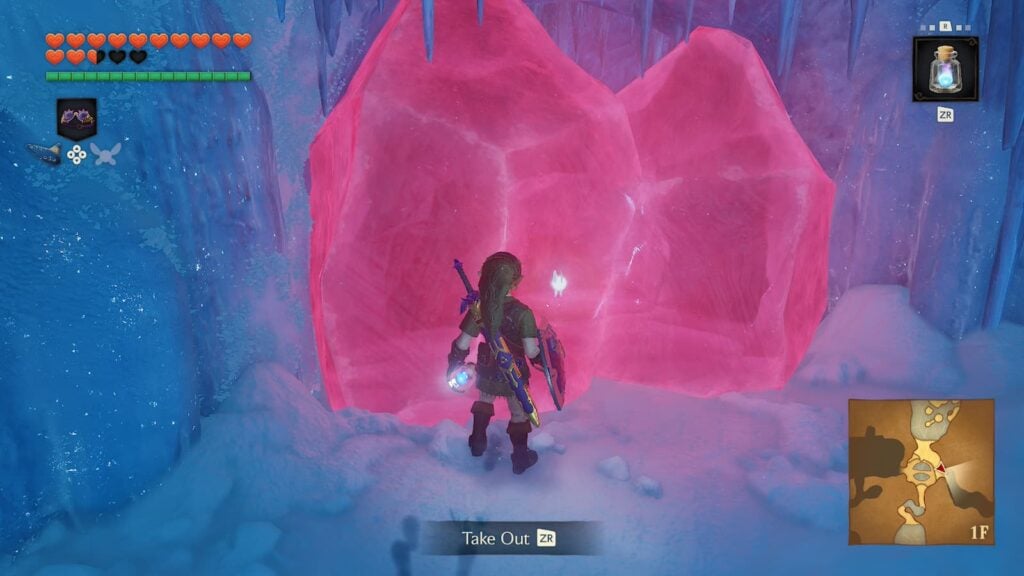
In this next room you’ll spot some icicles sticking out of the ground that you can shatter with your sword. Once you do, a blue fire will begin to burn in the middle of the room. This fire is the only thing that can melt red ice, and can stored in a bottle for later use.
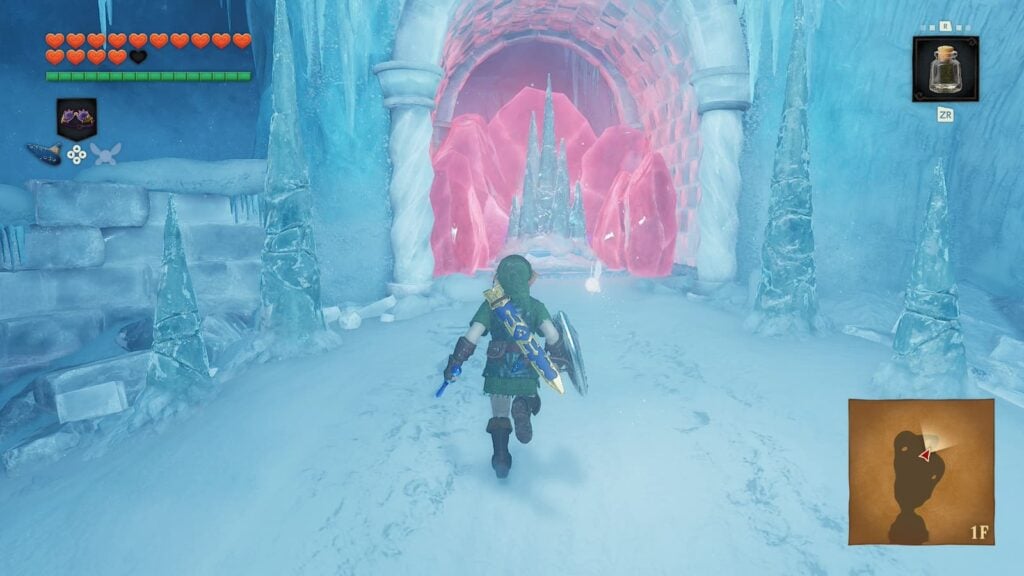
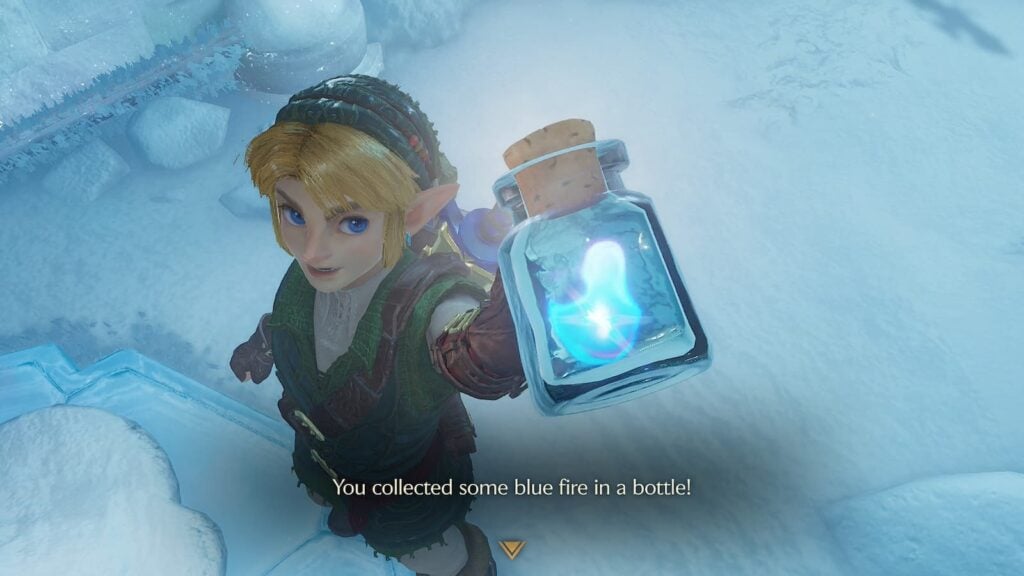
Walk down the path passed the blue fire and you’ll find a large treasure chest, inside of here you’ll find the dungeon map.
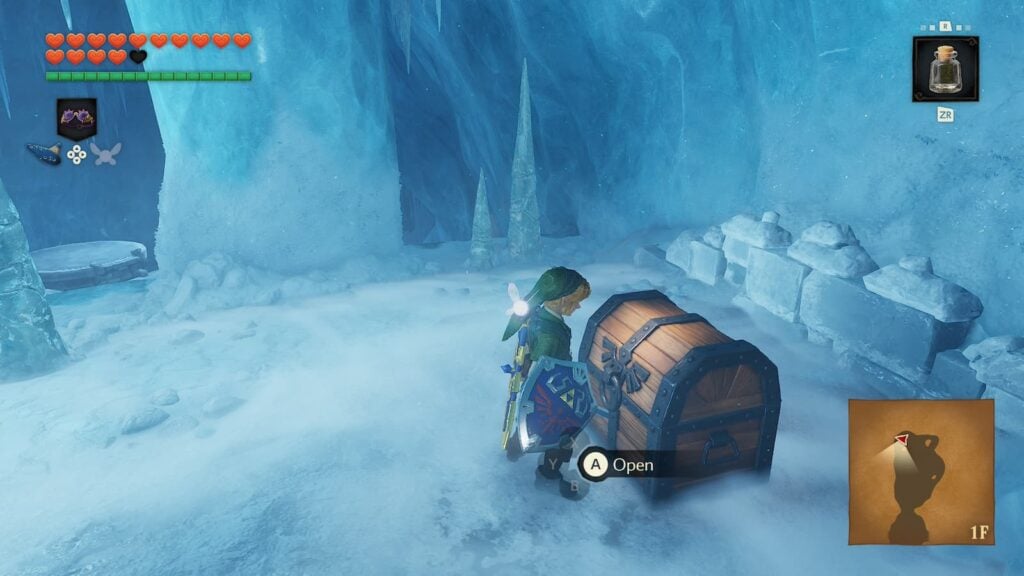
Once you have the map, return to room 2 of the dungeon with a bottle of blue fire.
Room 3 – Compass, Gold Skulltula 2
Use the Blue Fire to burn away the ice blocking your access to the room on the east side of the Ice Cavern. At the end of this hallway you’ll find another treasure chest containing the dungeon’s compass.
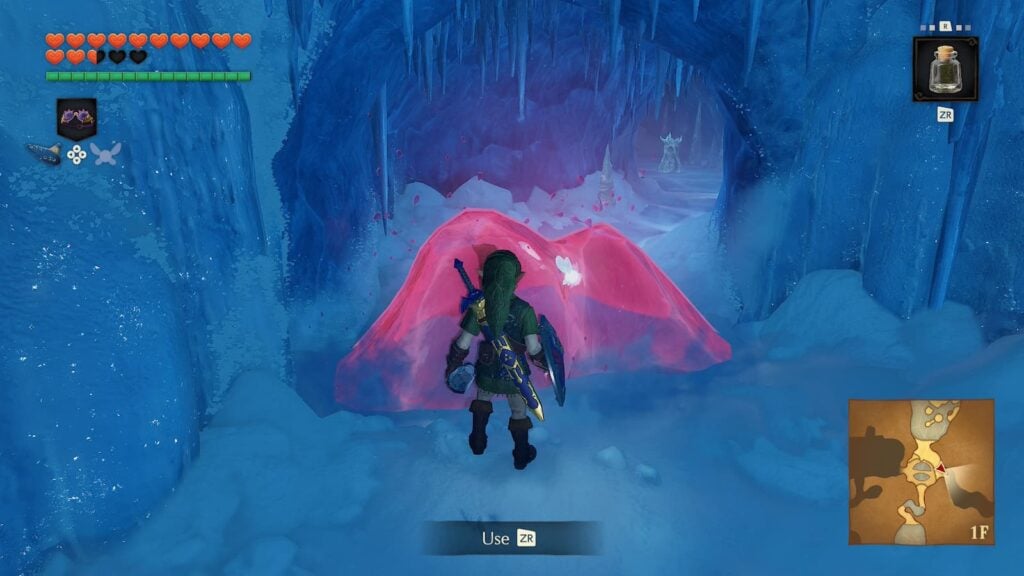
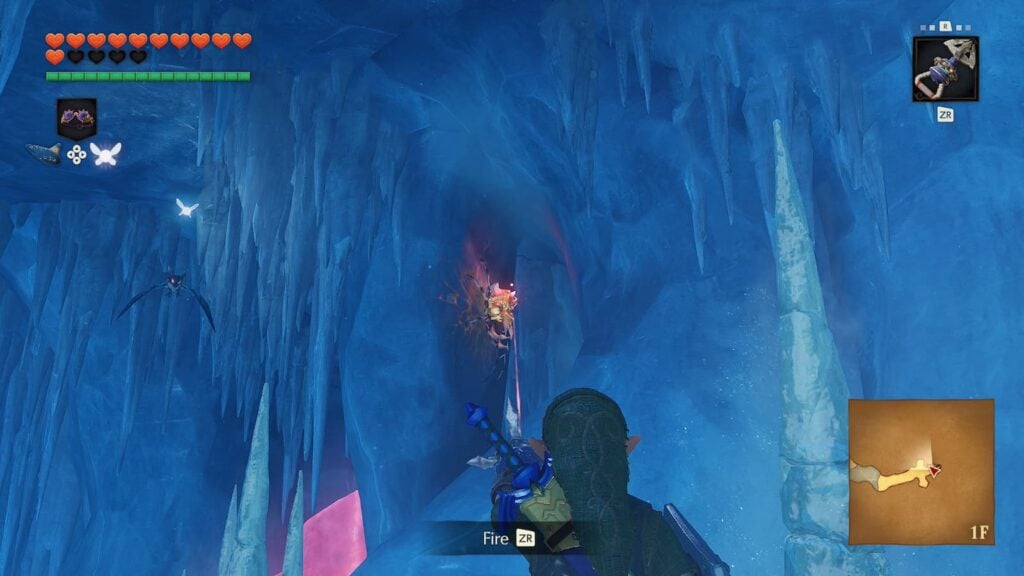
More importantly, if you aim your hookshot at the wall near the treasure chest you’ll find another Gold Skulltula. Collect some more Blue Fire and return to the central room after collecting this Gold Skulltula.
Room 4
Okay, it’s time to cover the room that made you look up a walkthrough in the first place. Make your way to the west side of the central room and use some Blue Fire to melt the red ice leading to the left room.
In here you will find another room where you need to collect five silver rupees in order to unlock the next room. All five silver rupees are in plain sight, but to collect them you’ll need to push slippery ice blocks into specific positions.
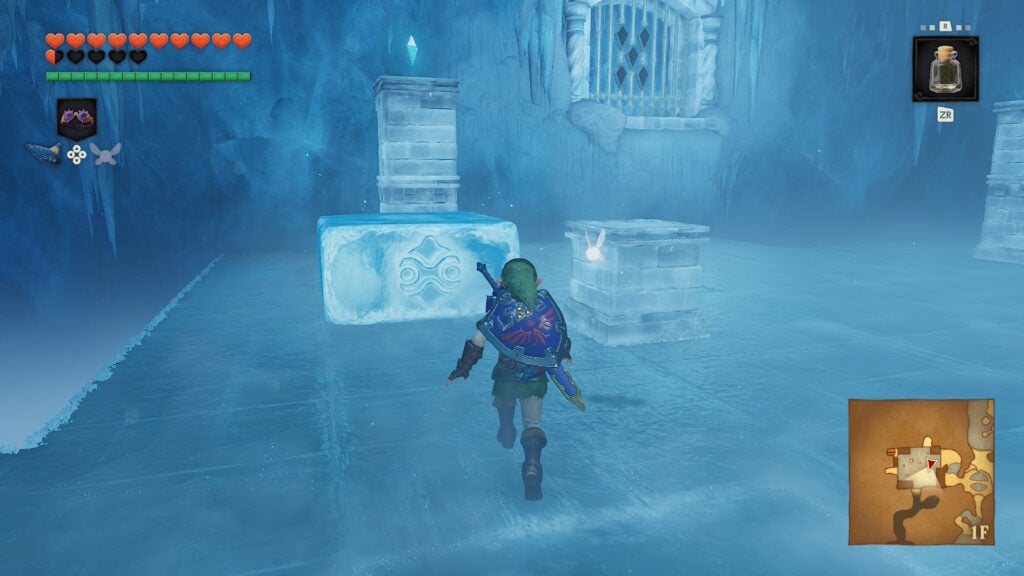
To clear this as painlessly as possible, here are some step-by-step instructions:
- Push the block near the entrance to the left
- Jump atop the pillar to collect the first Silver Rupee
- Push the same block forward, the direction leading toward the blue fire
- Jump atop the second pillar to collect another Silver Rupee
- Push the ice block to the right, collect the Silver Rupee here
- Push the ice block forward, the direction leads toward the blue fire
- Push the ice block left
- Push the ice block toward the fire
- Collect another bottle of Blue Fire
- Push the ice block off the ledge, returning it to the spawn point
- Push the block near the entrance to the left
- Push the same block forward, the direction leading toward the blue fire
- Push the ice block to the right
- Push the ice block down, the direction away from the Blue Fire
- Jump atop the pillar to collect your fourth Silver Rupee
- Push the ice block off the ledge, starting over
- Push the block near the entrance forward
- Push the ice block to the right
- Climb atop the ledge
- Use a bottle of blue fire to melt the red ice
- Collect the final Silver Rupee
- Push the Ice Block off the ledge, starting over
- Push the block near the entrance to the left
- Push the same block forward, the direction leading toward the blue fire
- Push the ice block to the right
- Push the ice block down
- Push the ice block to the left
- Jump atop the ledge and exit the room
Yeah, it’s a lot of steps with plenty of starting over, you can cut some of the steps out if you brought and extra Blue Fire but not many.
Room 4
When you enter this room, you’ll be ambushed by an Ice Wolfos. This enemy is identical to regular Wolfos with two key differences: It will freeze Link if you don’t dodge its attacks and it’s super weak to the Din’s Fire spell. Cast Din’s Fire twice and the enemy will be defeated.
After defeating the Ice Wolfos a treasure chest containing the Iron Boots will appear in the center of the room. After opening the chest you will be finished with the Ice Caverns dungeon. However, before you leave you should collect another bottle of Blue Fire as you can use it to unfreeze King Zora and obtain a free Zora Tunic.