Want to see Raider King content first? Add us as a preferred source.
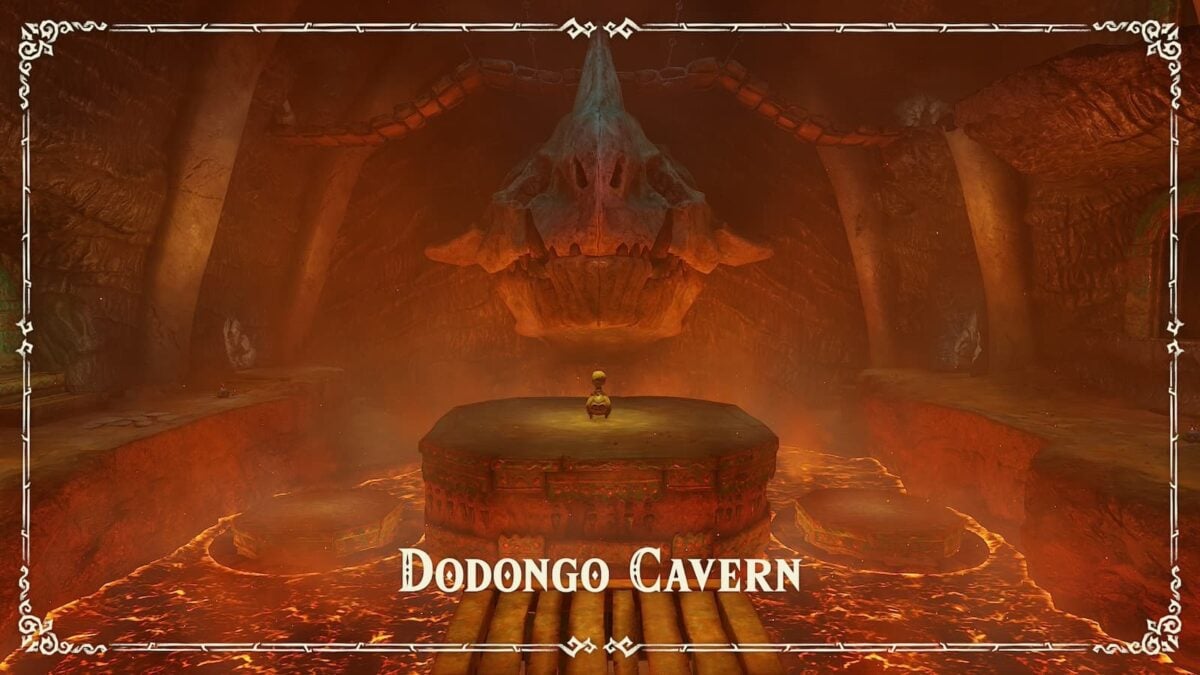
Ocarina of Time’s second dungeon, Dodongo Cavern, is still firmly in the area of being a tutorial dungeon but from this point on the game will be pulling out some enemies and puzzle tricks that you’ll need to adjust to as you play the game. If you’re looking to not only earn the Spiritual Stone of Fire but make sure you collect every treasure chest and Gold Skulltula scattered throughout this dungeon in as smooth an experience as possible, then please feel free to consult the following watching for the Dodongo Cavern dungeon in the recently released Ocarina of Time Remake.
Dodongo Cavern Dungeon Walkthrough
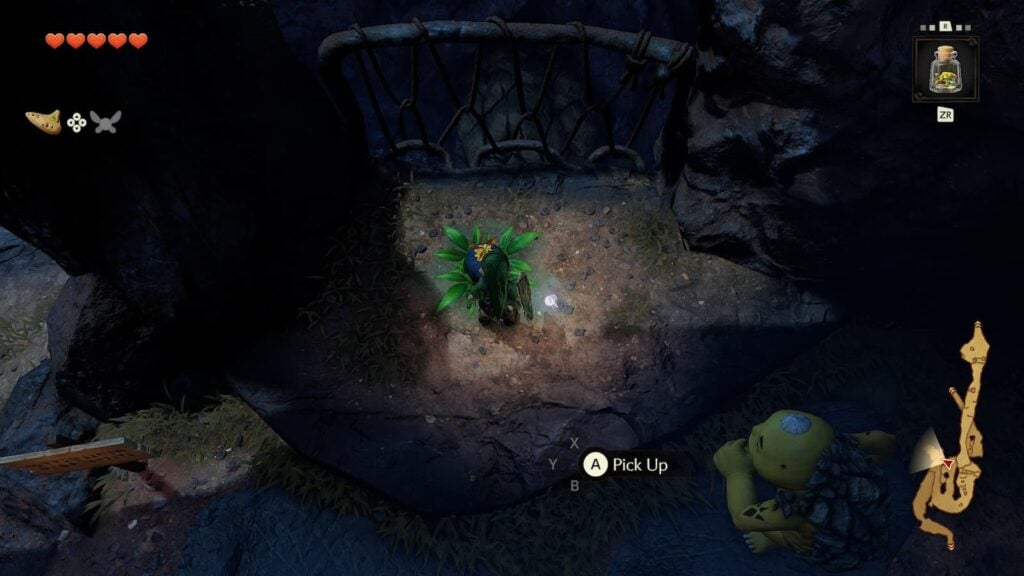
Before we can begin the Dodongo Cavern Dungeon, we’ll first need to get rid of the giant stone that’s blocking it. On the path to Goron City you’ll spot a bomb flower next to a fence. With your new Goron Bracelet, you’ll be able to pick up this bomb with the A button. Throw it over the fence and it should land next to the boulder blocking your path, destroying it.
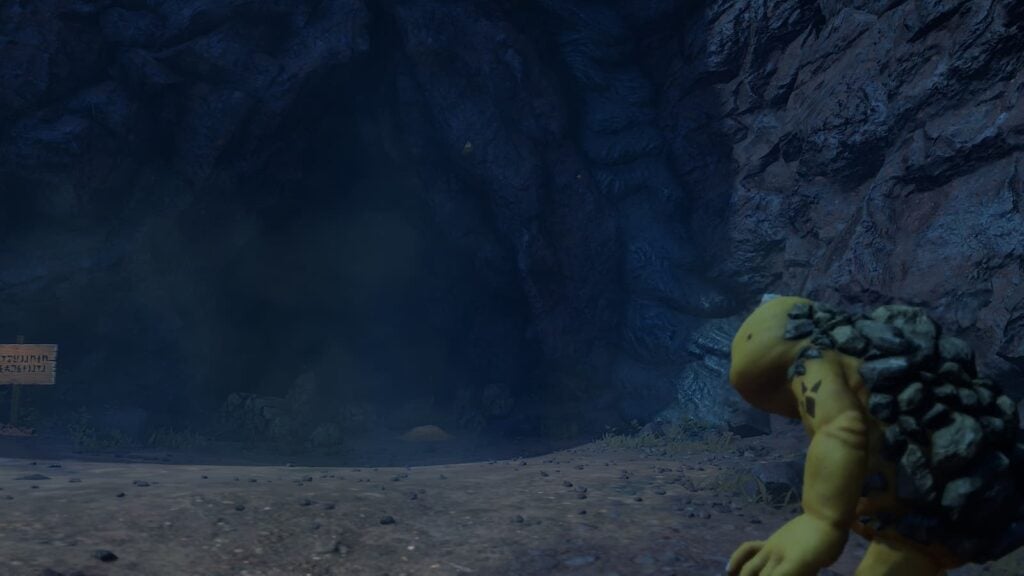
Walk on down to where the boulder used to be and you’ll be able to enter the Dodongo Cavern dungeon. This will be the first dungeon with multiple potentially difficult fights, so you should probably collect some empty bottles and fill them with either Lon Lon Milk or Red Potions before you enter to recover your health mid-way through the dungeon.
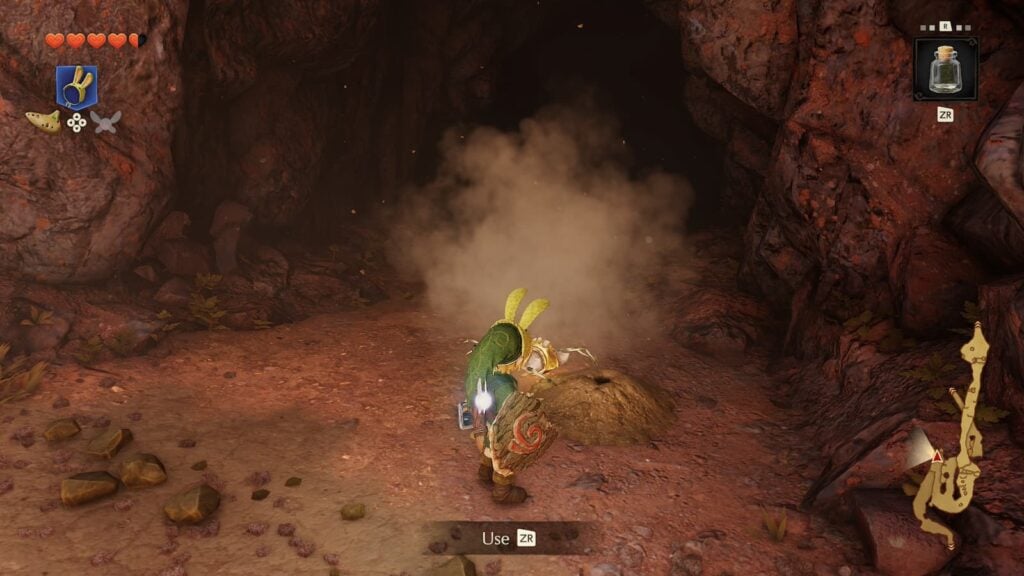
Directly outside of the dungeon where the rock used to be, there will also be a mound of Magic Bean soil. If you’ve capture a bug in a bottle, you can pour it into this hole to make a Gold Skulltula appear.
With all of that preamble settled, it’s time to finally enter Dodongo Cavern
Central Room Visit 1
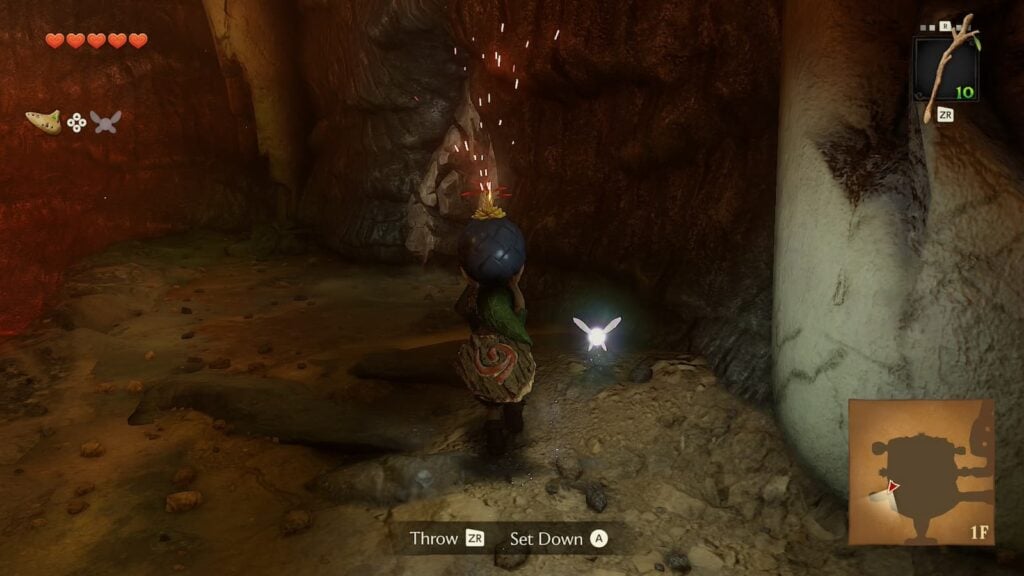
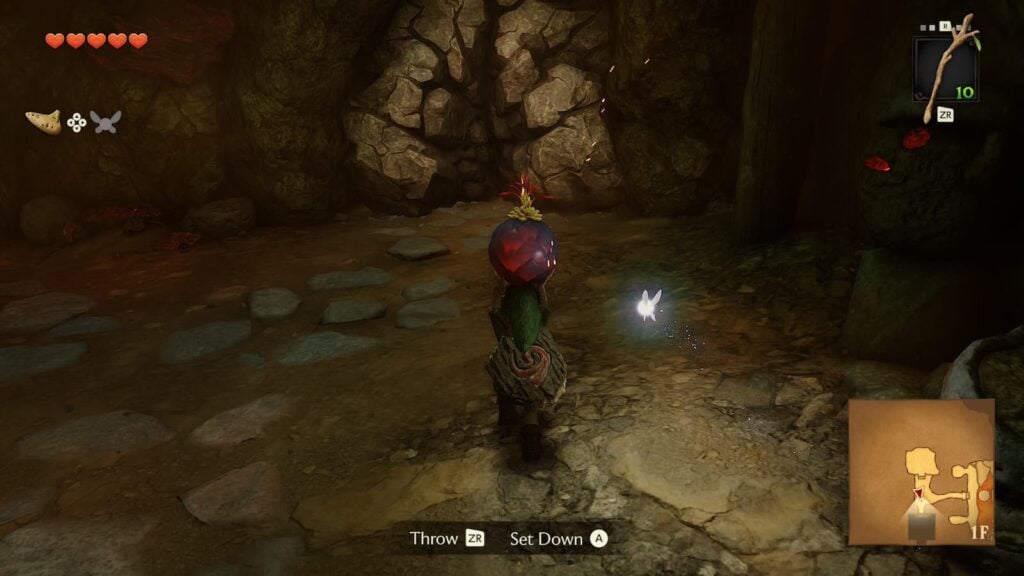
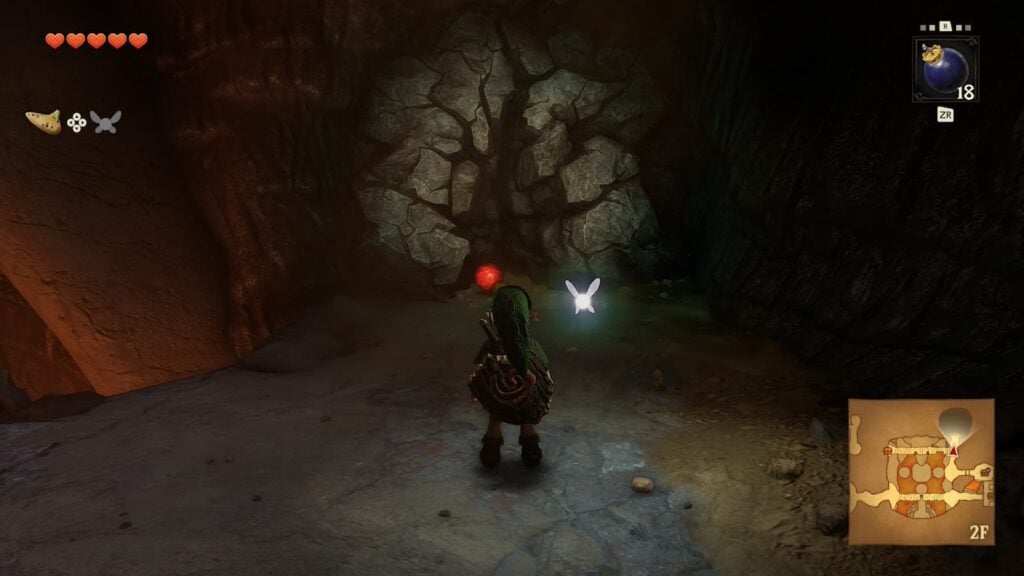
Upon entering Dodongo Cavern you’ll immediately be met with a dead end as the way forward is blocked by a rock wall with cracks in it. This is your tutorial for the dungeon’s main gimmick: Destructible Walls. To break this wall, pick up a nearby bomb flower and throw it at the cracked wall to reveal a pathway.
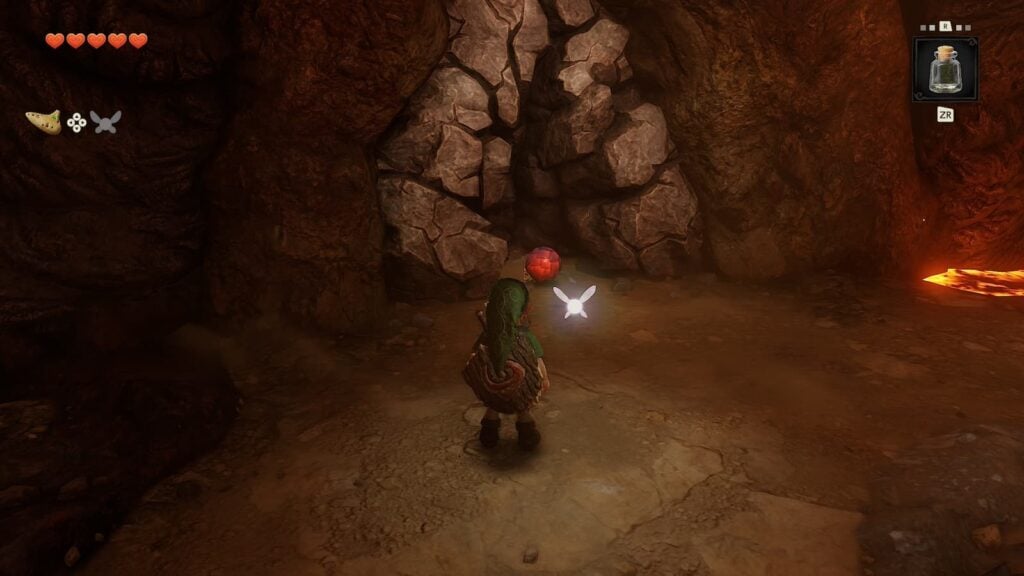
Walk down the pathway and you’ll be in the central room of Dodongo’s Cavern. The center of the room is filled with lava and a platform that has a Beamos enemy on it. There will be two branching pathways here, but for now we’ll only be able to progress on the right path.
Head for the right side of the room and you’ll find a ledge with another bomb flower and a Beamos. You cannot hurt Beamos enemies with your sword, but if you pick up the bomb and throw it at the Beamos it’ll explode both of them.
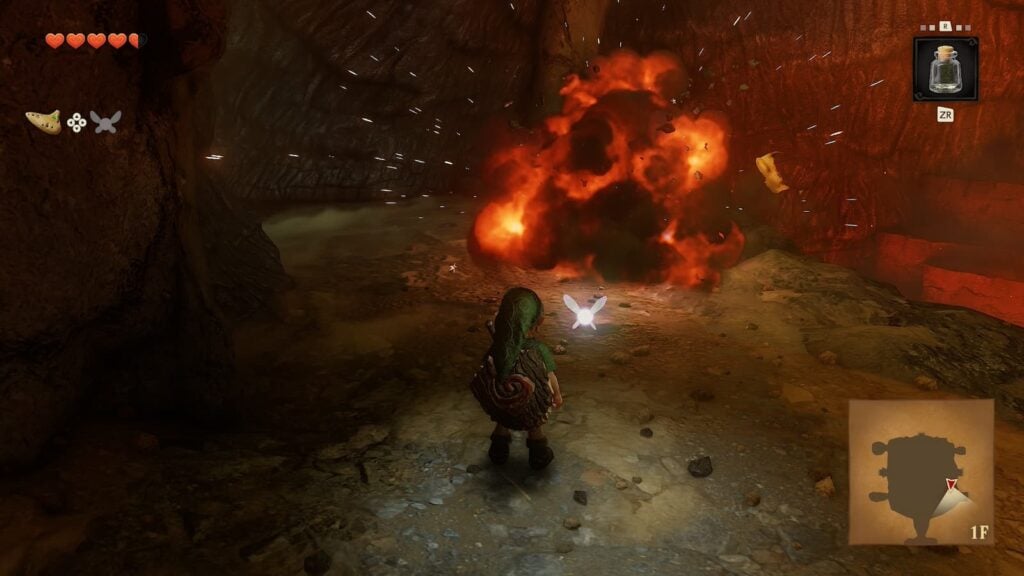
Once that Beamos has been taken care on, pick up the bomb flower again and throw it at the cracked wall on the right side of the ledge to reveal another pathway forward through the dungeon.
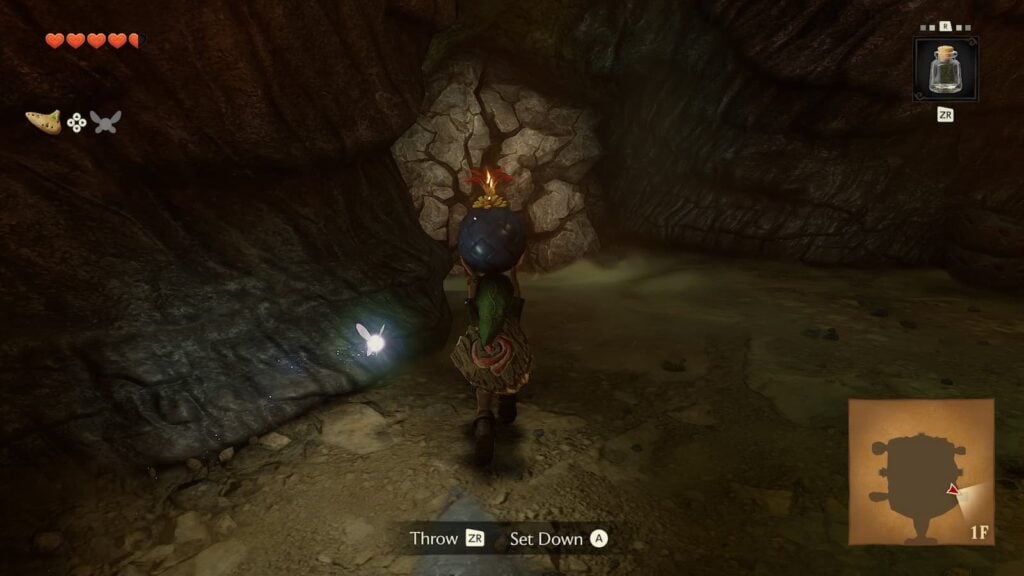
Walk down this newly revealed pathway and you’ll be swarmed by Baby Dodongo enemies. These pesky buggers can be defeated with a single slice of your sword, but they’ll explode upon being defeated and damage you if you don’t move away fast.
This can be used to your benefit however. Near the end of this pathway you’ll spot another cracked wall. If you strike a Baby Dodongo near this wall it can be used as a makeshift bomb to blow it up and open a pathway that leads to another Gold Skulltula.
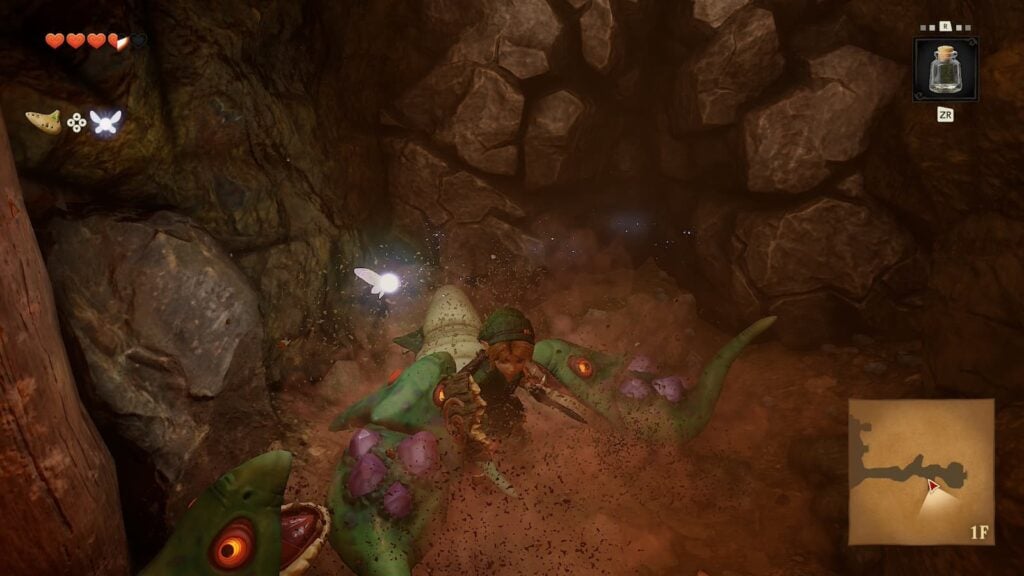
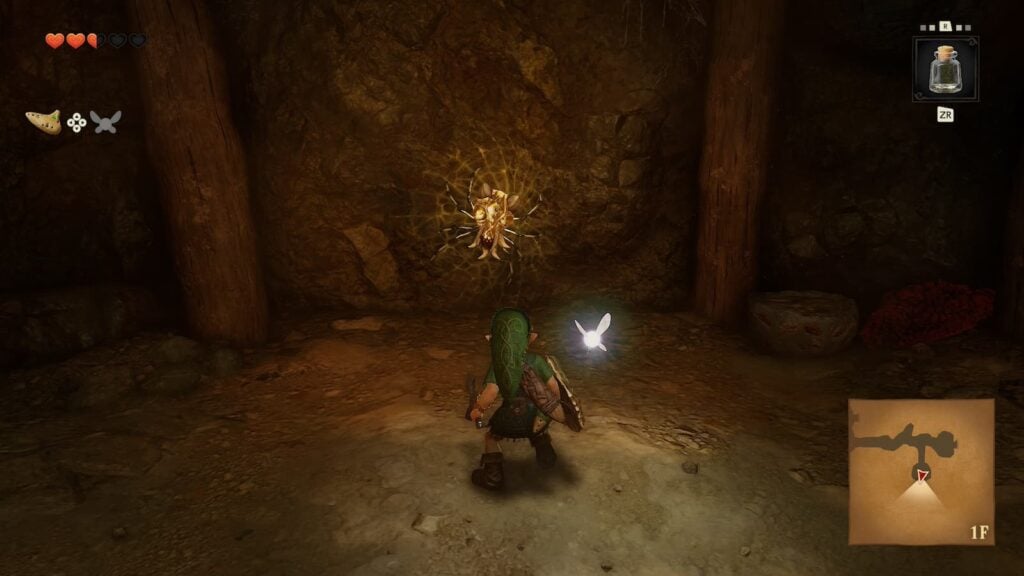
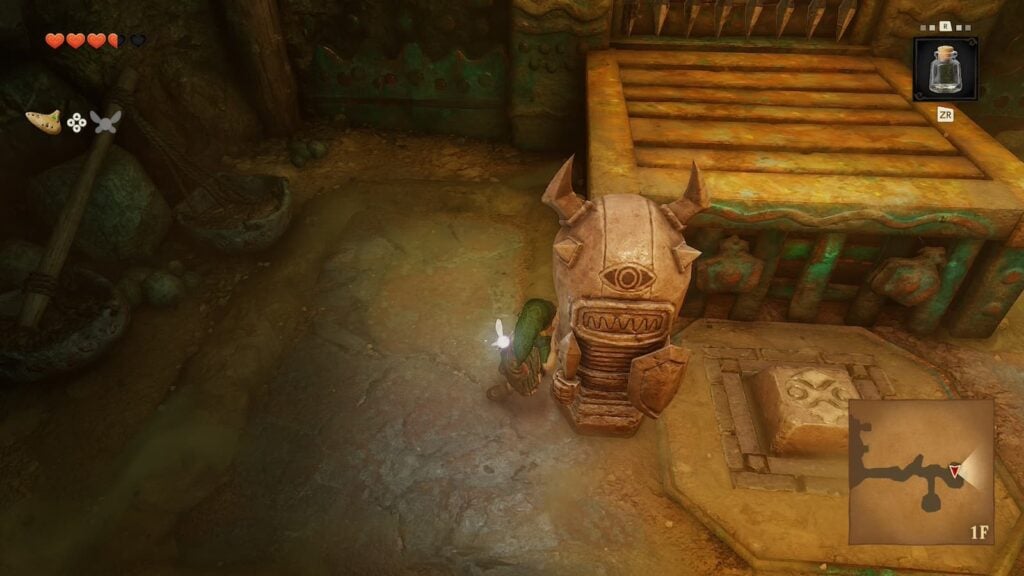
After collecting the Gold Skulltula’s token, exit the pathway via your right and you’ll find a locked door with a switch in front of it. This switch needs to remain pushed down to keep the door unlocked, so simply push one of the nearby statues onto the switch before progressing.
Room 2
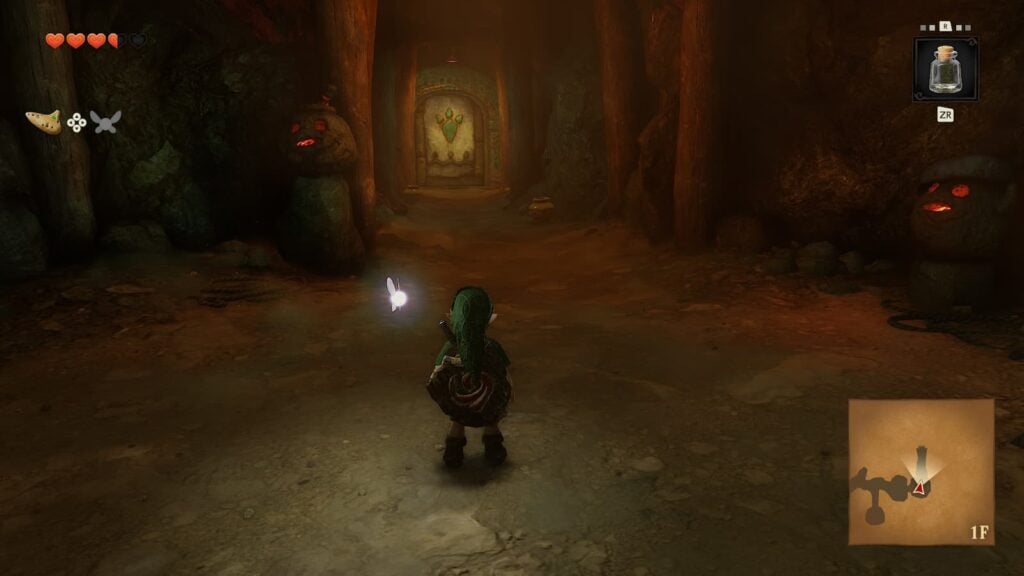
There is nothing in this room aside from a few pots contains recovery hearts and two Keese enemies. This room is just a transitional hallway as you reach the next major room of the dungeon.
Room 3 – Lizalfos Fight 1
Enter the next room and you’ll immediately be confronted with a fight against two Lizalfos enemies. These two lizards will attack you one at a time and repeatedly jump around as they attack you. To easily defeat them, either block their attacks with your shield to throw them off balance (leaving them open to be attacked) or use Deku Nuts to stun them for a few seconds and repeatedly slash at them while they’re stunned.
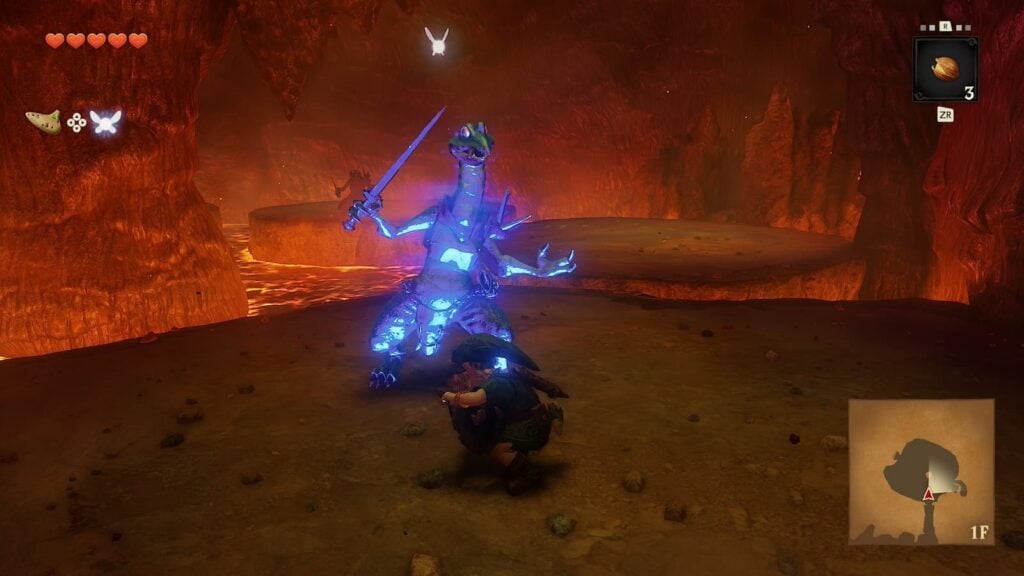
After both Lizalfos are defeated, a chest containing a red rupee will appear and the door to the next room will unlock.
Room 4
Head into the next room and you’ll almost immediately see a destructible wall and bomb flower to your right. Blow up this wall and you’ll be met with a very interesting enemy: A Business Scrub. These enemies are like Deku Scrubs, but after you counter their nut projectile they’ll instead turn into a shop that will sell consumable items for rupees. This ones sells Deku Nuts and Deku Sticks.
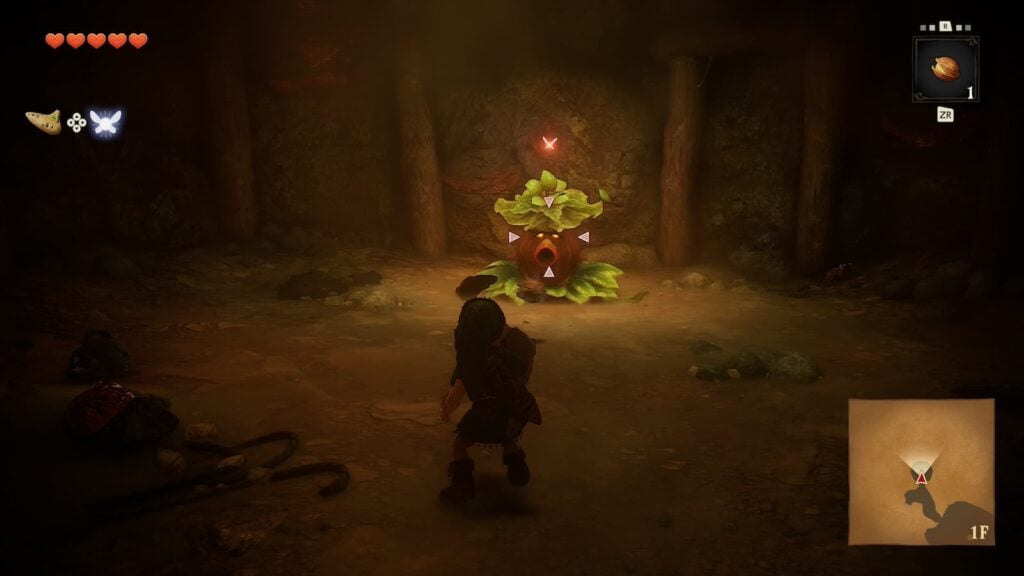
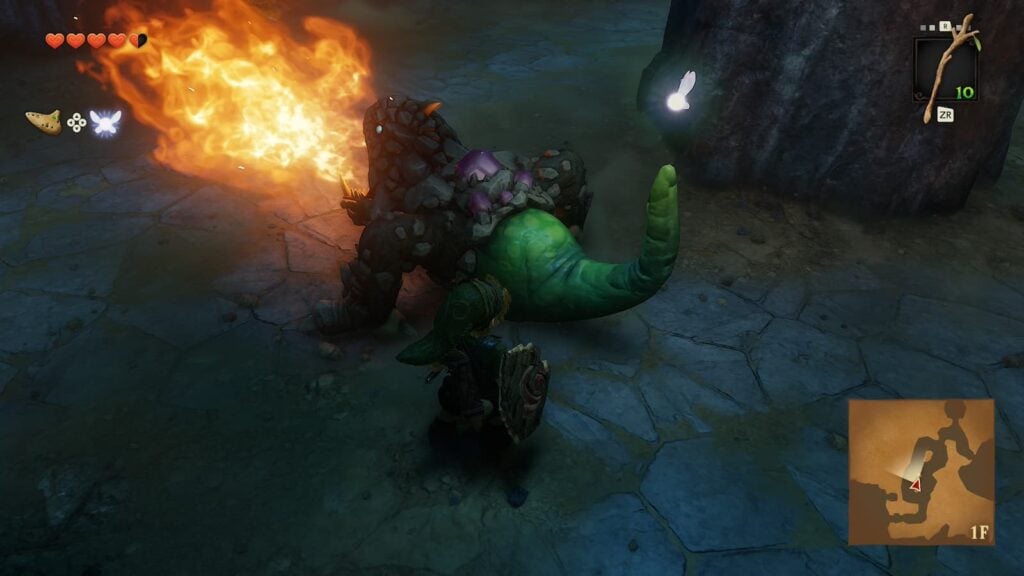
Proceed through the room and you’ll be met with your first Dodongo enemies. These lizards are completely invincible from the front, but have squishy green tails that you can strike with your sword. After about five strikes they’ll explode so back away from them to avoid damage.
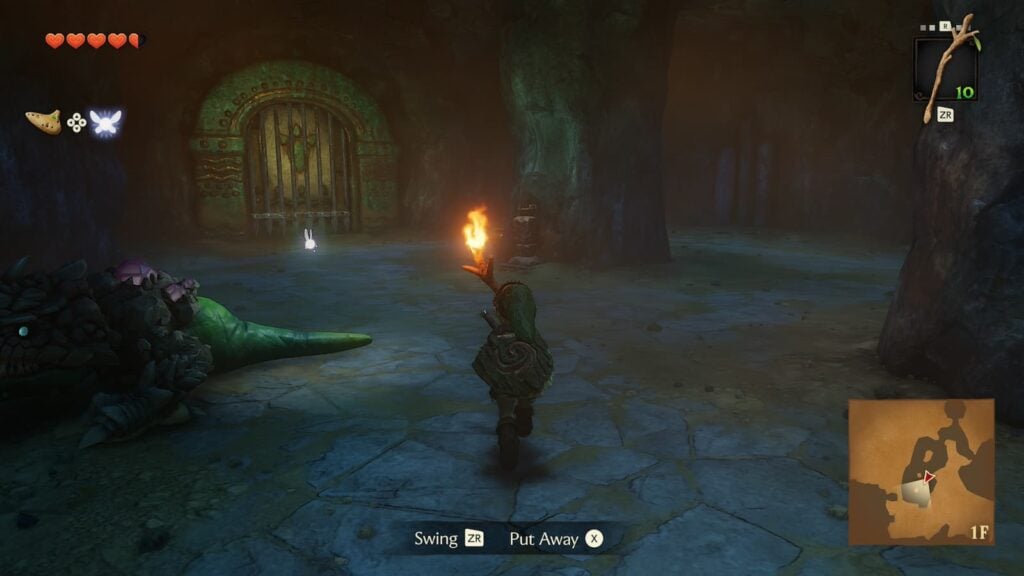
The door to the next room is locked, in order to progress you’ll need to light all of the torches in the room on fire. To do this, simply pull out a Deku Stick and run by the one lit torch in the room to set it aflame, then run by all the unlit torches with this flaming stick to set them on fire.
Central Room Visit 2 – Dungeon Map
After exiting the previous room you’ll find yourself on a slightly higher ledge of the central room. There will be a switch here that will unlock a door on the left side of the room after you stand on it.
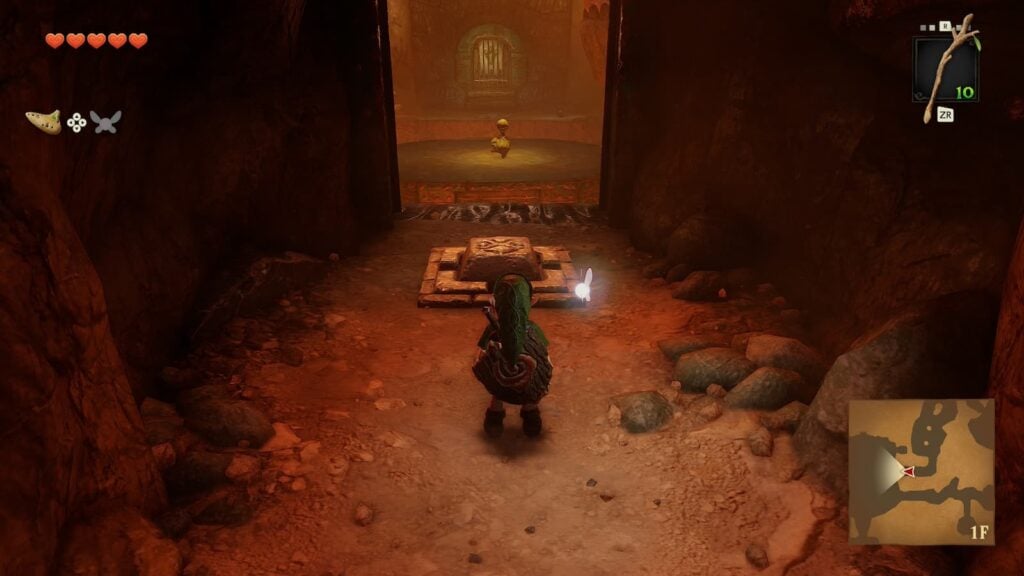
Jump on over to the left side of the room and use the bomb flower on the ground to destroy the Beamos here just like you did on the right side. Before going through the door you just unlocked, use the same bomb flower to break the two destructible walls surrounding it.
Behind the wall on the left you’ll find a small chest containing a blue rupee and behind the wall on the right you’ll find a large chest with the Dungeon Map in it, revealing all the remaining rooms in the cavern.
After opening both chests, make your way through the door that you just unlocked.
Room 5 – Compass
Enter the next room and you’ll immediately see a bomb flower in front of you and a destructible wall on your left. You should be getting a hang of things at this point, pick up the flower and throw it at the wall to reveal a small outcove.
In this outcove there will be a chest on a high ledge and a ladder to reach it. In front of the ladder there will be a statue that looks just like the ones you pushed earlier. However, this is actually a new enemy type called an Armos. Armos cannot be harmed by any of your current items, but they can be instantly defeated with bomb flowers. Grab the one nearby and place it on the ground so that it explodes near the Armos to defeat it.
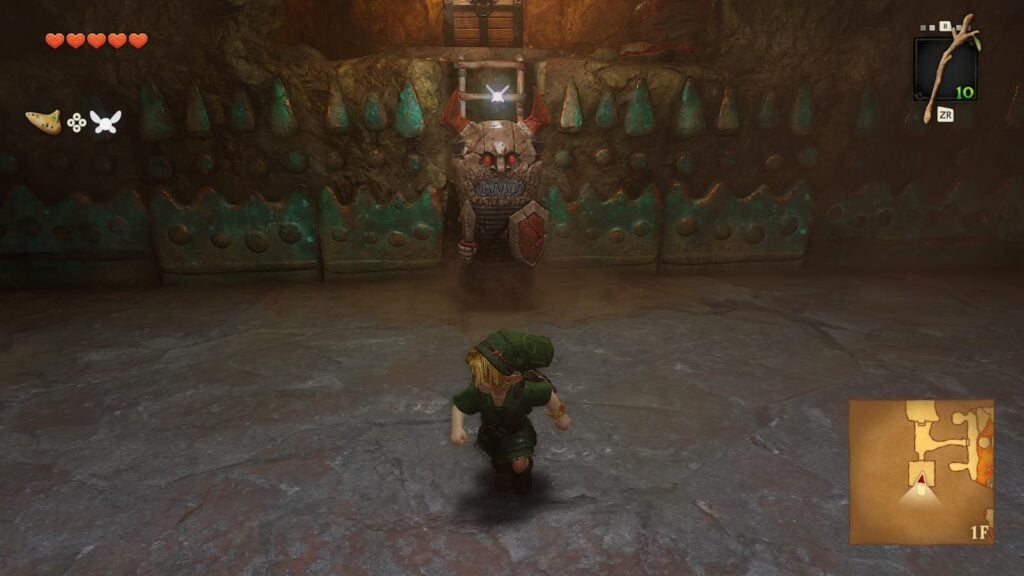
Climb the ladder that the Armos was guarding and you’ll reach a small chest containing the dungeon’s compass. This item will reveal where all of the remaining treasure chests are.
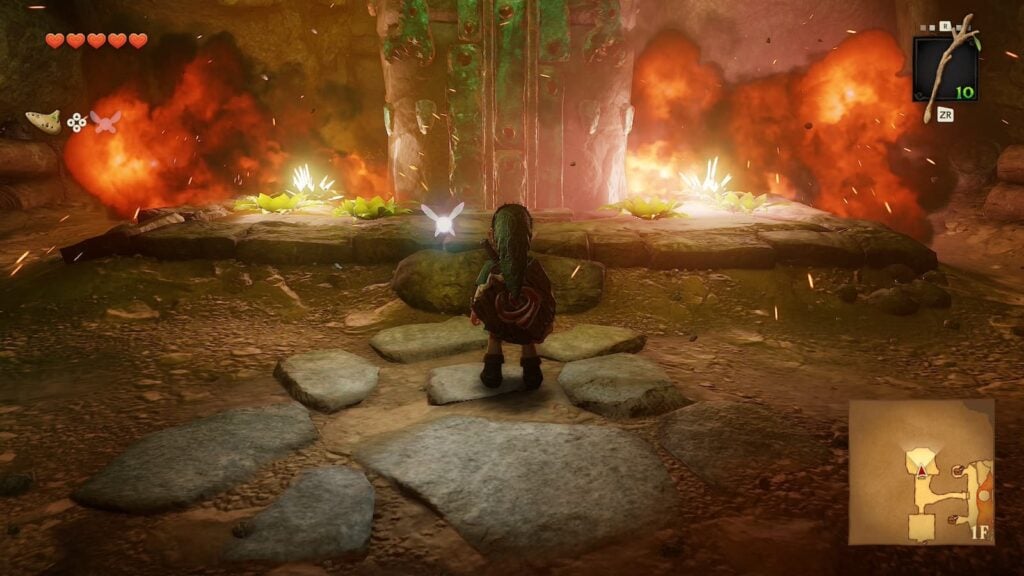
Return to where you entered the room and look to your right. Here you will see a large stone platform that’s surrounded by bomb flowers on both sides. To progress, throw the bomb flower near the entrance of the room in-between both lines of bomb flowers here to make them all explode at once, turning the stone pillar into a set of stairs that you can use.
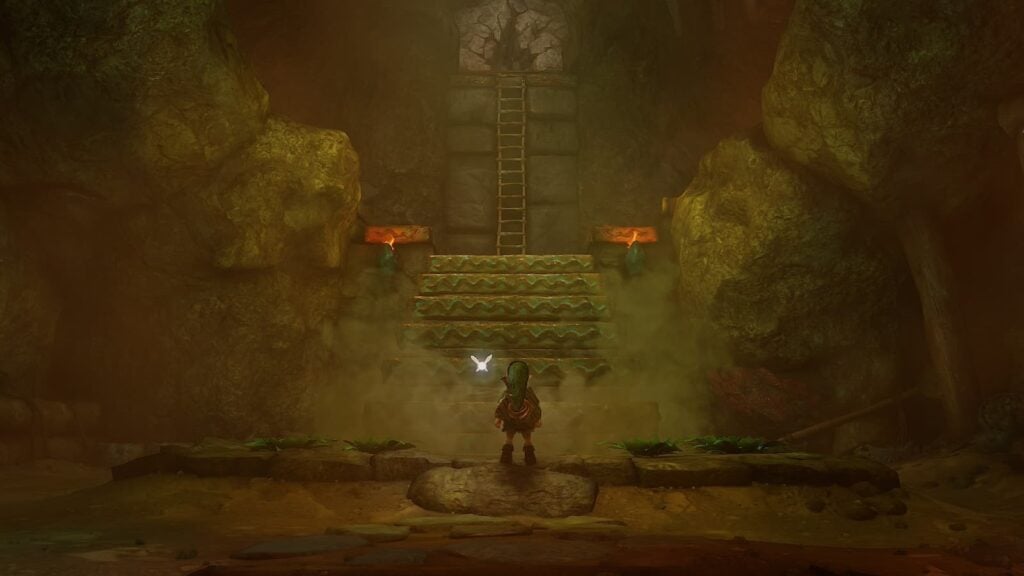
Climb the stairs and you will be met with a ladder that leads to a destructible wall. You will be unable to do anything with this for now, so just ignore it and move on now that you have reached the second floor of the dungeon.
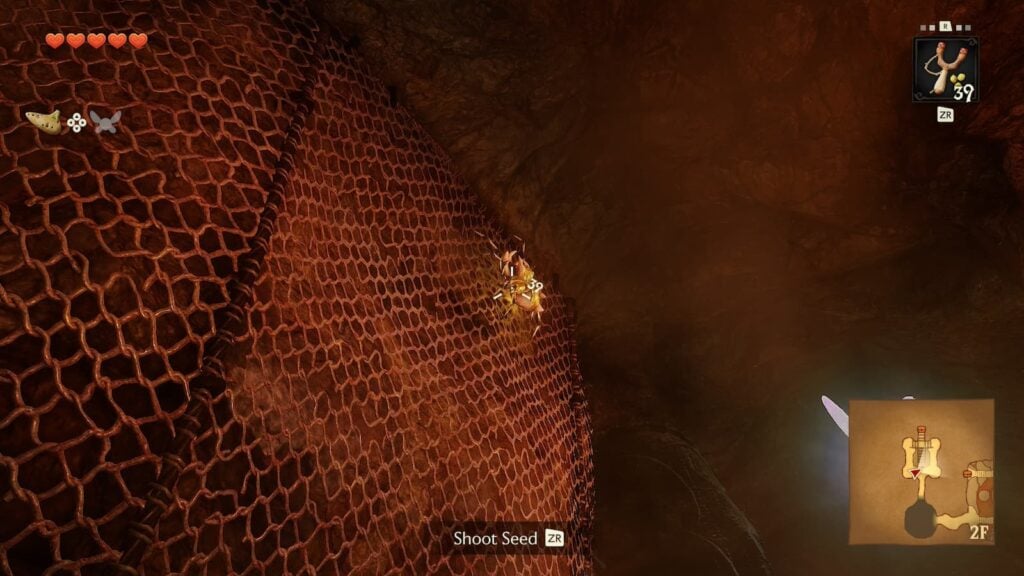
Before entering the next room, look behind you when you reach the door. Here you will find a Gold Skulltula climbing on some metal grates. Shoot it with your slingshot then climb the grates yourself to collect its token.
Room 6
Hope you enjoyed that previous Armos fight, as now you’ll need to fight a few of them. In this room there will be a central platform with a switch on it. You’ll need to climb a ladder to reach the switch but you cannot see it due to the statues and armos in your way.
To easily defeat an Armos, throw a bomb flower at them before they become activated. This will both immediately reveal that a statue was an Armos in disguise and defeat it. The side of the platform with the ladder on it is the one opposite from the side of that room that you entered.
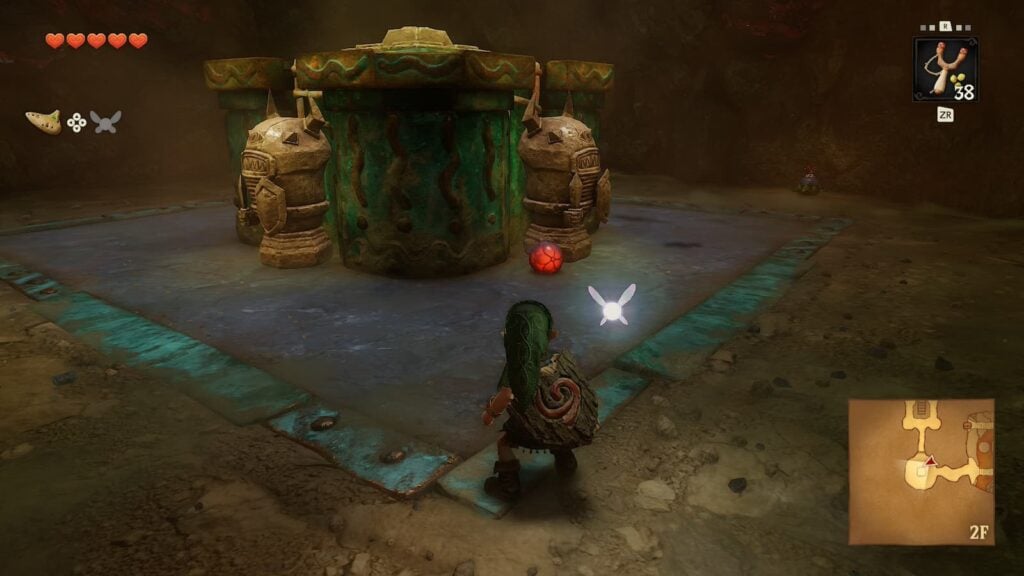
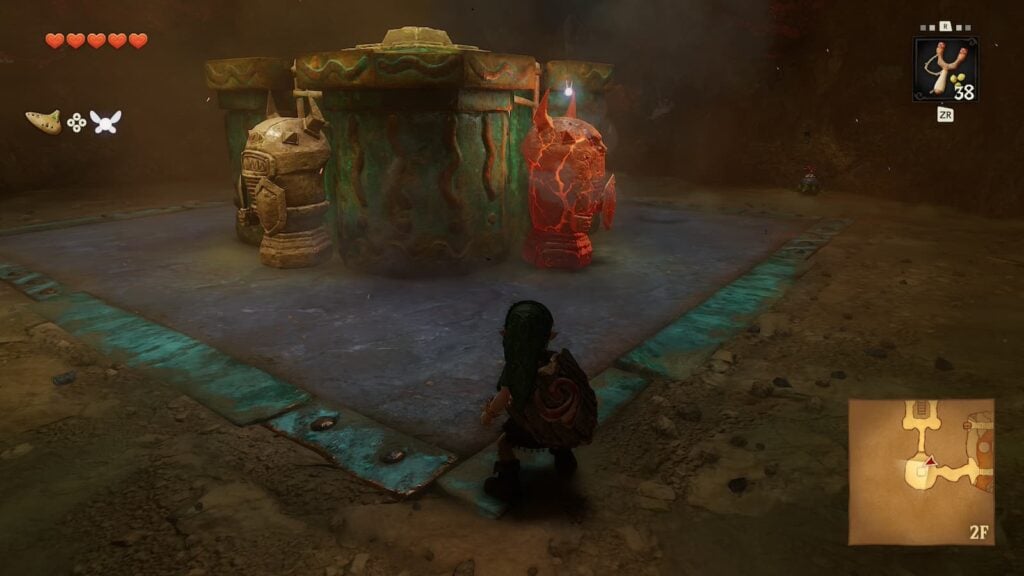
Stand on the switch and the door to the next room will unlock.
Central Room Visit 3
You’ll now be on the second floor of the central room of the dungeon. To progress, run along the bridge to reach the right side of the area. There will be a small gap in the bridge that you can fall through so make sure you jump across it to avoid accidental backtracking.
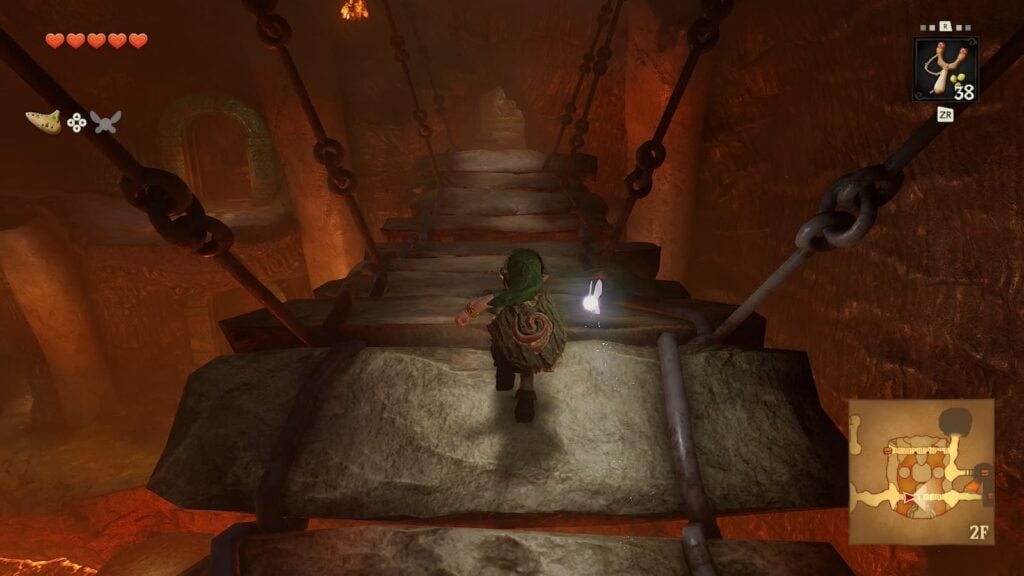
On the right side of the room you’ll find a large outcove with several wooden platform and moving metal spikes that move back and forth through the room. On the other side of this room there will be a ladder suspended higher than you can jump that leads to a destructible wall.
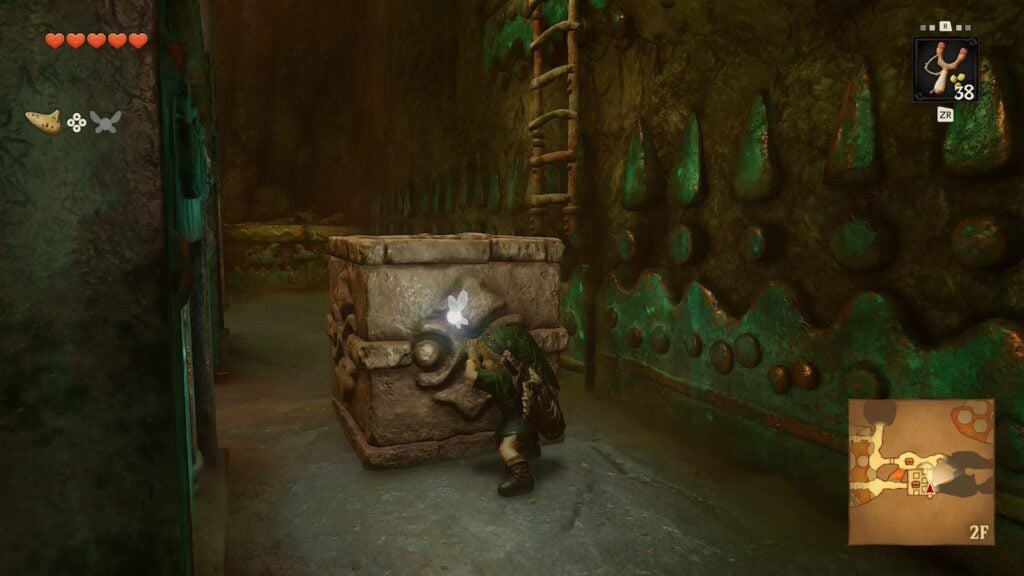
There will also be a large stone block on this side of the room, pull it underneath the ladder and then jump on the block. From here, jump onto the wooden platforms in the middle of the room to find both a treasure chest that contains five Deku Seeds and a bomb flower. Throw the bomb flower at the destructible wall near the ladder to destroy it and continue down the passageway.
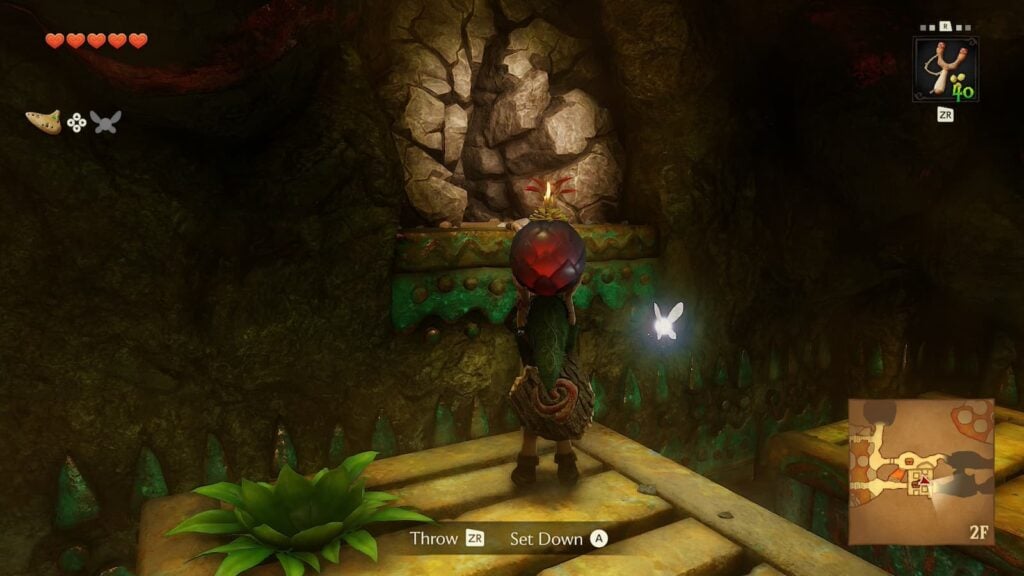
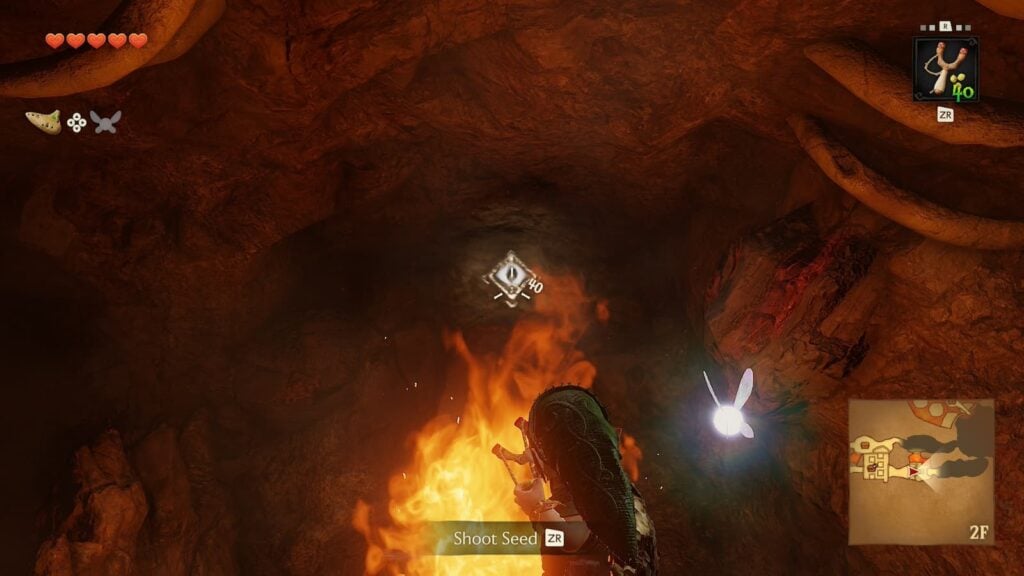
In this area your progress will be blocked by a small wall of fire. To rid the area of these flames, pull out your slingshot and aim it at the eye-shaped target near the ceiling. Once the flames have been doused, you’ll be able to head forward into the next room.
Room 7 – Lizalfos Fight 2
Upon entering the next room, you’ll instantly be ambushed by two more Lizalfos enemies. This fight is identical to the one on the first floor so use the same strategy you did there. Either block the Lizalfos’ attack with your shield to knock them off balance or use Deku Nuts to stun them before striking them with your sword.
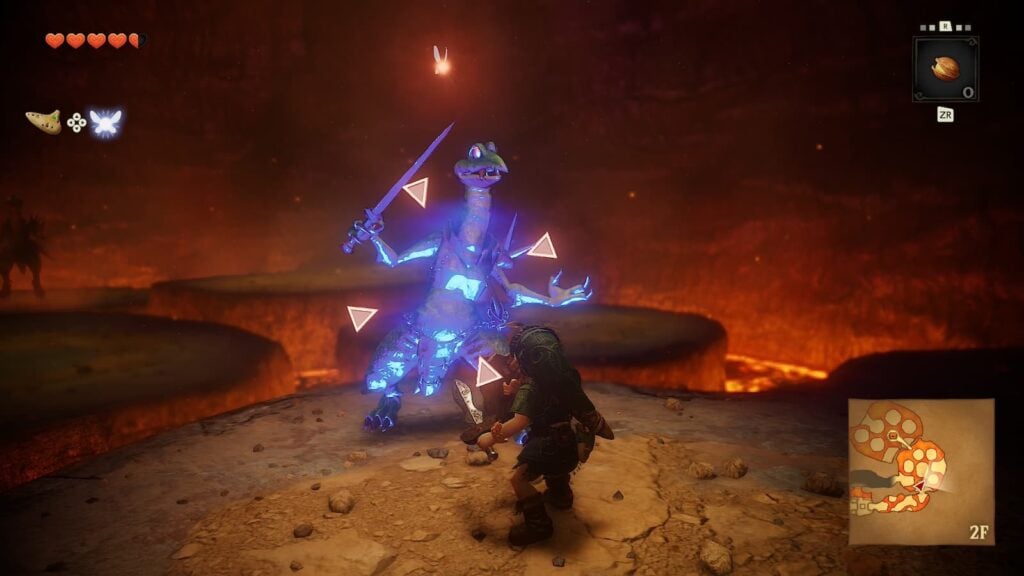
After both Lizalfos are defeated, a treasure chest will appear which contains a new item exclusive to the Ocarina of Time Remake: Business Scrub seeds. These seeds can be used to summon a Business Scrub anywhere in the world, essentially giving you a shop that you can have in your pocket at all times.
Once the treasure chest has been opened, exit the room through the door that you didn’t enter through to progress through the dungeon.
Central Room Visit 4 – Bomb Bag
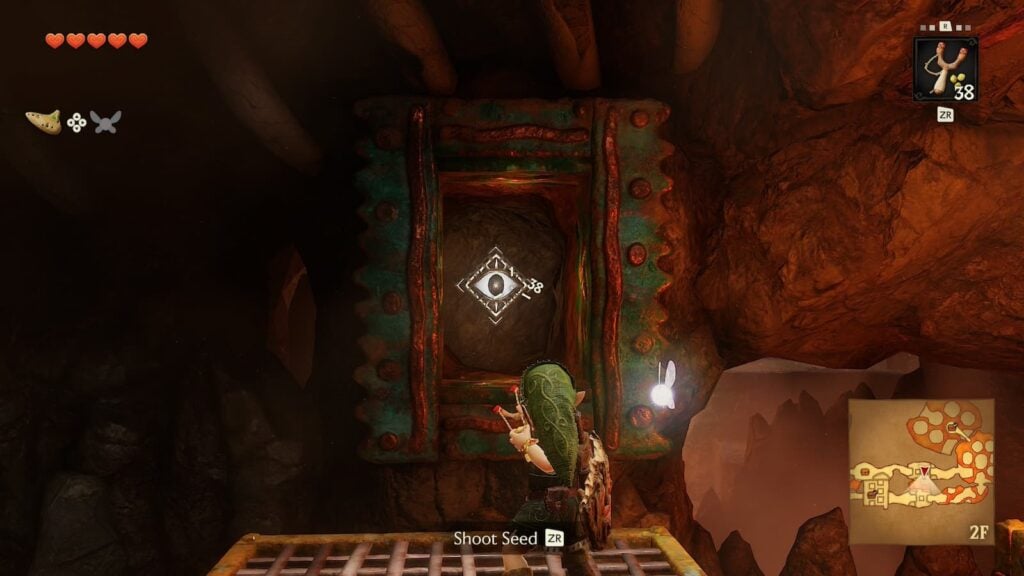
Upon going through the next door, you’ll be on the other side of the Central Room passageway that you were on before. Here there will be two platforms with flames on them. To progress you’ll need to equip your slingshot and shoot the eye-shaped target in front of you. This will put out the flames on one of the platforms.
Then, you’ll need to jump on the platform and quickly turn to your left. There will be another eye target here that you can shoot to put out the flames on the second platform. Both of these flames will only be put out for a short amount of time so you’ll need to quickly jump across the platforms.
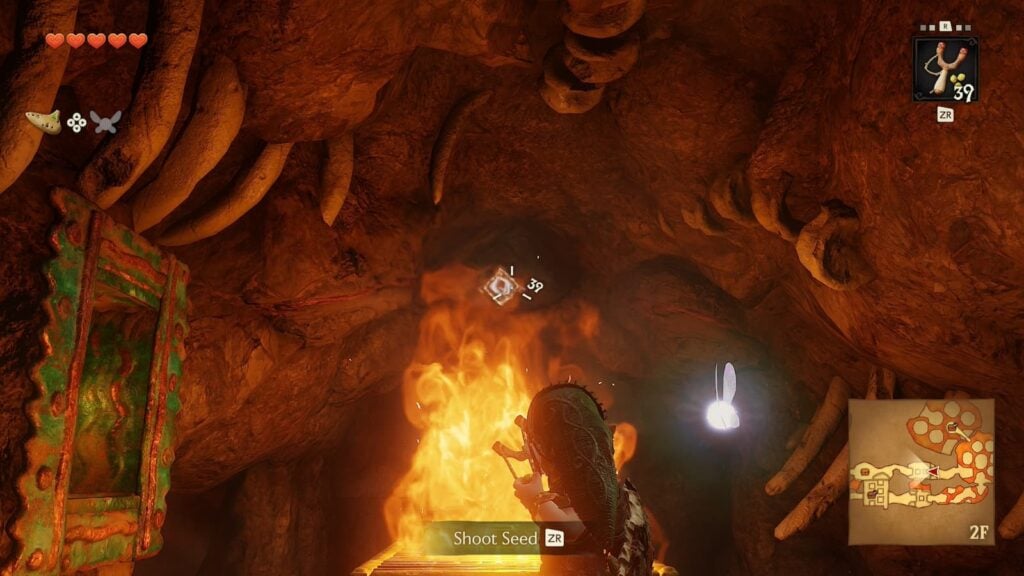
Continue through the room and you’ll be quick met with a large treasure chest. Open it up and you’ll gain the Bomb Bag item. This Bomb Bag can hold up to 20 bombs so you can pull them out anywhere in the world without needing to rely on there being Bomb Flowers nearby.
To test out the Bomb Bag, pull out a bomb and throw it at the destructible wall directly in front of you and make your way to the ledges in the central room. Here there will be a switch that will activate an elevator between the first and second floors of the dungeon that you can use any time if you accidentally fall down or forgot something.
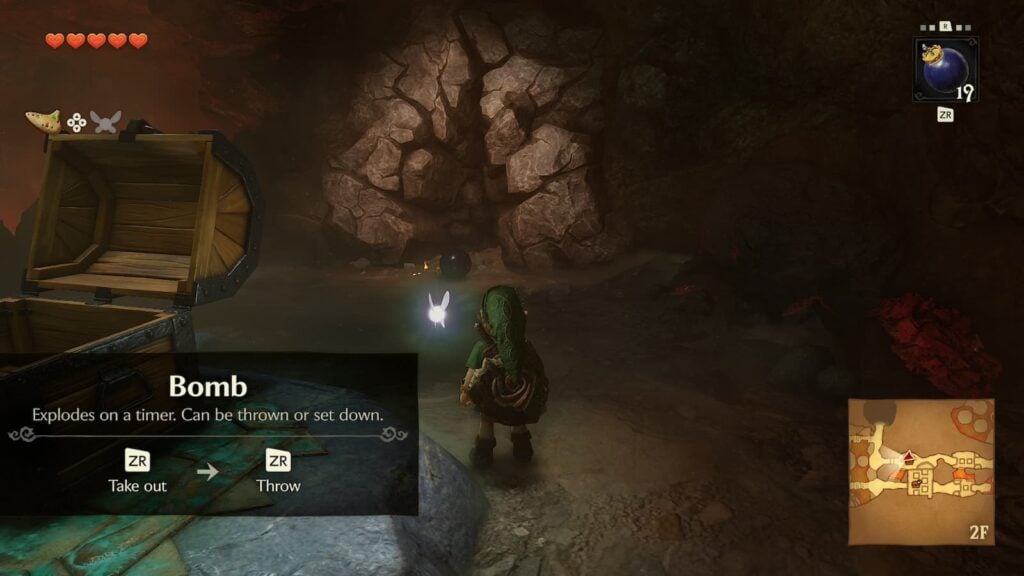
After activating the switch, turn to your right and you’ll see another destructible wall. Pull out a bomb and break it to find a small outcove full of Dodongos and more importantly: Another Gold Skulltula to collect.
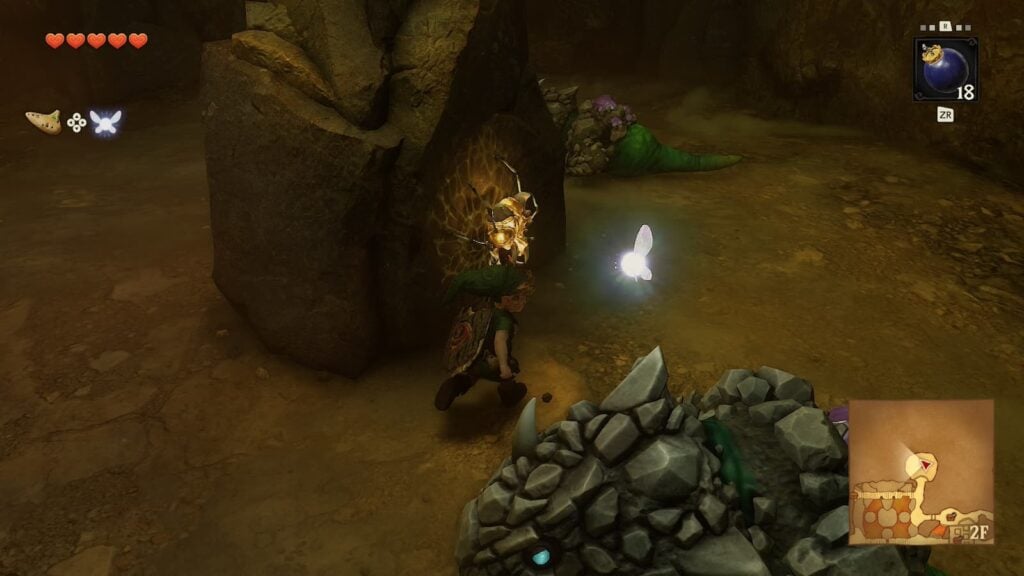
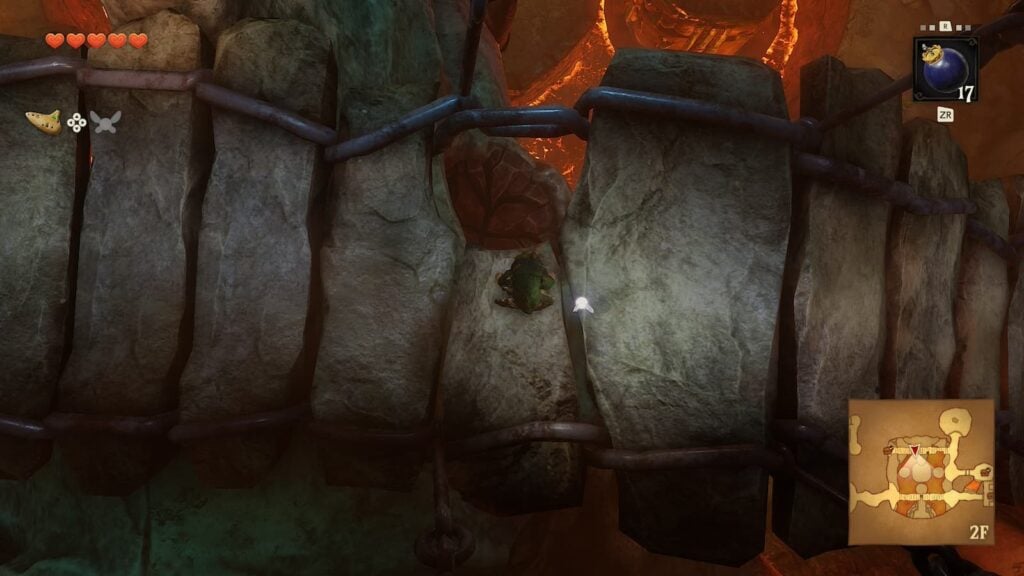
After collecting the Gold Skulltula, cross the bridge above the large Dodongo skull to reach a small treasure chest which contains a blue rupee. It may seem like you’re at a dead end, but there’s actually a small puzzle to solve here.
On the bridge above the large Dodongo Skull. there will be two gaps above the eyes. Drop a bomb down these gaps and it should land in the eye hole of the skull, making it glow red. After both eyes have been bombed, the mouth of the skull will open.
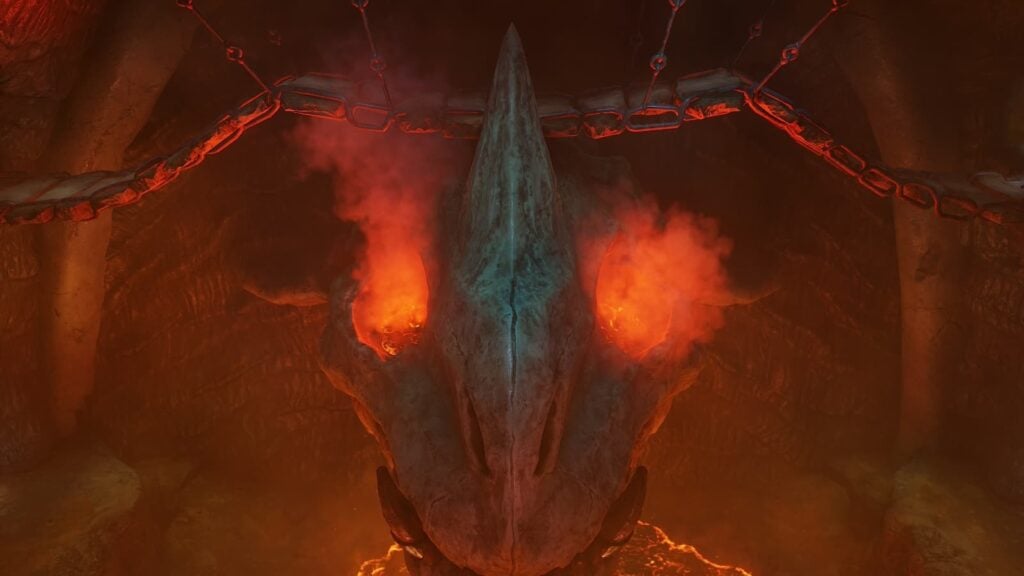
To continue through the dungeon you’ll need to enter the skull’s mouth, but before that we’re going to do a small bit of backtracking to get a treasure chest that we couldn’t before.
Room 5 Visit 2
Make your way back to the room where you got the compass and climb the ladder in front of the destructible wall that you couldn’t do anything about before. Now that you have a bomb bag, you can blow up this wall to reach a small treasure chest which contains a Business Scrub seed.
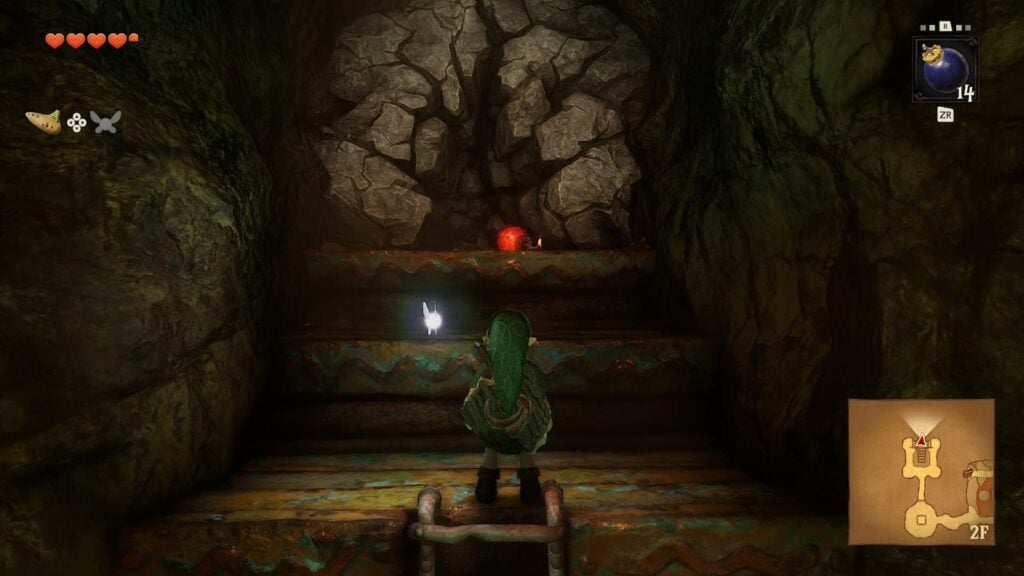
After opening this treasure chest, return to the central room and go through the door inside of the mouth of the large Dodongo skull.
Room 8
Only one more room until you reach the dungeon’s boss. Head straight forward into this room and you’ll spot a switch that you’ll need to push something onto in order to unlock the next door. Continue through the room and you’ll spot a ledge with a pushable block and another block next to the ledge.
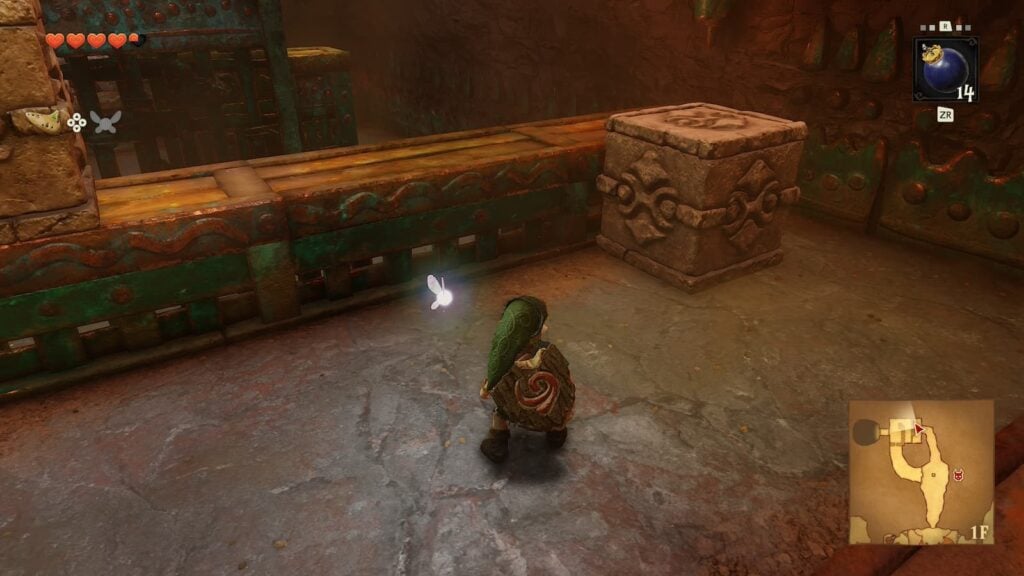
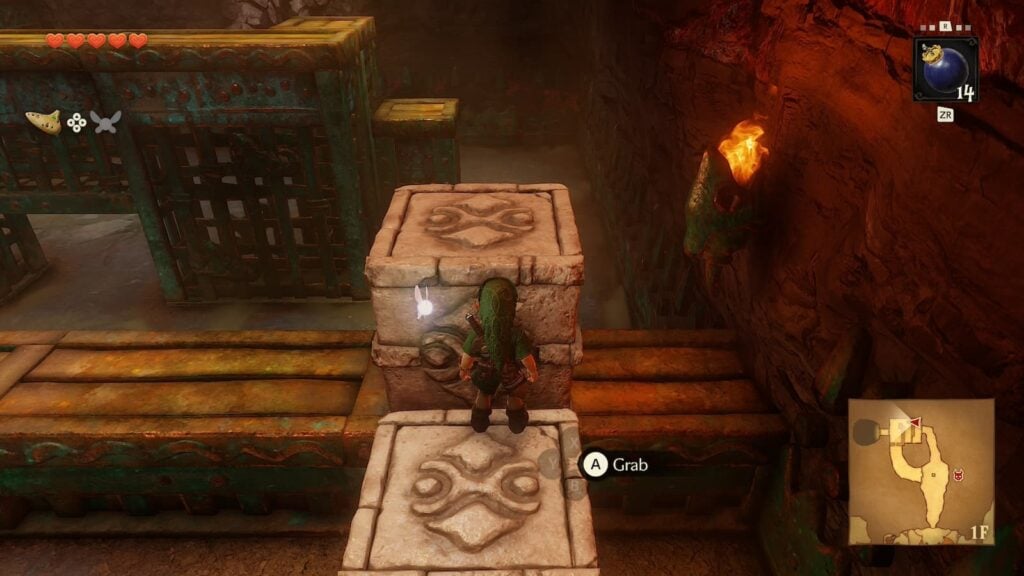
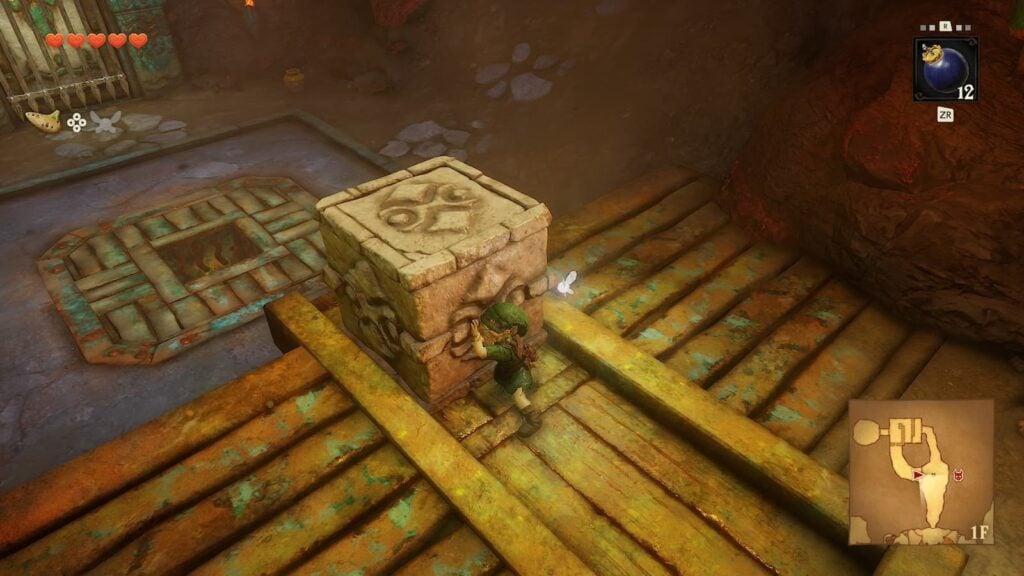
Push the lower block next to the ledge so you’ll have enough room to grab onto the other block and push it to the ground below. From here, push the block that just fell toward a destructible wall on the other side of the room. Pull out a bomb and place it on the block that you just pushed to destroy that wall.
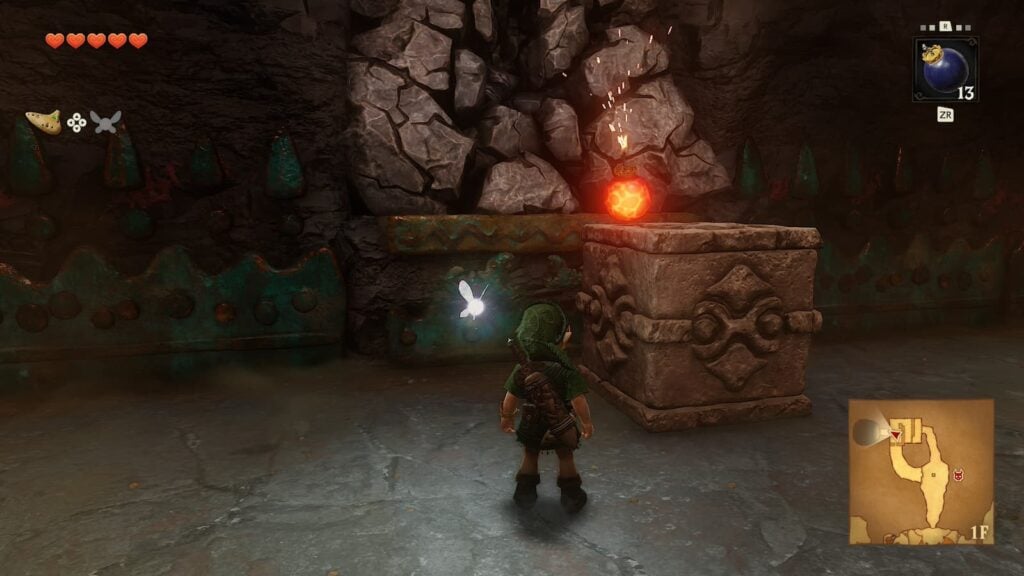
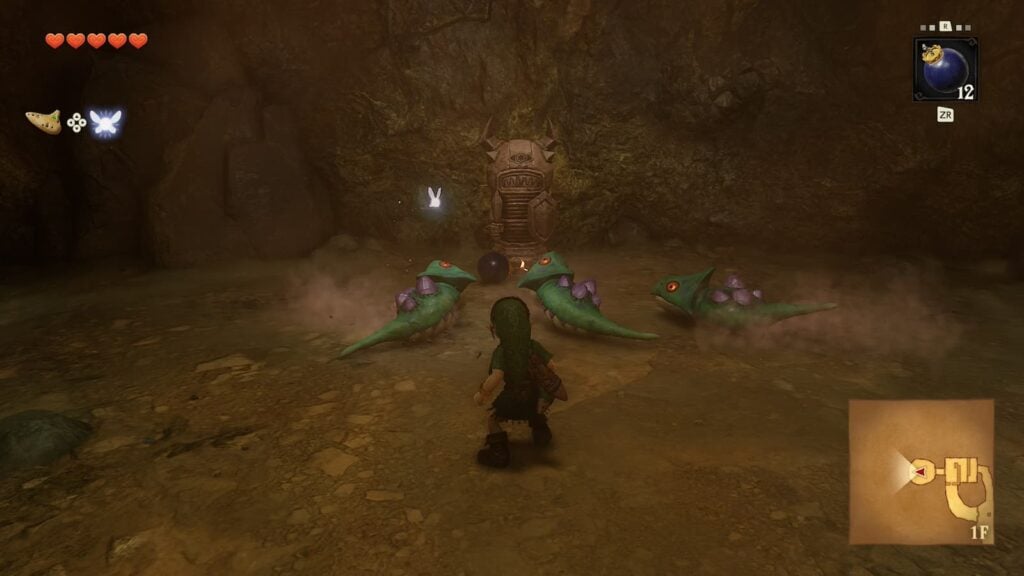
This will lead you to a small outcove that has several Baby Dodongos, an Armos, and a Gold Skulltula hiding behind the Armos. Defeat the Armos either with your own bombs or by defeating a Baby Dodongo near it to collect the Gold Skulltula’s token.
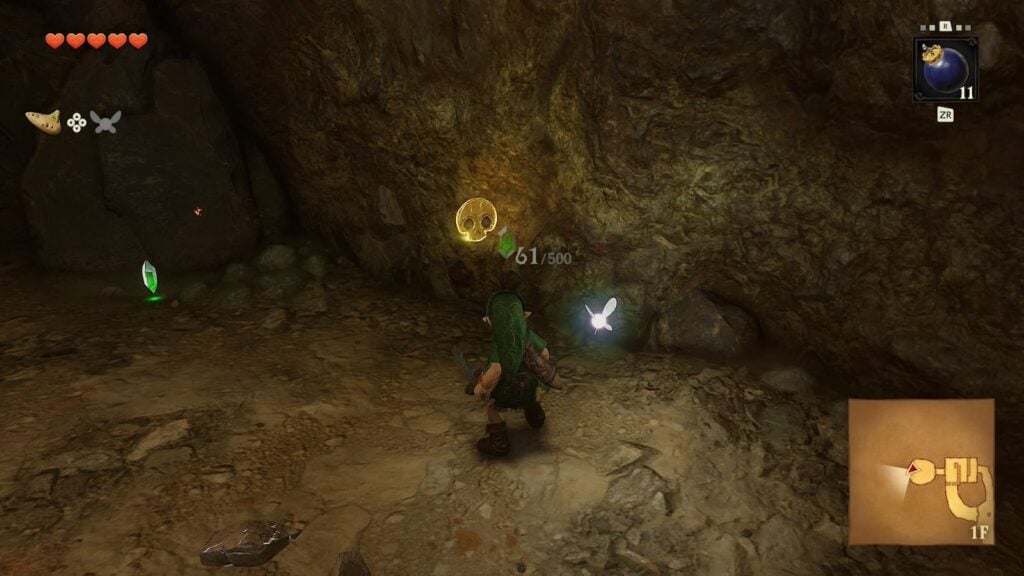
After collecting that token, return to the area where you were pushing the stone block. Push it to the western side of the room to reach a third block that you’ll be able to push by standing on the second block. This will lead you to a higher ledge near the entrance of the room.
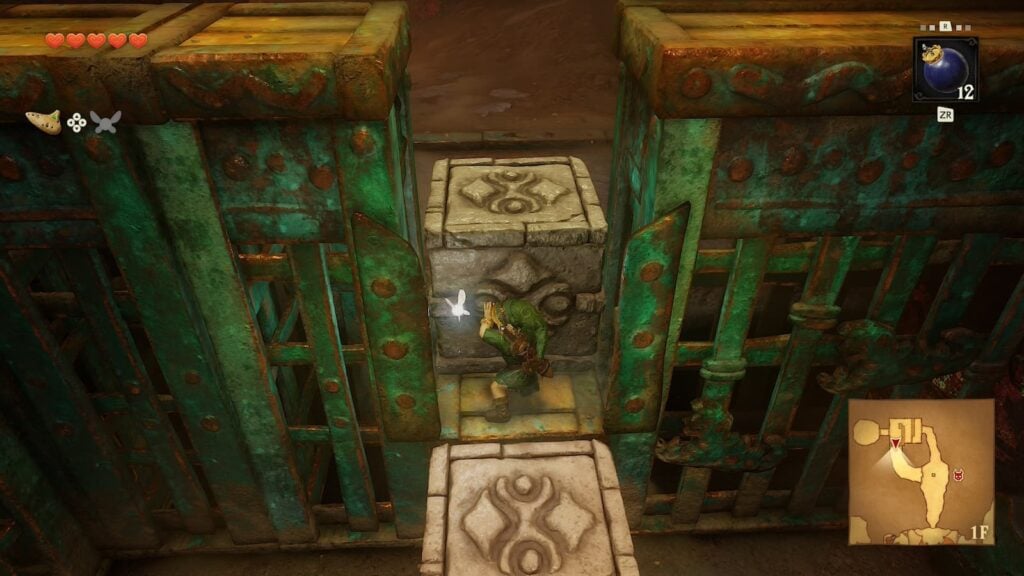
From here, you will spot a fourth block that you’ll be able to push over the ledge and onto the switch you saw when you first entered the room. Once the door has been unlocked, move on forward to face the dungeon’s boss.
Boss Room – King Dodongo
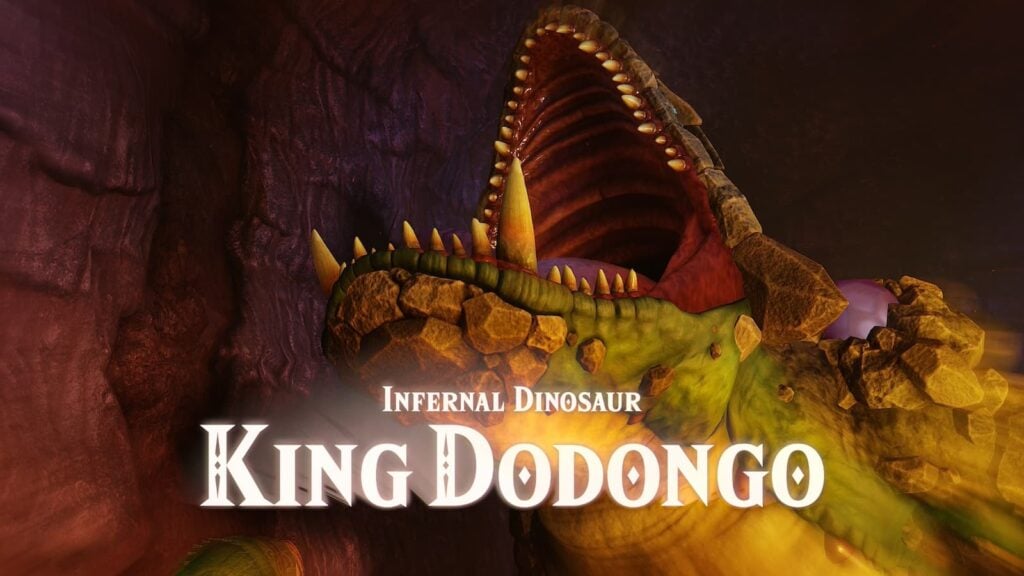
Upon entering the boss room you will be met with a very clearly destructible part of the floor. Place a bomb on it and jump down the hole that appears to begin the boss fight against the infernal dinosaur King Dodongo.
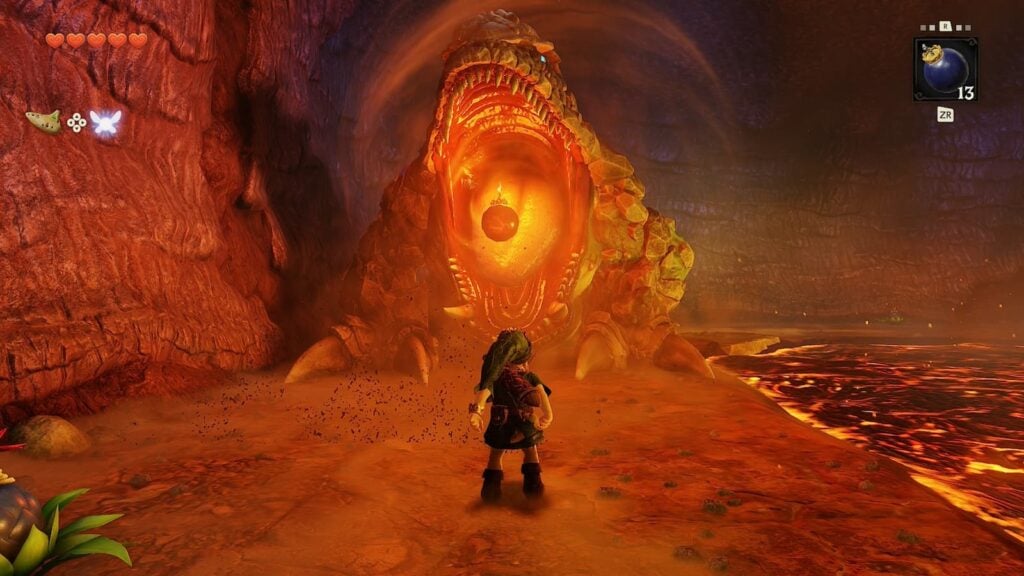
King Dodongo has one major attack: Charging up a large fireball that he blasts from his mouth. While charging this fireball, he’ll suck in air. This is you chance to weaken him. If you pull a bomb out of your bag (or use one of the four bomb flowers growing around the boss arena) and throw it at him while he’s sucking in air, the bomb will be sucked into his gut and stun him.
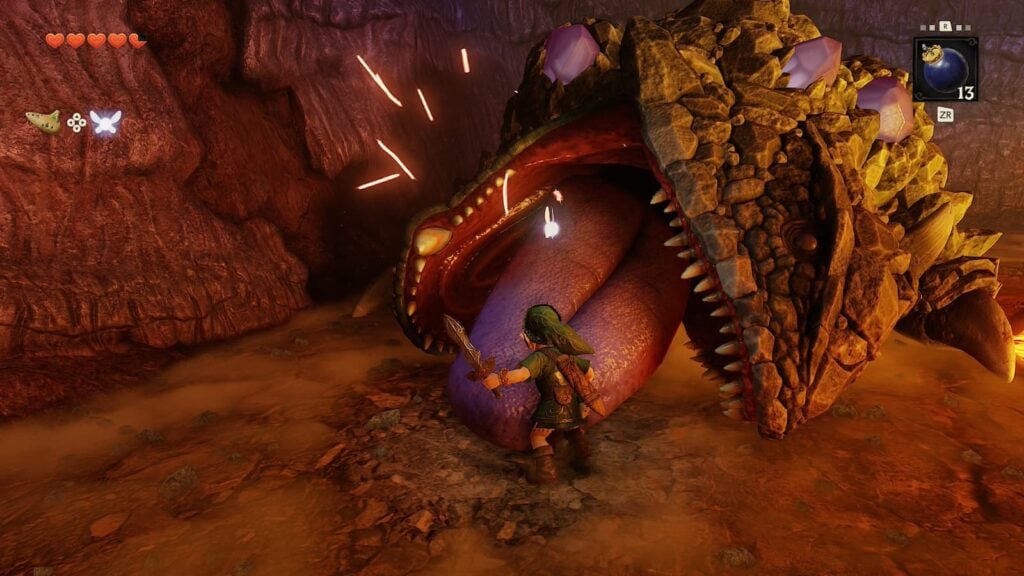
When King Dodongo is stunned, you’ll be able to strike his purple tongue with your sword. Get in as many sword slashes as you can before the beast gets back up. When he does get up, run as King Dodongo will begin to roll around the arena, after about half a loop he’ll stop and begin to charge his fireball attack again.
Repeat this cycle three or four times and you’ll swiftly beat King Dodongo with twenty slashes of your Kokiri Sword. Once he has been defeated, collect the Heart Container that he leaves behind and exit the dungeon through the portal that appears.
After leaving the dungeon you’ll experience a series of cutscenes with Darunia and the other gorons before they advise you to visit the Great Fairy Fountain on top of Death Mountain. With the Spiritual Stone of Fire obtained your next main story stop will be at Zora’s Domain to meet Princess Ruto.