Want to see Raider King content first? Add us as a preferred source.
Falcom’s Trails franchise is practically known for its in-depth worlds that have hundreds upon hundreds of unique NPC interactions that make them feel truly alive and lived in. Part of the franchise’s world-building comes from the many sidequests available in each title, as they give players the perfect opportunity to interact with the kingdom in exchange for items and BP. Trails in the Sky 2nd Chapter features every single sidequest from the original game as well as a handful of new ones.
If you are a new player who wants to keep track of how many sidequests they should be picking up along the way or a returning veteran curious about how and where the game added new quests, then please read through my guide on all Sidequests in Trails in the Sky 2nd Chapter.
Every Side Quest in Trails in the Sky 2nd Chapter
There are dozens of side quests in Trails in the Sky 2nd Chapter, with every chapter having a handful of them. Similar to 1st Chapter, every side quest that was hidden in the original game now has a quest marker pointing you to where they are. However there is one new side quest in the game’s eighth chapter which isn’t initially marked as a side quest until it has already begun.
Chapter 1 Sidequests
Ingredient Inquiry
- Main Quest: The ‘White Shadow’
- Mira: 1000
- BP: 2 (+2)
- Timeframe: Long
- Expires: End of Chapter 1
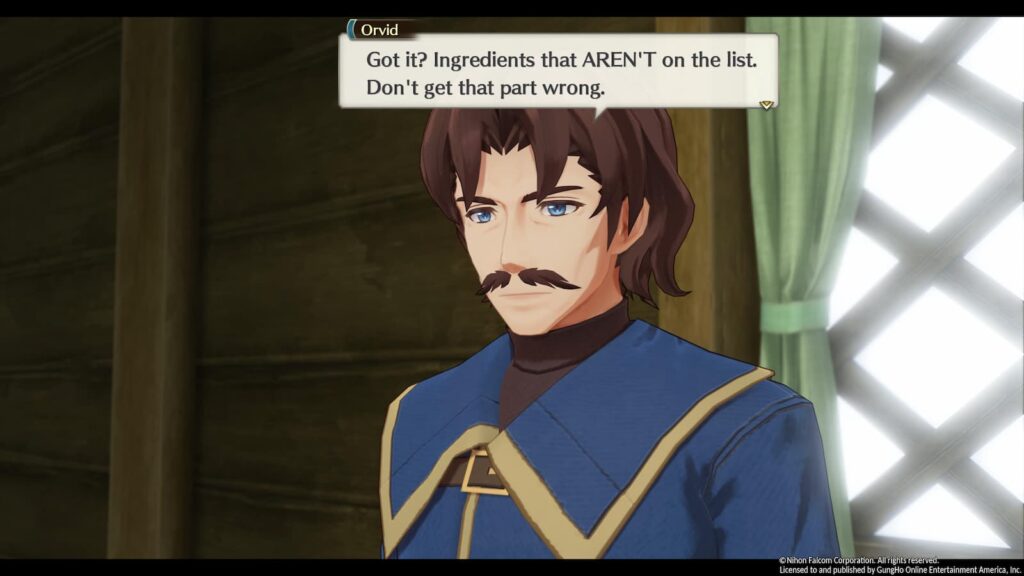
For this quest we’ll need to bring cooking ingredients to a man named Orvid at the inn in Manolia Village. He’ll give you a list of ingredients and request that you bring him monster drops that AREN’T on this list. Bring him the following ingredients
- Monster Bone
- Monster Fang
- Monster Horn
- Monster Tender
- Monster Roe
- Monster Bird Egg
You only need to find three of these ingredients to complete the quest, but bringing all six to him will net you 2 extra BP as well as 10 Monster Powders and 10 Monster Eyes as a bonus reward.
Sapphirl Snapshot
- Main Quest: The ‘White Shadow’
- Mira: 1000
- BP: 2 (+2)
- Timeframe: Medium
- Expires: After staying at Jenis Royal Academy
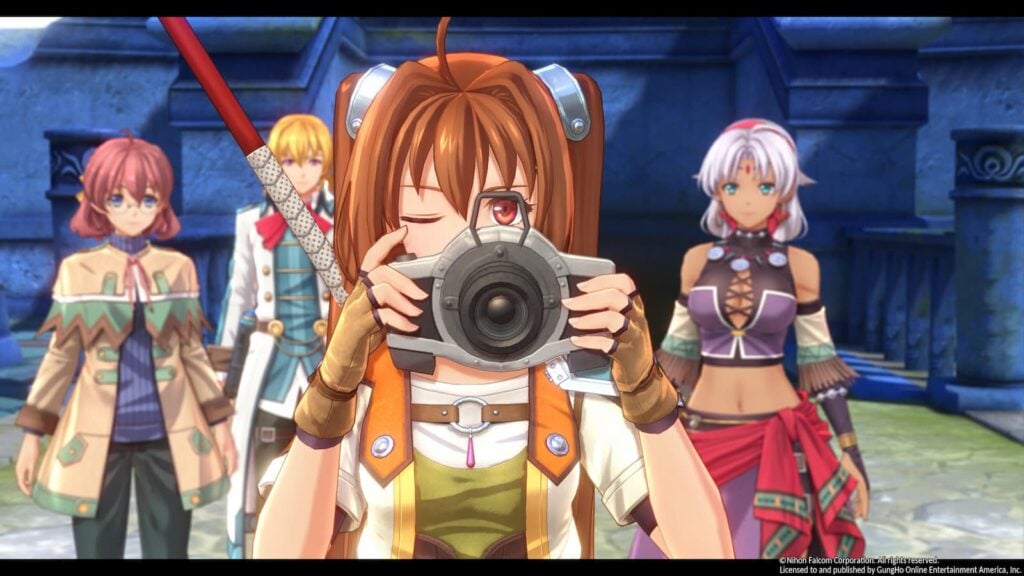
For this quest, a man named Santos at the inn in Ruan will ask you to scale the Sapphirl Tower in order to take a photo of it. However, you shouldn’t do this quest the moment it becomes available. As if you wait until after you investigate the ghost sighting, Dorothy will temporarily join the party as a guest character. If you take her along when you take the photo, she’ll take it and you’ll gain some extra BP.
Vista Forest Rd Monster
- Main Quest: The ‘White Shadow’
- Mira: 1000
- BP: 3
- Timeframe: Long
- Expires: End of Chapter 1
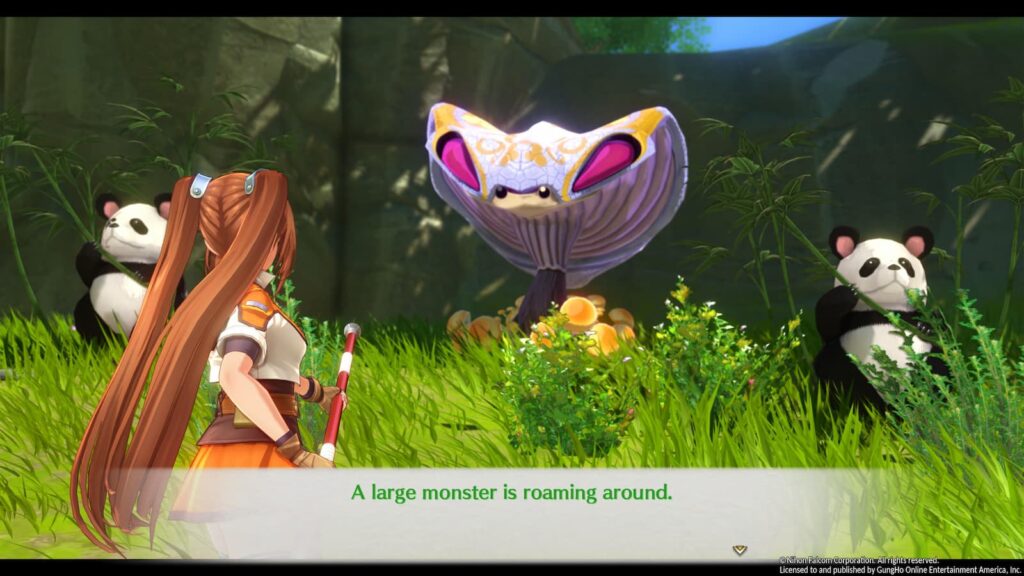
Our first monster bounty quest of the game can be found along the road to Jenis Royal Academy. This fight will have you face one Queen Viper and two Sasa Pandas. When the fight begins, focus your attacks on the pandas as although they have less health than the Queen Viper, they can be just as deadly if they gang up on a character.
The pandas are also very vulnerable to confuse, so if you chose to bring Scherazard as your ally for the chapter you’ll be able to use her Aerial Dance craft to keep them off your back for most of the fight. Once the pandas are defeated, you’ll be able to focus on the Queen Viper.
The Queen Viper will buff its strength and speed for two turns once it reaches half health. If you can survive this onslaught, the rest of the fight is straight forward and will only take a few extra crafts to finish.
Seaside Way Monster
- Main Quest: The ‘White Shadow’
- Mira: 1000
- BP: 3
- Timeframe: Long
- Expires: End of Chapter 1
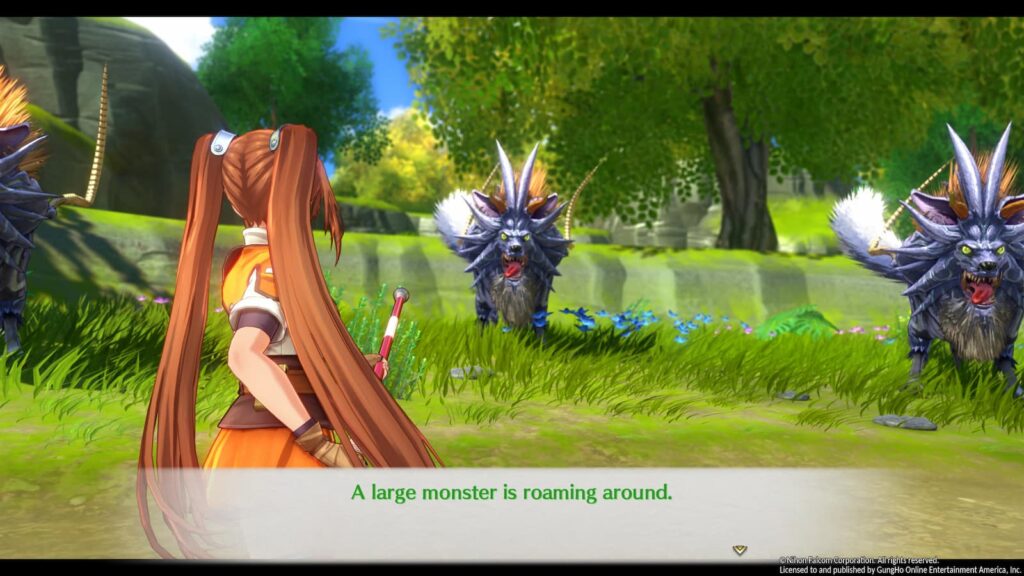
This next monster request is on the road by Manoria Village. This fight will have you face three Cobalt Sabers, and is pretty straightforward aside from the fact that all three of these enemies will buff the defense of the other two when they die. To get around this, focus on using AoE attacks and your S-Crafts so the others won’t have much health left when one of them dies.
Lighthouse Learning (Hidden Quest)
- Main Quest: The ‘White Shadow’
- Mira: 1000
- BP: 2 (+1)
- Timeframe: Long
- Expires: End of Chapter 1
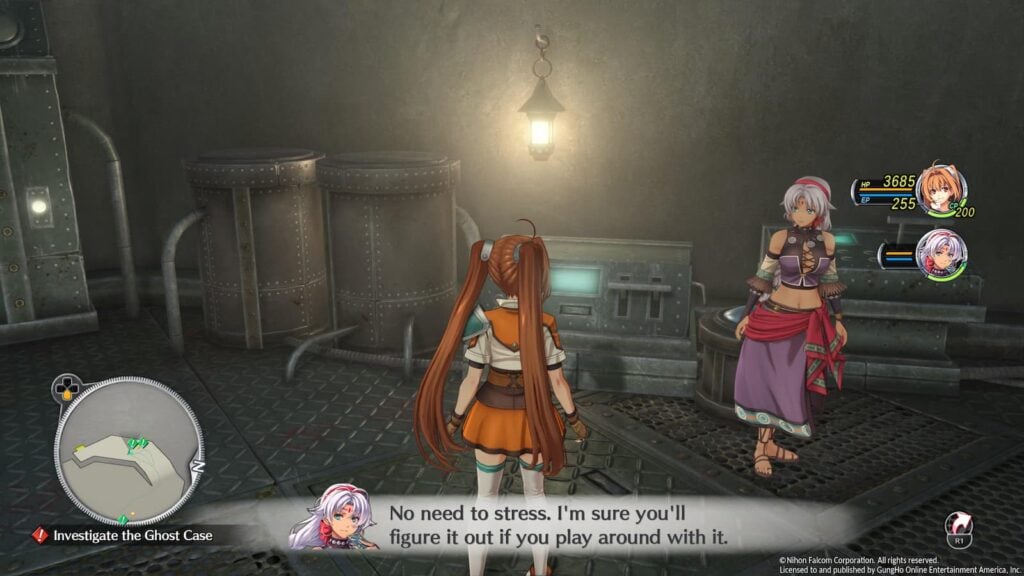
This quest isn’t on the questboard at the Bracer Guild but it’ll be marked on your map anyway. Make your way to the lighthouse and talk to Vogt to learn about how his back hurt and offer to assist him. From here, we’ll need to operate the four control consoles for the lighthouse to turn it on, perform the following actions
- Set the Orbal Pressure to LOW
- Set the Stabilizer Strength to LOW
- Turn the Power Switch ON
- Set the Orbal Pressure to MID
- Set the Stabilizer Strength to MID
- Set the Orbal Pressure to HIGH
- Set the Stabilizer Strength to HIGH
- Turn the Quartz Connection ON
After flipping that final switch, the lighthouse will turn on and you’ll be pretty much done with the quest. However, before you leave make sure to ask Vogt “Do you need anything else taken care of?” in the following scene to earn an extra BP.
Sunday Scholar
- Main Quest: The ‘White Shadow’ 2
- Mira: 1000
- BP: 3 (+2)
- Timeframe: Short
- Expires: After visiting Jenis Royal Academy
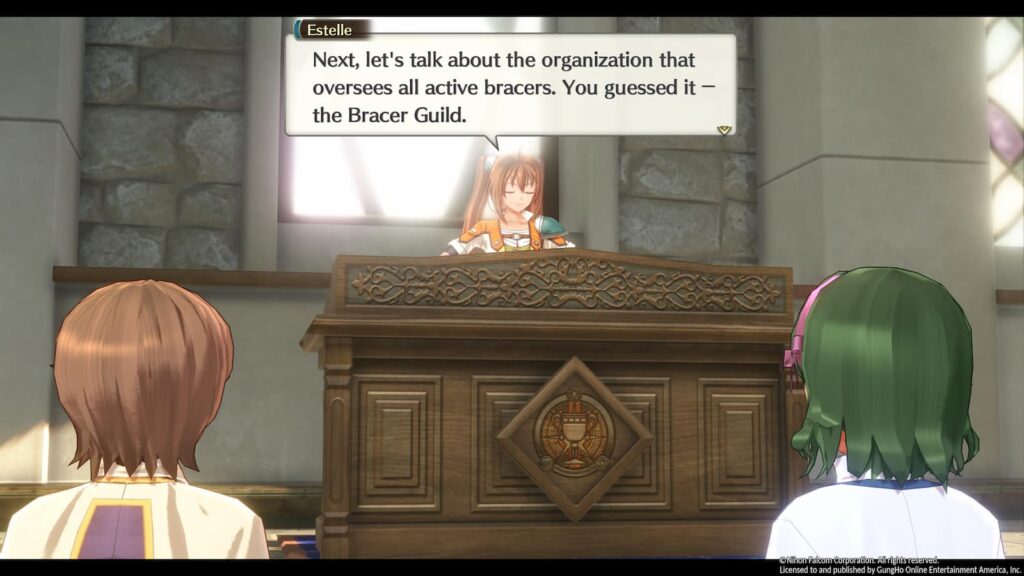
After Olivier joins the party, make sure you accept this quest at the board in the Bracer Guild. Once you do, head on over to the church and speak to Sister Frieda. She’ll ask you to answer some questions in order to help educate the Sunday School about bracers. Give the following answers in order to earn some extra BP
- Regional peace and the safety of the populace
- G through A, seven total
- 50 years ago
- non-involvement in political affairs
- Prioritize the safety of the people
- 16 or above
- The client’s wishes
- A unit from the royal army
- Article 2
- 42 Arge
Once you’ve answered every question, the quest will automatically clear.
Drawbridge Defect
- Main Quest: The ‘White Shadow’ 2
- Mira: 1000
- BP: 2 (+1)
- Timeframe: Short
- Expires: After visiting Jenis Royal Academy
This is the first example of a quest that is entirely new to the 2nd Chapter Remake. After Olivier joins the party, make sure you accept this quest at the board in the Bracer Guild. Once you have, head to Aqua Rossa Bar and speak to Chief Portos. He’ll tell you that the city bridge has been on the fritz lately and ask you to investigate why.
From here, just follow the quest markers and question all the people on the bridge about if they’ve seen anything weird lately. After you’ve questioned everyone, you’ll be asked about what went wrong with the bridge. Answer “Human intervention” for an extra BP.
After the question, Kevin will briefly join your party in order to dowse the area with his grail coin for suspicious activity. Dowse near the chain on the left side of the bridge near the east side of town and you’ll find something you can examine to progress.
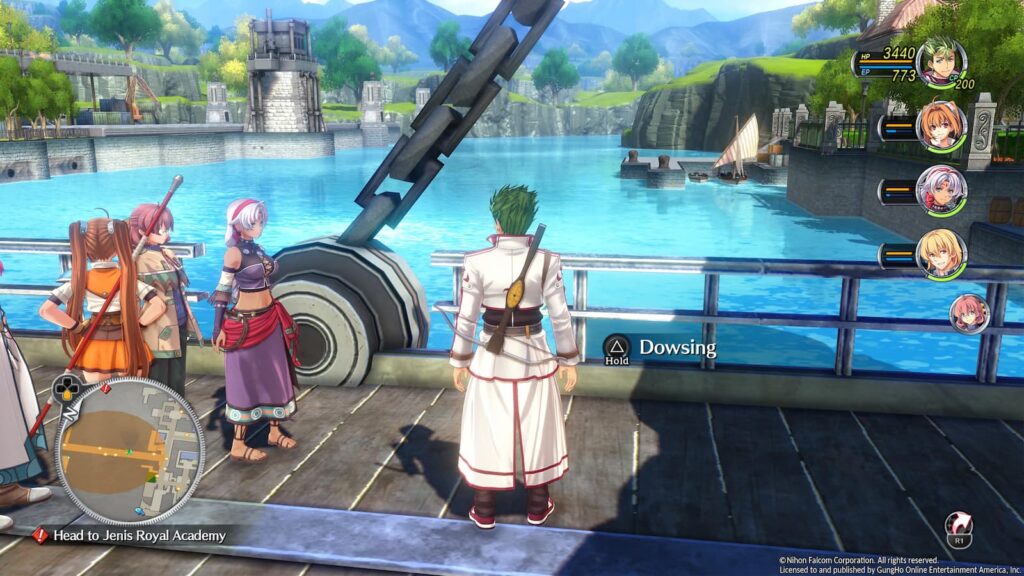
After examining the bridge, you’ll be brought to the contraption which manually controls the bridge in the mayor’s house (You remember examining that in 1st chapter, right?) and you’ll find a monster which will immediately run away to the Gull Seaside Way. Kevin will leave your party at this point in order to chase after the monster.
Chase the monster to Gull Seaside Way and Kevin will again rejoin your party for a single battle against the Jabbabba King and four Red Shumocks. This will be your first boss-like battle with Kevin in your party, and if you use his party buffs like Sacrifice Arrow and Grail Sphere you’ll essentially be invincible. Defeat all of the enemies and you’ll clear the quest.
Krone Pass Monster
- Main Quest: The ‘White Shadow’ 2
- Mira: 1000
- BP: 3
- Timeframe: Long
- Expires: End of Chapter 1
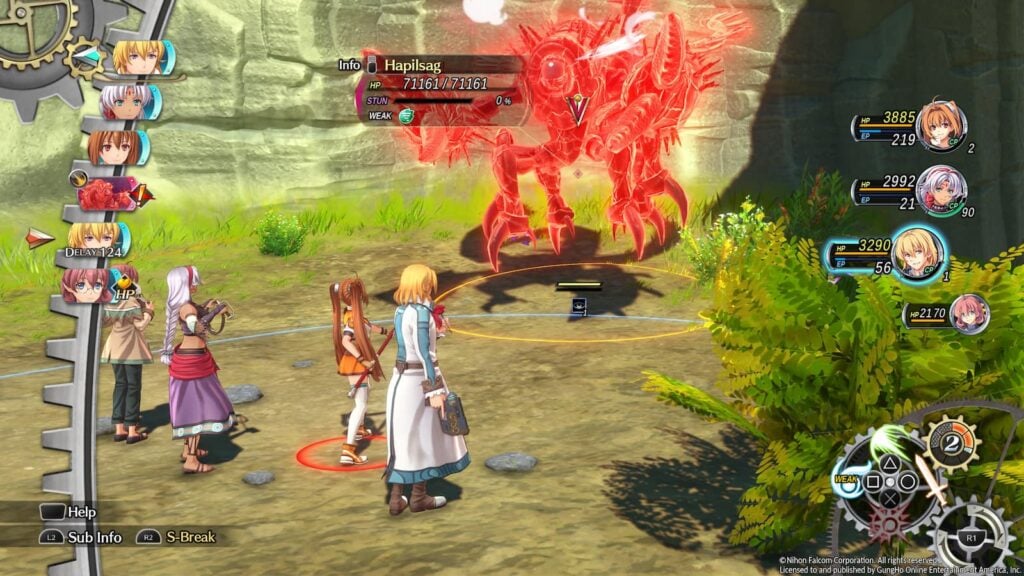
Your next monster hunting request will send you all the way over to the Krone Pass. The fight here against a Hapilsag is very straight forward. Simply use impede arts/crafts on it when it’s glowing red and you’ll take very little damage during the fight. the big risk here is Dorothy dying as it’s an automatic game over if she dies, but it doesn’t seem like the beast actively targets her.
Aina Cswy Monster
- Main Quest: The ‘White Shadow’ 2
- Mira: 1000
- BP: 3
- Timeframe: Short
- Expires: End of Chapter 1
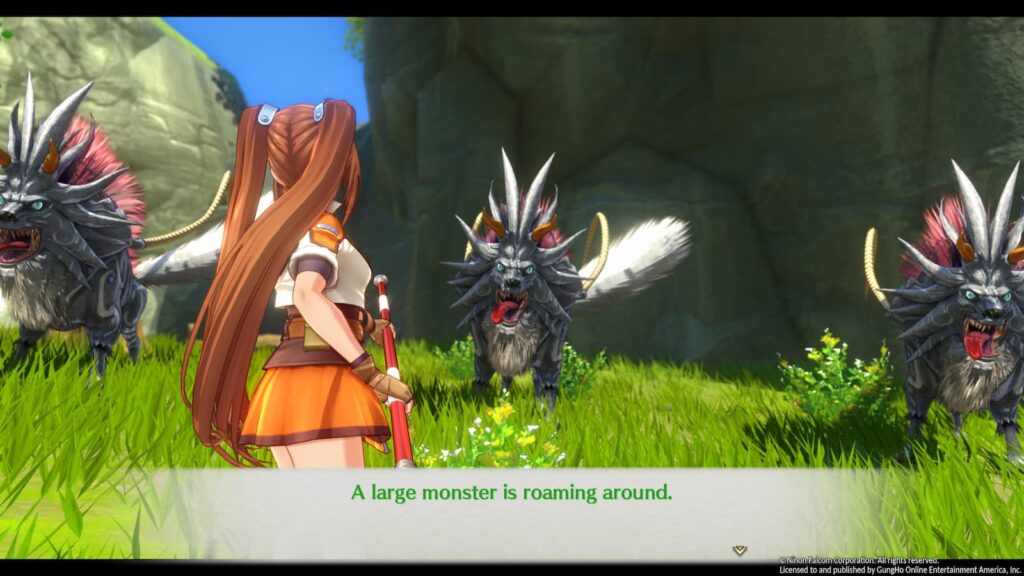
This fight will be against three Ash Sabers on the Aina Cswy. The battle here is basically identical to the one against the Coblat Sabers at Seaside Way, but instead of buffing each other’s defense when they die they buff each other’s strength and speed. Repeat the same strategy as before, prioritizing AoE skills, and you’ll beat this fight with little issue.
Chapter 2 Sidequests
Election Office Outrage
- Main Quest: The ‘White Shadow’ 3 (Cleared)
- Mira: 2000
- BP: 5
- Timeframe: Short
- Expires: After leaving Ruan
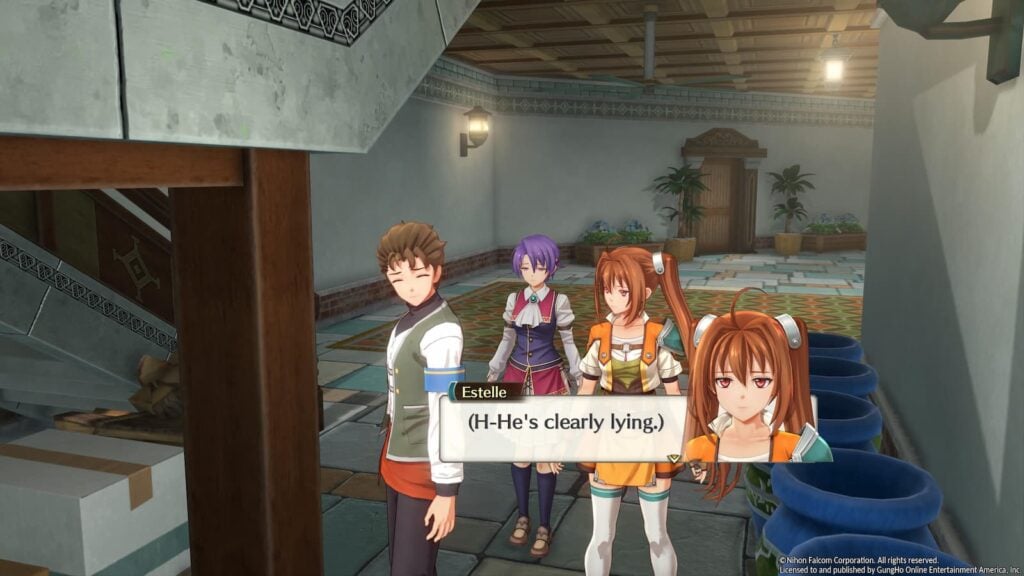
Before leaving Ruan, visit Hotel Blanche and go to Dorothy and Nial’s room in the basement. After the scene with them, a man will run up to you with an immediate request, as it turns out a campaign worker was assaulted on the top floor of the hotel. We’re going to need to investigate the area and figure out who did this. This quest is all about asking people questions about various topics in order to unlock new topics and narrow down who did it. To proceed through the quest ask the following people the following questions in this order
- Talk to Kooper and Ask about Kooper (Unlocks the Noise) topic)
- Ask Belden (Man in the basement) about Kooper (Unlocks the Angry topic)
- Ask Kooper about whether anyone was angry (Unlocks Herio topic)
- Ask Ernest (Man at reception desk) about Herio
- Head towards the stairs for a short cutscene with Schera and Olivier
- Ask Ernest about Herio again (Unlocks Lunch topic)
- Ask Murray (Man at outdoor dock) about Lunch (Unlocks Bridge Bell topic)
- Ask Ernest about the Bridge Bell (Unlocks the Cleaned Up topic)
- Ask Murray about the Noise
- Ask Murray about the bell
- Ask Norman about the bell
- Ask Belden who cleaned up
- Ask Belden about Lunch
- Ask Norman who cleaned up
- Ask Murray about Lunch
- Ask Belden about Lunch again
- Ask Belden about the Bell
- Ask Murrary about Belden
- Report to Scherazard
Now that we’ve gathered all the clues we need, it’s time to identify the culprit. After the last few questions about lunch and who cleaned it up, the answer is very clearly Beldan.
After identifying Beldan as our suspect, we’ll be asked about Kooper’s innocence. Thankfully, we can prove beyond a shadow of a doubt that it’s a Fact: He has an alibi for the time of the crime.
As for our proof of Beldan’s guilt? That’s Fact: He has no alibi for the time of the crime and more than that, we have evidence as there was a Contradiction: He knew about the special Paella
Once you’ve successfully figured out who the culprit is, there will be a series of cutscenes as you clear the quest and get your 5 BP reward.
Winners Wanted
- Main Quest: The ‘White Shadow’ 3 (Cleared)
- Mira: 2000
- BP: 4
- Timeframe: Short
- Expires: After leaving Ruan
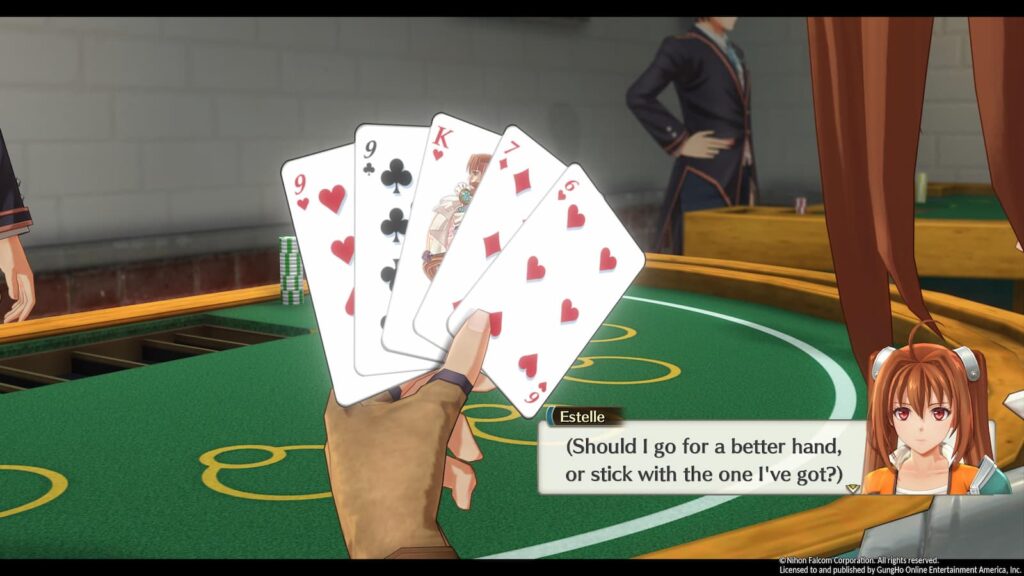
Before leaving Ruan, accept the quest that’s on the guild board and make your way to the [casino name]. Here, a woman will ask you to out gamble her husband in a card game. Instead of making you rely on random chance via the game’s gambling minigames, you instead need to make a series of correct choices. This is one of the few quests where the decisions you’ll need to make is actually different depending on if you chose Agate or Scherazard at the beginning of the game.
Below are the choices you’ll need to make for both characters
Scherazard Route
- Have Estelle Trade everything but the pair
- Play your hand
- Choose either option with Olivier
- Have Olivier Fold
- Have Scherazard Trade everything but the spades
After the following scenes play out, you’ll clear the quest
Agate Route
- Trade everything but the King
- Play your hand
- Choose either option with Olivier
- Have Olivier Fold
- Exchange your entire hand
Stolen Sign
- Main Quest: ‘Earthquake’ Investigation
- Mira: 1500
- BP: 4
- Timeframe: Long
- Expires: End of Chapter
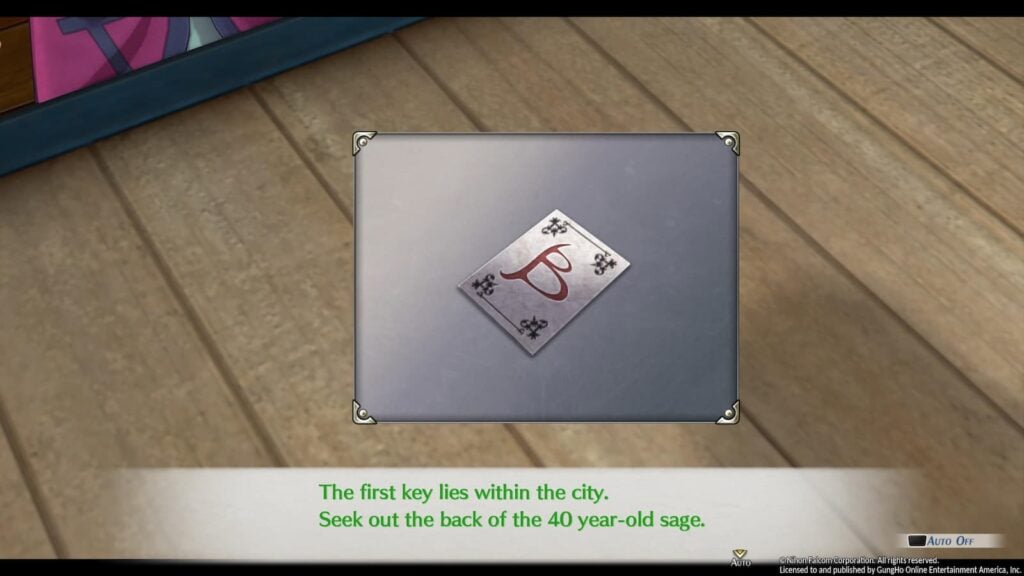
It’s time for our first Phantom Thief B sidequest! This time he has stolen the Bracer Guild’s sign and we’ll need to find it! Our quest markers won’t be exact this time around and will instead give us the general location of where the next clue is
Our first clue is that we need to go to the ‘Back of the 40 year-old sage.” That’s an easy one, as it’s directing us to the back of the giant clock by the east exit of Zeiss.
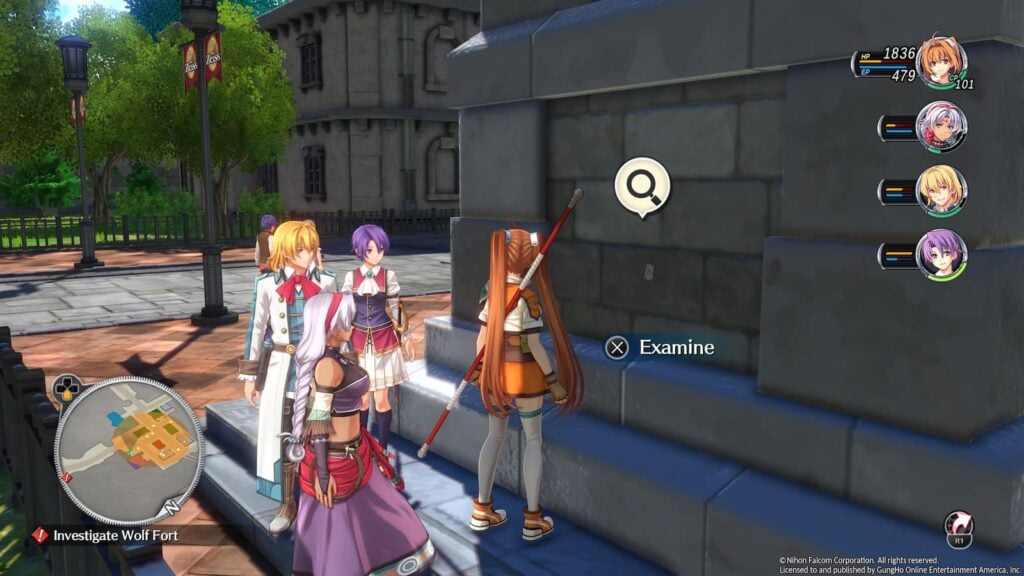
The next clue requires us to “Search inside the wisest of entities”, which our quest marker will immediately tell us means the computer inside of the Central Factory. The third clue however will ask you to do a bit more sluething, as you’ll need to find “Three brothers with pointy hats”. This clue is referring to the building with three chimneys near Tita’s home.
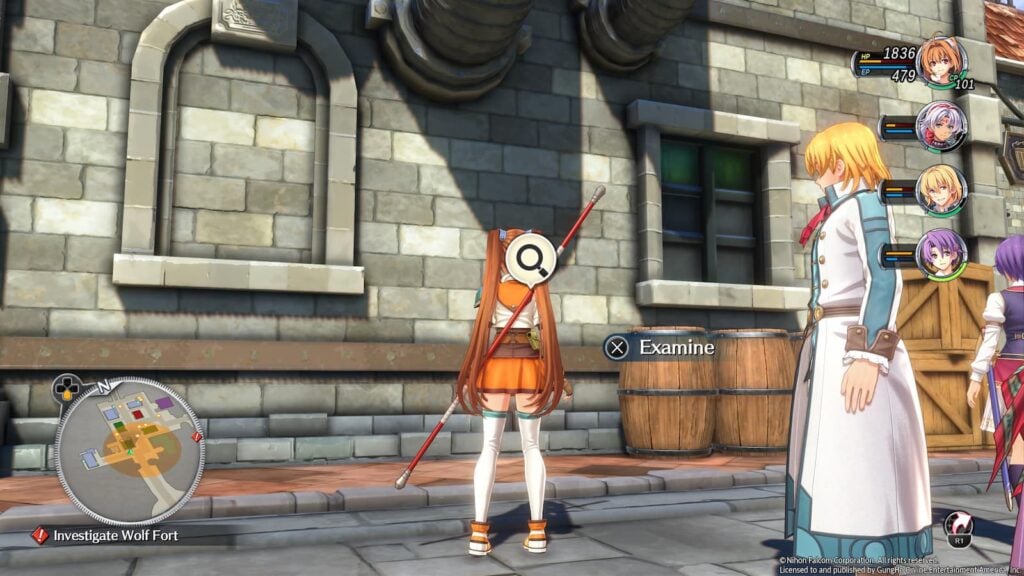
Finally, you’ll be directed to talk to Fey in the basement of the Central Factory. She’ll give you the sign and the quest will automatically clear.
Drill Duty
- Main Quest: ‘Earthquake’ Investigation
- Mira: 1500
- BP: 3 (+2)
- Timeframe: Short
- Expires: After Investigating Wolf Fort
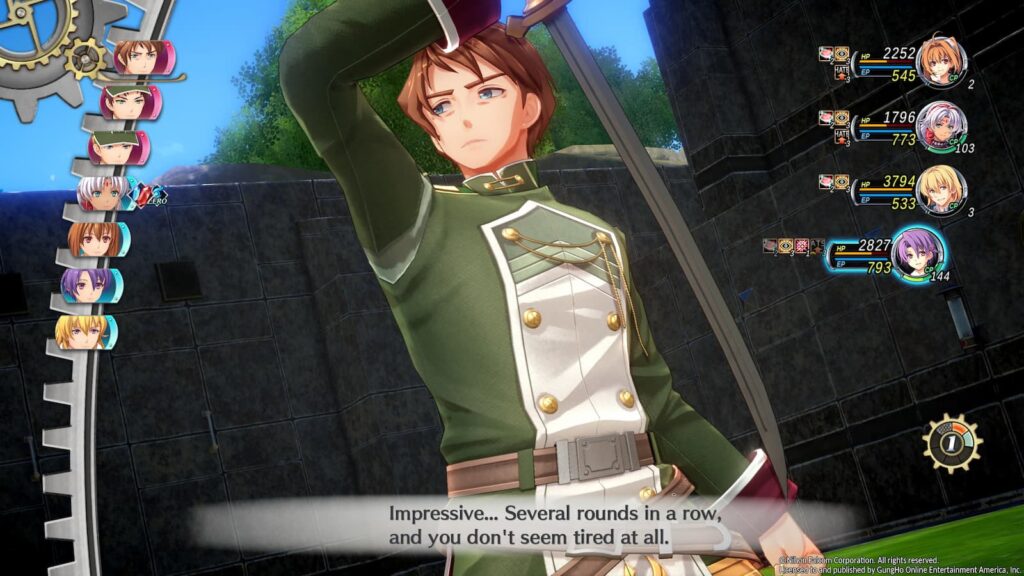
After accepting this question, make your way over to [name] and agree to participate in the combat drills. This will immediately put you into three back-to-back battles against Cid and his soldiers with no healing in between. Kloe is going to be your MVP during these fights as her Weiss Aura craft which regenerates your party’s HP for four turns and her S-Craft which will both heal you and give you a shield in invaluable during these fights.
The final battle against Cid is going to be especially tough as he is both very fast and very strong. Make sure you bring EP and CP increasing items with you as you’ll likely need them. Just take it slow, use Kloe’s skills, and occasionally cast an extra Earth Guard if you need it and you’ll be able to win all three battles.
The quest will clear regardless if you win or lose, but winning rewards you with two extra BP, so make sure to save before you start the fights.
Firearm Field Test
- Main Quest: ‘Earthquake’ Investigation
- Mira: 1500
- BP: 3 (+2)
- Timeframe: Long
- Expires: End of Chapter
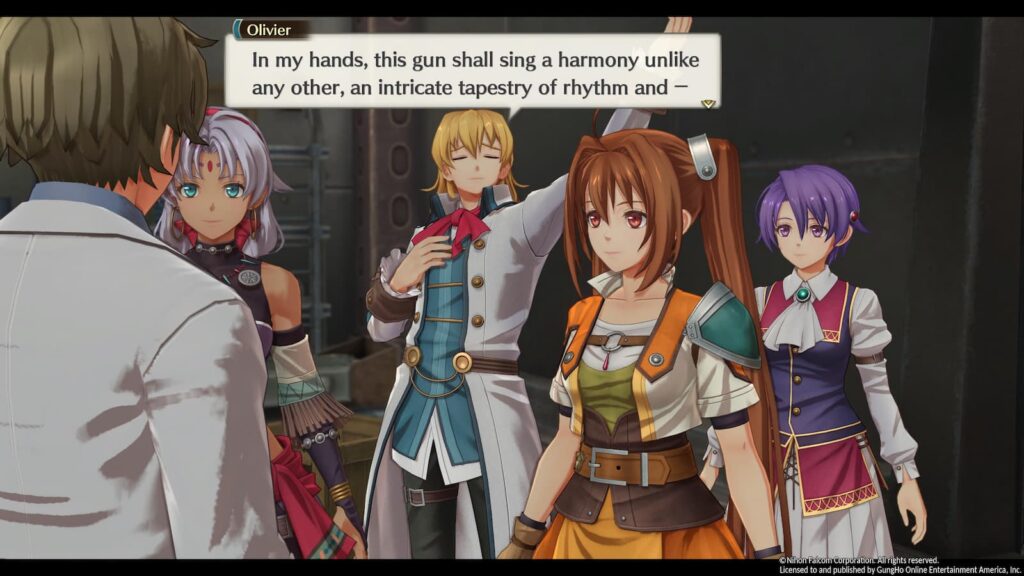
On the third floor of the Central Factory, a man will give you the 0-Type Orbal Gun for Olivier and ask you to use in for a handful of battles at the Tratt Plains Road. This weapon is better than what the armory is currently selling for Olivier so there’s no reason not to use it.
You only need to win 10 battles with this weapon equipped to clear the quest, but if you win 15 before reporting back you’ll be rewarded with two extra BP.
Kaldia Tunnel Monster
- Main Quest: ‘Earthquake’ Investigation
- Mira: 1500
- BP: 3
- Timeframe: Long
- Expires: End of Chapter
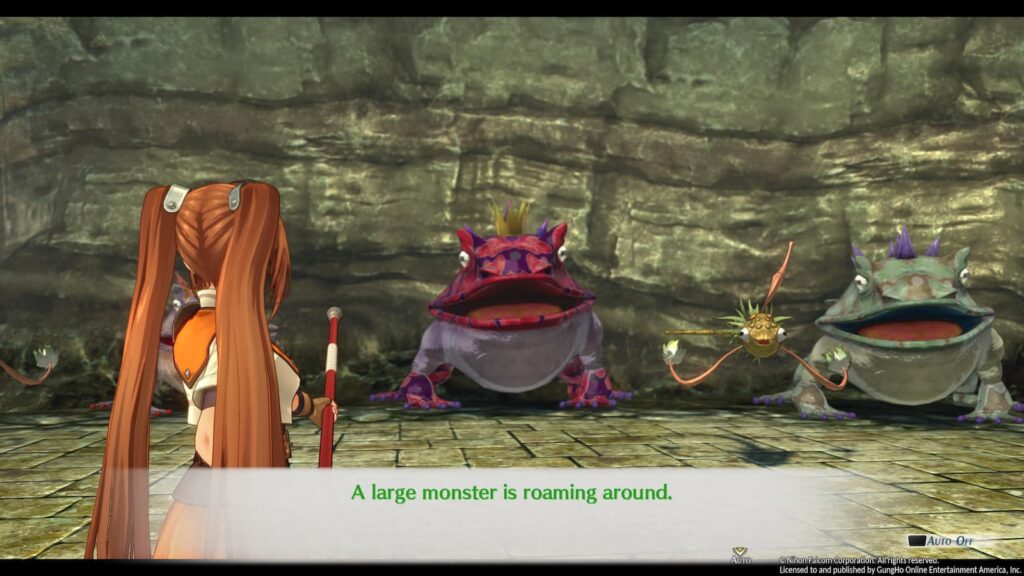
Inside of the Klaudia Tunnel you’ll find a Neptune Frog as well as a few Whale Frogs. These enemies can eat your party members so beware. If they have any extra gimmicks I did not see it as walking into the battle with your S-Crafts and Burst charged is enough to insta-kill them all.
Tratt Plains Monster
- Main Quest: ‘Earthquake’ Investigation
- Mira: 1500
- BP: 3
- Timeframe: Long
- Expires: End of Chapter
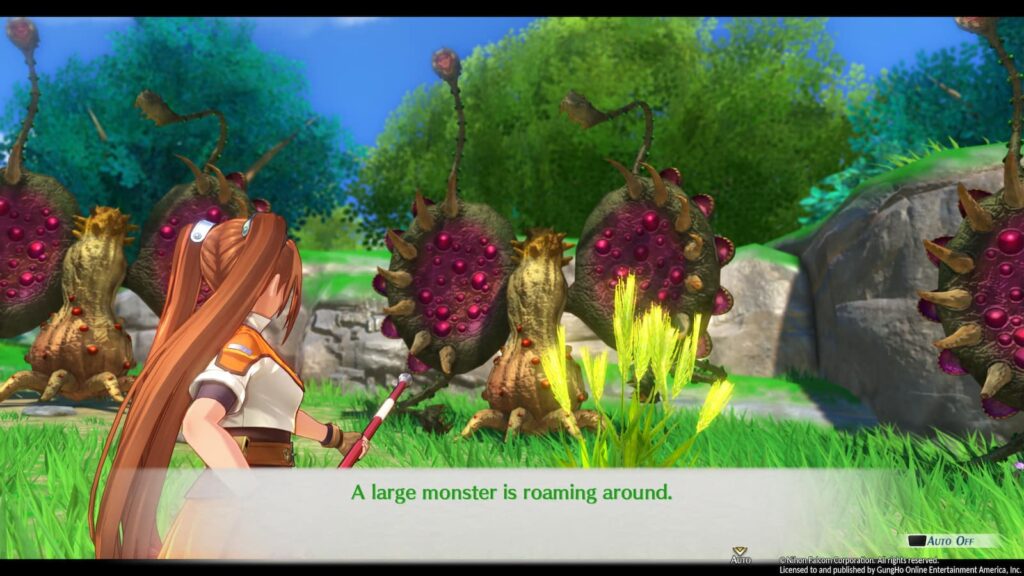
This battle will be against three Mantraps. These enemies can’s do much damage, but they can inflict your party with sleep, blind, and poison as well as lower all of your stats. Because of this, the fight will begin tough as you are constantly debuffed but for each Mantrap you beat it’ll get easier as you’ll have less to deal with. Just tough it out and have Kloe cure your debuffs and you’ll win.
Probe for Parts
- Main Quest: ‘Earthquake’ Investigation 3
- Mira: 1500
- BP: 3 (+2)
- Timeframe: Long
- Expires: End of Chapter
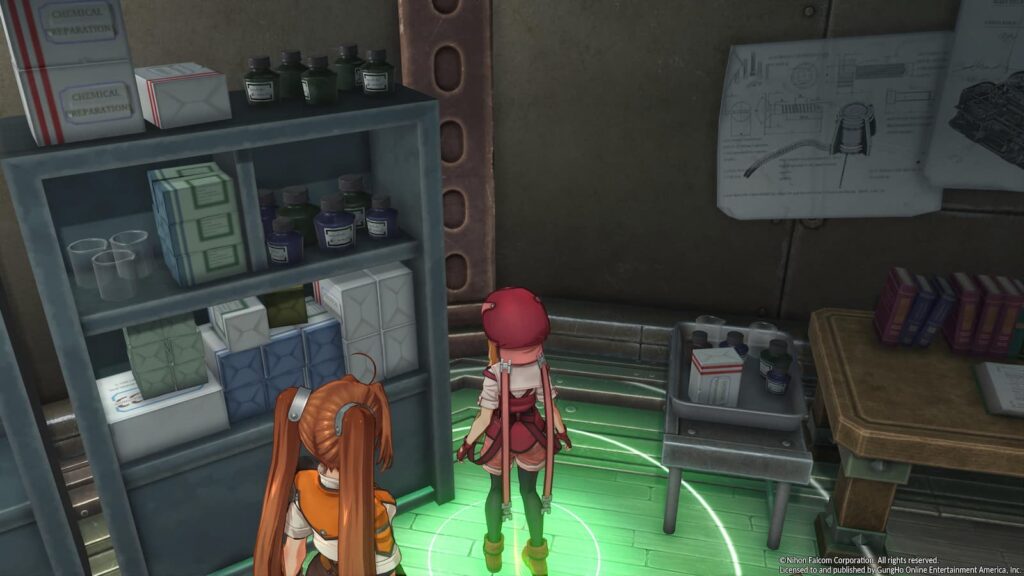
After accepting the quest, report to Erik at the Central Factory and he’ll tell you about some parts he lost and give you a detector to locate them, which you can activate by holding down the triangle button. All of the parts of hidden on the 3rd and 4th floors of the factory in the following locations.
- In the southeast corner of the 3rd floor Workshop
- By the table in the north of the 3rd floor workshop
- In the northeast corner of the 3rd floor workshop
- Inside of Antoine the cat in the 4th floor Clinic
- Near some boxes in the 4th floor laboratory
- By the bookshelf in the 4th floor laboratory
- In the greenhouse in the 4ht floor laboratory
- Between the two shelves which have beakers in the 4th floor laboratory
You only need to bring four parts back to Erik to finish the quest, but you’ll earn an extra BP if you find all eight of them.
Vanquish the Voyeurs
- Main Quest: ‘Earthquake’ Investigation 3
- Mira: 1500
- BP: 4
- Timeframe: Short
- Expires: After placing all three devices
This is a very straightforward quest as all you’ll need to do is go to the Maple Leaf Inn, speak to the innkeeper, and the fight against six Creepy Sheep enemies. Be cautious though, as these Sheep have a little secret up their sleeve.
Tratt Plains Monster 2
- Main Quest: ‘Earthquake’ Investigation 3
- Mira: 1500
- BP: 3
- Timeframe: Long
- Expires: End of Chapter
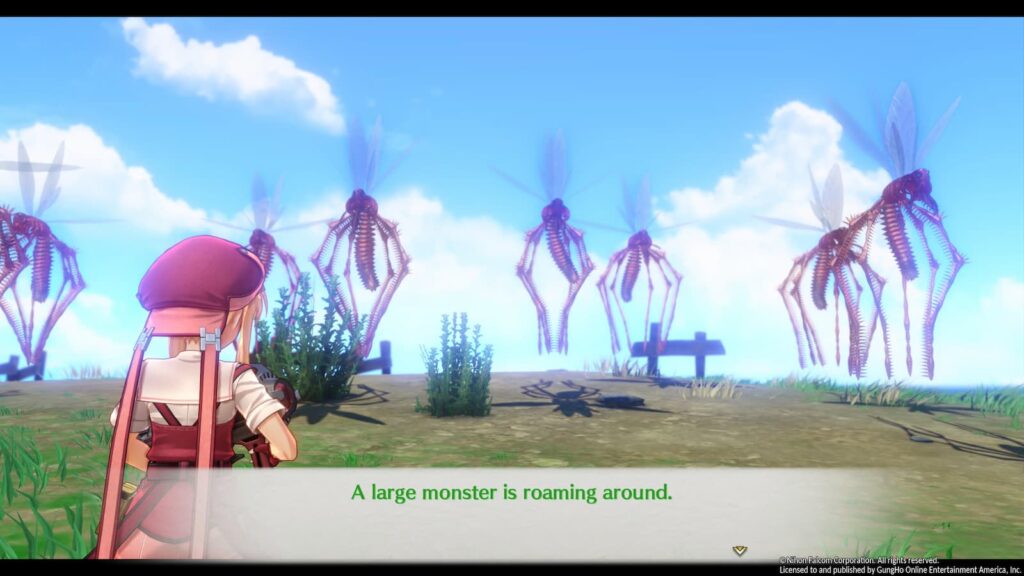
At Tratt Plains you’ll find six Ya-Kah enemies. Aside from there being multiple enemies who all have a lot of health, this is a very straight forward battle. Just use your S-Crafts and Burst and you’ll win within a few turns.
Army Road Monster
- Main Quest: ‘Earthquake’ Investigation 3
- Mira: 1500
- BP: 3
- Timeframe: Long
- Expires: End of Chapter
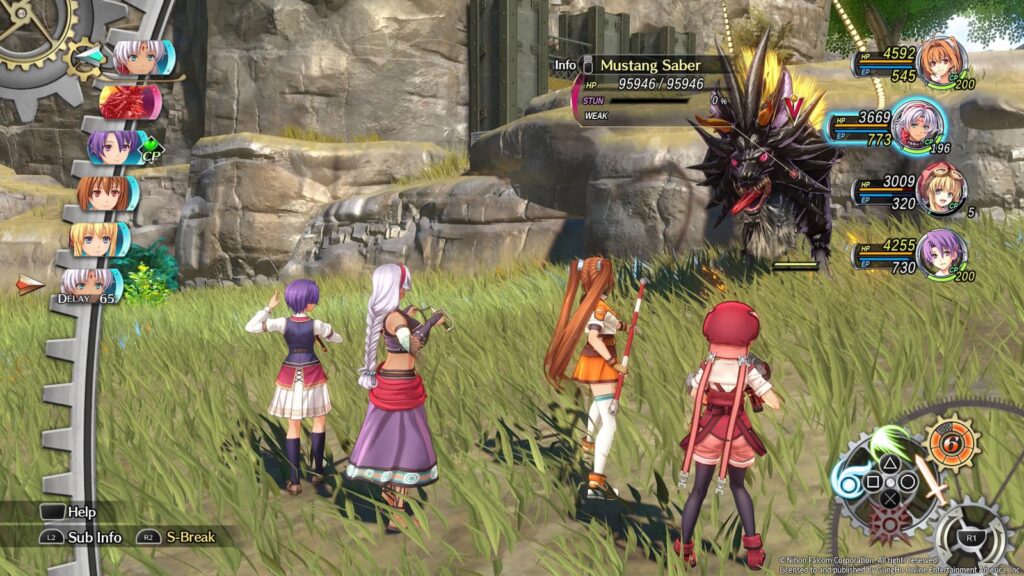
On the Army Road you’ll find a Mustang Saber to fight. Immediately after the fight begins, this monster will use a dark world skill the will blind you entire party until you stun him. You can easily get around this though via equipping accessories which resist blind or by relying on Tita’s Debuff Guard support skill. If you’re not blinded, he’ll go down within a few turns.
Chapter 3 Sidequests
Guest Gone Missing
- Main Quest: ‘Epicenter Investigation’ Cleared
- Mira: 2000
- BP: 5
- Timeframe: Short
- Expires: After leaving Zeiss
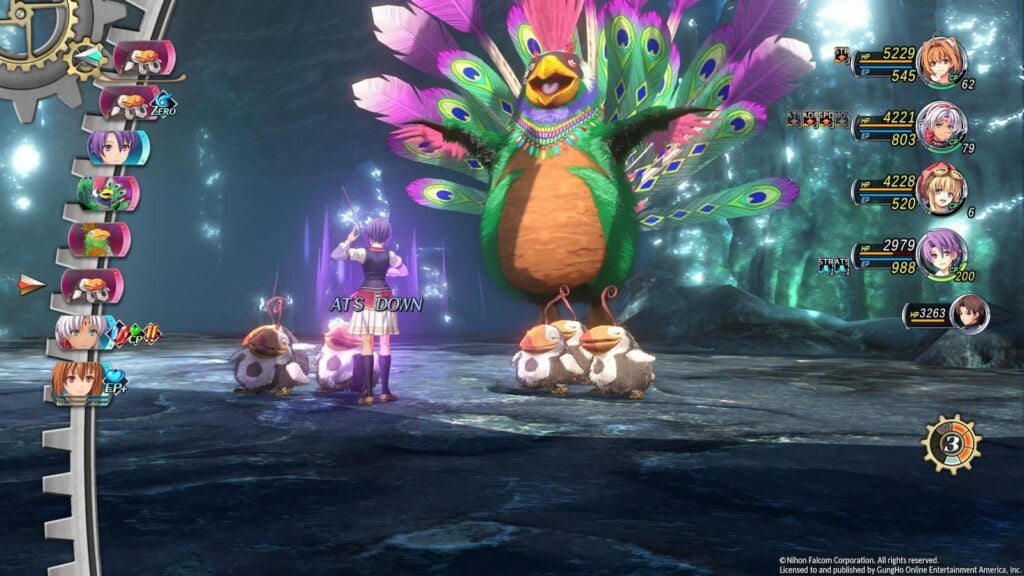
You’ve likely noticed that after completing chapter 2 there are still seven empty spaces in your enemy notebook for foes in the Zeiss region. Well, that’s because they’re in this quest! Here you’ll be forced into a rematch against the Pengu boss fight from the first game, but this time you’ll have an NPC accompanying you.
This fight can be quite tough as the large Pengu can confuse your entire party, which is almost always a death sentence for the NPC. Either kill them with S-Crafts before they can use this move or equip confuse resistant accessories before you start the fight.
Sewer Monster
- Main Quest: Lost Child at Erbe Royal Villa
- Mira: 2500
- BP: 4
- Timeframe: Long
- Expires: End of Chapter
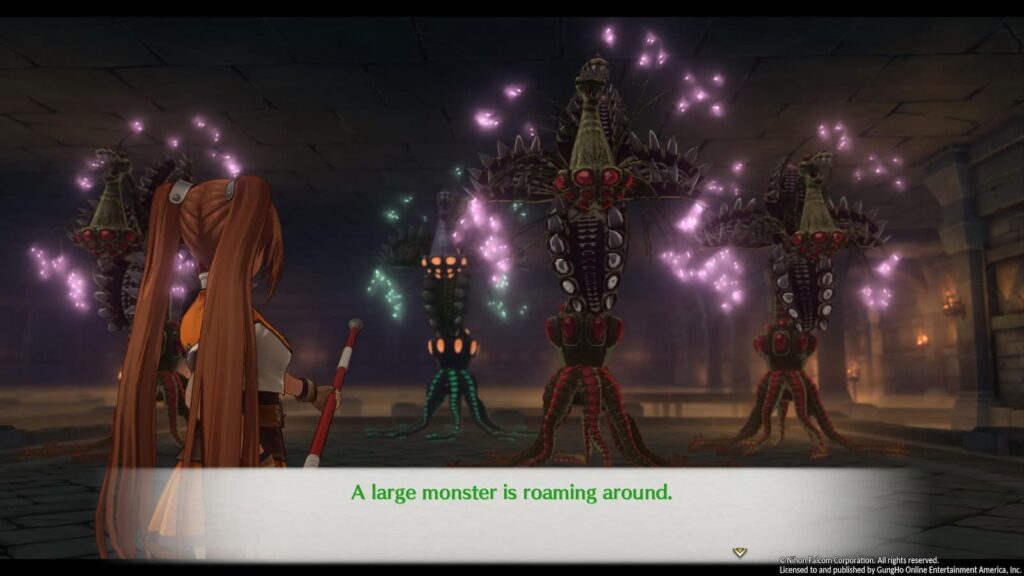
Inside of the sewers you’ll find four tree enemies at the end of a miniature dungeon. These trees aren’t very strong on their own but they can delay your turn AND steal your bonuses. Thankfully a few of your characters have crafts to steal them back so just take things slow and steady and you’ll win the fight in no time.
Erbe Scenic Route Monster
- Main Quest: Lost Child at Erbe Royal Villa
- Mira: 2500
- BP: 4
- Timeframe: Long
- Expires: End of Chapter
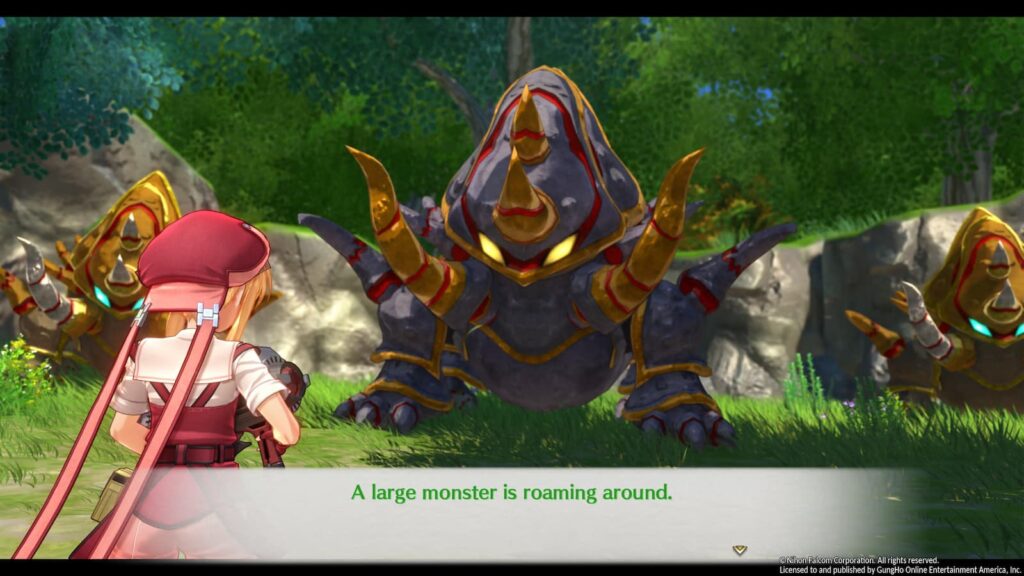
At the Erbe Scenic Route you’ll find a pack of rhino enemies. These guys have strong physical defense and can buff that defense even more, so focus on spells and have Kloe keep your party healthy during the battle.
Exhibit Enigma
- Main Quest: Threatening Letters Investigation
- Mira: 2500
- BP: 4
- Timeframe: Short
- Expires: After visiting Grancel Castle
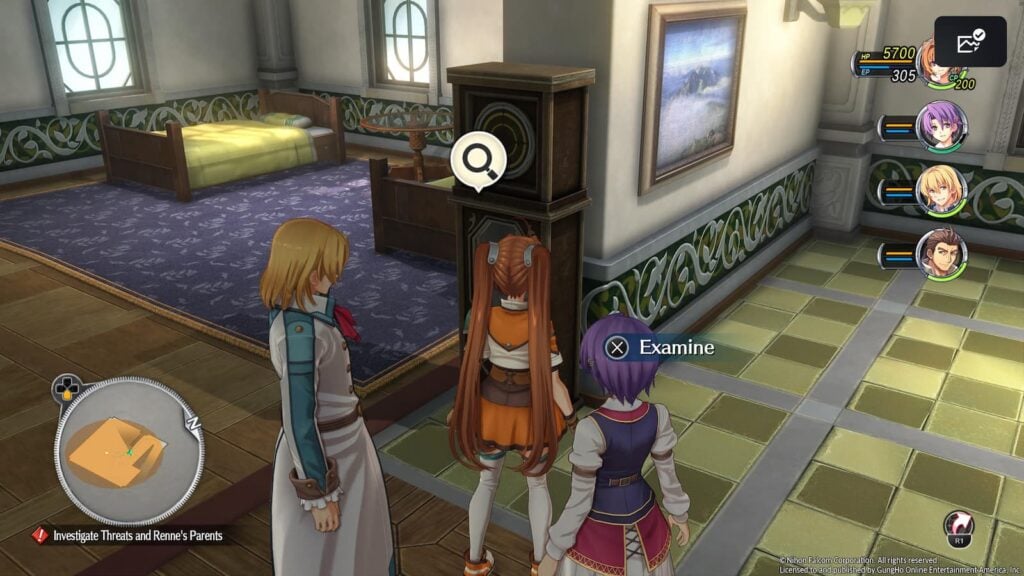
Phantom Thief B is back, and he’s given us another riddle to solve! Our first clue as to where he hid the painting asks us to locate an “Observer of Time”. While the initial quest marker for this one is outside, to actually find it you’ll need to go inside of General Morgan’s house and examine the grandfather clock he has to find your next clue.
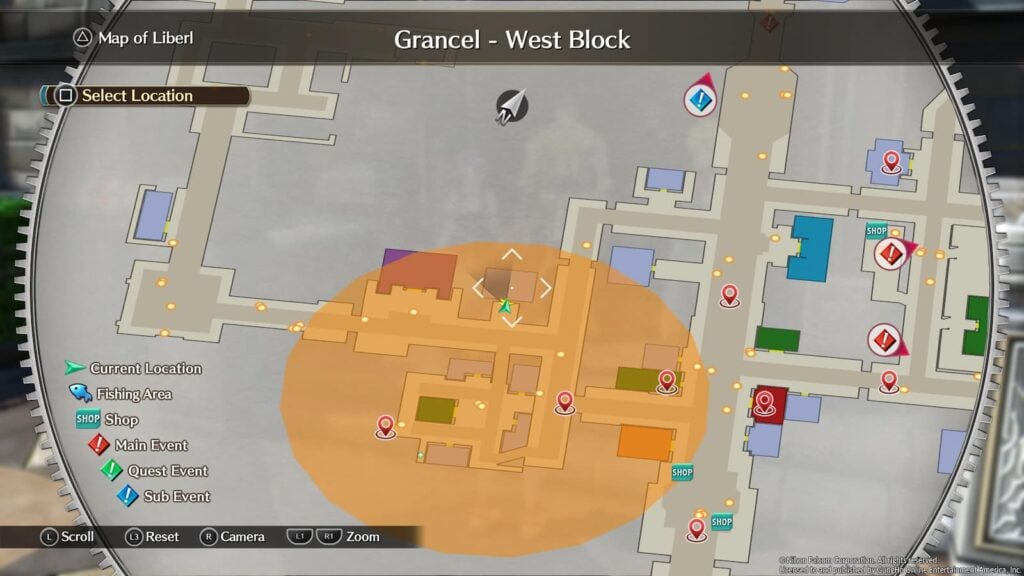
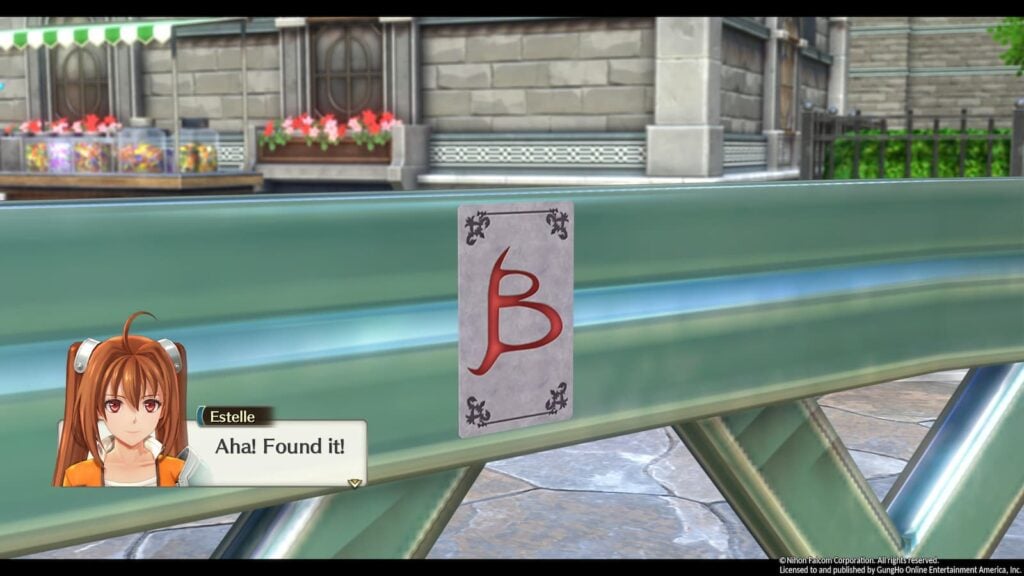
The next riddle asks us to find an “Earthbound symbol in the city”, where is that? Well it’s referring to the large statue of a bird on the fountain near the entrance of the city of course!
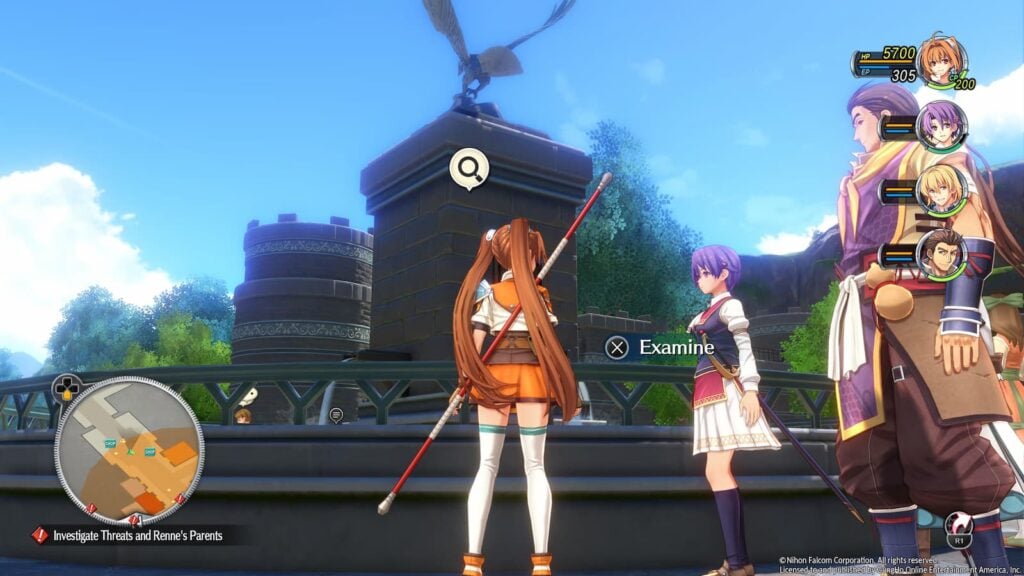
For the third clue we’ll need to find a card “In a foreign edifice” with the extra hint of looking for “The Blue Knight’s Resolve”. So what does this mean? Well the quest markers will guide you directly to this one, as it’s inside a book in the Calvard Embassy. Specifically, it’s in Volume 15 of The Doll Knight.
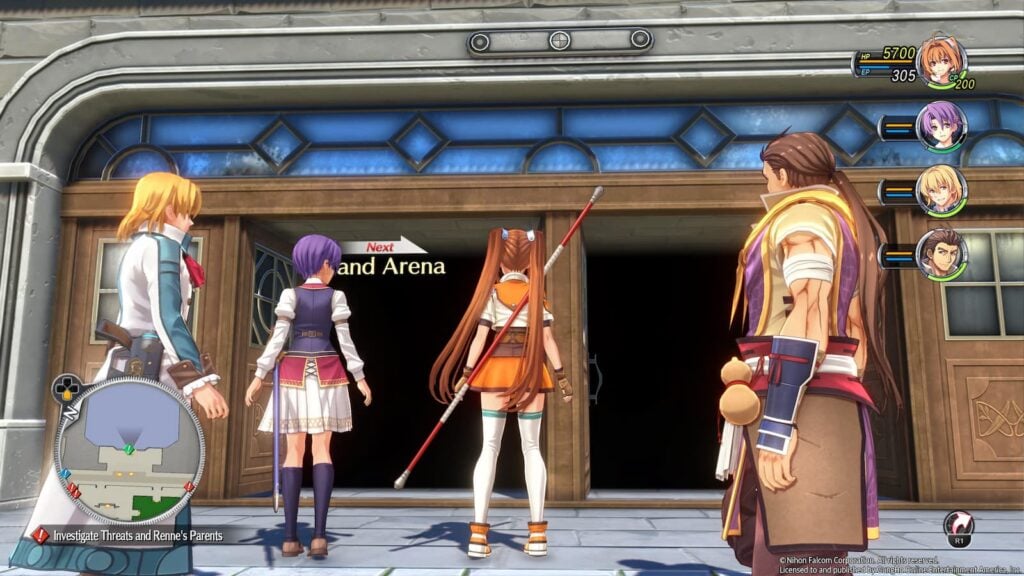
Our final riddle asks us to find “A Masquerade for the Mighty”. Where is this? Not too far, as you’ll just need to approach the arena in Grancel’s Eastern Block. Inside here there’ll be a short and easy fight, the quest will automatically clear after you win the fight and retrieve the painting.
Kirsche Avenue Monster
- Main Quest: The ‘Tea Party’ (Cleared)
- Mira: 3000
- BP: 4
- Timeframe: Short
- Expires: After Leaving Grancel
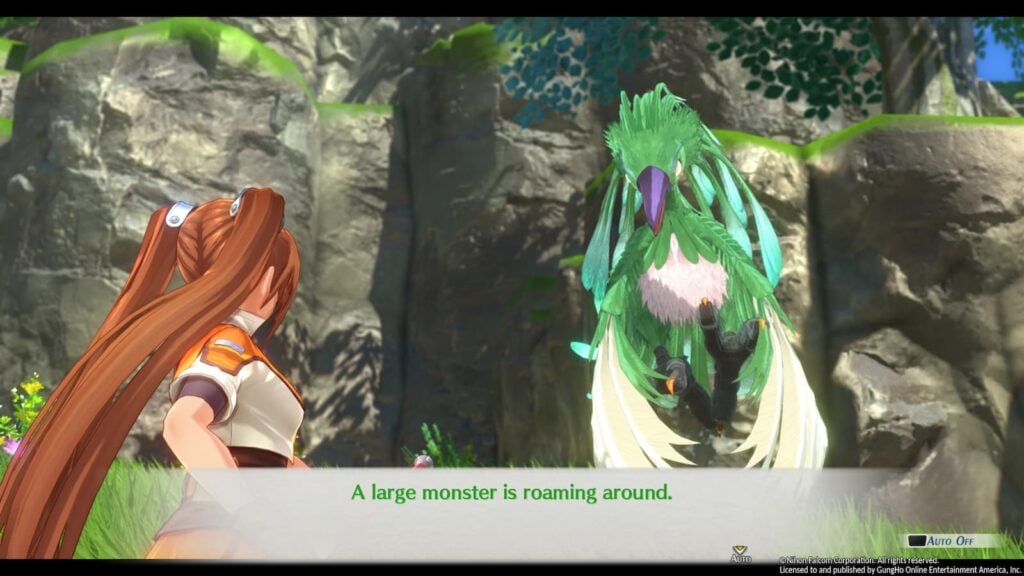
This monster hunting request is against a large bird enemy. At the start of the fight, the bird will put up a thunder dome which will inflict Seal upon your entire party, preventing them from using physical attacks and inflicting electric damage each turn. This isn’t the end of the world as you can still use Arts, particularly Earth Arts which the bird takes double damage to, but that does mean this fight has to be done without S-Crafts
Piscine Pilferer
- Main Quest: The ‘Tea Party’ (Cleared)
- Mira: 3000
- BP: 4
- Timeframe: Short
- Expires: After Leaving Grancel
It’s time for the second quest added in the remake. This one is all about how a large silver carp was stolen from the Grancel castle, before you start screaming in terror and assume that the game has added a new Phantom Thief B sidequest, do not panic as for once he wasn’t responsible for this.
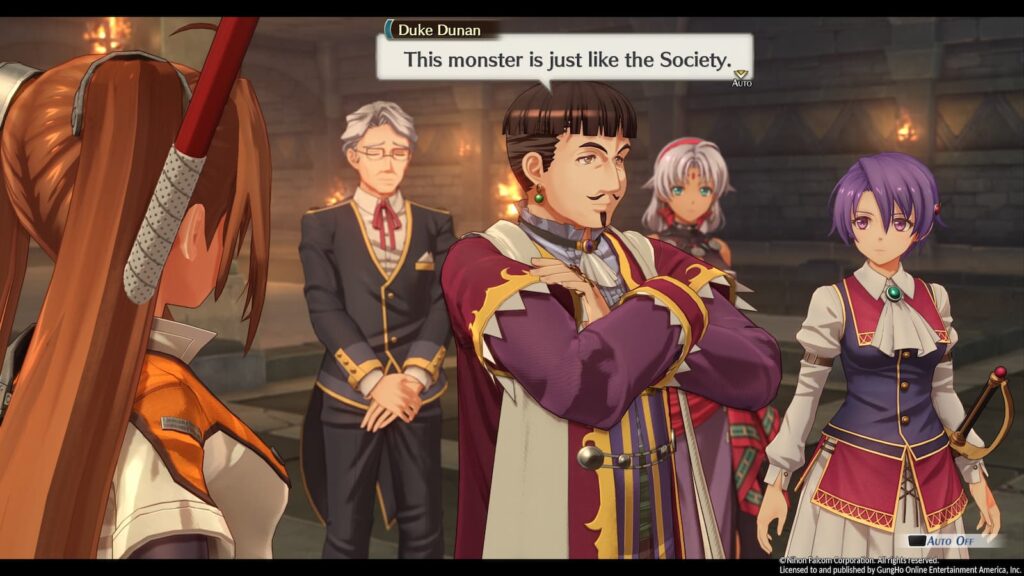
Instead we need to head into the sewers with Duke Dunan via the entrance in the castle. You won’t be able to leave until the quest is over so make sure you have a party you’re comfortable with. After taking a few steps in the sewer, you’ll be given a cutscene that delves more into the nuances of Duke Dunan’s character (yes really I’m not joking), and will have to fight against a Whale Frog enemy.
The frog will die within a single turn if you aren’t severely underleveled, allowing you to continue on through the sewers. Progress to the complete opposite end of the sewers and you’ll find the real thiefs: A pack of Pengus, but not just any pack, the exact same ones that attacked Jimmy in this game and your party in the first game!
The battle against King Pengu is a repeat of the one from the Chapter 2 sidequest, so just keep your party healthy and prepare for his Confusion S-Craft as you whittle down his health. I recommend bringing both Tita and Kloe as they can cure debuffs. The quest will end after you win the battle.
Chapter 4 Sidequests
Betrothal Band Bandit
- Main Quest: Fog Investigation
- Mira: 3000
- BP: 4
- Timeframe: Long
- Expires: End of Chapter
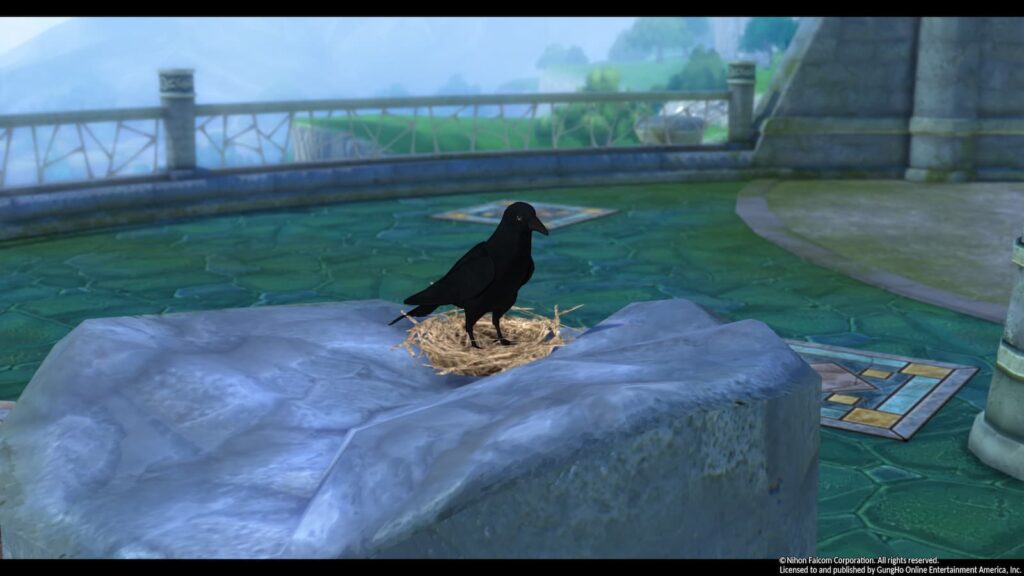
You might see the word bandit in this quest name and immediately brace yourself for more Phantom Thief B shenanigans, but don’t worry he’s not here (yet). Instead, a newlywed couple will tell you about how a raven stole the wife’s wedding ring and we need to find it. This is a very simple quest as the ring has been taken to the top of the Esmelas Tower and is mostly an excuse for you to revisit this dungeon from the first game.
At the top of the tower, examine the pillar that the bird is sitting on and you’ll find the ring, report back to the couple to complete the quest.
Fishing Spot Scout
- Main Quest: Pechuer
- Mira: 3000
- BP: 3
- Timeframe: Long
- Expires: After leaving Rolent
Elize Hwy Monster
- Main Quest: Fog Investigation
- Mira: 3000
- BP: 4
- Timeframe: Long
- Expires: End of Chapter
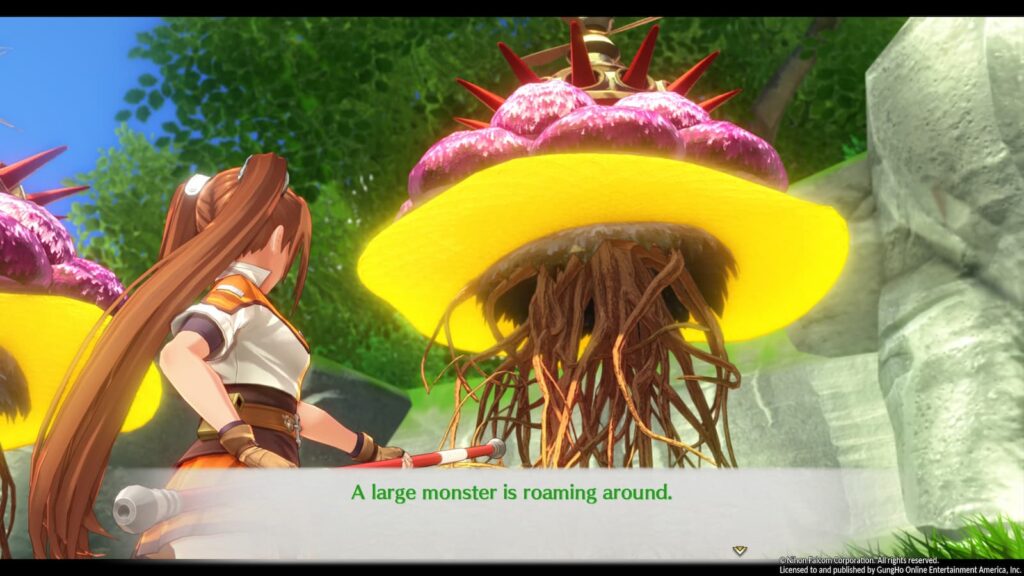
Near Gurune Gate you’ll come across three giant jellyfish-like enemies. These monsters don’t have much HP and will go down with a few S-Crafts or earth arts, but they’ve got a nasty trick up their sleeve: Their attacks can petrify the party. Don’t position your characters near each other as these petrify attacks are AoE. Bring someone like Tita who can cure debuffs or bring Agate and spam his S-Craft as he should still have Wild Rage 1 at this point.
Milch Monster
- Main Quest: Fog Investigation
- Mira: 3000
- BP: 4
- Timeframe: Long
- Expires: End of Chapter
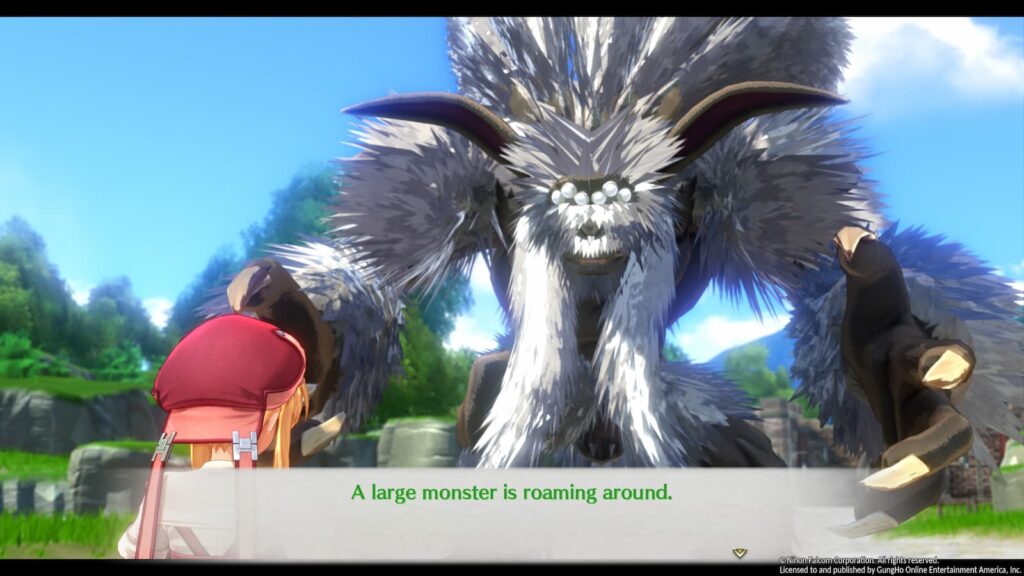
Right in the center of Milch Main Road, directly in front of the Verta Bridge, you’ll spot a giant yeti that you’ll need to fight. This fight has no special gimmicks, it’s just one big guy who will hit you like a bulldoze if you let him. Handle this fight however you want.
Find that Feline
- Main Quest: Fog Investigation
- Mira: 3000
- BP: 4
- Timeframe: Short
- Expires: After Speaking to every comatose victim
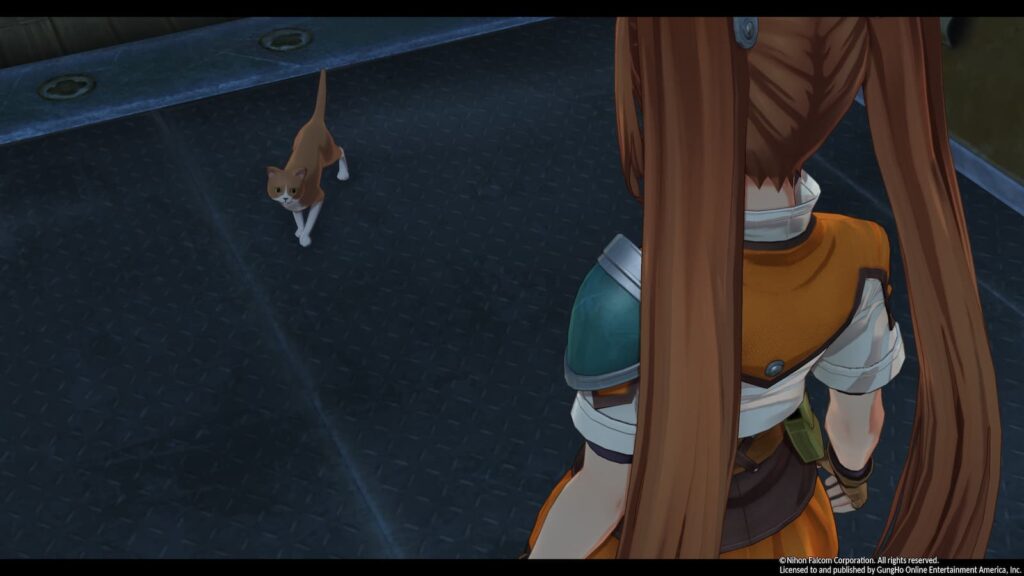
Remember that missing cat we found in the first game? Well it’s time to search for it again! The last place it was apparently seen was at the Air Ship Dock, so we’ll begin out search there by talking to a man named Skyler who is in-between two buildings in the area.
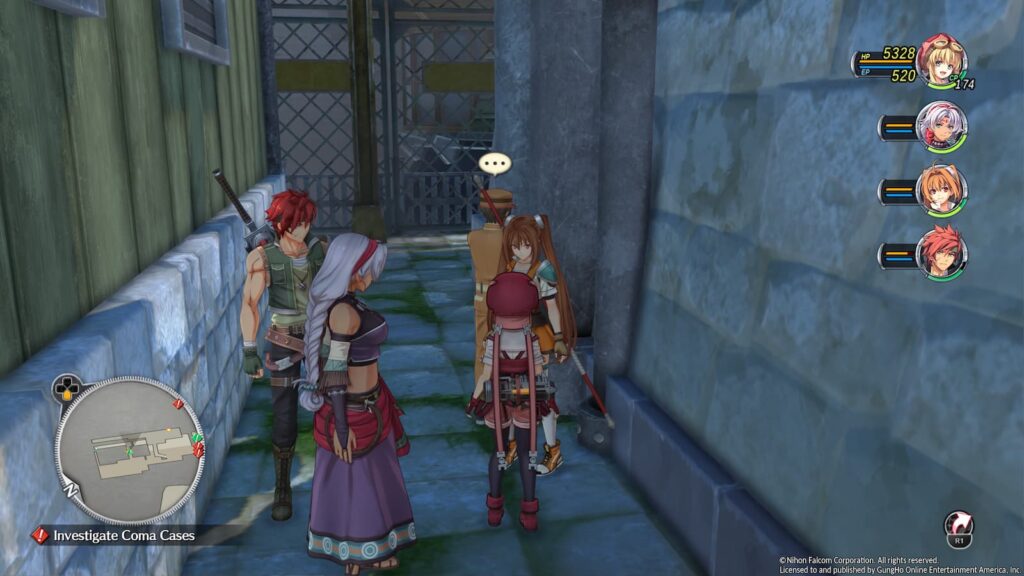
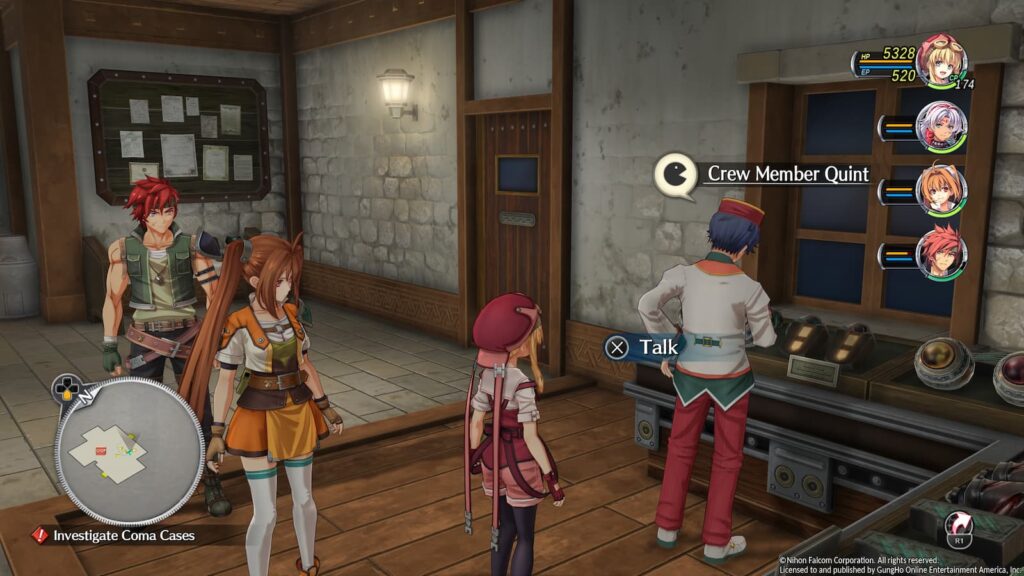
Skyler saw the cat, but he doesn’t know where it is now. He does say that another employee named Quint saw it though so let’s so speak to him. Where is he? Head on over to Melders’ Orbal Factory and you’ll find him inside looking at their stock, speak to him about the cat and you’ll be told to speak to another employee called Zosimov instead.
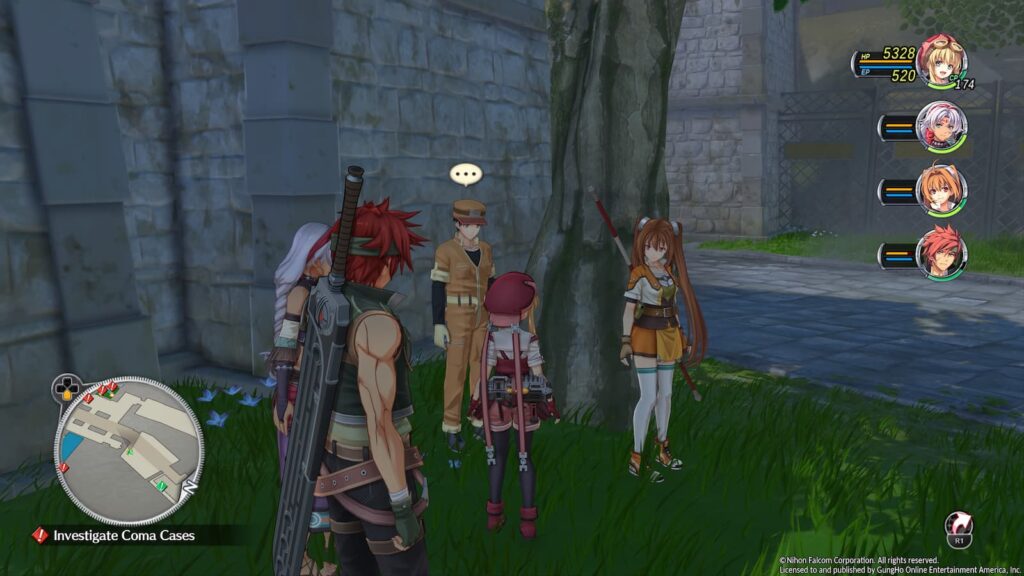
Zosimov is at the Air Ship Dock, but only just barely. He’s by a tree right at the very entrance and positioned in a way that makes it very easy to run right past him on your way into the area. He’ll tell us that the cat is likely inside of the airship, so make your way inside it and watch the following cutscenes. The quest will automatically clear once you’ve found the cat.
Milch Monster 2
- Main Quest: Pursuit of the ‘Woman in Black’
- Mira: 3000
- BP: 4
- Timeframe: Medium
- Expires: End of Chapter
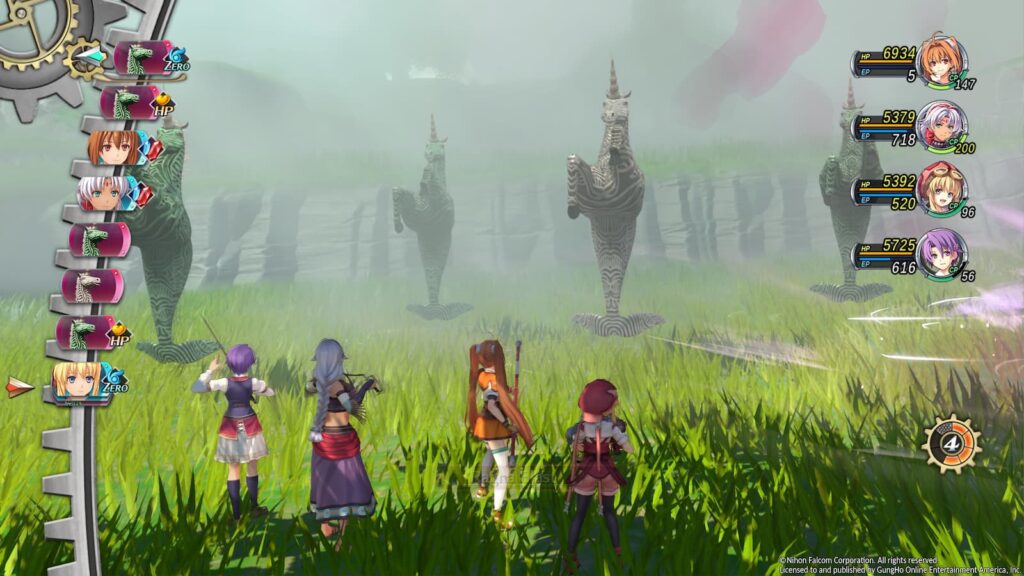
One the Milch Road, near the entrance to Perzel Farm, you’ll find six Picorn+ enemies that you’ll need to fight. Individually, none of these enemies can hit you super hard, but that’s not what makes them a threat. Their main gimmick is that they can inflict random status effects to whoever they attack. I would recommend protecting yourself against Confuse before fighting them as that’s the one status they can inflict that you really can’t work around.
Esmelas Tower Monster
- Main Quest: Pursuit of the ‘Woman in Black’
- Mira: 3000
- BP: 4
- Timeframe: Medium
- Expires: End of Chapter
Despite the name of this sidequest, you’ll actually find this monster just outside of the Esmelas Tower. This enemy is a Guilder Quake, a nasty little monster who is completely immune to physical attacks. Not only will your physical attacks do no damage, but if he’s hit with one he’ll immediately counter with an area-wide AoE which will stun, blind, and potentially mute your entire party.
Follow ups, Chains, and Bursts all count as physical attacks, so you’ll need to resist temptation and not use those. This monster is weak to Water Arts so load your party up with those before challenging him and prepare to spend a lot of EP.
Chapter 5 Sidequests
Recipe Reminiscence
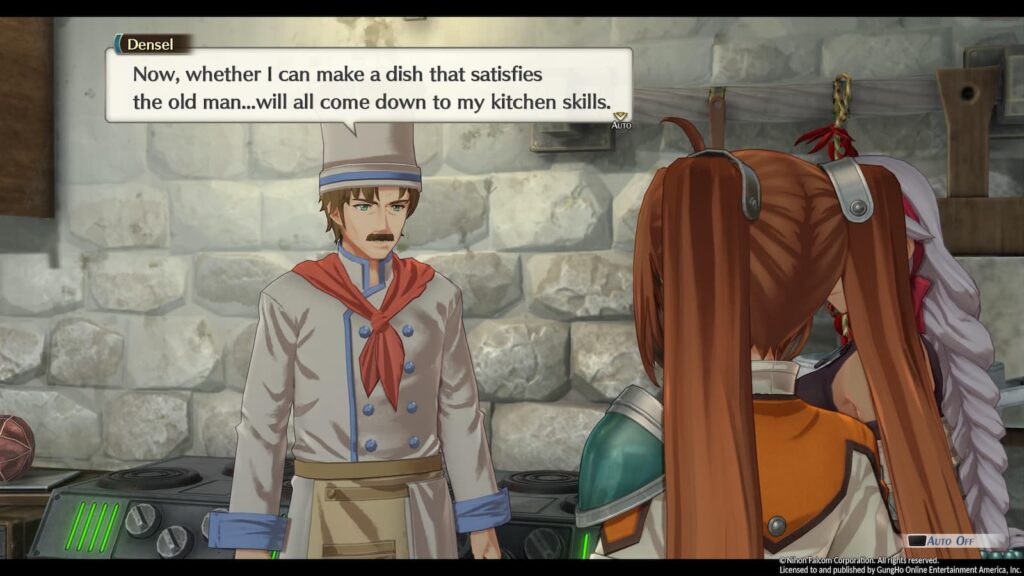
- Main Quest: Pursuit of the ‘Woman in Black’ (Cleared)
- Mira: 4000
- BP: 4
- Timeframe: Short
- Expires: After leaving Rolent
Make your way to the kitchen in the back of the bar in Rolent and speak to Densel. He’ll ask you to gather ingredients for a Rolent-Style Mystery Stew. Or rather, he’ll go tell you to speak to Lao, Pandu, Stella (Woman at Weapon Shop), Bloom (Woman in General Store) and Mylene (Cook at the Mayor’s House) and they’ll be the ones to give you the list of ingredients you’ll need.
Once you’ve talked to everyone, you’ll need to gather the following ingredients
- Fresh Herb x2
- Dragon Beans x2
- Maple Sugar x2
- Ten-Year Miso x2
- Course Rock Salt x2
- Centure-Old Liquor x2
- Black Pepper x4
- Monster Bone x2
All of these can be bought at the general store EXCEPT for monster bones. If you need any of those, they drop from Dirty Rats in the Rolent Sewers. Once you’ve gathered all of the ingredients, report back to Densel to clear the quest.
Dabbling with Diaset
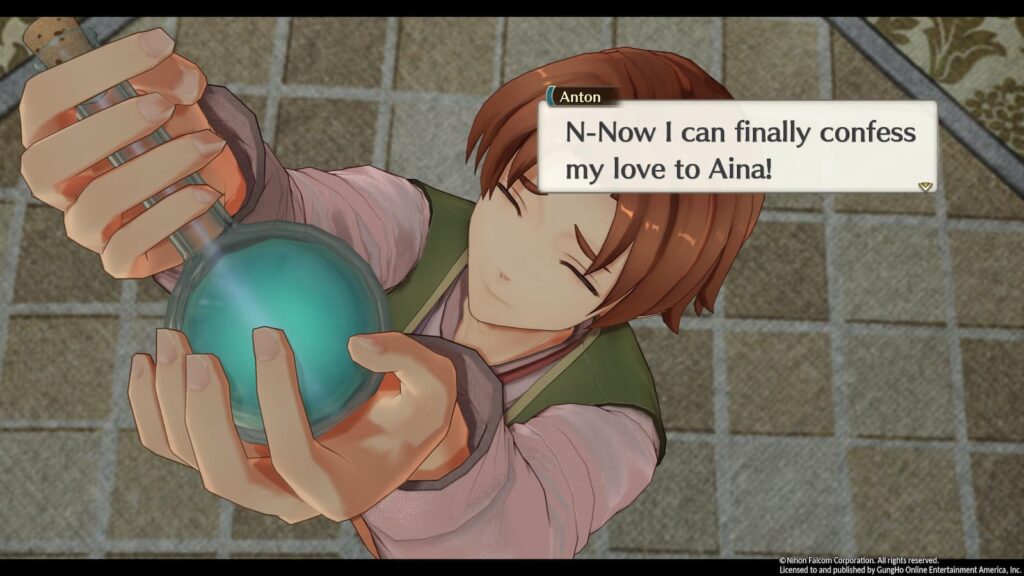
- Main Quest: Pursuit of the ‘Woman in Black’ (Cleared)
- Mira: 4000
- BP: 4
- Timeframe: Short
- Expires: After leaving Rolent
Everyone’s favorite NPC Anton is back! He’s got a plan to win over the heart of Aina but in order for it to succeed he’ll need you to gather some ingredients for him!
- Monster Shell x5
- Monster Seed x5
- Monster Powder x5
- Pearlglass x1
Monster Shells, Seeds, and Powders are dropped by monster primarily in Mistwald. Pearlgass however you’ll need to fish up from the fishing spot on Elize Highway. Once you’ve gathered every ingredient, bring them over to Anton to finish the quest.
Commission Caper
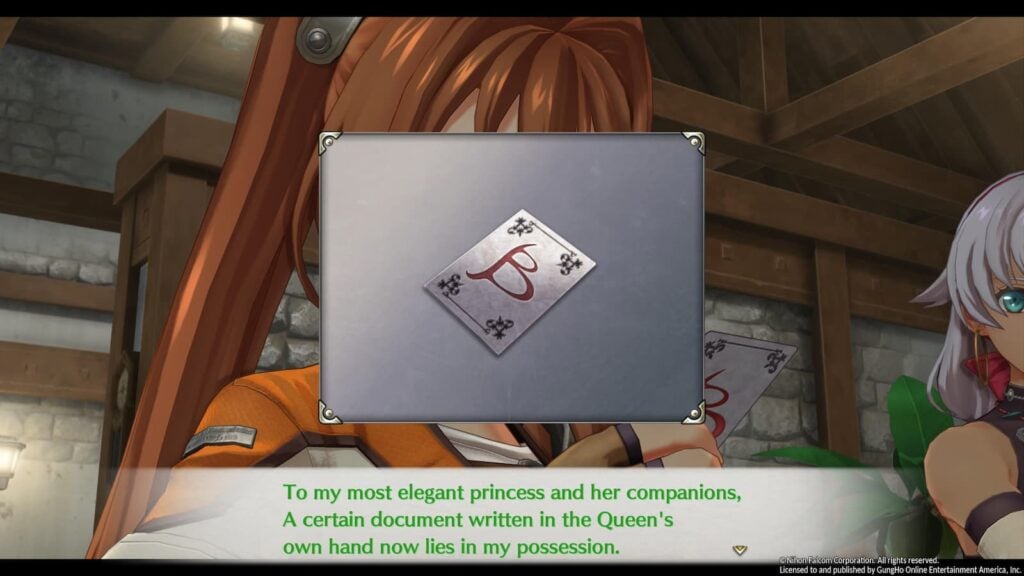
- Main Quest: Pursuit of the ‘Woman in Black’ (Cleared)
- Mira: 4000
- BP: 5
- Timeframe: Short
- Expires: After leaving Rolent
Phantom Thief B is back yet again! This time he was stolen a Mining Commission and it’s your job to find it! Our first clue is that we need to find “The one seated next to the Goddess”. That’s a pretty easy one to figure out. Just make your way over to the second floor of the Rolent church and examine the chair.
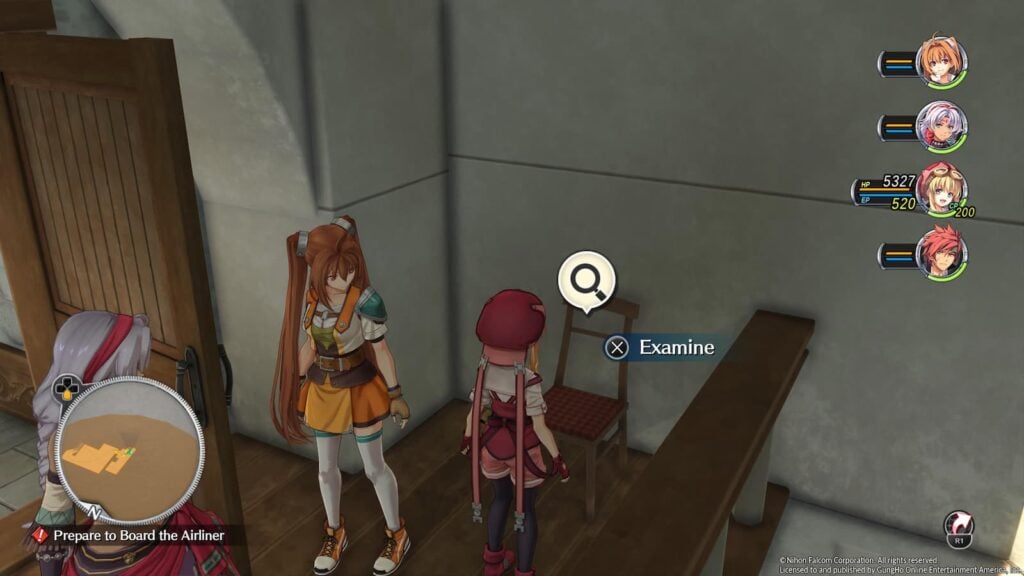
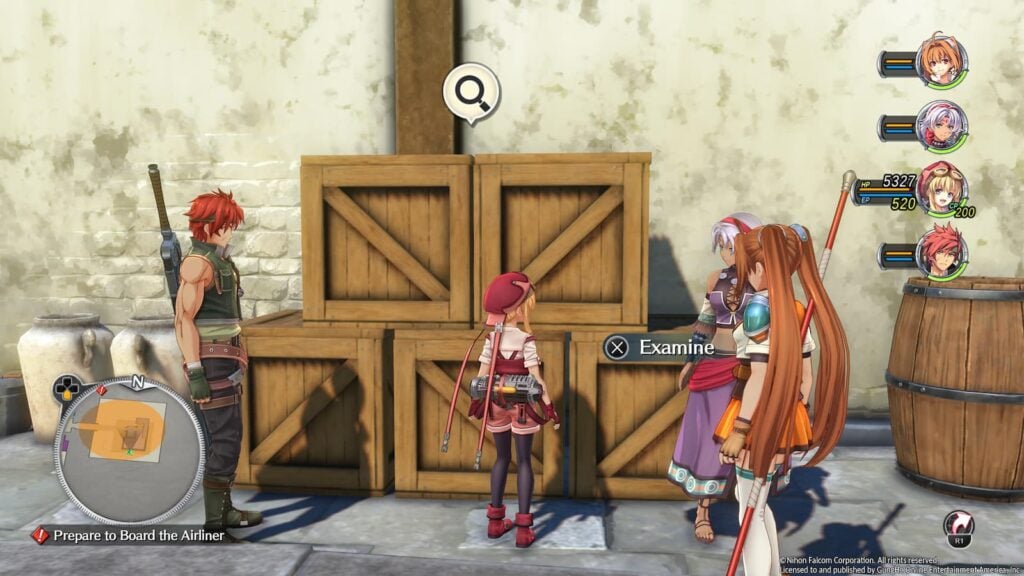
Our next clue is a bunch of squares that I can’t type out on this website’s formatting. What do these squares refer to though? Why the wooded boxes by the mayor’s house which are stacked in the exact same shape of course!
Next we’ll need to find an “Eight-eyed Iron Beast” This clue is referring to the furnace behind Elger Arms & Guards, which has eight circles on it.
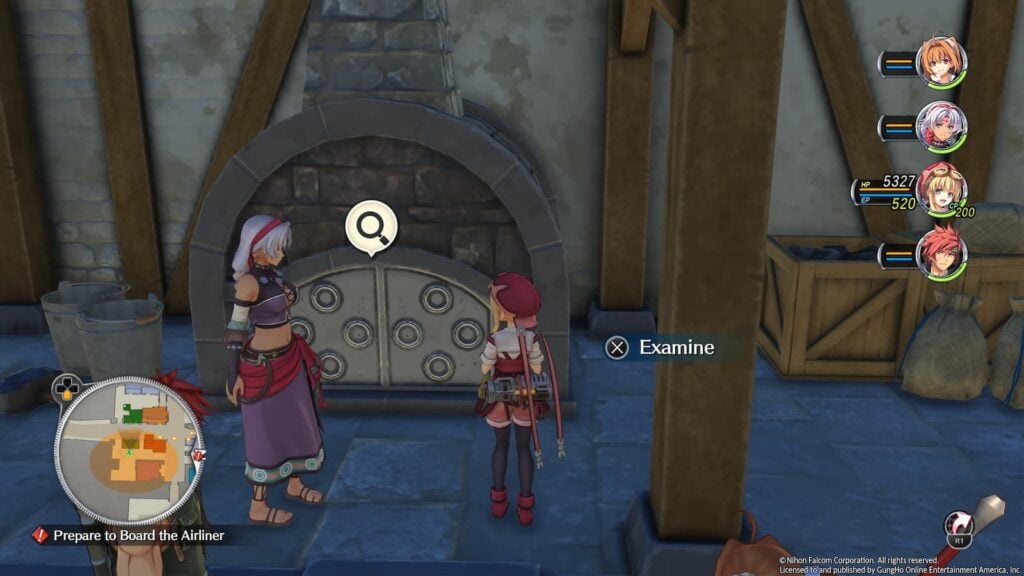
After examining the furnace, you’ll get a rusty key. Take this key to the locked door in Rolent sewers and you’ll find both a group of monsters to fight and the piece of paper you’ve been looking for. Take it back to its owner to clear the quest.
Ambassador Assignment
- Main Quest: Extermination of Monsters
- Mira: 4000
- BP: 5
- Timeframe: Long
- Expires: End of Chapter
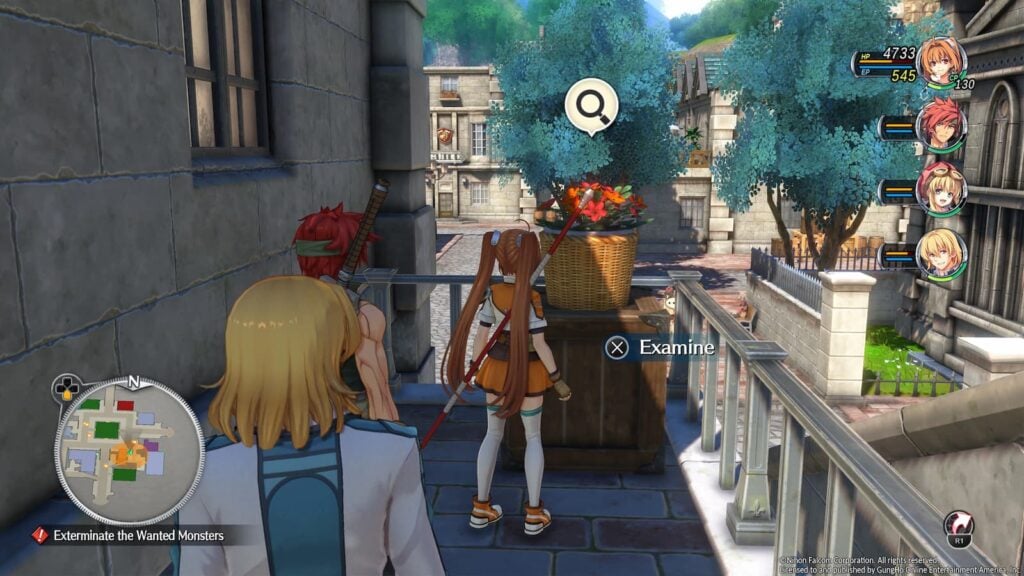
Only one Phantom Thief B quest left! You’re almost past the finish line! This time we’re going to be searching for a medal that belongs to an Erebonian ambassador. Our first clue is that we need to find “RICUL. Back the in flower the search. That which ends all is but the beginning.” While that clue might sound nonsensical at first, it’s actually asking us to read the clue backwards, pointing us toward the red flowers behind the Orbal Factory.
The next clue is “FTHKC2E. Gaze thine eyes upon the open book. And always, always remember one thing: One who sees truth walks one step ahead.” That clue points us directly to the Bracer Guild, where you will find an open book placed upon a table on the third floor.
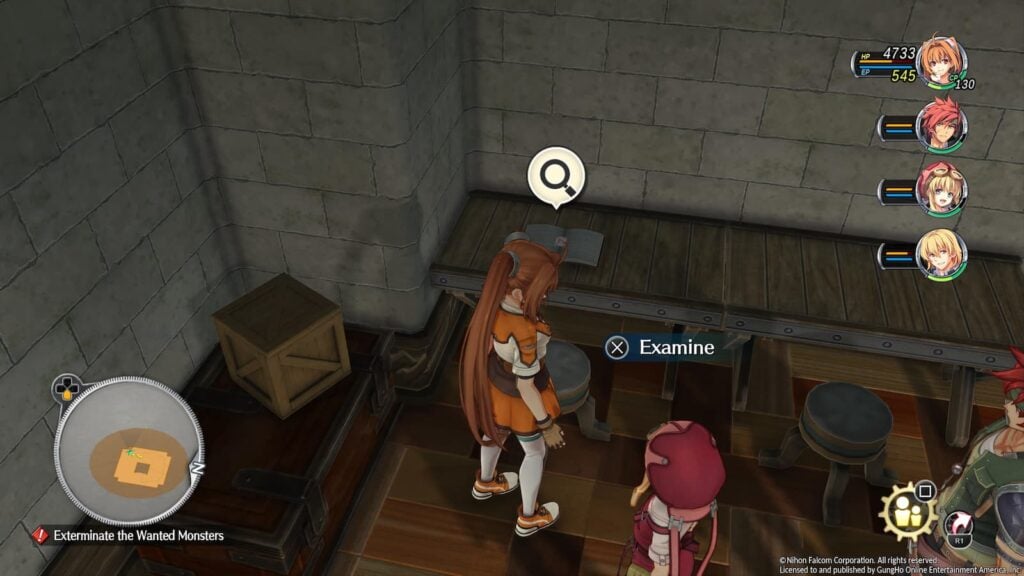
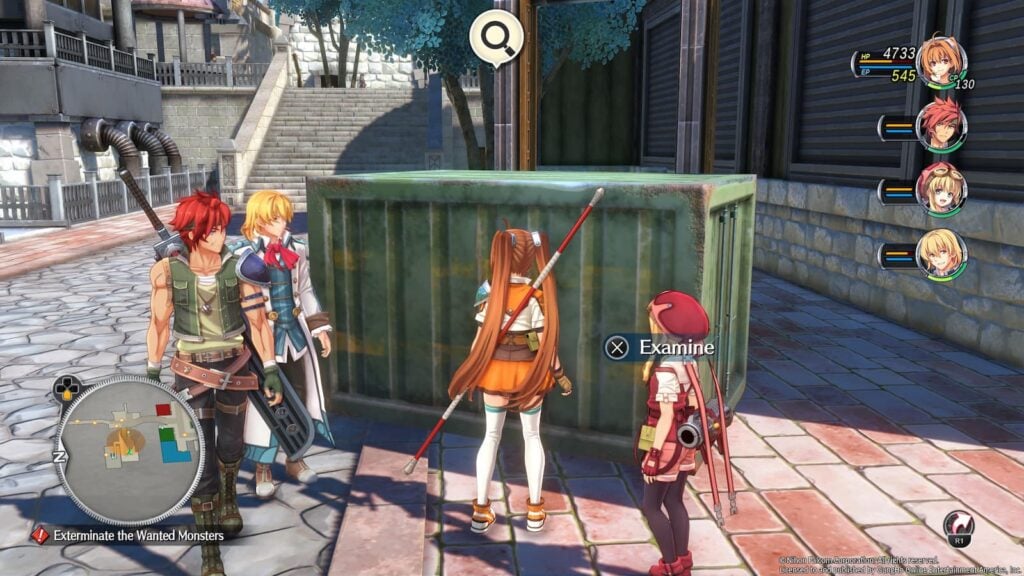
We’ll next need to solve “If what you seek is key number three, the the uplifting coffin you must see”. The ‘Uplifting Coffin’ in question here is a forklift at the Bose International Port.
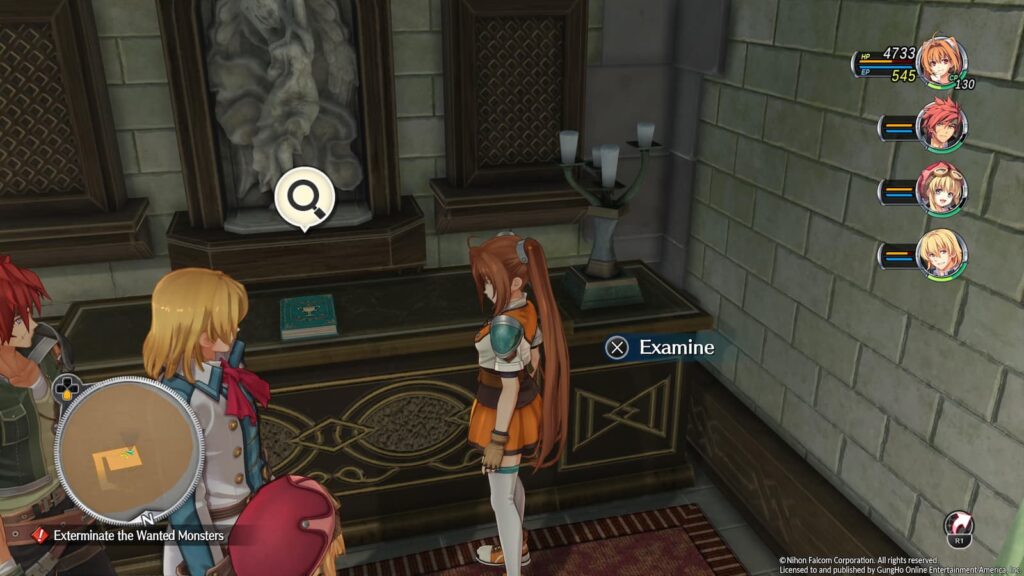
The final clue is “Find the words of the Goddess. There the token of vanity awaits.” For this final clue we’ll be heading to the second floor of the Bose Chapel. Examine the book in here and you’ll find the lost medal. Not only will finding this automatically complete the quest, but it will also free you of Phantom Thief B shenanigans forever! (Until you play the Crossbell and Cold Steel games)
Delicacy Delivery
- Main Quest: Extermination of Monsters
- Mira: 4000
- BP: 4 (+2)
- Timeframe: Long
- Expires: End of Chapter
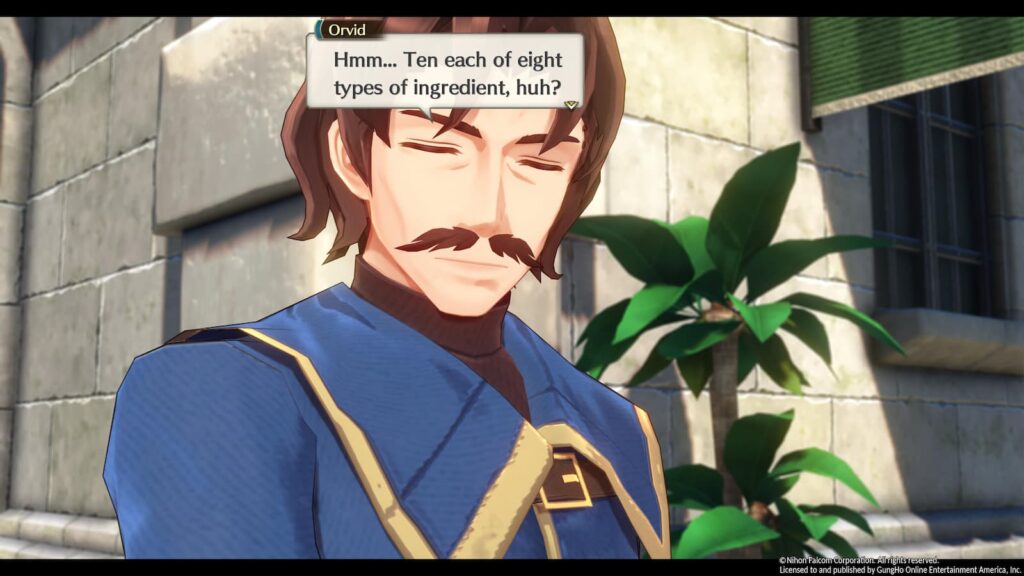
Head over to Anterose Restaurant and go into the kitchen to speak to Gwen. She wants to cook a specific meal but needs you to gather the ingredients and they’re all monster drops., she’ll need you to bring her the following ingredients
- Monster Horn x10
- Monster Fang x10
- Monster Shell x10
- Monster Bone x10
- Monster Tail x10
- Monster Eye x10
- Monster Fish Meat x10
- Monster Roe x10
Once you have all of the ingredients, you can turn in the quest. However, BEFORE you do that head to the Bose central square and speak to Orvid. This will lead to an additional cutscene that will earn you two extra BP.
Damsel Disappearance
- Main Quest: Extermination of Monsters
- Mira: 4000
- BP: 4 (+1)
- Timeframe: Short
- Expires: After completing monster hunt requests
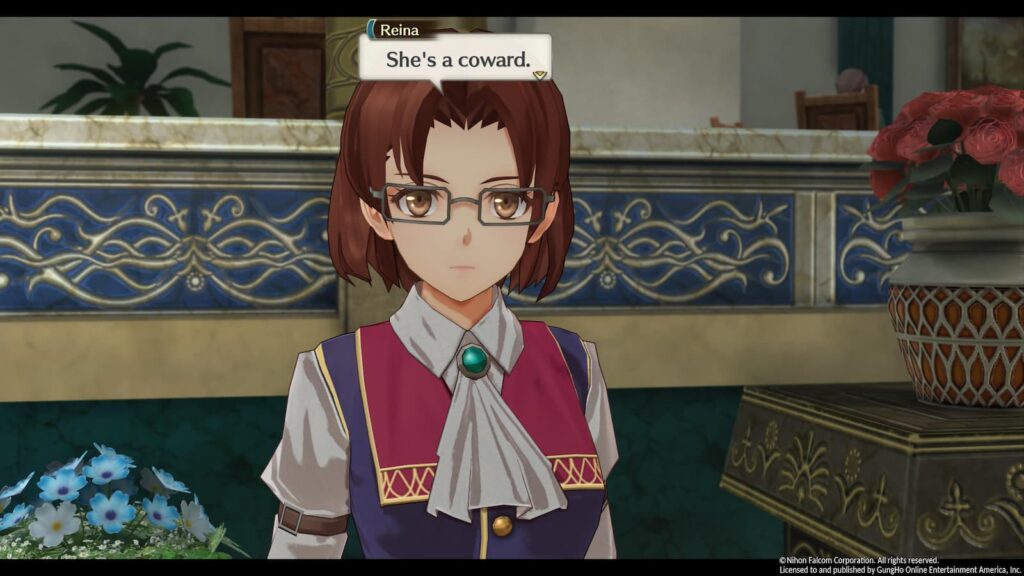
Head over to Anterose Restaurant and you’ll run into Reina from Jenis Royal Academy. A friend of hers has gone missing and we’ll need to locate her. After talking to her, make your way to Krone Pass – Checkpoint in the western side of the region. Here you’ll find Felicity.
In order to convince Felicity to come back you’ll need to say one thing to her when prompted with a choice: Call Felicity a coward. Once you’ve convinced Felicity to come back you’ll automatically be transported back to Bose and the quest will be cleared.
Ravennue Trail Monster
- Main Quest: Ancient Dragon Pursuit (2)
- Mira: 4000
- BP: 5
- Timeframe: Medium
- Expires: After completing monster hunt requests
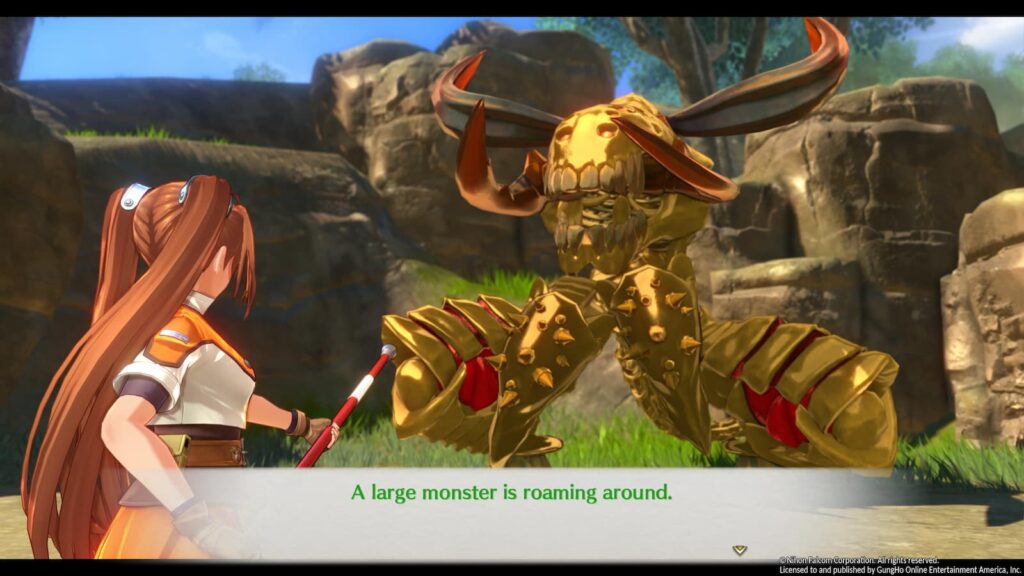
There isn’t anything special about this monster hunting request. It’s just a big monster with a lot of HP, deal with him however you wish.
Chapter 6 Sidequests
Bussinesswoman’s Bodyguard
- Main Quest: Lakeside Repite
- Mira: 4500
- BP: 4 (+2)
- Timeframe: Short
- Expires: After leaving Bose
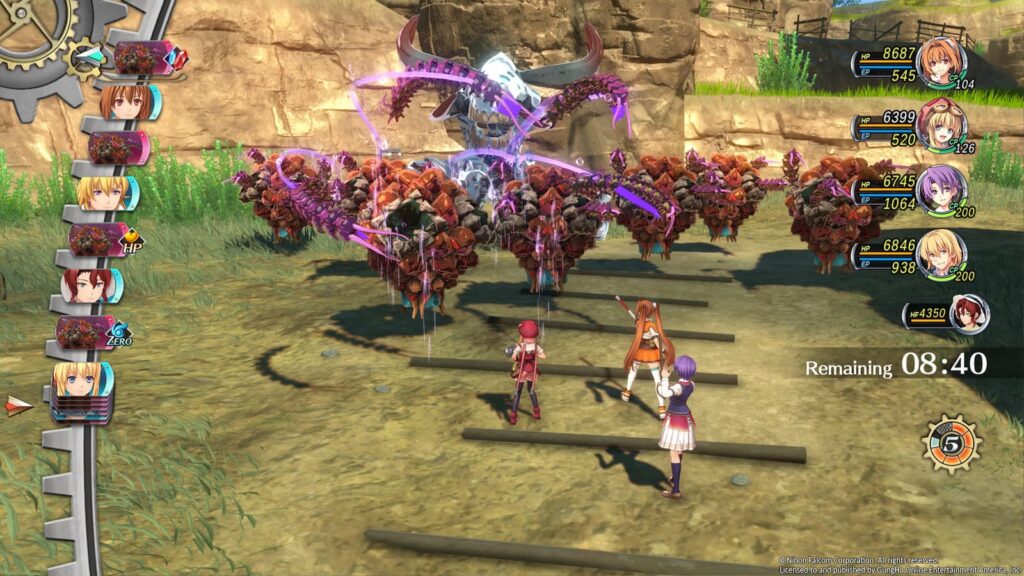
For this quest we’ll be escorting a merchant woman from Bose to Ravennue Village, very similar to a quest in the first game where we needed to escort a merchant to the checkpoint. This quest however works a bit differently from that one as we will have a 10 minute time limit to get to the village.
Time passes normally when moving through the field, but during combat 5 second will pass every turn, regardless if it’s you or an enemy taking that turn. Escort the woman to the village with more than three minutes to spare and you’ll earn 2 extra BP.
Distant Days
- Main Quest: Lakeside Repite
- Mira: 4500
- BP: 6
- Timeframe: Short
- Expires: After leaving Bose
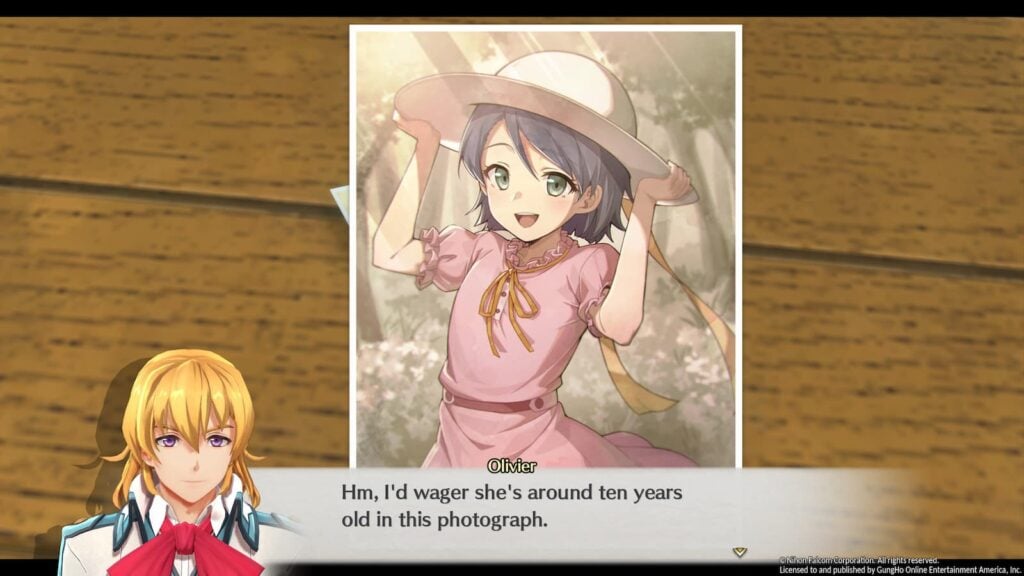
Inside of the Inn at Bose you’ll find a woman asking you to help her find her relative, who has been lost for over a decade now. You’re given a picture of her and told that she must be in Bose, but finding an adult woman based on a picture of her as a child may be a bit difficulty.
To complete this quest, make your way to Mayor Maybelle’s home and show the photo to Maybelle. She’ll say that the girl looks like her maid Lila and prompt you to show the photo to Lila. Unfortunately, Lila will deny that it’s her. This might seem like a dead end but if we show the photo to Maybelle a second time, she’ll go talk to Lila about it herself.
This will begin a series of cutscenes and automatically clear the quest.
Mine Mop Up
- Main Quest: Lakeside Repite
- Mira: 4500
- BP: 6
- Timeframe: Short
- Expires: After Leaving Bose.
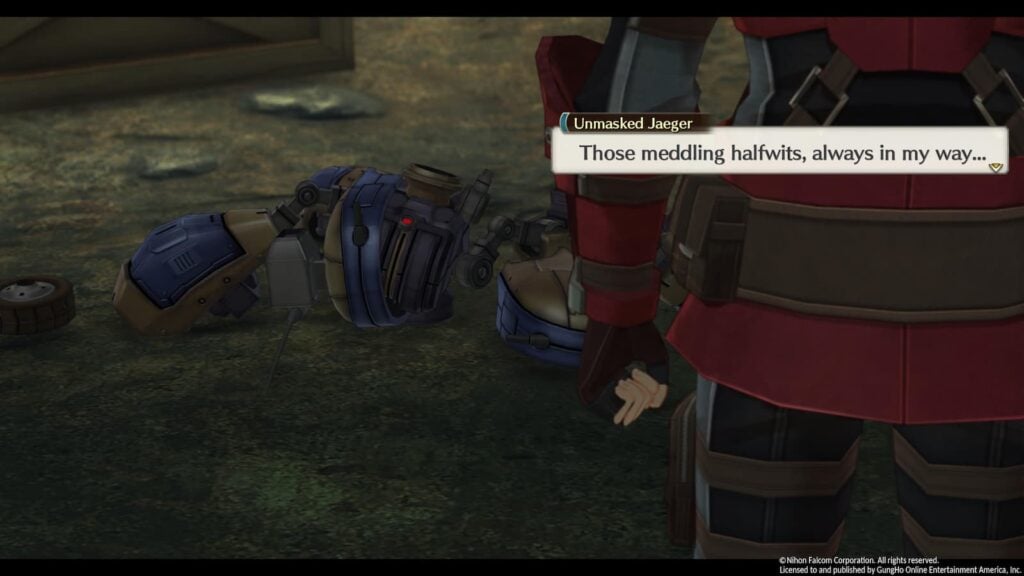
Before leaving Bose, make your way back to the mines behind Ravennue Village. Talk to the miners here and you’ll learn about a group of hostile robots that have been nesting in the miens for unknown reasons. For this quest, we’re going to need to go through the dungeon again and defeat EVERY robot there. This will net you both 6 BP and a cutscene foreshadowing the return of a familiar face.
Chapter 8 Quests
Krone Pass Monster
- Main Quest: Zero Field Distribution
- Mira: 5000
- BP: 5
- Timeframe: Medium
- Expires: After delivering every Zero Field Generator and returning to Grancel
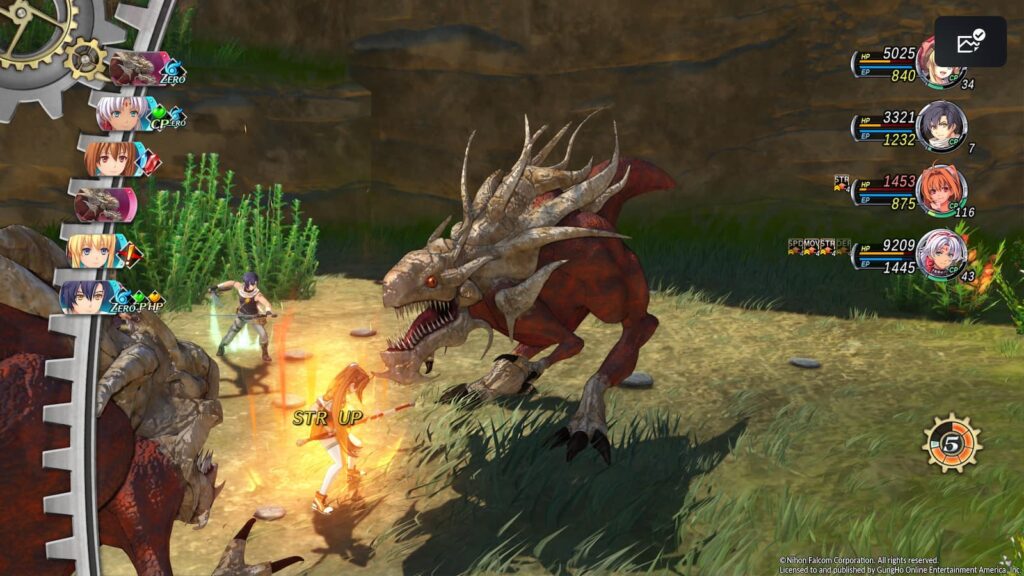
This monster hunting request will see you fighting against three Red Fangs. These are just stronger versions of regular enemies that you’ve fought many times already. They don’t hit particularly hard but will resurrect themselves with a small amount of HP the first time they die, this shouldn’t give you too much trouble.
Ansel Path Monster
- Main Quest: Zero Field Distribution
- Mira: 5000
- BP: 5
- Timeframe: Medium
- Expires: After delivering every Zero Field Generator and returning to Grancel
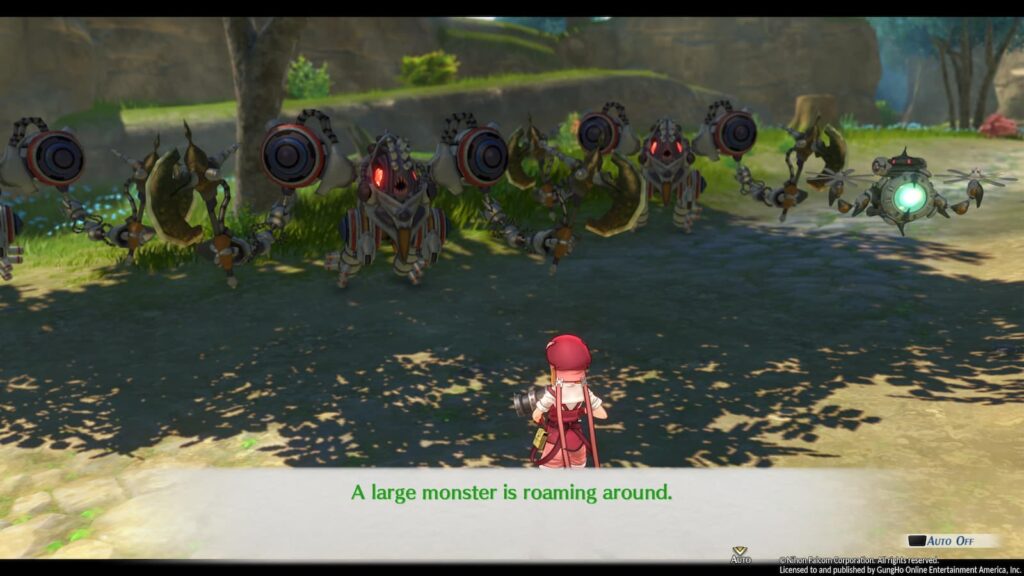
Near the Amberl Tower you’ll encounter three Doom Type S robots. These enemies his like a truck and have a lot of HP, meaning that they can shred through the health of your party in no time if you give them a chance. Luckily, they are also very susceptible to Confuse and Seal debuffs, meaning if you cast arts which inflict those status effects or rely on Joshua’ S-Craft you should be able to win this battle in no time.
Lugran’s Lifeline
- Main Quest: Zero Field Distribution
- Mira: 10000
- BP: 5 (+1)
- Timeframe: Medium
- Expires: After delivering every Zero Field Generator and returning to Grancel
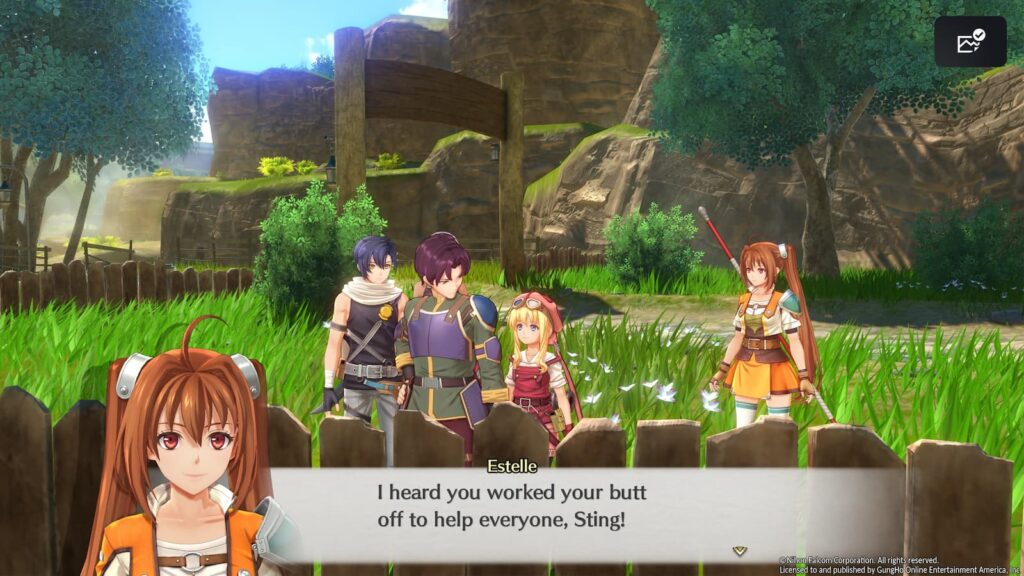
It’s been quite a while since we encountered a quest exclusive to the remake. After starting the chapter, speak to Old Man Lugran in the Bose Bracer Guild again and he’ll advise that you take some time to check in on Ravennue Village. Make your way there and you’ll find that everything is fine actually, as another Brancer named Sting has been taking care of things.
Report back to Lugran that everything is fine at Ravennue and you’ll find that the stress of the past few hours has been taking its toll on the poor old man. you’re going to need to find some monster ingredients to make medicine and help him, which means we’ll need to consult Orvid. Another thing you’ll need though is an item called Bezoar from Calvard.
You’ll be asked by Agate where in Liberl they’ll need to search to find a Calvardian ingredient, answer Calvard Embassy for 1 Bonus BP
Now that we know our goal, it’s time to start gathering ingedients. We can find Orvid right here in Bose, as he has set up a monster drop item shop inside of Anterose Restaurant. After buying 1 item from him minimum, you’ll be able to ask him if he knows where to find any Dragon Claws, a rarer version of the Bear Claw mushroom. Luckily, there is exactly one in the country and you can find it via backtracking all the way to the cave in Nebel Valley where you previously fought Ragnard.
As for the other ingedient, make your way over to the Calvard Embassy and speak to Cochrane. She’ll tell you that the ingredient you’re looking for is being held by a merchant who has set up a new shop in the West Block of the city. While you have never been to this shop before, you’ll likely recognize the owner. Purchase the ingredient from him and make your way back to Bose.
Seaside Way Monster
- Main Quest: Zero Field Distribution
- Mira: 5000
- BP: 5
- Timeframe: Medium
- Expires: After delivering every Zero Field Generator and returning to Grancel
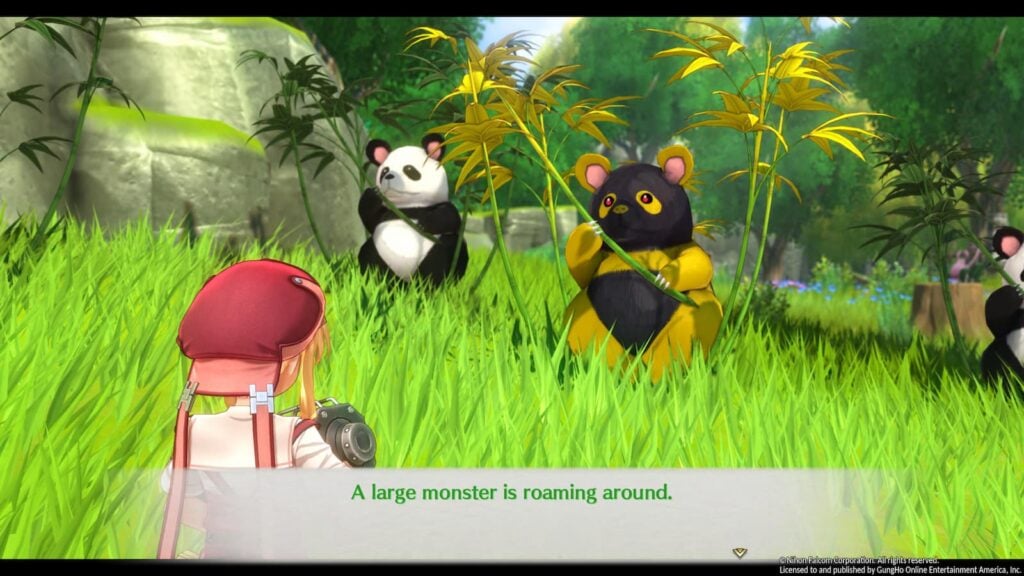
This monster hunt request will see you need to defeat a Rising Panda before you can even enter Ruan. Because this monster is required it’s actually one of the easier hunts in the game. The Rising Panda is only slightly stronger than the other Panda enemies and will go down after a few S-Crafts.
Manoria Byroad Monster
- Main Quest: Zero Field Distribution
- Mira: 5000
- BP: 5
- Timeframe: Medium
- Expires: After delivering every Zero Field Generator and returning to Grancel
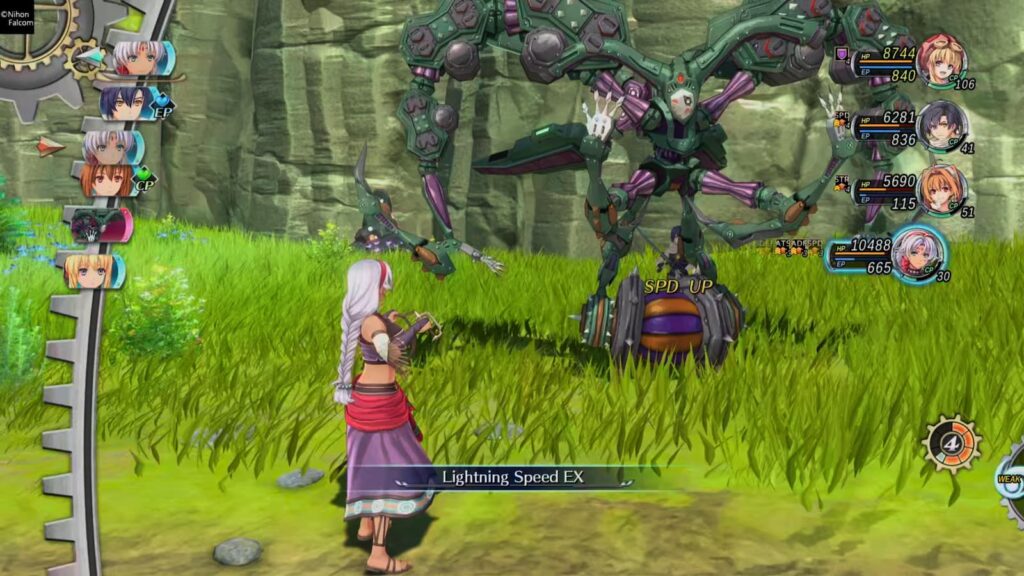
I swear I doubled checked, I triple checked, because I simply didn’t believe it. One of the new quests added to 2nd Chapter Remake is a simple monster hunting quest. This one wants you to take down a trio of the Marionette enemeis that Bleublanc summoned in his boss fight. There isn’t anything too notable about this counter aside from them being able to inflicted Confuse and Seal on the characters they attack, so bring accesories to defend yourself against those statuses.
Academy Attack
- Main Quest: Zero Field Distribution
- Mira: 8000
- BP: 9
- Timeframe: Short
- Expires: After delivering every Zero Field Generator and returning to Grancel
After visiting the Ruan Bracer Guild, make your way to Jenis Royal Academy and you’ll see a student being attacked by two large dog enemies. Rescue the student and he’ll tell you that the Academy has been made the home base of some attacking Jaegars. It’s up to the party to stop them, so you’ll be briefly taking control of Joshua as you sneak your way through the academy to scout out how many enemies there are.
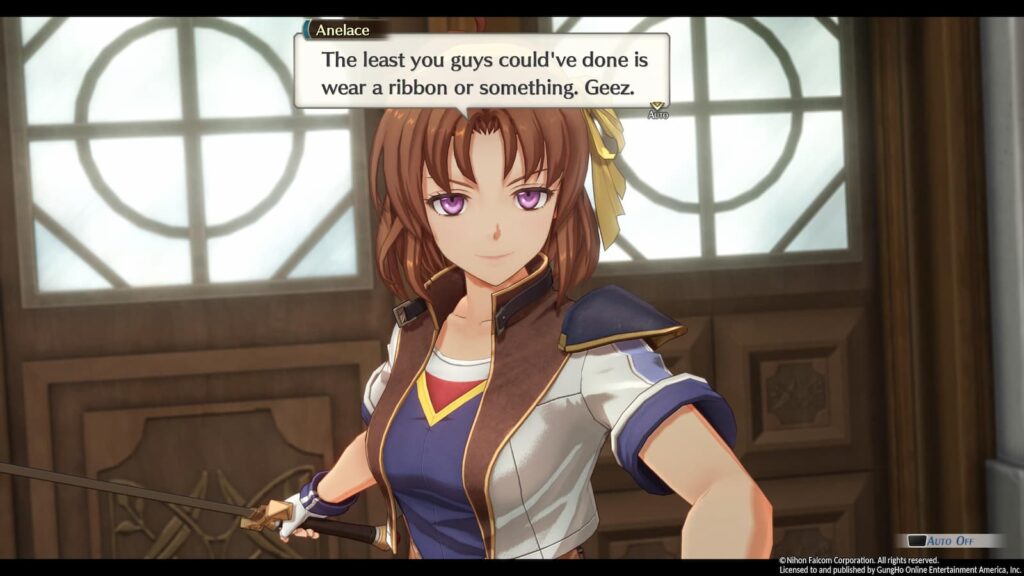
Once you’ve examined everything as Joshua, Ancelace and Kurt will show up and temporarily join your party. Kurt has received quite a buff in this remake as one of his Crafts has been upgraded from having a 20% chance of Deathblow to a 100% chance. Sadly, you won’t have him around for any longer than the amount of time it takes for you to defeat all of the Jaegars patrolling around Jenis.
After defeating all of the Jaegers, you’ll have a ‘boss fight’ against GIlbert which is actually easier than most of the Jaegar encounters you’ve blasted through thus fas. After you defeat him there will be a series of cutscenes and you’ll clear the quest.
Sapphril Tower Monster
- Main Quest: Zero Field Distribution
- Mira: 5000
- BP: 5
- Timeframe: Medium
- Expires: After delivering every Zero Field Generator and returning to Grancel
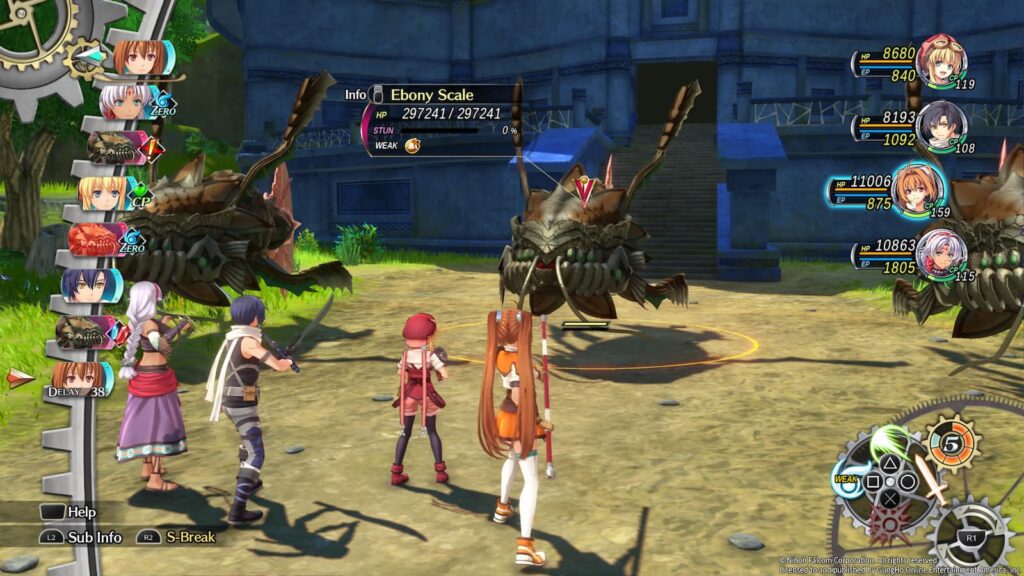
I hope you’ve made sure to visit Ruan early this chapter as these enemies are all physical resistent and you’ll need to casting Arts on them to stand a chance! Load your party up with earth arts both because these enemies are weak to them and because casting Earth Wall on yourself will save you a lot of trouble with the AoEs they cast when at low health.
Ritter Rd Monster
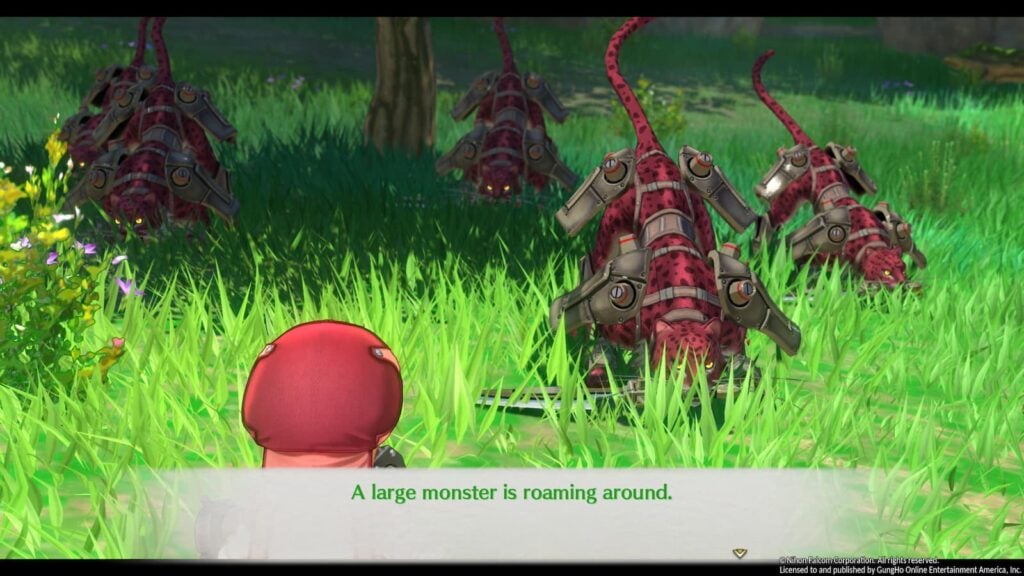
- Main Quest: Zero Field Distribution
- Mira: 5000
- BP: 5
- Timeframe: Medium
- Expires: After delivering every Zero Field Generator and returning to Grancel
This fight will have you challenge eight Jaeger force dogs. These enemies can insta-kill your party if they attack you, but thankfully they are very susceptible to Confuse. If Joshua is able to get one good S-Craft in, then the battle is as good as finished.
Klaudia Tunnel Monster
- Main Quest: Zero Field Distribution
- Mira: 5000
- BP: 5
- Timeframe: Medium
- Expires: After delivering every Zero Field Generator and returning to Grancel
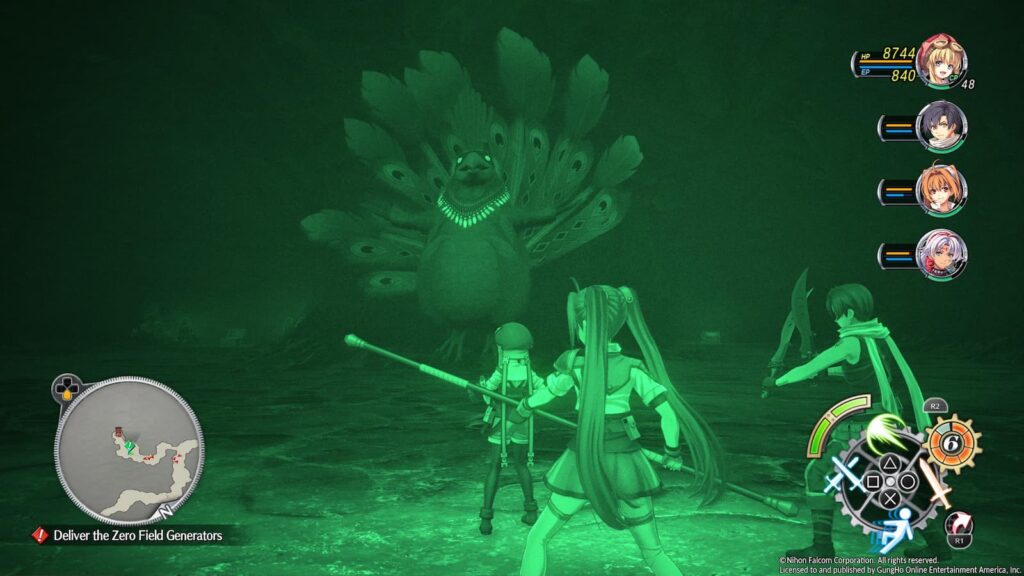
Okay it turns out that another one of the game’s added quests is a monster hunting one, this one being against a Divine Pengu, which was originally a hidden enemy in the original version of SC! Yes, the game now has three different quests about fighting a Pengu enemy. This battle is identical to the previous Pengu battles with one major difference: Kladuia Tunnel is very dark right now, meaning that any party member who doesn’t have Night Vision Goggle equipped will be blind for the entire fight.
Equip this vital accessory and you’ll be fine though, at this point Pengu isn’t much to write home about.
Hot Spring Salvation
- Main Quest: Zero Field Distribution
- Mira: 8000
- BP: 9
- Timeframe: Short
- Expires: After delivering every Zero Field Generator and returning to Grancel
After delivering a Zero Field Generator to the Zeidd Bracer guider, make your way over to Elmo VIllage and speak to Mao to learn needs your help repairing the village’s hot springs. In order to help them out, you’ll need to find a Combustion Engine and some Gasoline.
This quest is a whole lot of following quest markers with very little problem solving sadly. To find the Combustion Engine just walk around the Zeiss region talking to whoever the game tells you to. As for gasoline, you can get some of that via backtracking to the Ruan docks.
Once you’ve gotten both items, return to Elmo village to clear the quest.
Tratt Plains Monster
- Main Quest: Zero Field Distribution
- Mira: 5000
- BP: 5
- Timeframe: Medium
- Expires: After delivering every Zero Field Generator and returning to Grancel
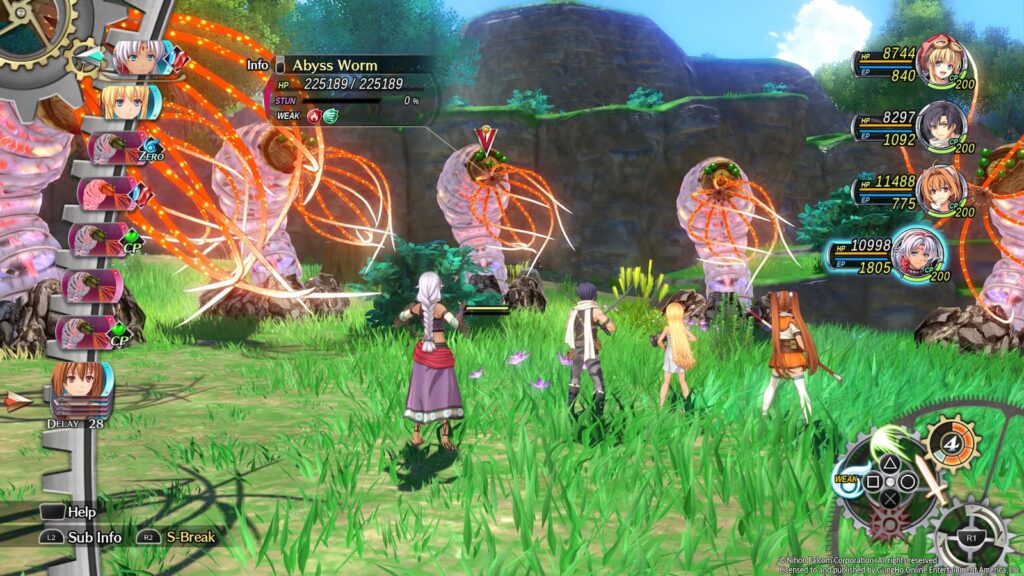
Remember the worms from Walter’s boss fight? They’re back, in side quest form. This fight is identical to the one earlier in the game, if you hit the worms with an AoE they will counter with an AoE of their own. You need to either kill the worms one at a time or unleash AoEs so fast that they all die before they can get a turn.
Sewer Monster
- Main Quest: Zero Field Distribution
- Mira: 5000
- BP: 5
- Timeframe: Medium
- Expires: After delivering every Zero Field Generator and returning to Grancel
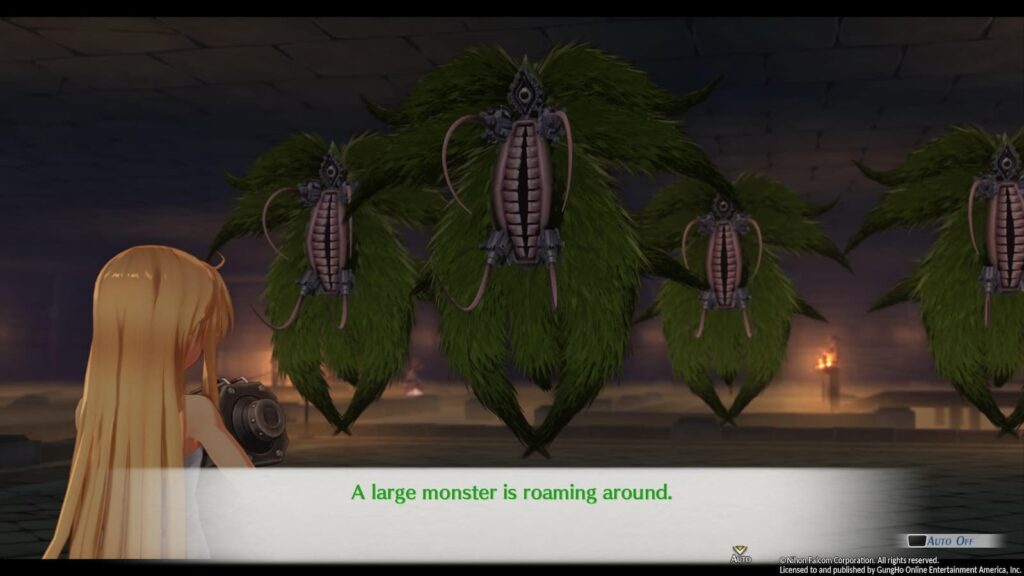
In the West Block of the Grancel Sewers you’ll find four Evil Stream enemies. These guys can be quite nasty as they have the ability to both poison and confuse your party, but they don’t have too much health so if you can get a few good turns in and cast some fire arts they’ll go down pretty fast.
Erbe Scenic Route Monster
- Main Quest: Zero Field Distribution
- Mira: 5000
- BP: 5
- Timeframe: Medium
- Expires: After delivering every Zero Field Generator and returning to Grancel
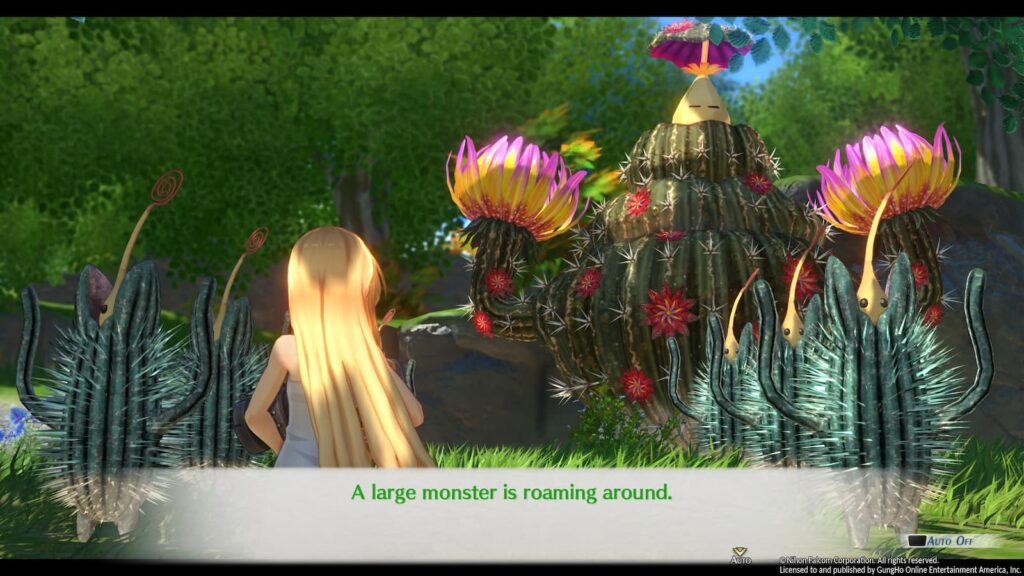
This monster hunt request is actually against two types of enemies that don’t appear anywhere else in the game: Big Cactus and Little Cactus. At the start of the battle, there will be 8 Little Cacti and 1 Big Cactus. The Big Cactus will launch AoEs that have a chance of freezing your party while the little Cacti will only attack a single character at a time with physical attacks.
This might seem like a simple battle at first, but when the Big Cactus is K.O.-ed for the first time it will revive itself and summon 8 more little cacti, so make sure you’re plenty healthy when he goes down otherwise you might get ganged up on,
Elize Hwy Monster
- Main Quest: Zero Field Distribution
- Mira: 5000
- BP: 5
- Timeframe: Medium
- Expires: After delivering every Zero Field Generator and returning to Grancel
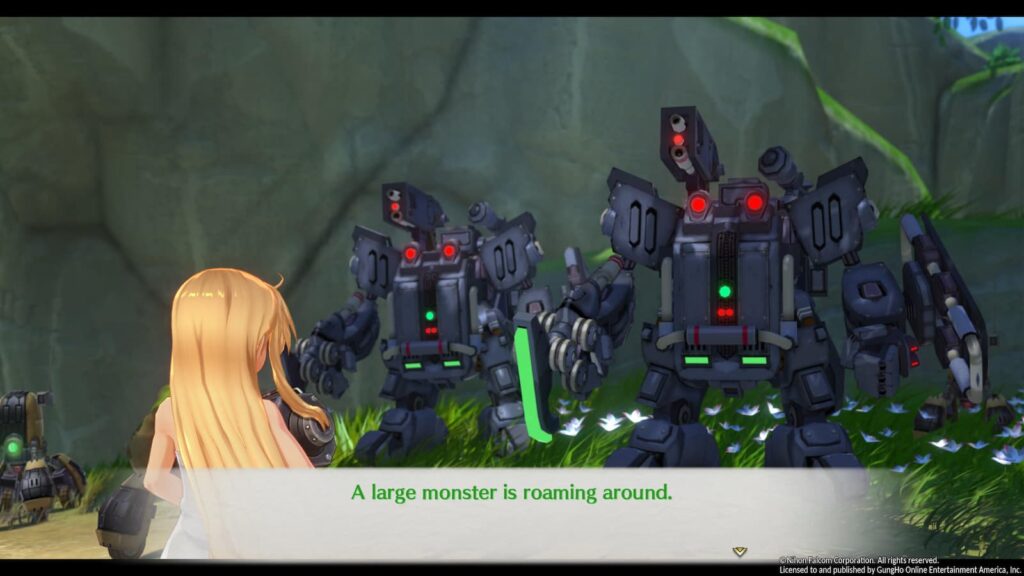
This request is just another fight against the same Vogel-type enemies that you’ve been fighting for the past two chapters, nothing fancy about it. Just launch an S-Craft or two at them to finish it.
Milch Monster
- Main Quest: Zero Field Distribution
- Mira: 5000
- BP: 5
- Timeframe: Medium
- Expires: After delivering every Zero Field Generator and returning to Grancel
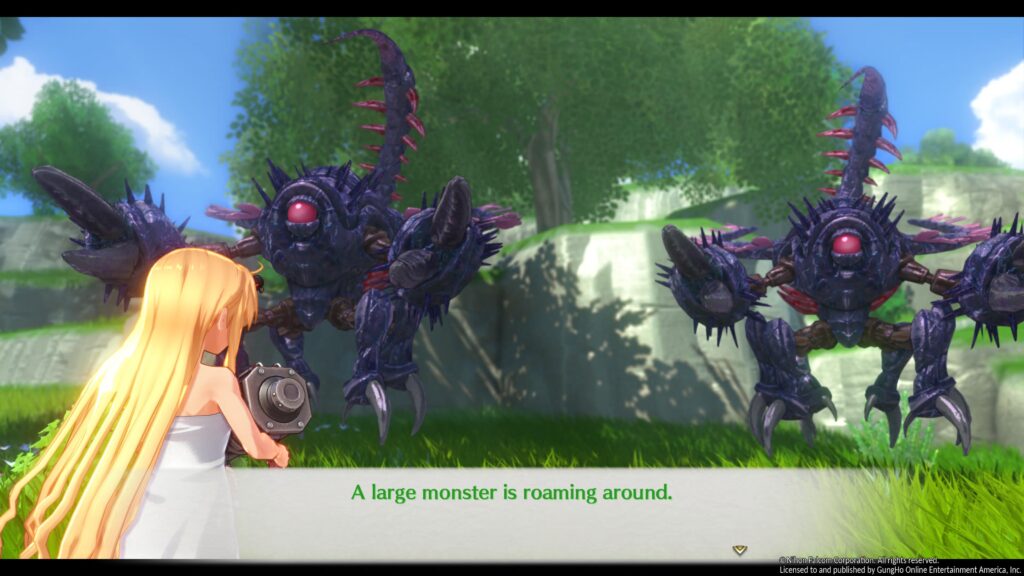
Our final monster hunting request will be against three flying scorpion enemies. These guys can inflict deathblow on your party, poison you, and revive themselves the first time their health is depleted. Just prepare for those and you’ll finish the quest without any issue.
Miners’ Mayday
- Main Quest: Zero Field Distribution
- Mira: 8000
- BP: 9
- Timeframe: Short
- Expires: After delivering every Zero Field Generator and returning to Grancel
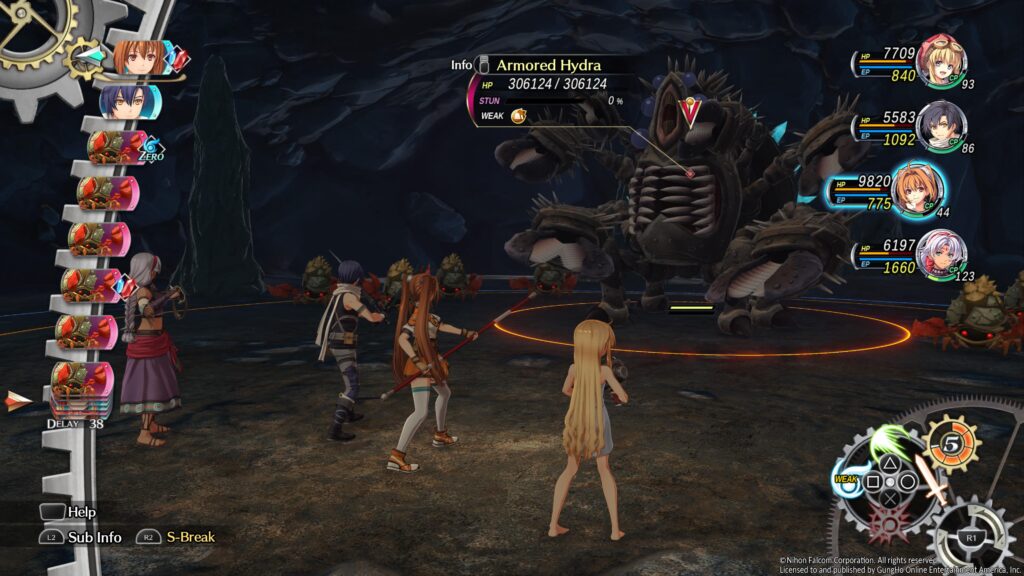
The final side quest in the game is an homage to the tutorial section from First Chapter. After delivering the Zero Field Generator to the Rolent Bracer Guild, make your way up to the Malga Mine and you’ll learn that the miners have been trapped inside with some nasty monsters.
This quest is all about revisiting the tutorial dungeon from FC and taking out four groups of crab monsters along the way in order to save the miners. After all of the miners have been saved, you’ll have a boss fight against an Armored Hyrda monster. This boss has no special gimmicks and after a full game of taking down similar foes, you’ll handle this quest in no time.