Want to see Raider King content first? Add us as a preferred source.
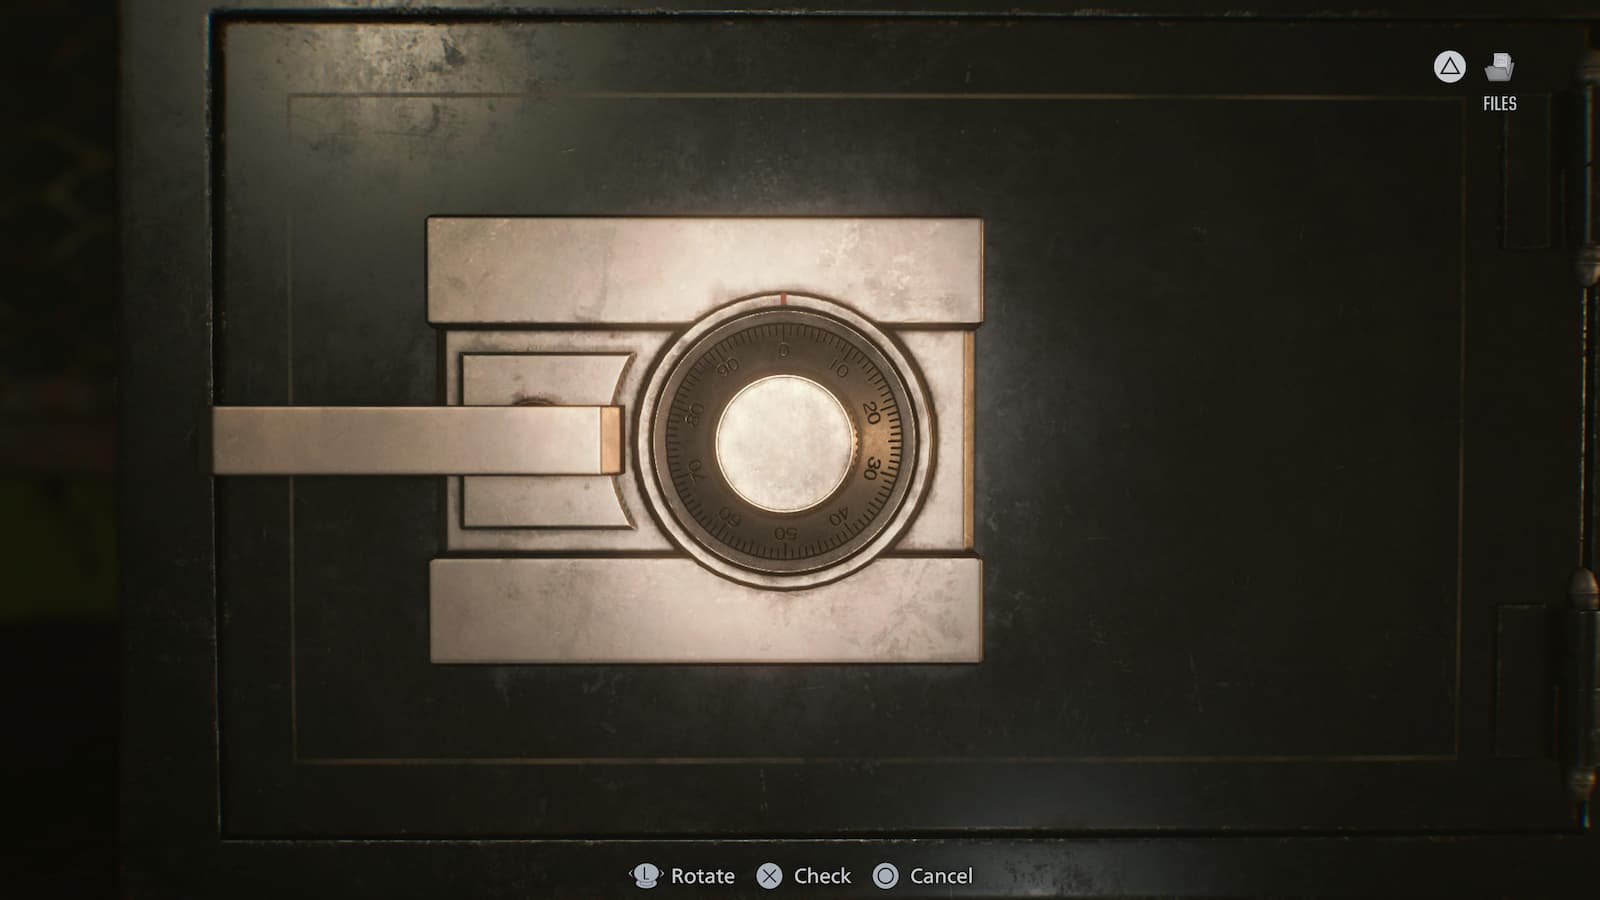
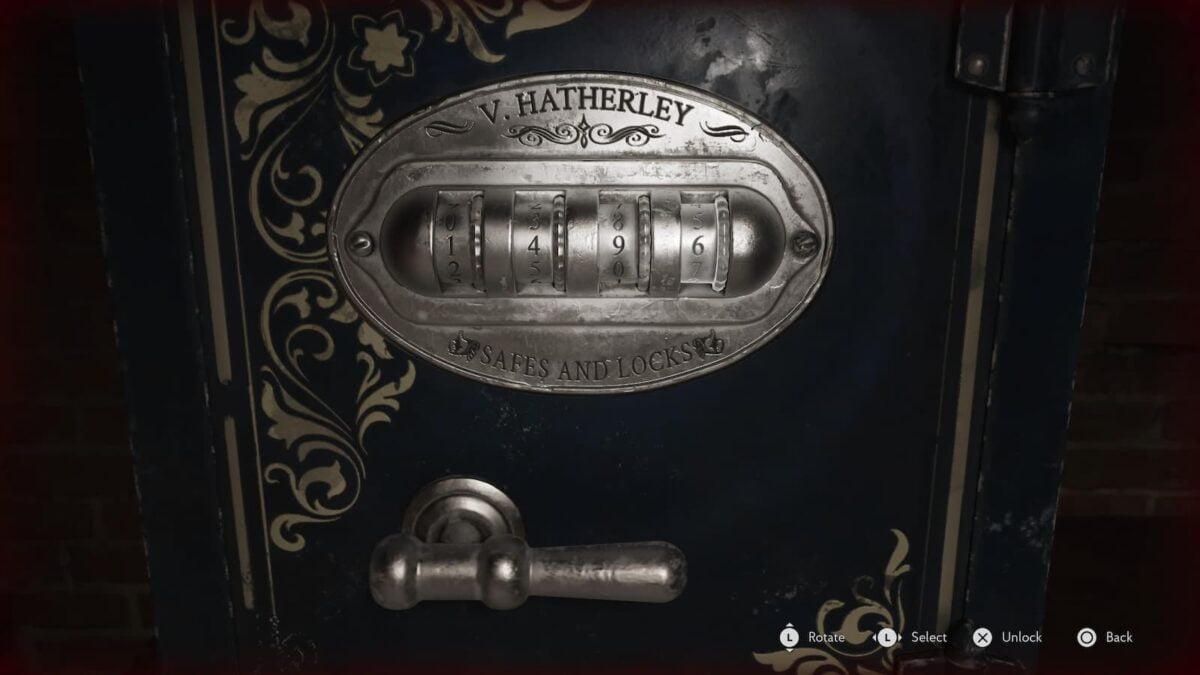
The Sinking City 2 is no stranger to one of the Survival Horror genre’s favorite tropes: Hiding safe combinations in riddles or various notes that you can find around the city. Every chapter in the game, even the tutorial, has at least one safe whose combination you can sleuth out in order to get yourself some extra ammo, healing items, or other goodies. If you’re trying to speed through the game or think one of the notes isn’t being clear enough about what you’re supposed to do, then please feel free to follow this guide explaining all of the Safe Combinations in The Sinking City 2
The Sinking City 2 Safe Combinations
There are six safe/vaults spread throughout The Sinking City 2, each one is locked with a four digit code that is either directly explained in a note or hidden behind a riddle. Below is a list of every safe and combination in the order you will encounter them throughout the game.
12 Garrison Street Safe
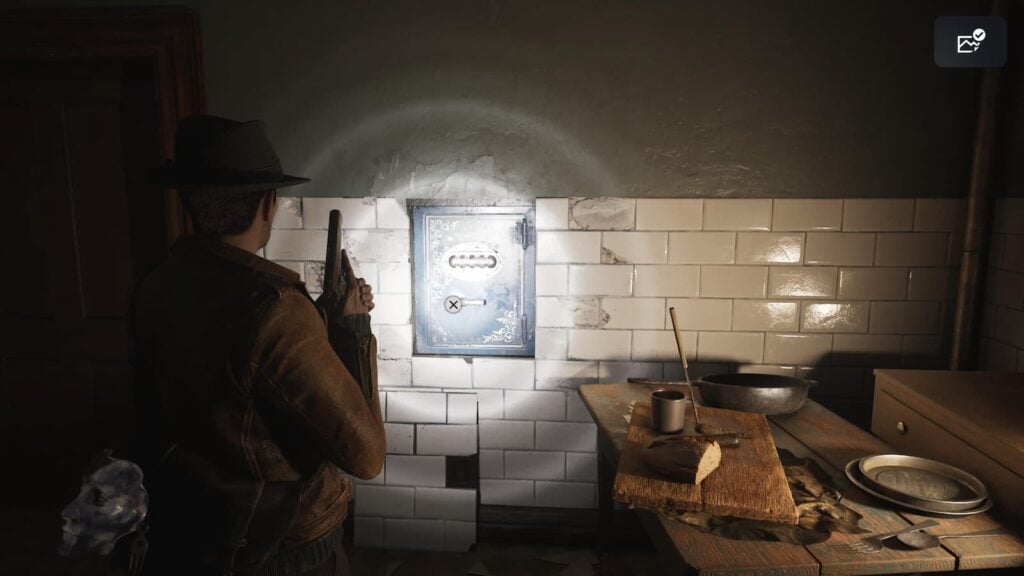
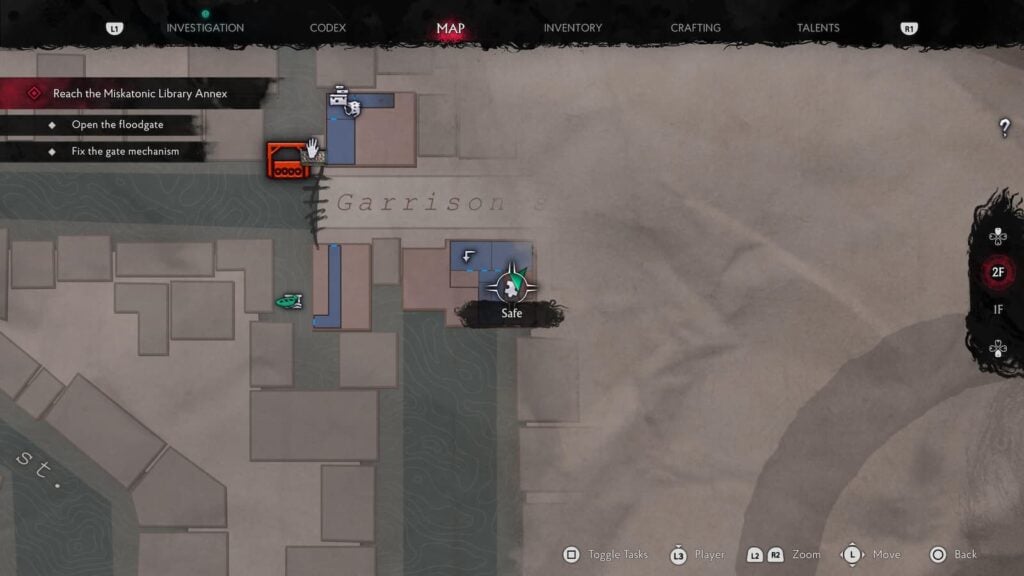
This safe can be found during the game’s tutorial chapter: A New Day. It is located in a room on the second floor of 12 Garrison Street. To learn the combination we’ll need to find two notes in the area. The first note “To Martin” is stapled to the safe. The hint we’ll get from this note says that the combination is the owner’s “Proudest, most miraculous moment.”
So we know we’re looking for a specific moment that the owner is proud of, but what? Well if we head on over to the Radio Shop connected to the building, we’ll find another note titled “From A Sister” that says that this shop was opened 21 years ago. That’s our key.
Because this game takes place in 1929, we’ll just need to do some simple subtraction to learn that the first safe combination in the game is 1908. Inside of the safe area some Dolorocide Pills and 14 handgun bullets.
Church Floodgate Puzzle
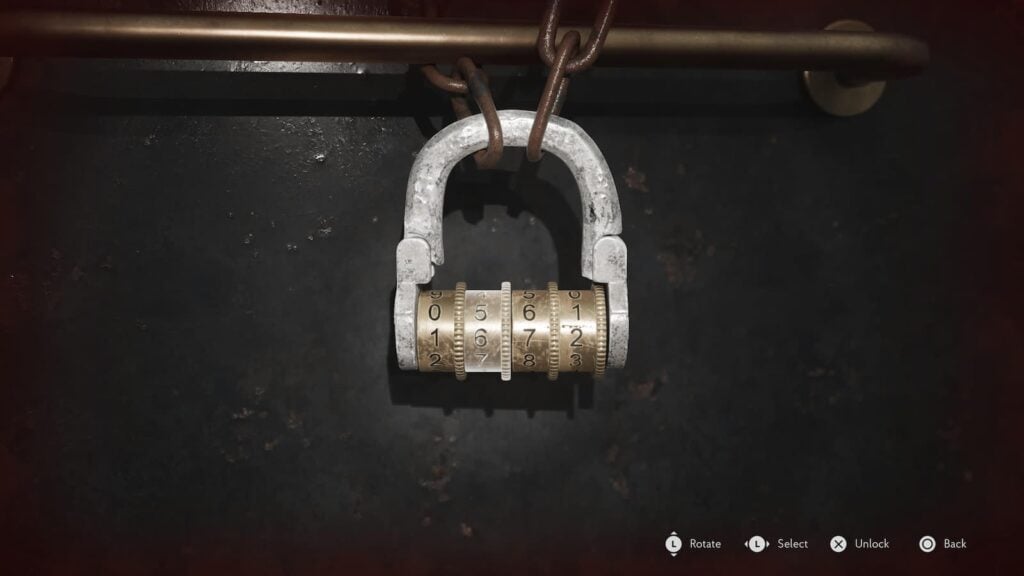
While the Trident and Obelisk as the exciting puzzle in the Church area, they’re not the one required for progression. To progress we’ll instead need to open the nearby floodgate. Unfortunately, it’s locked with a combination lock. Thankfully, it’s not a super hard combination to figure out.
Next to the corpse of the floodgate attendant, you’ll find a note stating that the code is the year the church’s bell was made. Easy, right? Unfortunately, there is no way to actually see the church’s bell in the game. Instead, we’ll need to infer how old it is from two other notes in the church labeled “Origins of the Redemption Church” and “Report on the Bell”.
According to “Origins of the Redemption Church”, the church was first founded in 1667. However, the “Report on the Bell” states that the bell wasn’t installed until half a decade after the church opened. So if we do some simple math we can figure out the code is
1667 + 5 = 1672
Devil’s Reef Safe Combination
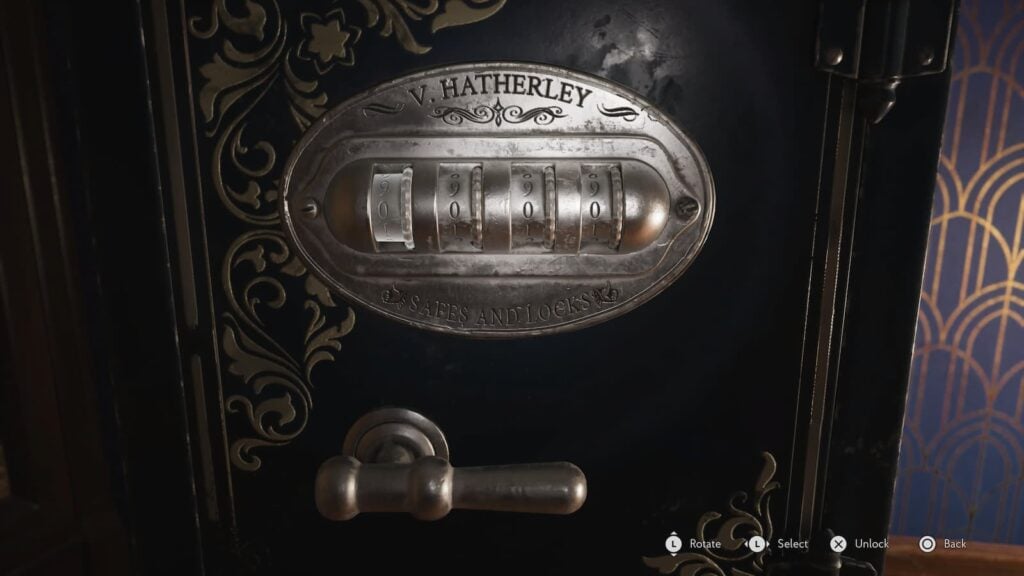
The next safe we’ll encounter is on the third floor of Devil’s Reef, while you’ll be able to find this safe almost immediately upon entering the area, you’ll have to wait until you find the Staff Key before you can find the note pointing you toward the combination in the next room over.
According to this note, the safe combination is hidden within the lyrics to the song “Baby, One More TIde”. How? By counting the limbs mentioned in each line of course. The first lyric of the song talks about bat wings, bats have two wings and thus the first number is 2.
That means the combination for this safe is: 2137
Akeley Hospital Vault Combination
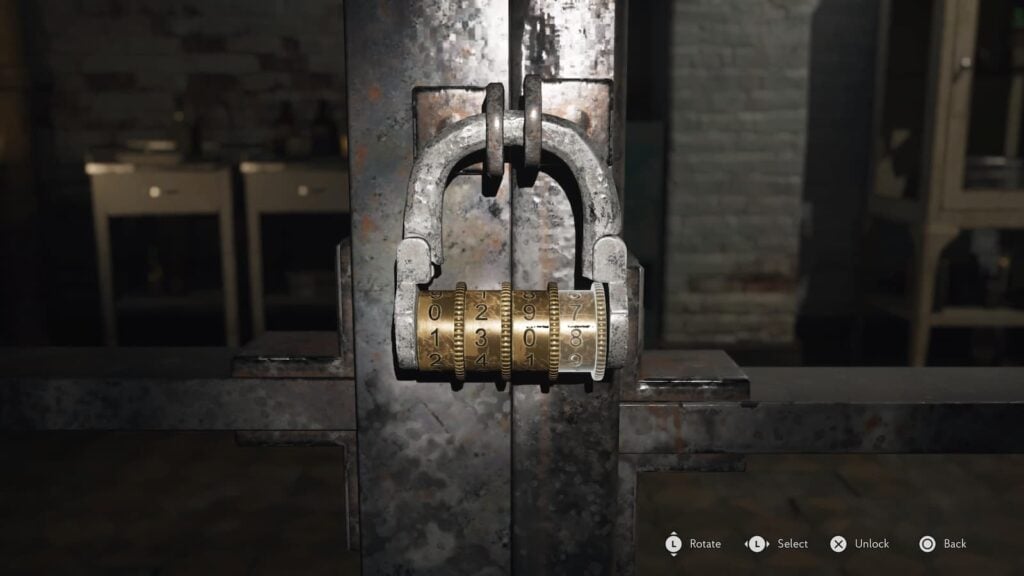
When visiting the basement of the Akeley Hospital you’ll quickly spot a vault area in the Storage Room which is locked behind a four digit combination lock. Unlike the safes we’ve opened so far you won’t be solving a puzzle from one or two notes but instead finding four notes scattered throughout the entire hospital which all directly state their number and which order they go in.
Once you have found all four of these notes, return to the Vault and input the following combination: 1308.
Inside of the vault you’ll find a ton of ammo and crafting equipment as well as a new attachment for your submachine gun, making this a very useful area to visit before the Hospital segment’s climax.
Arkham Fish Market Salt Storage Code
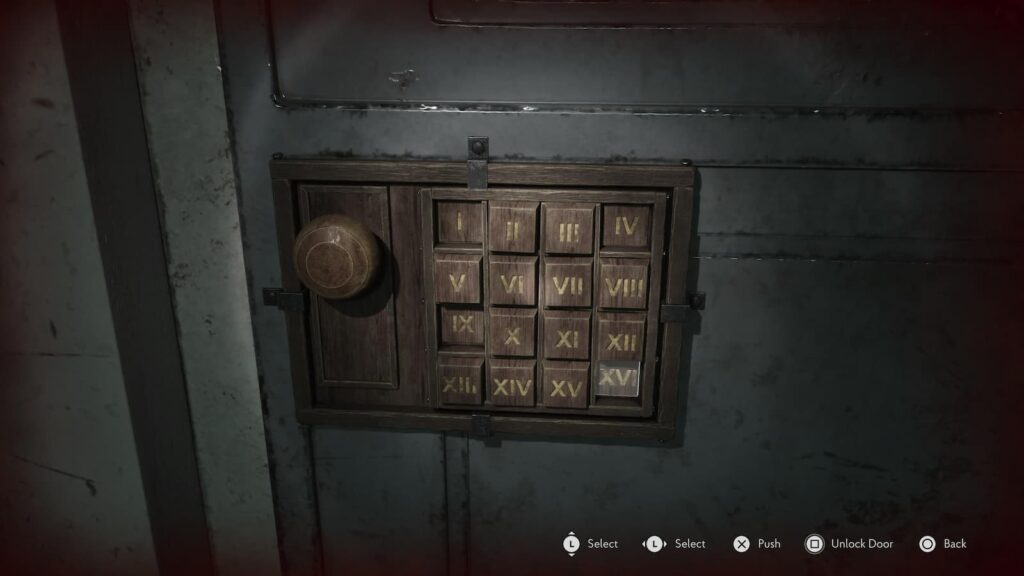
When walking through the Cutting Area in the fish market, you’ll quickly come across a large door with a lock that’s labeled with roman numerals. In order to open this door, you’ll need to look around the area for several notes detailing Sybil’s investigation and various punishments that sailor’s face at sea.
Apply the numbers on the list of punishments to the note “Instructions to Sybil” and you’ll get the code: I IV IX XVI. This room will have an attachment for your grenade launcher as well as a Dream Essence if you crush the thing waiting for you inside the room.
Arkham Fish Marker Locker Room Safe
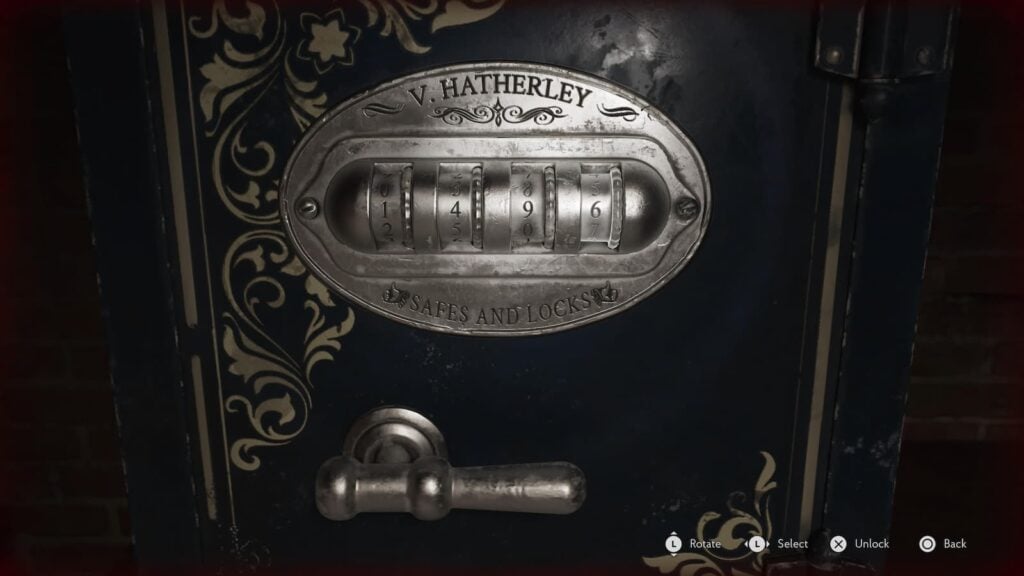
Inside of the Salt Storage room you’ll find a note stating that the safe in the Fish Market’s Locker Room actually has the exact same combination! While you may be tempted to immediately run there and input the same code, you’ll quickly learn that that doesn’t work as you can’t input a 16 in a four digit lock.
This isn’t exactly a hard puzzle though as you can find another note in the area which explains that the final number is actually 6 and not 16, meaning the code we need to input is: 1496