Want to see Raider King content first? Add us as a preferred source.
Resident Evil Requiem features a hidden puzzle that requires multiple playthroughs, minor astrology knowledge, AFKing for 15 minutes in a specific room, and flushing toilets. This is one of the most complex puzzles to ever be put in a Capcom game and it is almost impossible to figure out on your own. While there are hints throughout the game to help you, this truly was a community effort and could only have been done by the dedicated Resident Evil fanbase. If you are curious about how all of this unfolds, then please read through this guide on solving The Final Puzzle in Resident Evil: Requiem.
The Final Puzzle Walkthrough
Solving The Final Puzzle will require a minimum of two playthroughs as the player must both find an item that they must carry into a NG+ run and solve a sequence of codes to open a new safe. Below is a walkthrough to solve this in a minimum of two olaythroughs.
Step 1: Prep
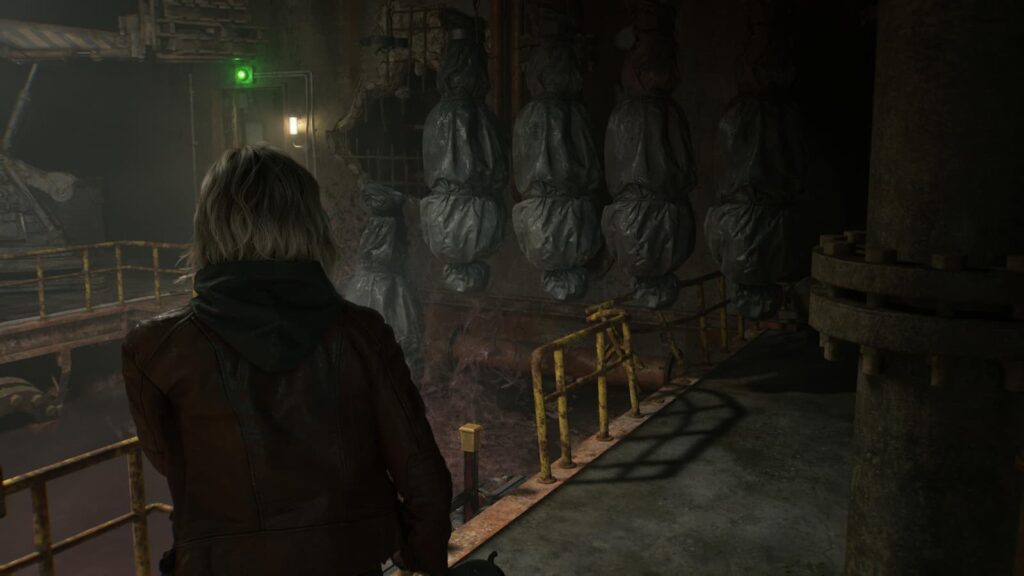
Before we even learn of the puzzle, there are some specific actions that we will have to take in order to get the solution later. The first of which will be done in the basement of the game. During this segment there will be a part where the player must turn off and drain a blood pool full of zombies. If you stand by and wait for 115 bodies to drop into the pool (as detailed later in a file called Subject 170 record) the first flag to solve this puzzle will be solved.
After waiting around 8 to 15 minutes, initiate the draining sequence here and do NOT KILL ANY ZOMBIES during it, they must all get sucked into the shredder. This is the first step in getting an item to spawn later. After leaving this room, make sure you drain the second pool of blood that Grace lands into after via a lever in the room, you will know you have done everything right if text saying that “A ton of blood flowed out” pops up on screen.
Step 2: Learning the Letters
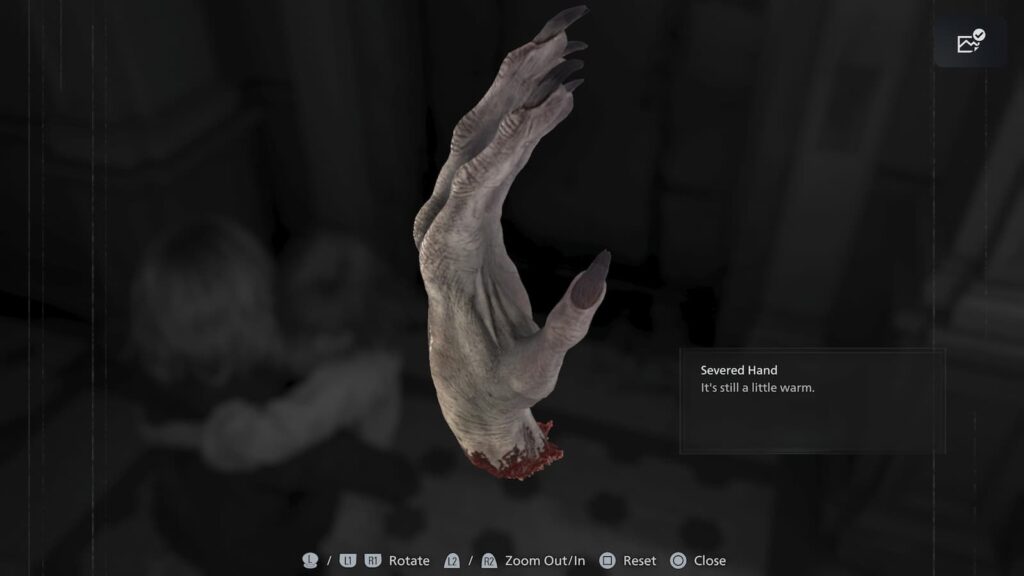
After playing through the basement segment of the Care Center portion of the game, Grace will barely avoid and sever the hand of the game’s The Girl chaser monster. After this cutscene, the player will be able to pick up the monster’s Severed Hand and put it in their inventory.
In an ordinary playthrough, this item seems completely useless as it is not required for any puzzle you need to do to complete the game. However, it is actually tied to the game’s most convoluted and secret Easter Egg. So put it in your inventory for now.
Take the Severed Hand to one of the blood analysis machines in the the Care Center and complete the atom puzzle it presents you as it you were examining a blood sample. Unlike the others you won’t be granted a crafting recipe upon doing this, but rather the following message:
“Let’s play.”
GGC AAG AUA ACG UGU CAU
This appears to be an RNA sequence, but what purpose could this possibly serve? Well to find that out we’ll need to head to the Lead Researcher’s Office in the East Wing. Previously we got the Sun Quartz in this room and had an encounter with Gideon. Strangely though, you are able to interact with the safe that held the quartz again in order to input another code.
Despite there only being three buttons on this safe (Sun, Moon, and Star), we will have to convert the four letters in the RNA sequence we found into these symbols in order to solve this Easter Egg.
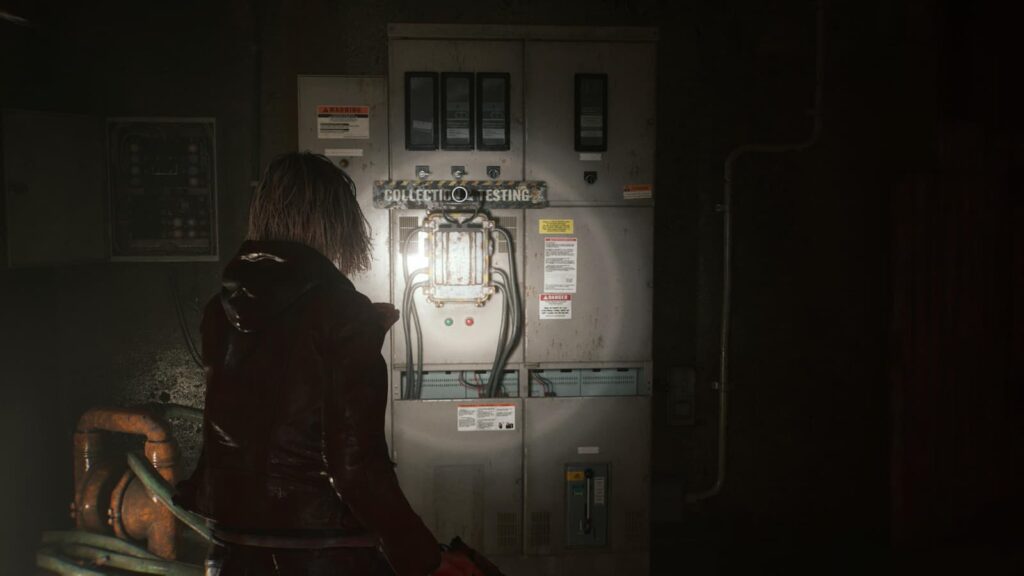
Step 3: Flushing the Toilet
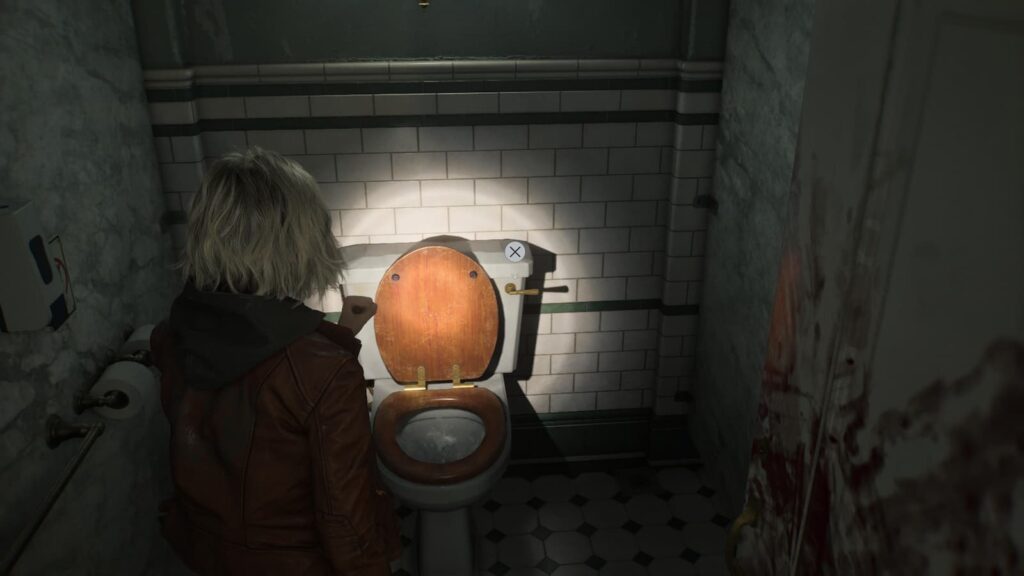
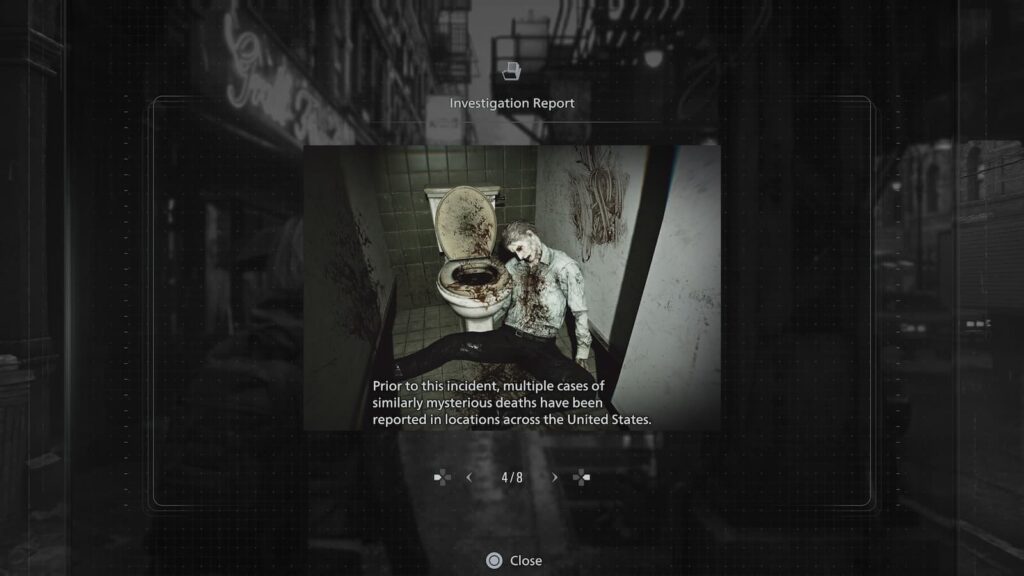
After getting the RNA code, make your way to the bathroom in the Care Center’s West Wing. Enter the second stall to the left and you will find a toilet you can flush. If you look at the Investigation Report file you found at the beginning of the game, you will find a photo with a corpse by a toilet and a bloody 8 drawn on the wall. This is your clue to flush this toilet exactly EIGHT times in order to progress the puzzle.
Step 4: Converting the Letter into Symbols
Learning what letters can be converted into what symbols isn’t something you can just do before opening this safe on a first playthrough, without a guide this is going to be a task that takes you multiple playthroughs as most of the answers are outside of the Care Center.
Thankfully, we won’t have to look too far for our first hint, as the first letter is actually printed on the side of the blood analysis machine in the East Lobby’s Examination Room. The side of the machine has the following text printed on it:
G = 150,000,000
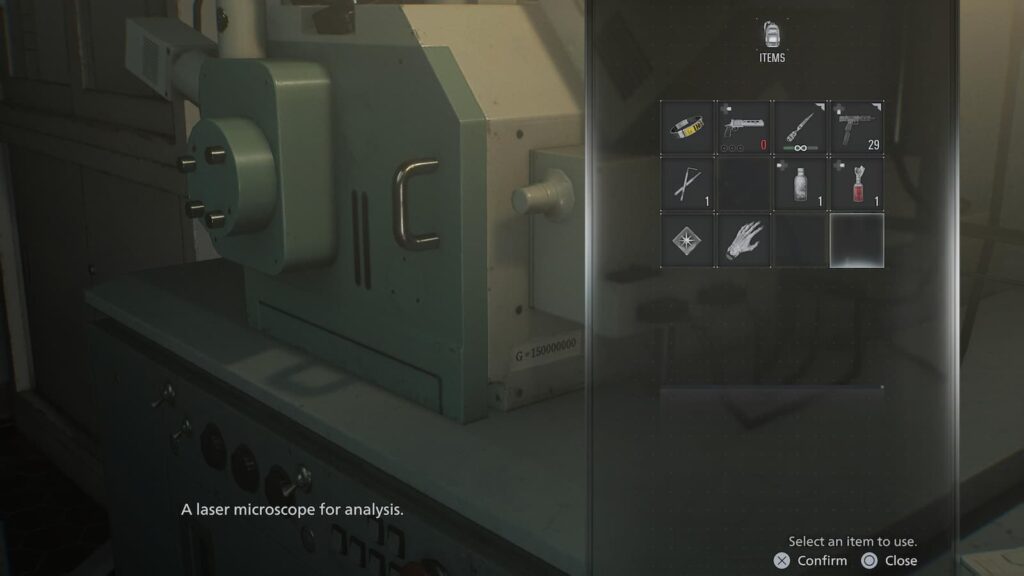
While this might seem like gibberish, it actually has a lot to do with the letters and symbols we found. Each number is related to the distance each symbol has from the earth. Thus, in order to find out which letter is which we must find out what numbers match which symbols distance and then match that distance to the letter. In this case, we are dealing with the sun being 150,000,000 kilometers away from the earth. This means that all Gs in the RNA sequence are the Sun Sumbol.
The second letter hint you’ll find is in the small building outside of the Care Center. In this area will be a puzzle where you must find a helix inside of a wine bottle and place it into the center of the room to activate an elevator, typical Resident Evil stuff. However, while trying to solve this puzzle you might get distracted by an hourglass that has a helix shape.
On a normal playthrough, this hourglass is just a red herring to distract you from the actual puzzle solution. When searching for this final easter egg though, it is a very important item. While examining the hourglass, you can tilt it and make the sand move. Moving it in a way where you can see the top of it reveals a code:
U = 380,000
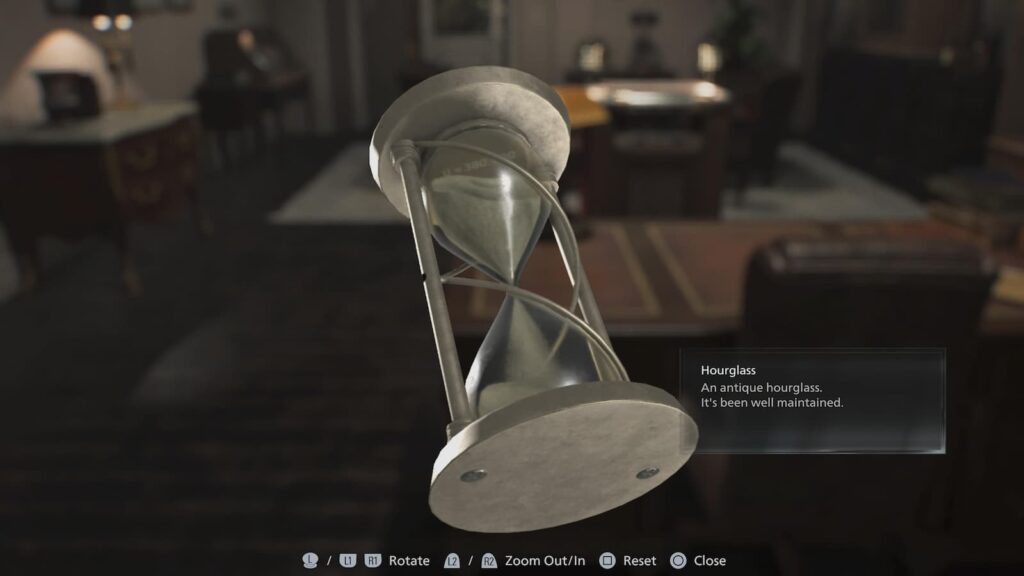
What does this mean? Well as you may have learned in high school, the moon is 380,000 kilometers from the earth. This means that all of the Us in the RNA sequence we found must be moon symbols!
Later on in the same building, you will find a file with Grace’s blood report contained within. This ominous bit of plot detail also contains one of the letter clues we need. As on the last page of the report you’ll find this written:
C = 4.2 ly

Like the previous letter, this one is tied into the distance one of the symbols has from the earth. In this case, the closest star to earth is approximately 4.2 light-years away! So all of the Cs in the RNA sequence we found must be Stars!
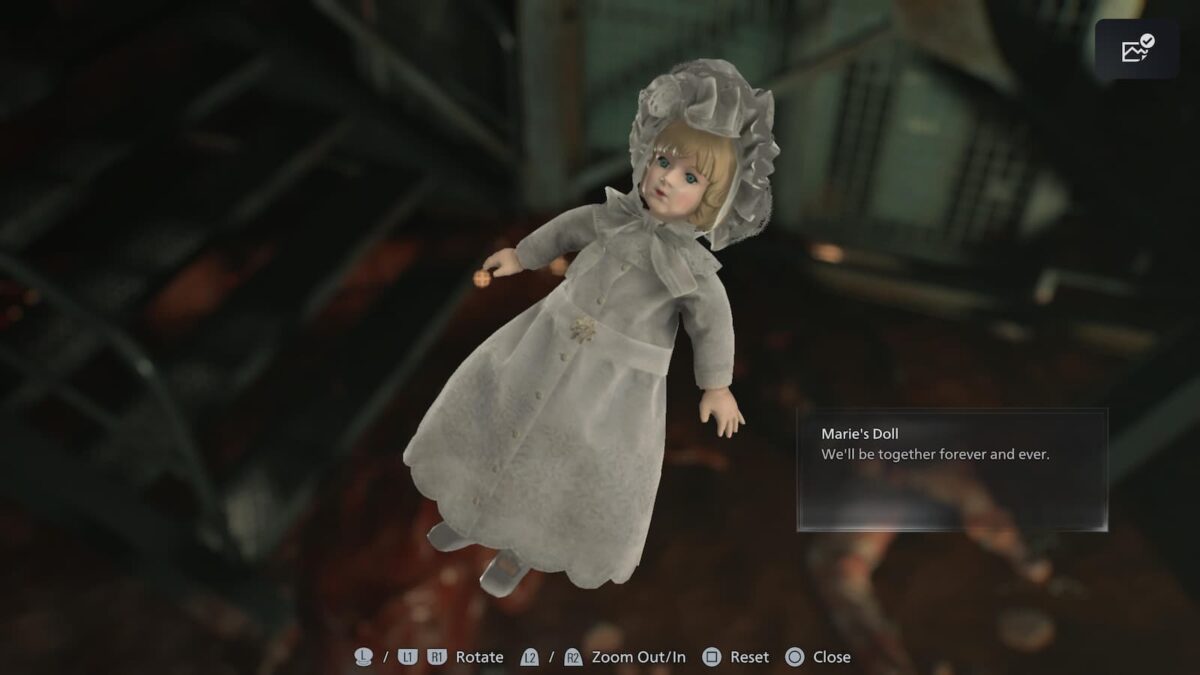
Step 5: Retrieving the Doll
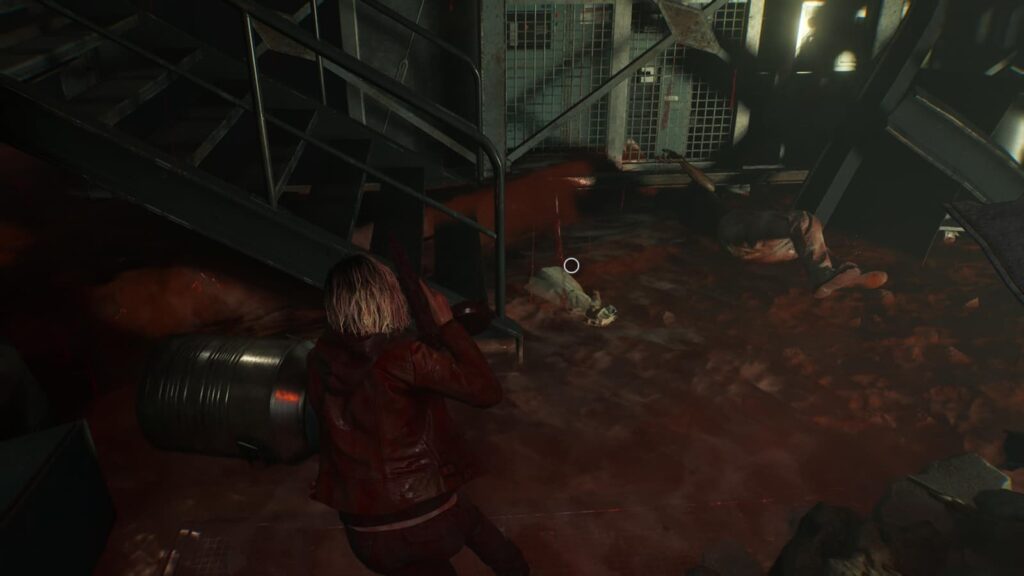
Remember how we waited around for 15 minutes and flushed some toilets? Turns out that was so we could manipulate the pipes in this facility’s blood collecting network. If we did it right, a doll that was supposed to be disposed of will spawn by the stairs during the lab’s self destruct sequence. Put it in your item box for now, we will need it for later.
Step 6: Removing A
Now that we know which symbols correspond to which letters, only one question remains: what do we do with A, the fourth letter in the RNA sequence? Sadly, the answer to that is beyond Grace’s grasp. Instead, you’ll need to progress the game until you reach the end of Leon’s campaign.
After completing the Police Department segment of the game, you’ll quickly pass through Kendo’s Gun Shop. Stop in this building and you may notice some broken bobble heads, but we can’t do anything with those for now.
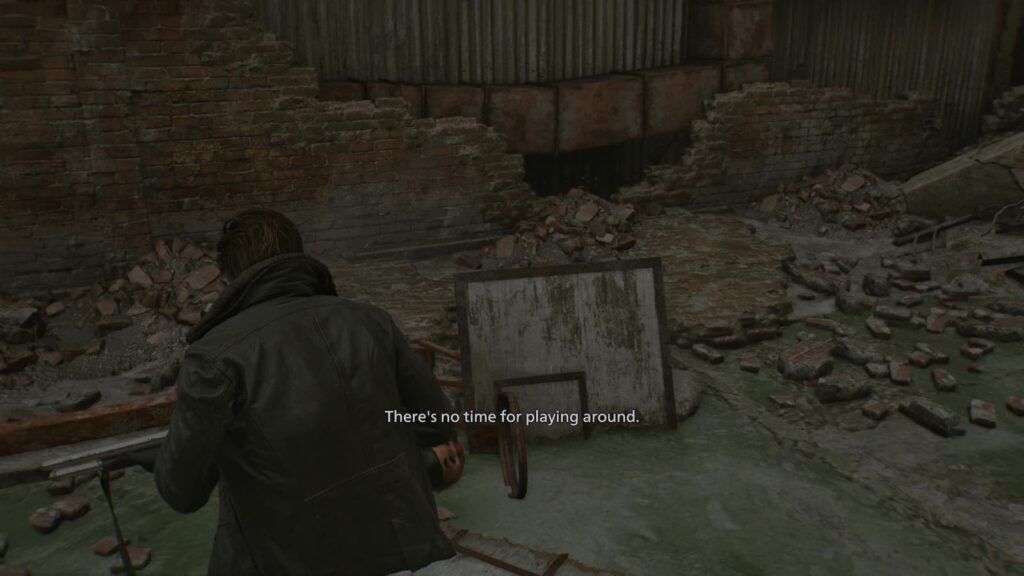
After a tense boss fight against Mr. X, the player will be able to access a basketball court in the area. There isn’t much here, just a crate with some items within it you can break. However you should have learned by now, if there is something with seemingly no purpose, then that means it’s related to the Easter Egg.
In the basketball court you can find the decapitated head of a bobble head toy. You can’t interact with it, but you can kick it around. Kick it into the nearby broken basketball hoop and you’ll be given another message:
“There’s no time for playing around”
Now that we have gotten this message, return to Kendo’s Gun Shop, where we can now interact with the broken bobble heads. Doing this will give us one more message:
“Just ignore A”
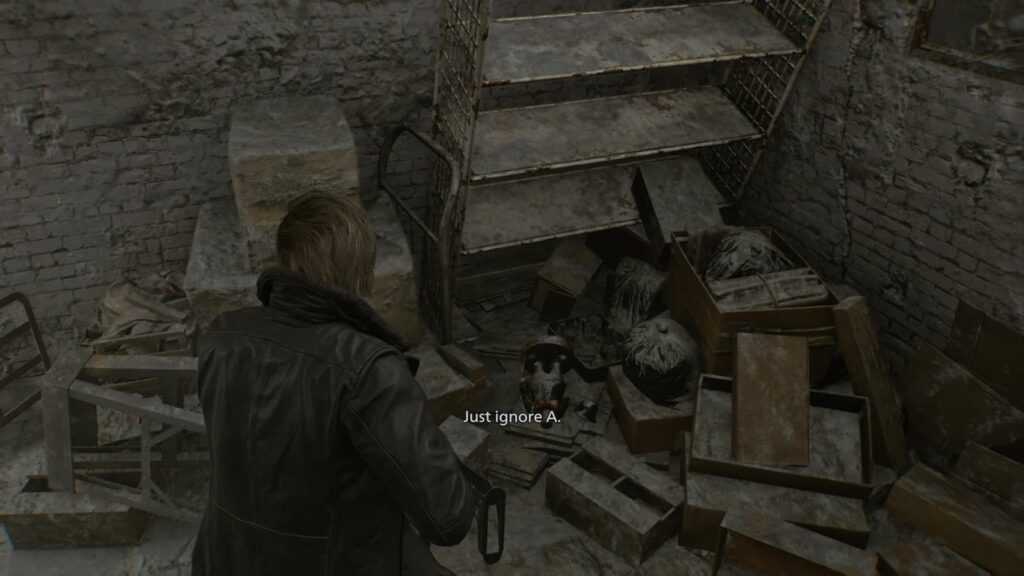
And there’s our answer for the RNA sequence, we need to remove A from it in order to get this new code
GGC GUC GUG UCU
Step 7: Input the Code
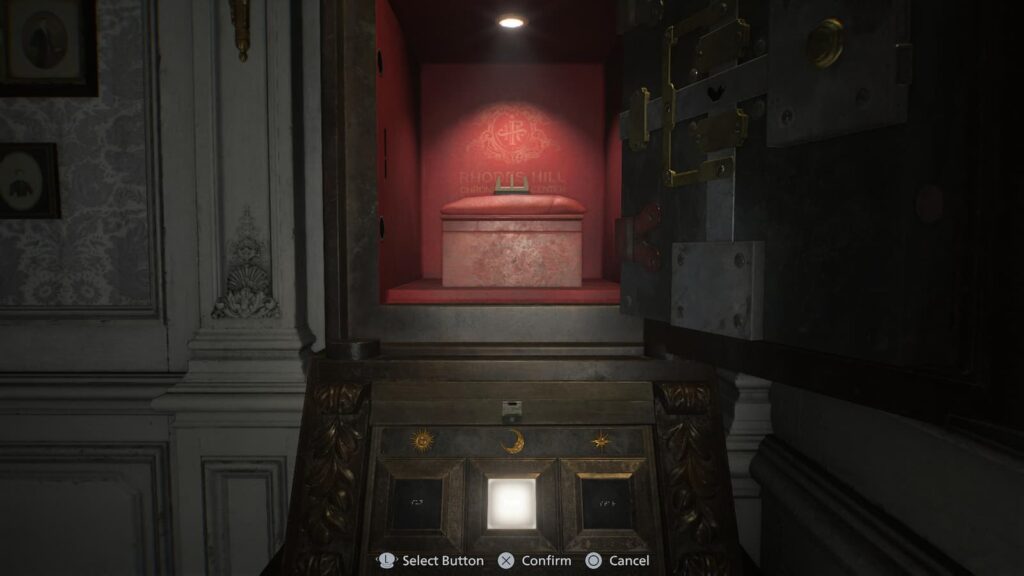
Now that we have converted all of the letters into symbols, removed A, and collected the doll it’s time to start another playthrough and input the code. Make sure you pick up and analyze the Severed Hand again during this playthough in order to activate the puzzle. Once you do, grab the doll from your item box (it remains there on a new playthrough), grab Emily (Do NOT forget her, you need her for the challenge to clear), and input the following combination:
Sun, Sun, Star – Sun, Moon, Star – Sun, Moon, Sun – Moon, Star Moon
Once you do, you will hear the sound of a child laughing and the puzzle will finally be solved. Your reward will be an incredibly large amount of Completion Points which can be used to buy perks such as infinite ammo for all weapons.


