Want to see Raider King content first? Add us as a preferred source.
The second episode of nth Circle Studios’ Of The Devil has finally been released, providing gamers with a new thrilling case and mystery to solve. After the intense and subversive story hook that episodes 0 and 1 provided, players are eager to read through this episode and learn more about what makes Morgan tick. However, like most mystery-genre Adventure games, it can be really easy to get stuck on one specific testimony or not understand what evidence the game wants you to present. If you are someone who simply wants to enjoy the story that Of the Devil has to offer, than please feel free to use this 100% Walkthrough detailing all items to investigate, the correct evidence for each testimony, and all the article takeaways throughout the entire episode.
Note: Because Of the Devil is a heavily story-based game, this walkthrough will be much less detailed about the context of each situation compared to our normal guides. This will hopefully preserve some spoilers in case you accidentally scroll too far in the guide.
Of the Devil – Episode 2 100% Walkthrough
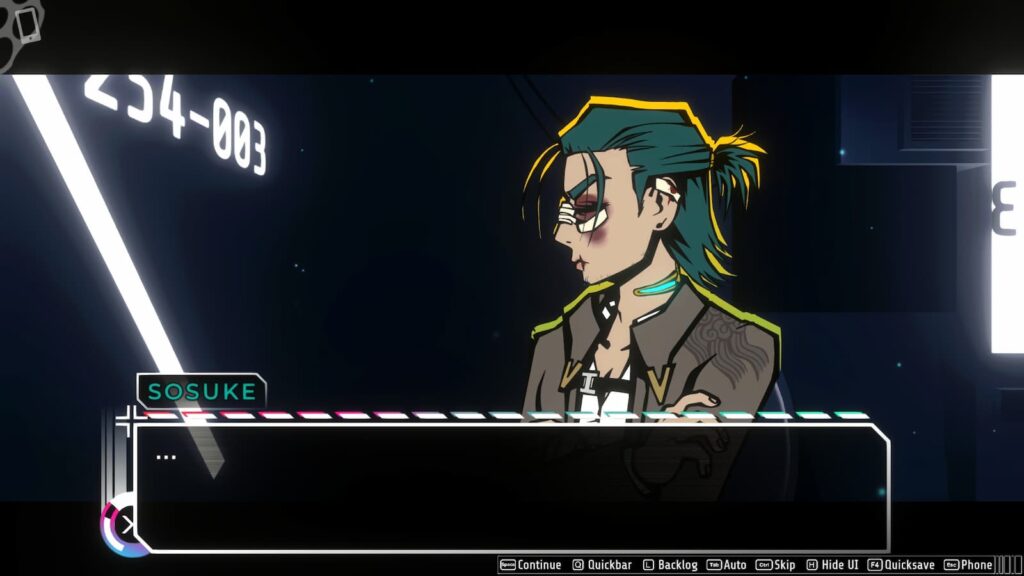
This case will see Morgan and Serra having to defend a member of the yakuza named Sosuke, but before we get into that the episode must begin with an ordinary night in the life of Morga.
Lower Ward Investigations
- Examine Building on the right. Gain +1 Credit
- Examine Middle Building. Gain +1 Credit
- Examine Building on the left. Gain +1 Credit
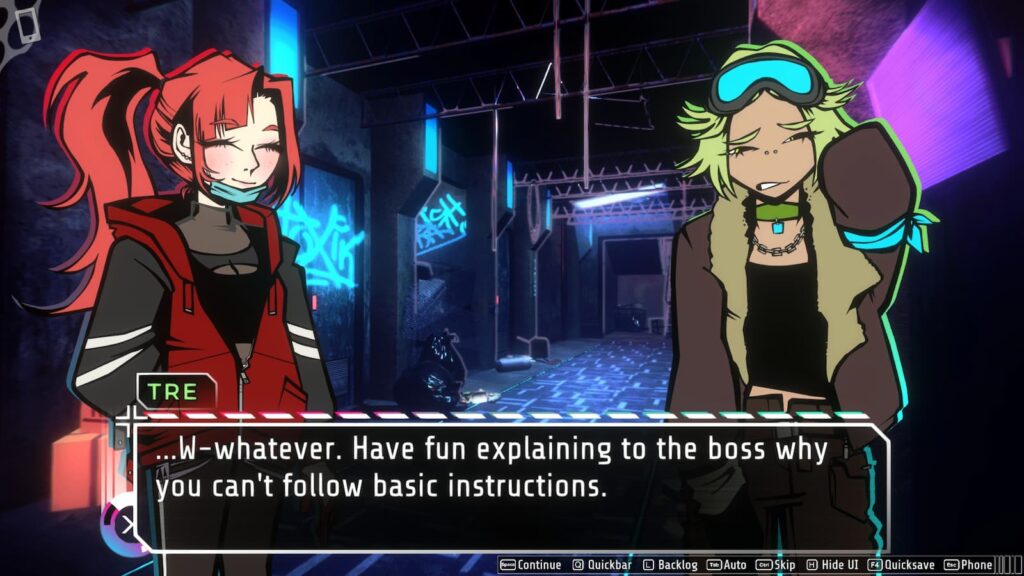
After entering the building, there will be a series of dialogue choices which have no effect on your credits. After reading through the story events that follow, examine these objects in the next investigation
- Pile of boxes on the right of the room
- Cards on the table
- Tre (Green silhouette by the door)
- The Door
- Tanks (Blue silhouette by the door)
After the events that follow you’ll need to examine a few things in this room again.
- Tres
- Miller
- Return Keys
- Cigarette (Only appears if you chose to smoke)
- The Card
- The Remote
- The Sword
Examining every object in the room before leaving will reward you with +10 Credits
Bar Kintsugi Investigation
After a nice scene where you see Serra again, examine the following objects in the bar
- Datapad – Article Takeaway: FUELS
- Above the Door
- Cat? +1 Credit (unlocks Neco-Morg Keychain)
- Drinks +1 Credit
Ikariya Tower Investigation 1
Continuing the story, you’ll first arrive at a small location that’s more of a transition area than the others. Examine the following objects in the room before moving on.
- Go Fish? +1 Credit
- Sky/Ceiling – +1 Credit
- Datapad +1 Credit – Article Takeaway: Hiring Mercenaries
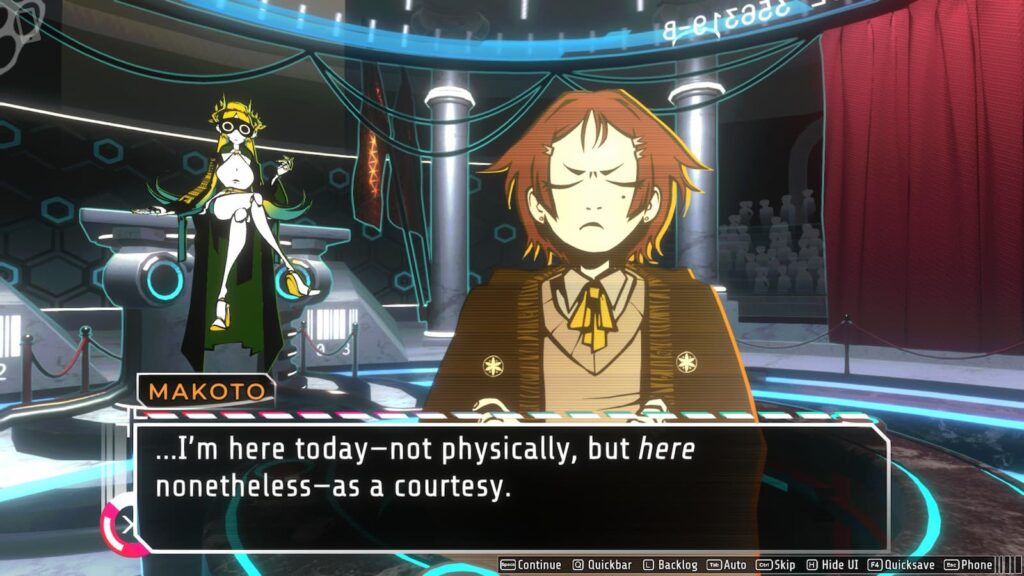
After examining everything you’ll move into another room for a series of scenes, you’ll be prompted to ask Makoto about the following topics and gain a credits for each
- House Ikariya
- Makoto
- This Manor
- The Black Suits
Interrogation Room Investigation 1
Once the plot takes you to the Interrogation Room you’ll be “introduced” to your client. There will be two required dialogue choices where you will learn about Sosuke and have some of the circumstances of his capture explained to you. After which you will be prompted to point out an error with his theory:
- Bullets +2 Credits
After learning everything you can from the client, you’ll be brought to the police station to once again be introduced to Reyes and London before taking a drive to the crime scene. During the drive to the scene of the crime you’ll have a chance you talk to London about the following topics
- Chopin
- The Lower Wards
- The Hound (Unlocks after asking about The Lower Wards)
Afterwards he will ask you “Who you’re betting on”, there is no right choice here.
Crime Scene Investigation 1
It’s time to get investigating! You’ll automatically be brought to a new location each time you investigate everything in each area and make sure you don’t input the wrong takeaways on any articles you find.
Alleyway
- Datapad – Article Takeaway: Feds Involved
- Fire Escape +1 Credit
- Dumpster +1 Credit
Arcs
- Miller (Purple body by the camera) +1 Credit
- Tre (Body by the door) +2 Credit
- Doorway
- Tanks (Purple body to the left) +1 Credit
- Television +1 Credit
- Datapad +2 Credit
- Papers on Desk +1 Credit
- Windows +1 Credit
- Who the Hell? +2 Credit
Bathroom
- Buckets +1 Credit
- Blood +1 Credit
- Needles +1 Credit
After investigating the Bathroom you will have another conversation with London. The investigation will end after this conversation.
Courtroom Day 1
When you arrive at the courtroom you will be able to either have a conversation with your client or skip the conversation entirely by clicking “Moving On”. This will have no effect on your credits. Once you’ve finished talking to him, the first trial will begin.
Opening Statements
The trial will begin with an overview of the facts of the case. Select the following dialogue options to gain some extra credits.
- Unspeakable
- Malevolence
- Torture
Makoto’s Testimony
Time for the first testimony of the case. If you want to avoid losing any credits following the steps laid out below.
Testimony Part 1
Present the evidence Needles to Statement #6 “I’ll never forget the faces of those cowards! They tried to kill me!”
Stand or Raise 1
When prompted, select to Stay, choosing “They were attacked by Creek’s Pod”
Testimony Part 2
Present the evidence Sosuke’s Medical Records to Statement #5 “He fought off four attackers and emerged unscathed.”
Stay or Raise 2
When prompted, select to Stay, choosing “His testimony stands”
Afterwards, you will be asked a question, answer “Prints” to advance
Witness Lineup 1
Insert “Creek” into slot #1
Stay or Raise 3
When prompted, select to Raise, choosing “Creek couldn’t have held it by the scabbard.”
Hands
Once the amazing music begins playing and the prosecution reveals their hands, choose to present the following pieces of evidence in this order
- Needleguns
- Magus
Sato’s Testimony
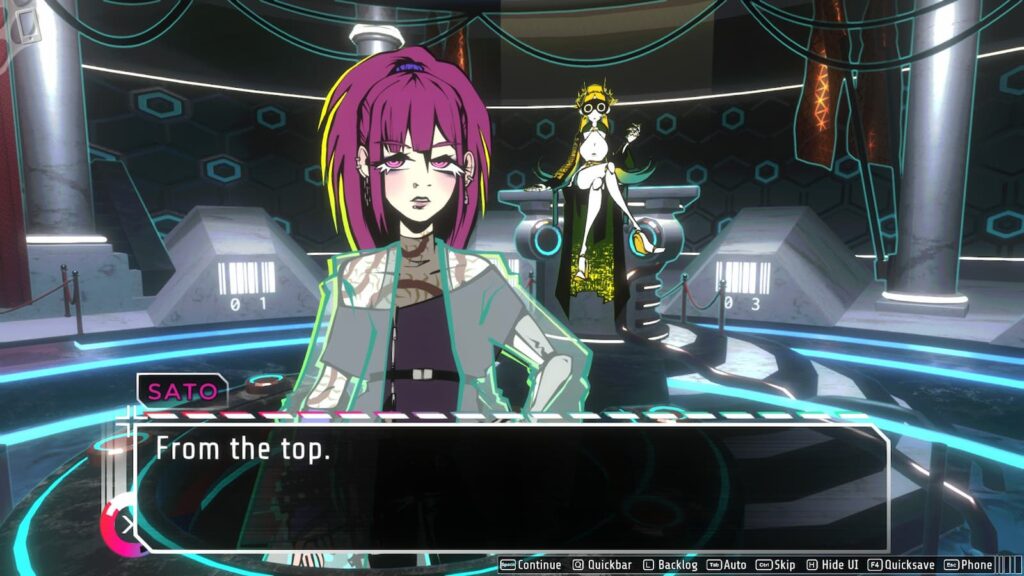
After Sato gives her medical opinion on the murders, select the following choices to both gain a credit and avoid losing one.
- Starting Position
- Murder Weapons
Blackjack
Make the following choices to get a 21 in this Blackjack argument
- Select Blade Wounds
- Choose to Press on Blade Wounds
- Select Katana Stab
- Choose to Press on Katana Stab
- Select Chopin’s Cause of Death
- Press on Chopin’s Cause of Death
Stay or Raise
When prompted, choose to Stay, choosing “The sword could’ve gotten stuck in the floor”
Evidence Lineup
Present the Magus as evidence again.
Hands
Things are heating up now. Select the following pieces of evidence/dialogue choices as Emma throws her hands at you
- Only Suspect
- Darkcard
- Darkcard
After successfully weaseling your way out of that argument, there will be a short recess where you’ll be given a dialogue choice to get some extra credits.
- Mirei
London’s Testimony
Blackjack
London’s Testimony consists of a single Blackjack segment, so make the following choices to score a 21.
- Choose “Were your bodycams on?”
- Press on Were your bodycams on
- Choose “How’d you clear the building?”
- Press on How’d you clear the building
Rogers’ Testimony
Now that the short detour with London is out of the way, it’s time to get to the main meat of this trial segment. London’s testimony will begin with a quick question before it truly begins. Select this choice for some extra credits.
- To prevent escape
Evidence Lineup 1
Present the Dumpster evidence
Testimony
Present the Sound System evidence to statement #2 “We headed for the nearest known Orca hotspot and arrived to find the building dead quiet. After some additional dialogue select the following choice.
- Soundproofed
Hands
Time for you and the prosecution to present and deconstruct each other’s hands. Select the following pieces of evidence for these segments
- Window Spatter
- Chopin Alerted
- Ballot Measures
Evidence Lineup 2
Finish off this segment of the trial by presenting the following piece of evidence.
- Redink
After Trial
There will be a very dramatic scene as the trial dismisses for the day, after which you will talk with Sosuke in the lobby, select this dialogue option when prompted for some extra credits
- Last Year’s Meeting
After answering this question, there won’t be anything that effects your credits until you return to the crime scene.
Crime Scene Investigation 2
When you first arrive at the crime scene you’ll have a short conversation with London. After speaking to him, ask Serra to search for the knife. After a very funny scene you’ll be in control again, so investigate the following objects in the room.
- Datapad +1 Credit. Article Takeaway: …
- Sosuke +2 Credit
- Tanks (Body behind Sosuke) +1 Credit
- RedInk +1 Credit
- Creek (Body by window) +1 Credit
Local_Host Investigation
- Background Customers +1 Credit
- Poster – 1 Credit
- Order +1 Credit, Makes you Order a Drink. Order a Champagne for extra credits when the manager arrives.
- Datapad – Article Takeaway: Growing Unrest
After investigating, the Mama of the bar will show up. Choose the following options in your conversation with her to get some extra credits.
- Bresson’s fate
- Nirvana
- I don’t know
Ikariya Tower Investigation 2
You’ll be having a conversation with a certain member of the Ikariya family when you arrive here. Choose the following dialogue options for some extra credits.
- No Reason
- His Blood
After that person leaves, Mirei will arrive. You can pick all the dialogue options here without consequence. However you will only be able to choose the “Not Quite” choice if you investigated Creek’s body earlier in the Crime Scene Investigation 2.
Morgan’s Apartment Scene
After speaking to Sosuke one more time you’ll have a short breather scene in Morgan’s apartment. Investigate the following items to progress.
- Oven
- Windows
- Television
Sosuke’s Testimony
The second day of the trial will begin with a testimony from your very own client.
Testimony
Present the evidence “Cut Bindings” to Statement #2 “Managed to untie my binding and stumble forward”.
Stay or Raise
When prompted, choose to raise your argument, selecting “It couldn’t have been the sword”
Hands
Present the “(My) Knife” evidence against the prosecution’s hand.
Evidence Lineup
To prove the knife’s connection to the crime scene, present the “Sosuke Med Records” evidence
Han’s Testimony
Time to cross examine the next witness.
Blackjack
- Choose the Building Security option
- Press on Building Security
- Choose the Night’s Weather option
- Do not press on Night’s Weather
- Choose the Alley option
- Do not press on the Alley topic
Stay or Raise 1
When prompted, choose to Stay, choosing the “Front door was locked” option.
Hands 1
Time to beat Emma in another series of arguements. Present the following pieces of evidence agaisnt her hands
- Dumpster
- Han
- First Floor Vault
After showing each other’s hands, you’ll be given a few question prompts that you’ll need to get right to progress. Choose the following options to gain some credits
- Rogers’ Testimony
- Landed on Dumpster
Stay or Raise 2
When prompted, choose to Stay, selecting “Han didn’t kill Chopin”
Hands 2
With the courtroom emptied, it’s time to get to the truth of this incident. Present the following pieces of evidence during the next few hands
- Scrap of Paper
- (My) Knife
Stay or Raise 3
When prompted, choose to Raise, selecting “They didn’t need the katana to frame Sosuke”
Final Testimony

It’s time to call in the final witness and prove Sosuke’s innocence.
Testimony 1
Present the only piece of evidence you have to the very first statement of the witness’ testimony
Hand 1
When shown the incomplete hand, present the Magus evidence.
Stay or Raise 1
When prompted, choose to Stay, saying “I don’t have that evidence”
Hand 2
Present the “London’s Testimony” evidence against this hand.
Stay or Raise 2
When prompted, choose to Raise, saying “He could have removed the knife”
Testimony 2
Present the “Sosuke’s Med Report” evidence to Statement #5 “He turned to me with dull shock just as I whipped my pistol butt into his forehead”
Stay or Raise 3
When prompted, choose to Raise, saying “The Medical Records don’t support Rogers’ testimony”
There will be a few question after this Raise, select the following dialogue options when you can.
- Bent over
- Took the lead
Hands 3
Time to finish things off with a few more hands. Present the following pieces of evidence to end this
- Scrap of Paper
- Darkcard
With the final pieces of evidence presented, just sit back and enjoy the rest of the episode

")
