Want to see Raider King content first? Add us as a preferred source.
Ocarina of Time’s dungeons are some of the most iconic in gaming history, with each one having wormed its way into the minds of gamers for decades. This of course includes the game’s tutorial dungeon: The Great Deku Tree. Being the very first 3D Zelda dungeon, this area exists mostly to introduce the player to the mechanics of dungeon crawling and this entirely new gameplay formula. If you are curious about how any part of this dungeon works, please consult the following walkthrough for the Great Deku Tree dungeon in the Ocarina of Time Remake.
Great Deku Tree Dungeon Walkthrough
The Great Deku Tree is a very straight forward dungeon that should only take you about half an hour to clear. Below we have detailed every room so you’ll be able to clear the dungeon quickly and without missing any treasure.
Central Room Visit 1 – Dungeon Map
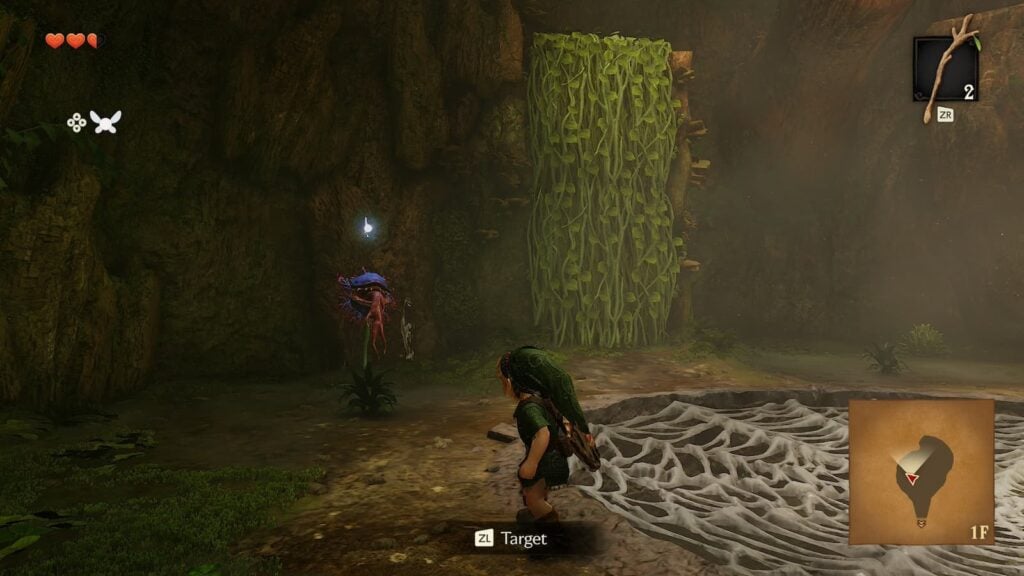
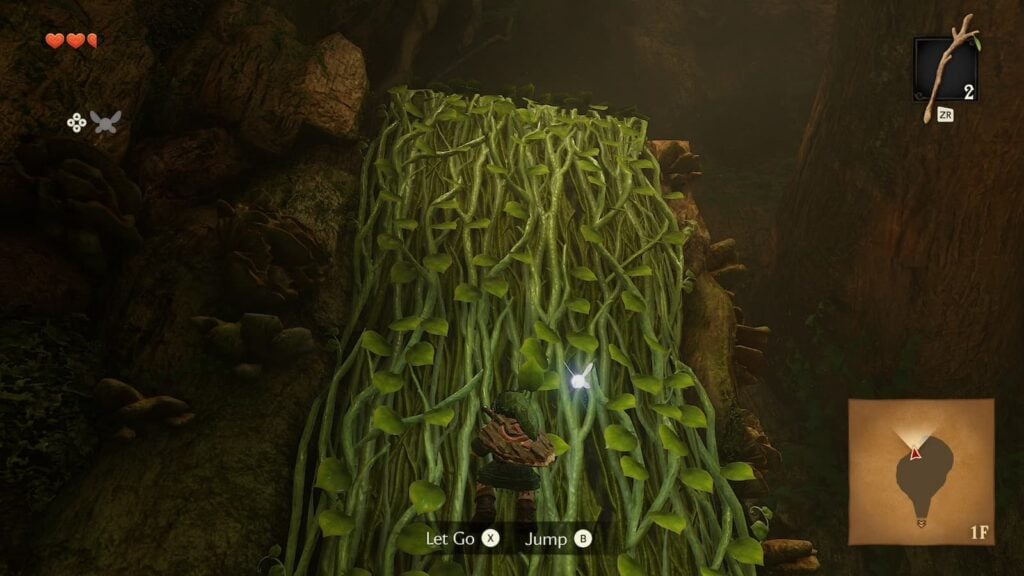
Upon first entering the Great Deku tree head forward to the vines directly in front of the entrance. There will be a Deku Baba enemy next to them but you can strike it down with a single swing of your sword. Climb the vines and head to the right, jumping across the gaps between wooden platforms as you do.
After crossing the gap you’ll come across a treasure chest. Open it and you’ll obtain the dungeon’s first item: A Dungeon Map.
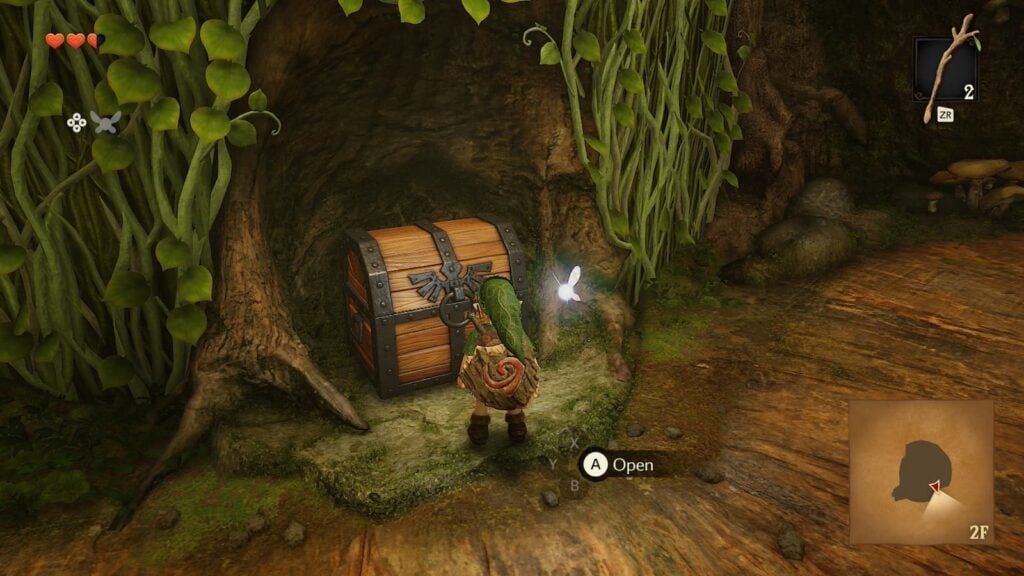
Dungeon Maps show you the entire layout of the dungeon once they’re collect and are one of three key items that you can expect to find in any 3D Zelda dungeon. After looking at the map, continue to head to the right and you’ll find a door that you can open.
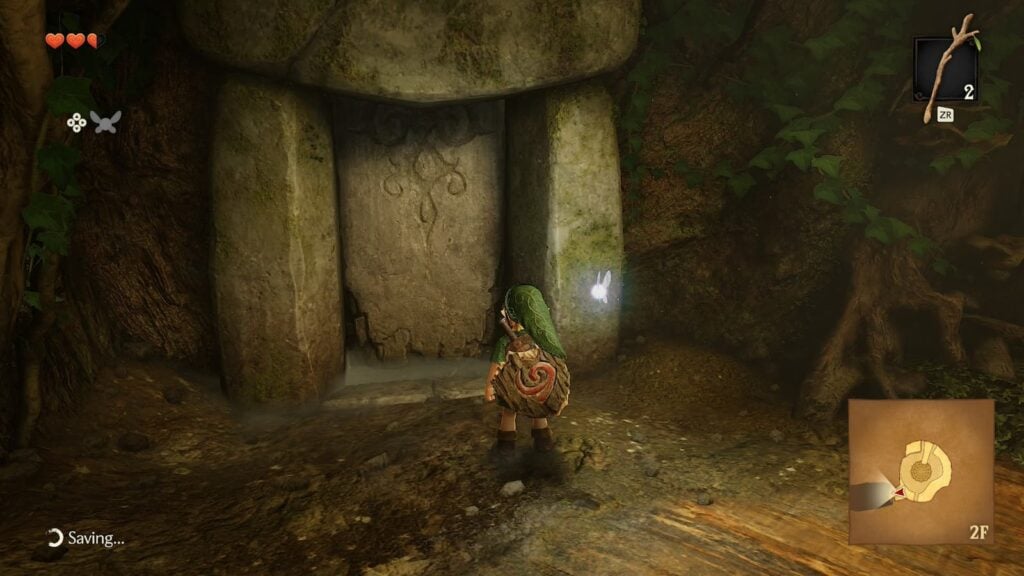
Room 2 – Deku Scrub 1
Enter the next room and you’ll put locked in with an enemy known as a Deku Scrub. These enemies will spit wooden Deku Nuts at you. To defeat them, hold down the Z-targeting button so Link will raise his shield. Once a nut hits his shield, it will bounce back at the Deku Scrub.
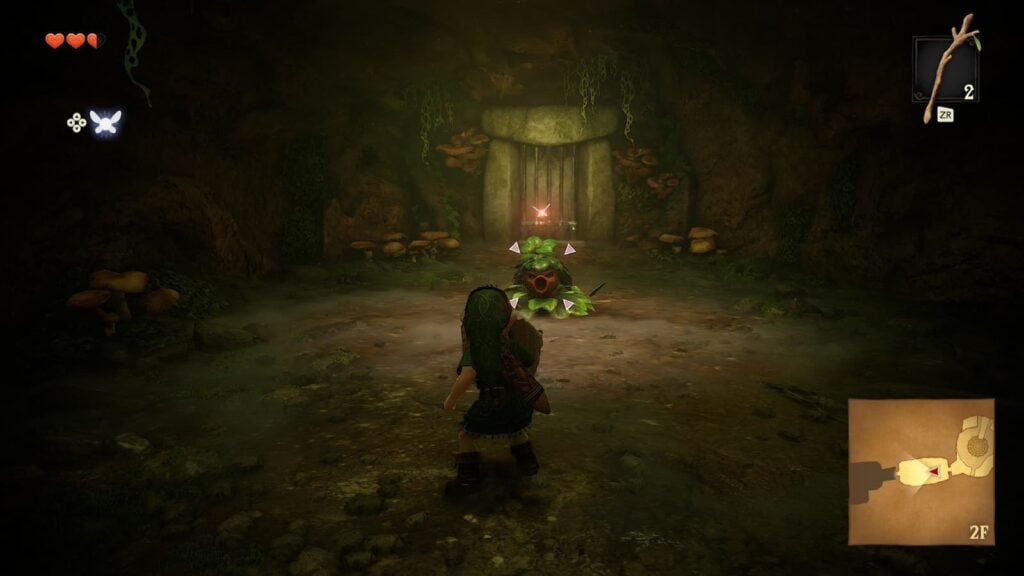
After being hit with a nut, the Deku Scrub will be knocked out of its hole and begin to run around the room. Strike it twice with your Kokiri Sword and the Deku Scrub will surrender, unlocking both doors. Exit the room through the door that you didn’t come in through to progress.
Room 3 – Slingshot
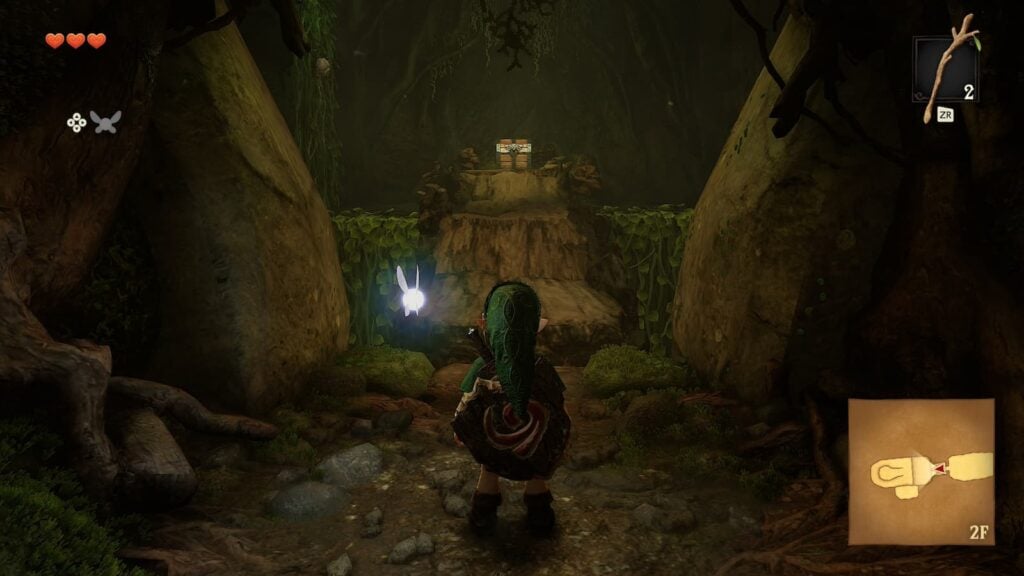
Enter the next room and immediately jump over the ledge to reach a treasure chest. The path behind you will collapse, making you unable to exit the room for now. Open the treasure chest and you’ll obtain the Slingshot item. Dungeons in Ocarina of Time will always contain on permanent item like this that will be added to your inventory for use anywhere in the game.
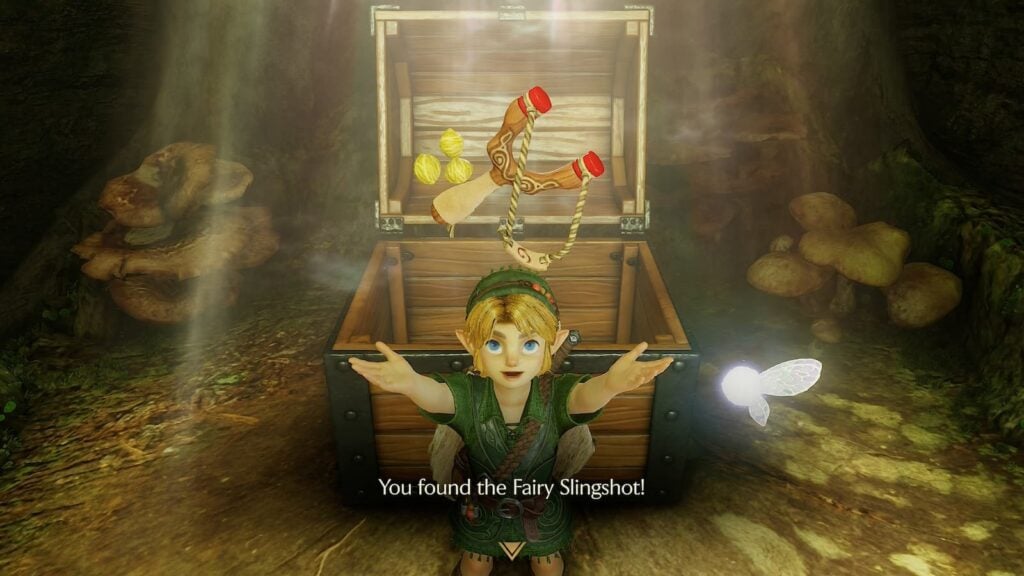
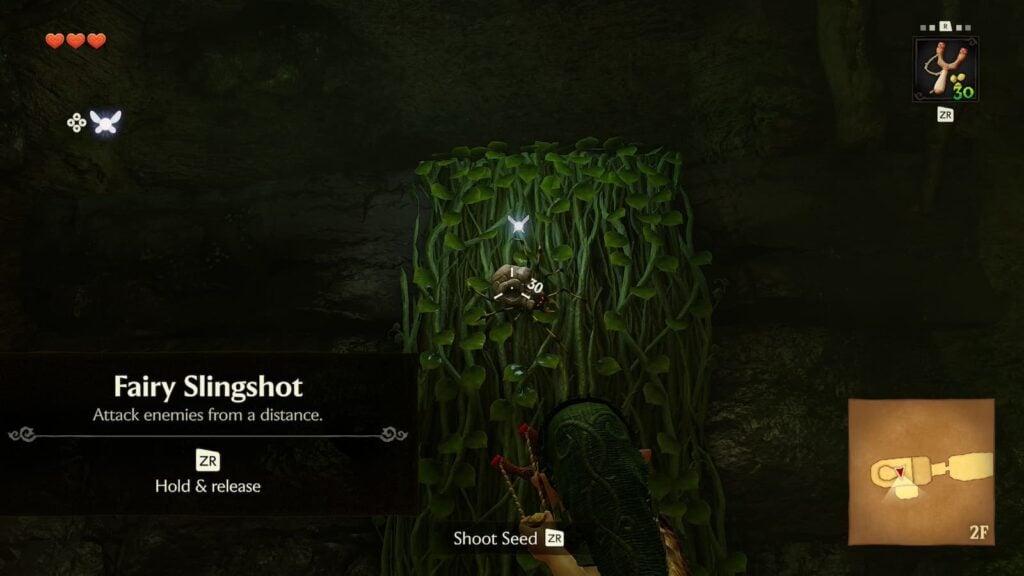
The slingshot can be loaded with Deku Seeds which can be used as projectiles to hit enemies and targets from a distance. To test it out, shoot the skulltula enemy that’s hanging on the vines to your left in order to kill it. Climb the vines yourself and you’ll find a treasure chest containing three Deku Nuts.
To exit this room, jump back down and aim you slingshot at the door you entered through. Above it there will be a target with an eye on it, get used to seeing these everywhere in this game, shoot it with your slingshot to make a ladder fall down so you can exit the room.
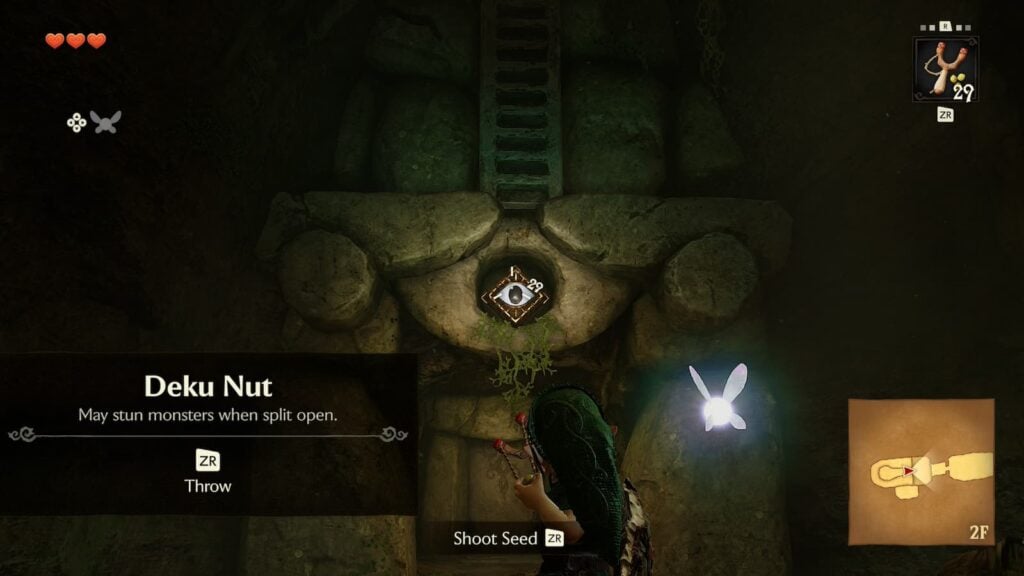
After exiting, make your way back to the dungeon’s central room.
Central Room Visit 2
Return the the treasure chest which contained the Dungeon Map and aim your slingshot at the skulltulas climbing on the vines. Defeat them all and then climb the vines to reach the dungeon’s third floor.
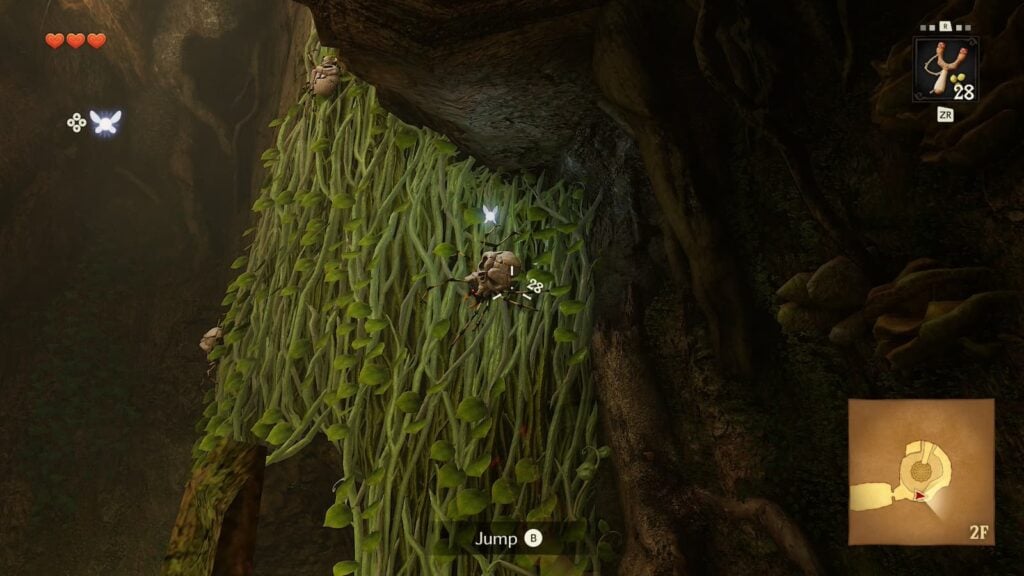
Make your way to the nearest door up here and a large skulltula enemy will drop from the cieling. To defeat this enemy, you’ll need to hit it with your sword once to make it spin around then strike the large blue weak point on its back twice to defeat it.
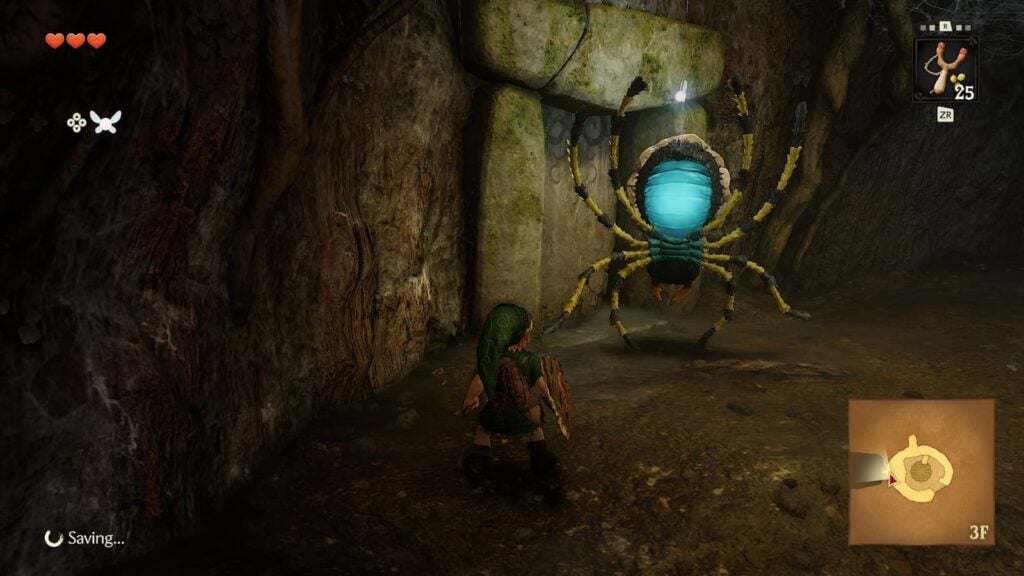
Once you haven beaten the large skulltula, enter the door to continue through the dungeon.
Room 4 – Compass
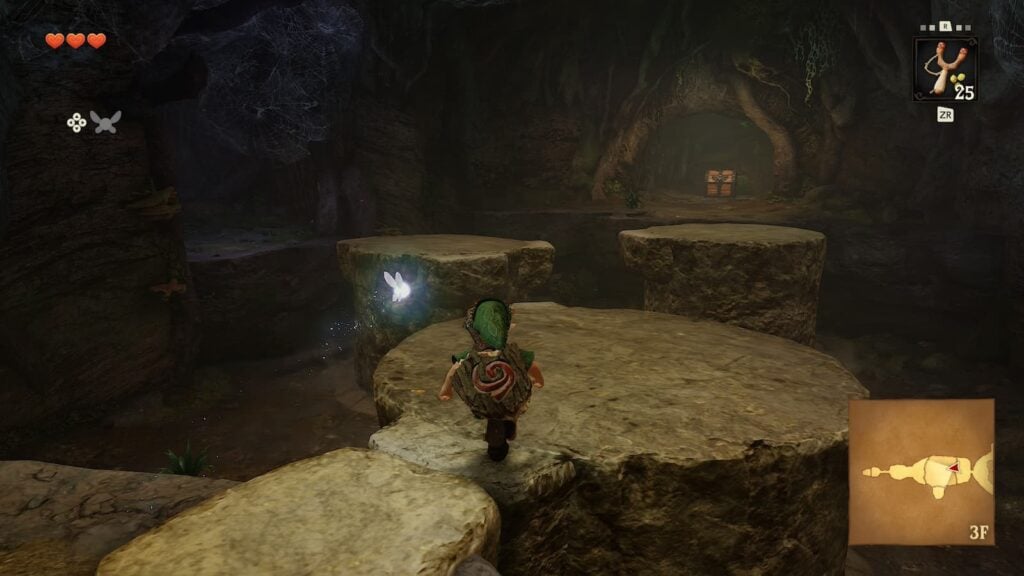
After entering the next room, immediately look to your right and you’ll see a switch that Link can jump on. Standing on this switch will cause the stone platforms in the middle of the room to rise, but they will only stay this way for a limited time in order to create a small platforming challenge.
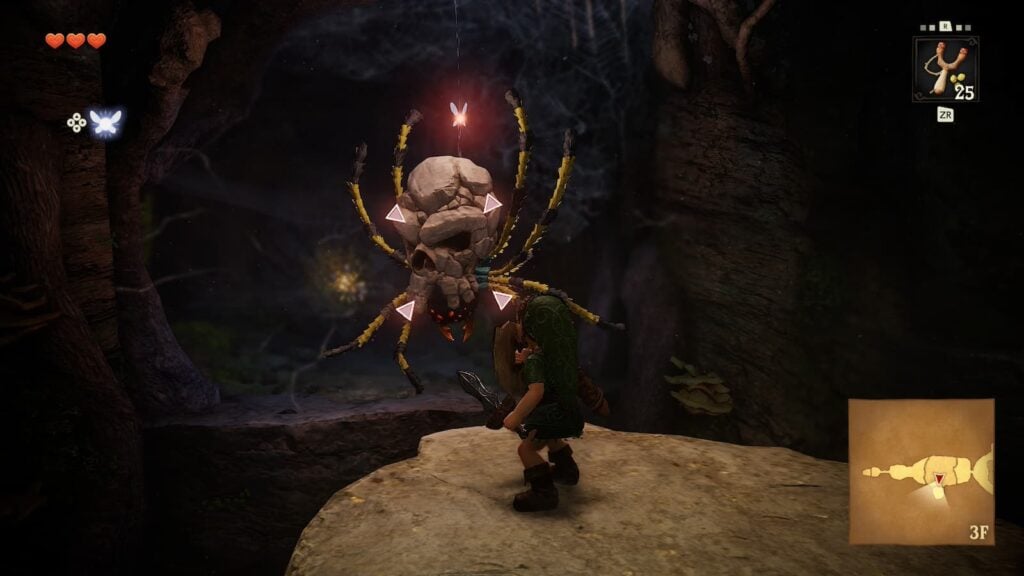
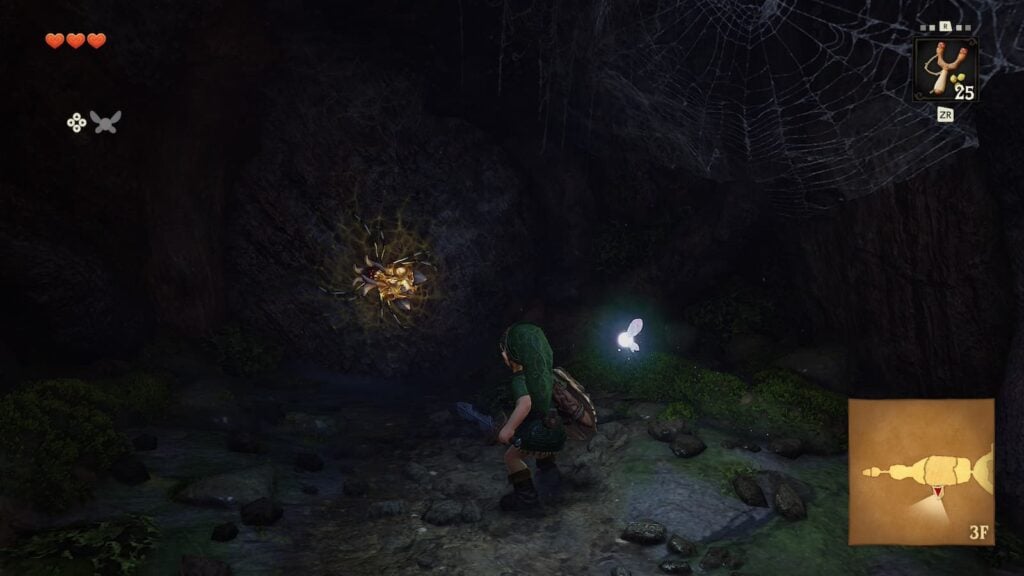
Jump toward the left side of the room and defeat the large skulltula that falls from the ceiling to reach an outcove. In this small outcove there will be a Gold Skulltula enemy, the first of many in the game. Defeat it and collect the token it drops. There will be several more in this dungeon so keep an eye out for them.
Return to the start of the room and stand on the switch to make the platform raise once again. This time, jump to the opposite side of the room and open the treasure chest here to obtain a compass. Compasses in Ocarina of Time will show you the location of every treasure chest in a dungeon.
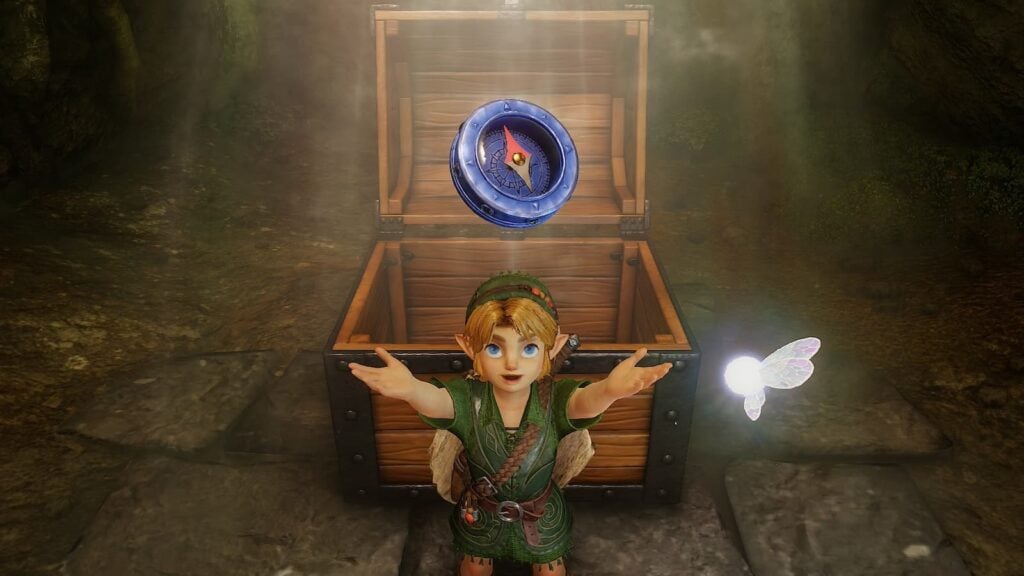
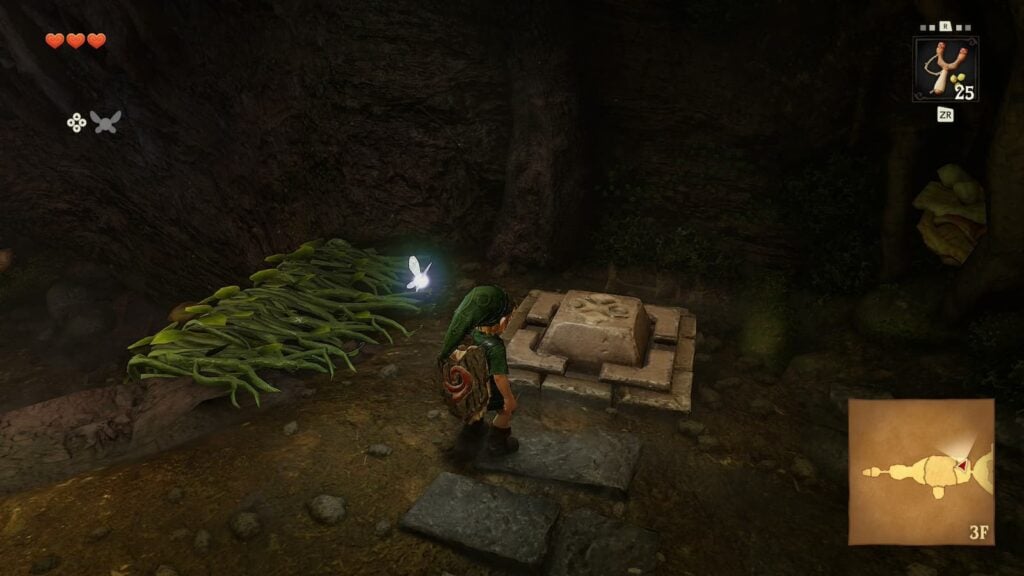
This compass will be getting immediate use as it shows that there is another treasure chest nearby. Cut the grass behind the chest that contained the compass and you’ll find a small hole that you can crawl through. This will lead to a small hidden room that has a treasure chest with three Deku Nuts in it.
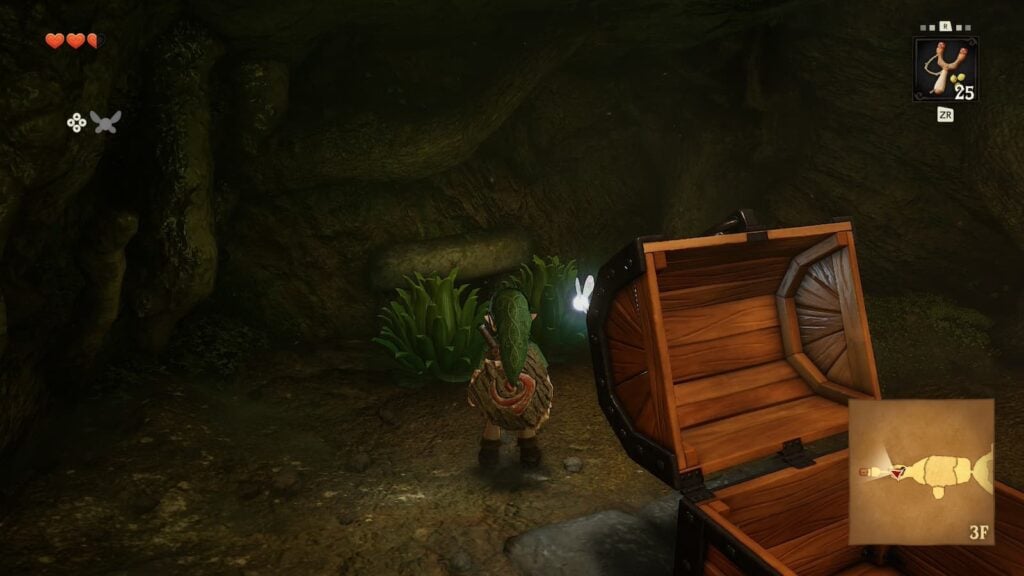
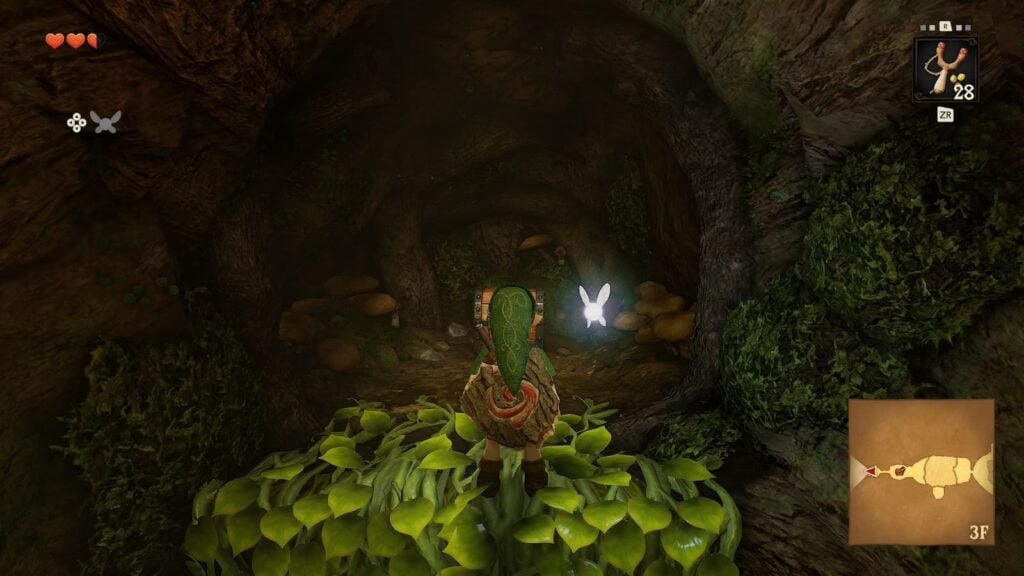
After collecting the compass and these Deku Nuts, return to the central room of the dungeon.
Central Room Visit 3 – Breaking Webs
Once you’ve returned to the central room, walk up the spiraling wooden third floor until you reach the very top. Here there will be a ledge, take a leap of faith and jump down to the large web on the floor in center of the room. The web will rip apart due to Link jumping on it from such a tall height.
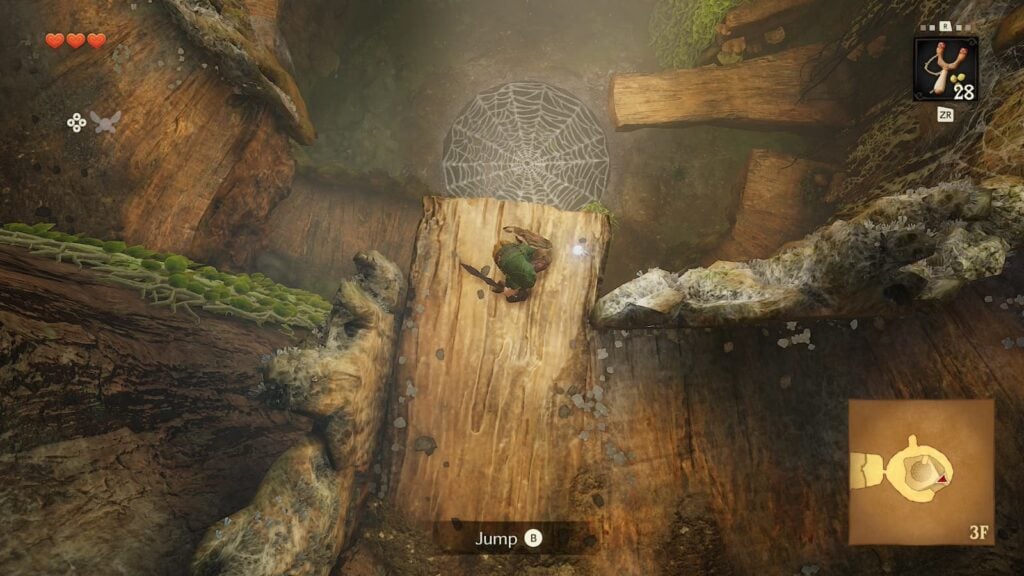
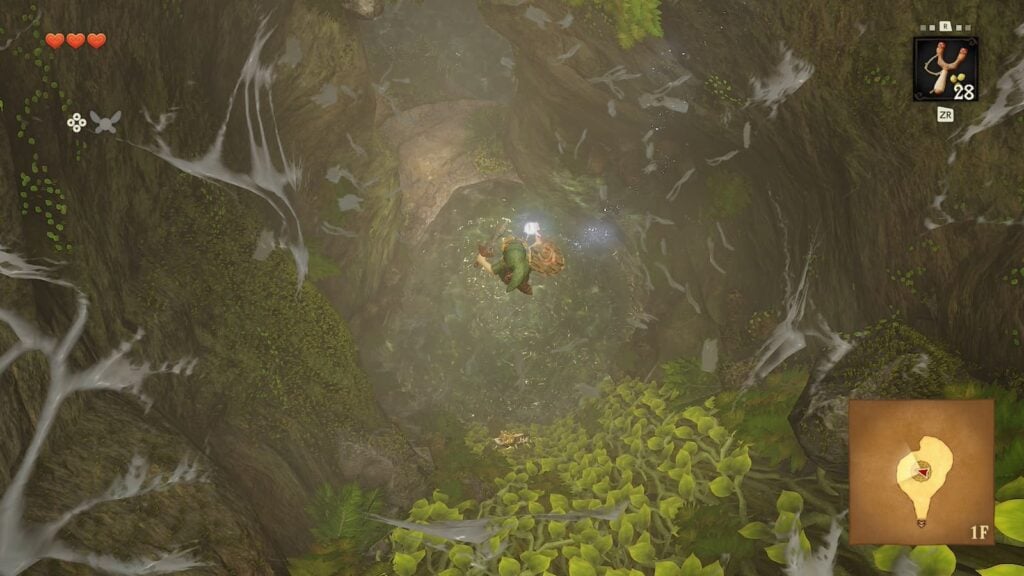
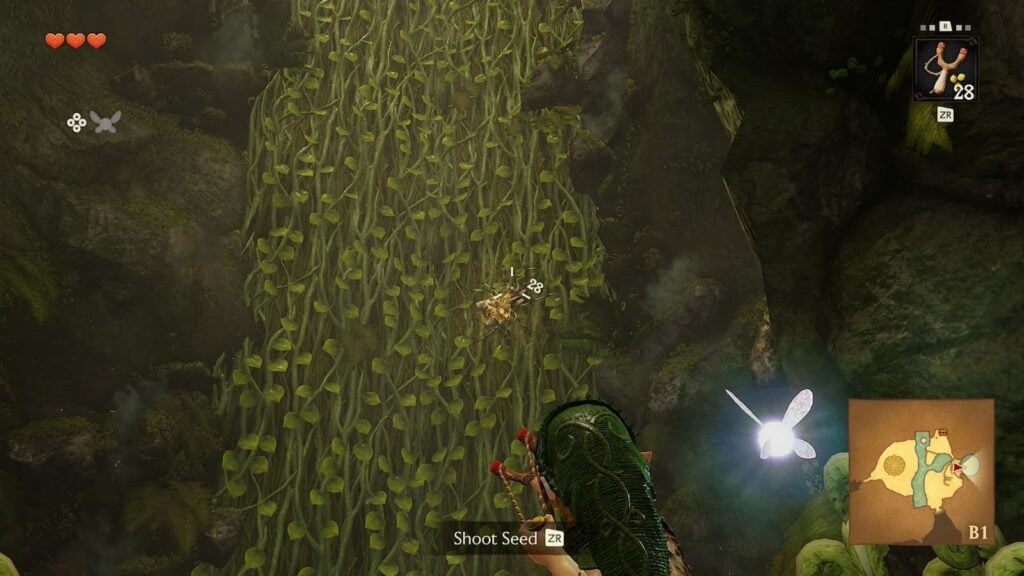
Upon landing, you’ll find yourself in a pool of water in the basement of the dungeon. Before moving on, turn around and aim your slingshot upward. Here you will see a Gold Skulltula climbing a vine. Shoot it and then climb the vine yourself to collect its token.
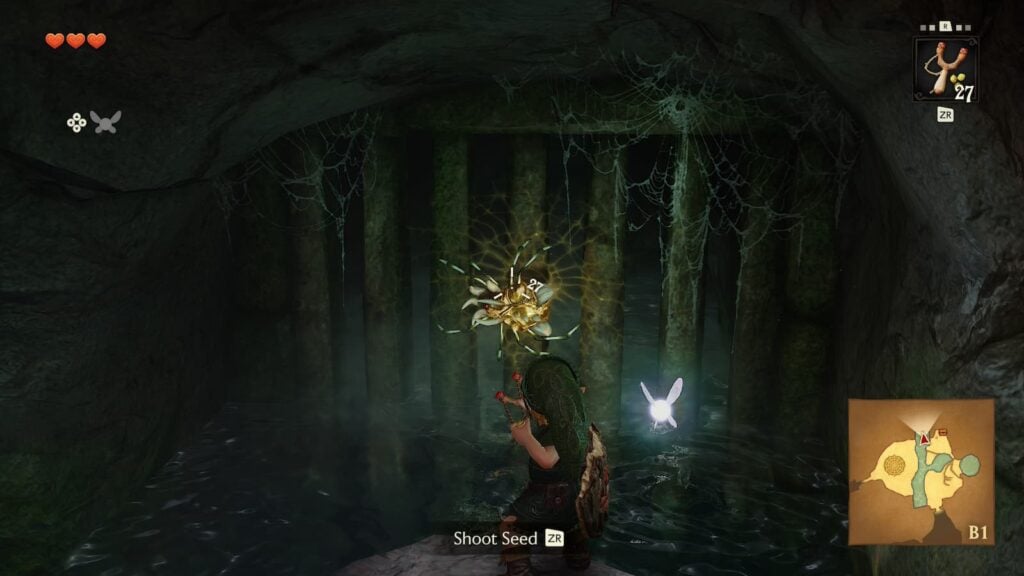
After that little detour, it’s time to make your way through the dungeon’s basement. To start, we’re going to jump on the small stone in the river that flows through the center of the room and pull out our slingshot to collect yet another Gold Skulltula.
After collecting that Gold Skulltula, climb the ledge on the eastern side of the room to find another switch that you can stand on. This switch will light a torch and set the nearby spider web on fire, allowing you to reach a treasure chest that contains three Deku Sticks.
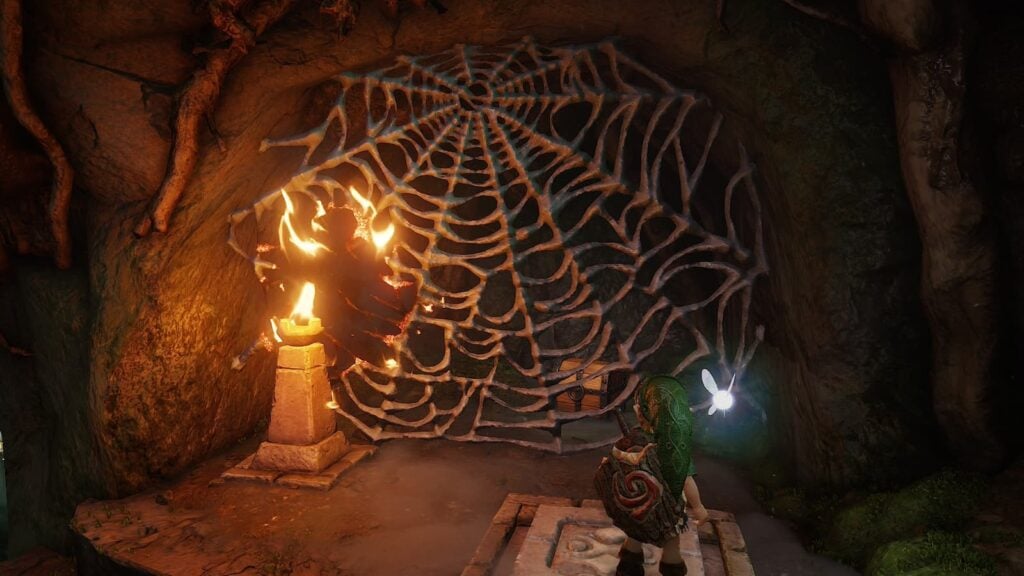
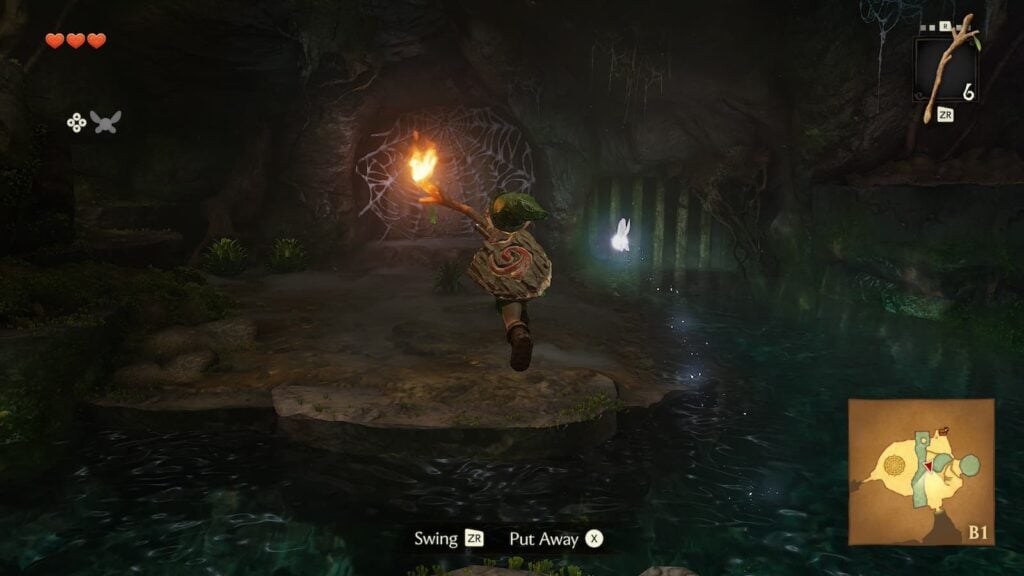
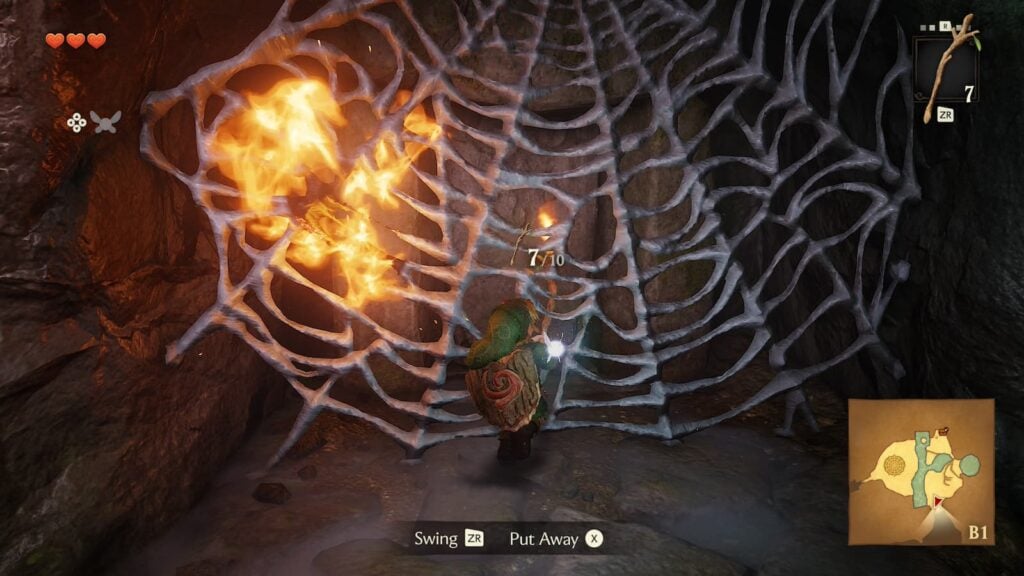
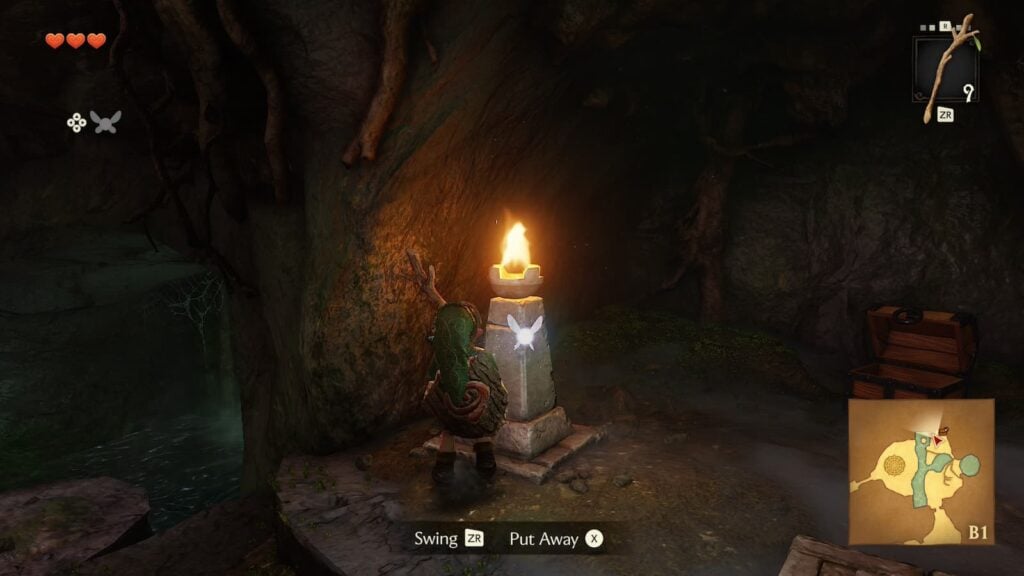
Equip a Deku Stick and run by the flaming torch with it. This will light your Deku Stick on fire. Once the stick has been set aflame, run to the west side of the room where you’ll find a door that has a large spider web in front of it. Walk by this web with the flaming deku stick and it will be set aflame, allowing you to reach the next room.
Room 5 – Deku Scrub 2
The next room you enter will be a small one with nothing more than a single Deku Scrub inside of it. Just as you did before, raise your shield to knock its nuts back at it and strike it with your sword to defeat it.
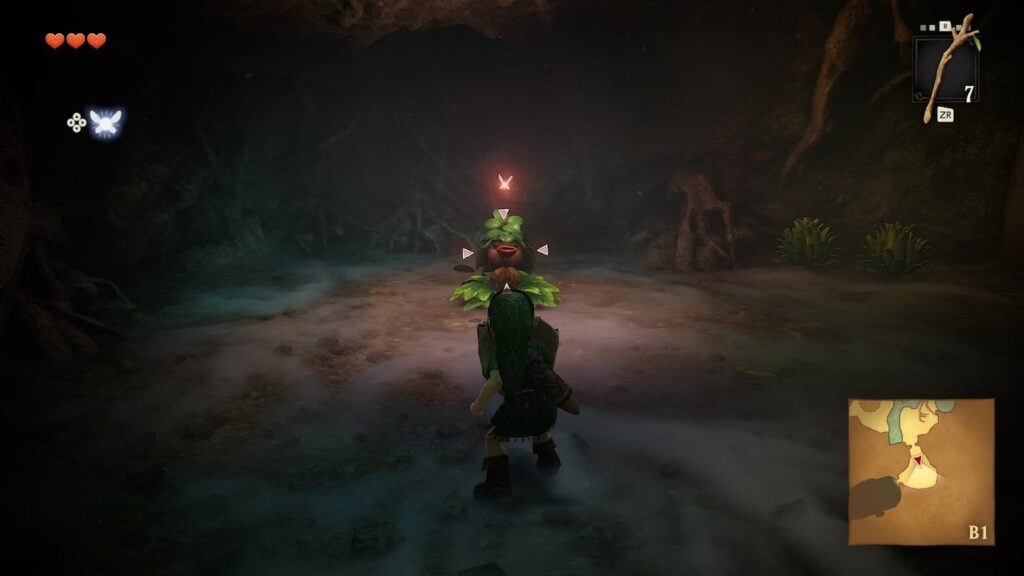
This Deku Scrub will give the player a very important hint for progressing the dungeon, so just remember “It’s as simple as Two Three One!” once the Deku Scrub has left, pull out your slingshot and aim above the next door. Shoot the eye-target here to progress.
Room 6
The next room will have a wooden platform floating in the water that you clear need to stand on to get to the other side, however there is also a spinning spike in the room which the platform passes directly under, making said progress impossible for now.
To get through this room, jump into the water and look for a switch. Press the dive button to make Link touch this switch and an aqueduct will open, draining most of the water in the room.
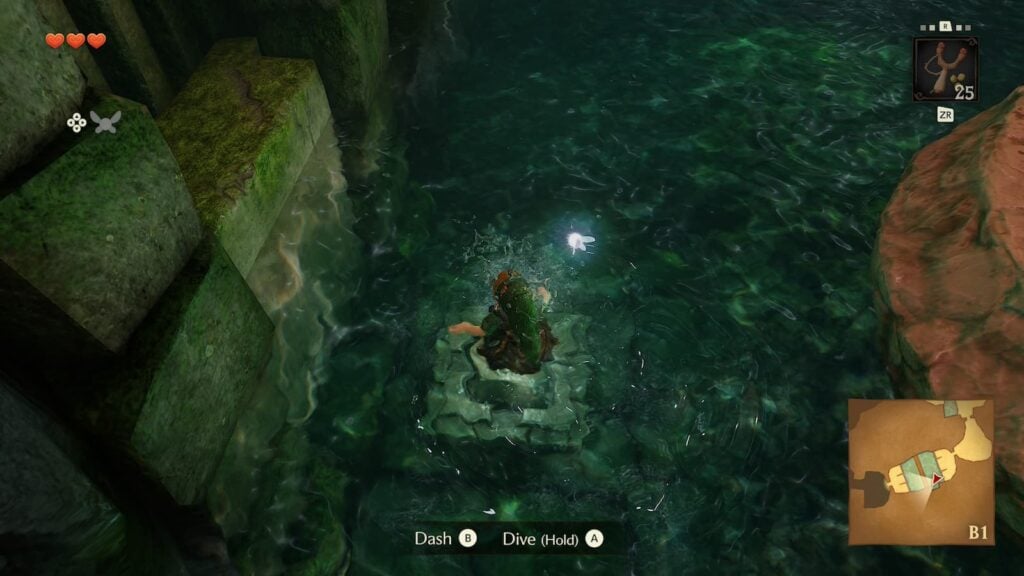
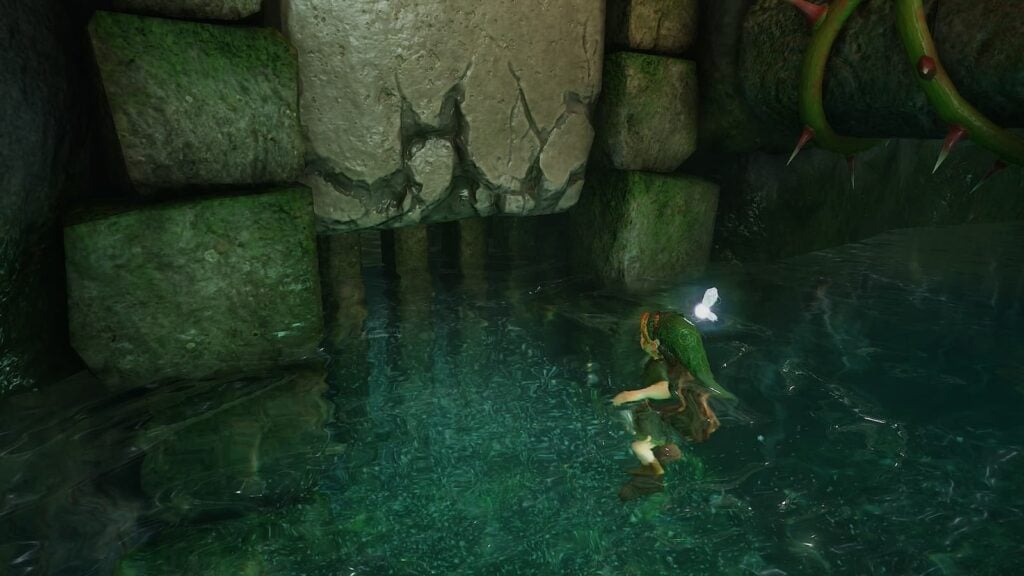
With the water drained, you can easily jump onto the floating platform and make your way through the next door.
Room 7
When you enter the next room, there will immediately be a large skulltula blocking a ledge. Defeat this skulltula and then push the block to your left underneath the ledge so you can climb the block and then jump onto the ledge itself.
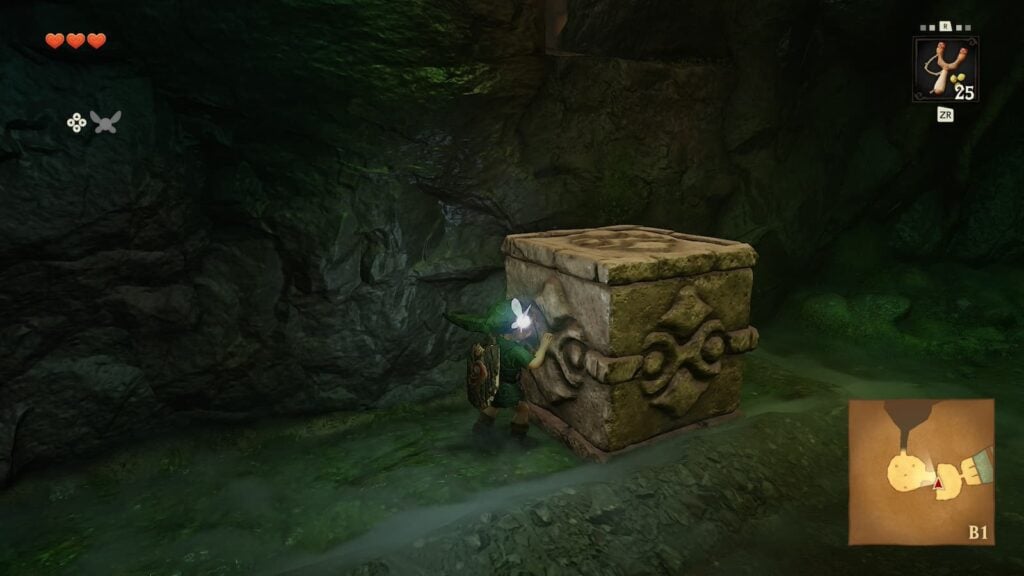
This will lead you to a small circular area where there will be one lit torch surrounded by four unlit torches. Similar to the web puzzle a few rooms ago, you’ll need to equip a Deku Stick and light it on fire with the lit torch. Once the stick has been lit, run around the unlit torches to set them on fire.
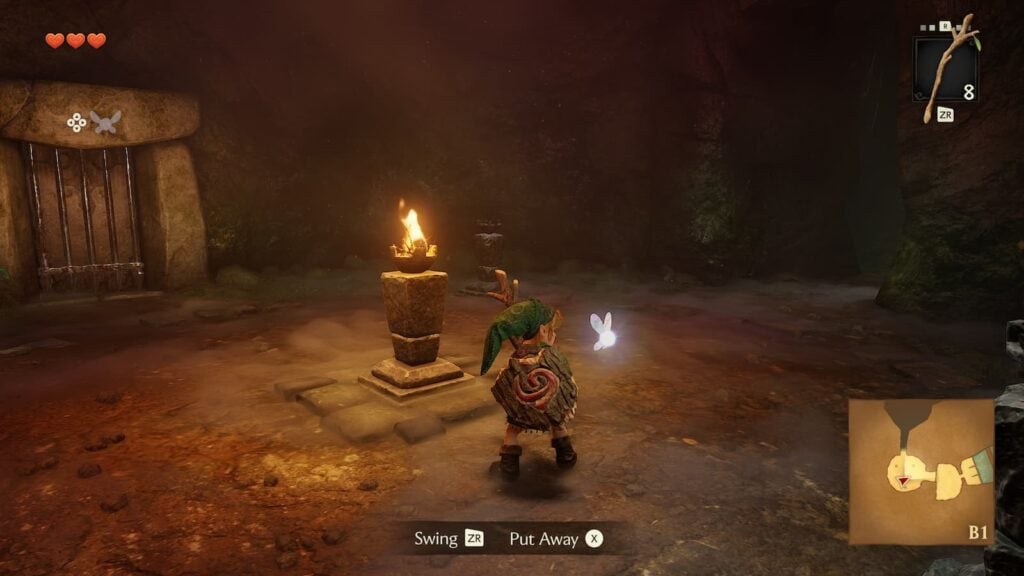
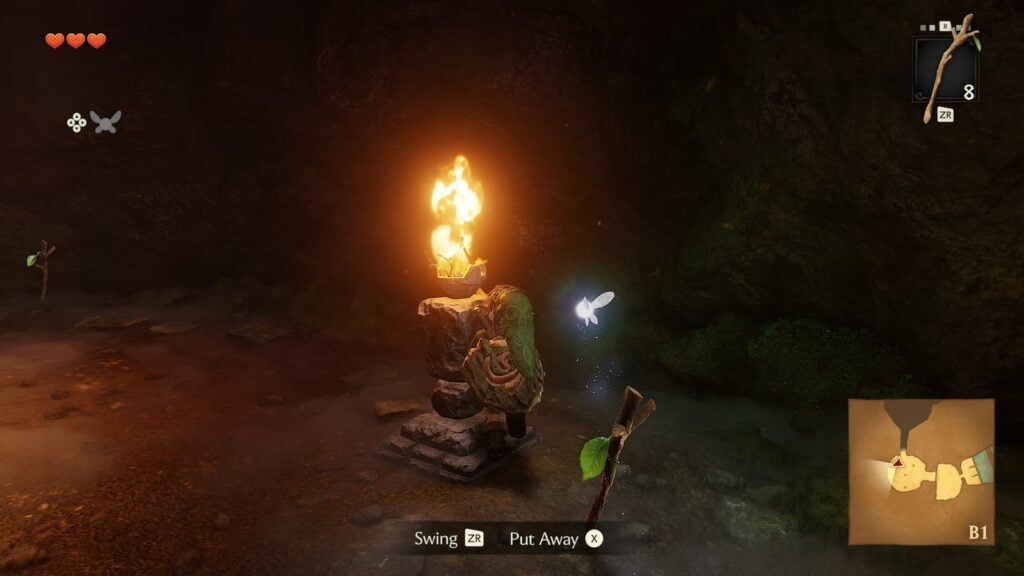
Once all of the torches are lit, the door to the next room will unlock and you’ll be able to progress.
Room 8
When entering the next room there will immediately be a large skulltula in your path. You’ve gotten used to beating them by now, so it won’t be any trouble. Upon entering the center of the room though, three eggs will fall from the ceiling. These eggs can be destroyed in a single sword slice, but if they’re left around too long they’ll hatch into Gohma Larva enemies.
After defeating the Gohma Larva, use the torch in the center of the room to light another Deku Stick on fire. Run toward the web on the left side of the room and light it on fire to read a small outcove where there will be another Gold Skulltula to defeat and collect the token of.
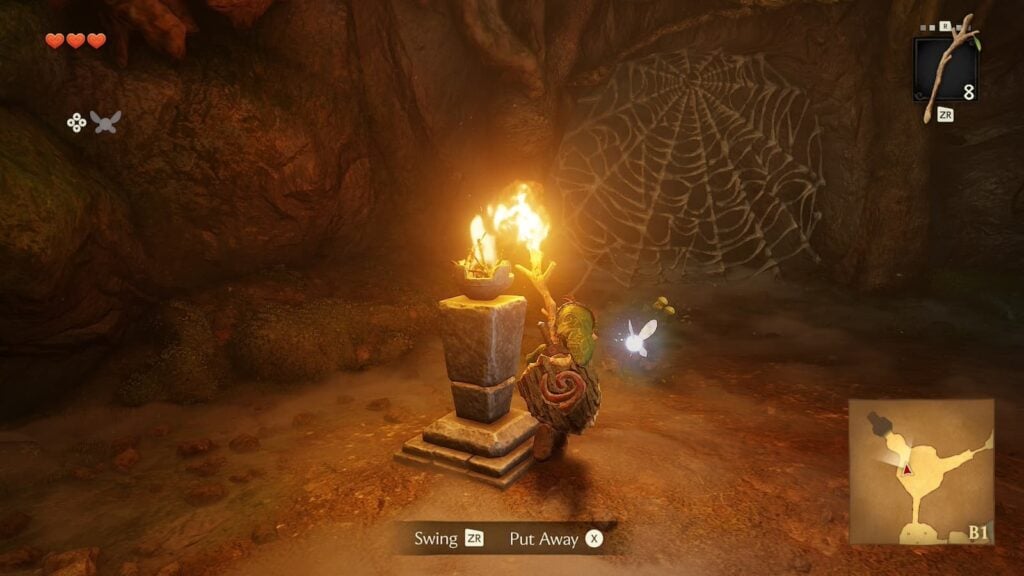
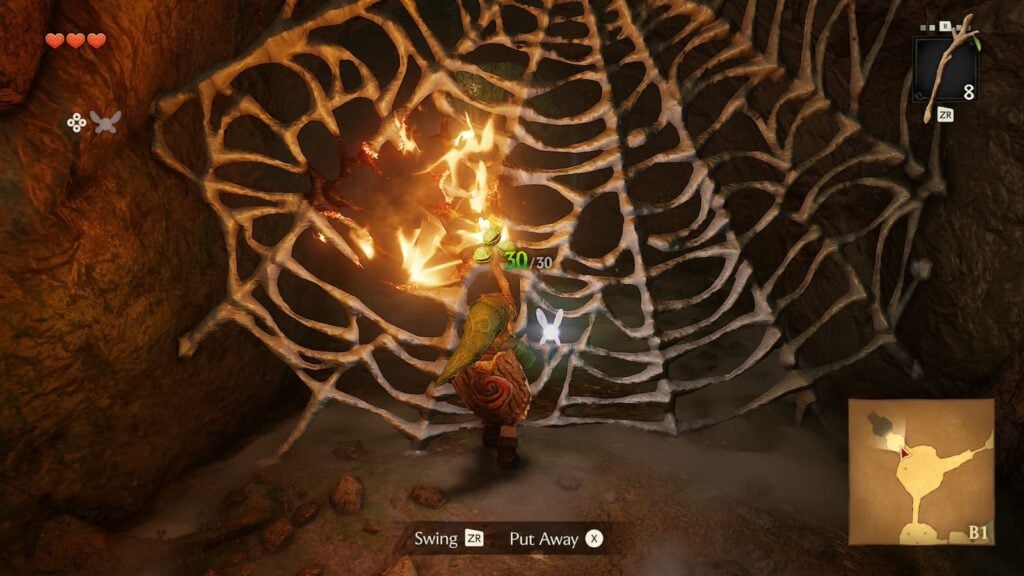
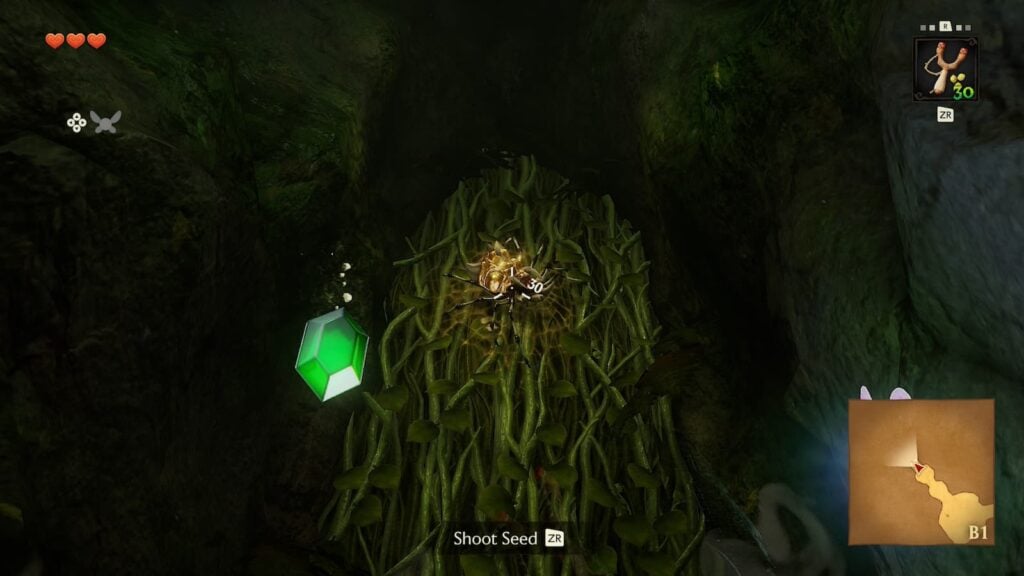
After defeating that Gold Skulltula, make your way back to the room and this time light the web on the right side of the room on fire. This will reveal a small hole that you can crawl through to reach a higher ledge in the basement area of the dungeon’s central room.
Central Room Visit 4
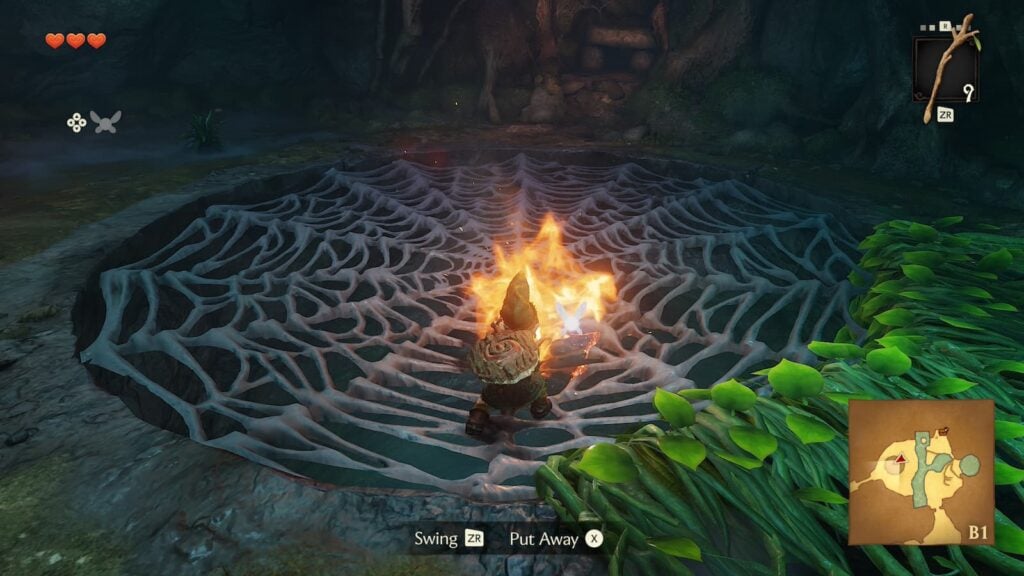
On this new ledge of the central room you’ll spot a large web on the ground. Unlike the previous one, we won’t be breaking this one by jumping on it. Instead, push the large block in this room off the ledge in order to create an easy path between both parts of the room.
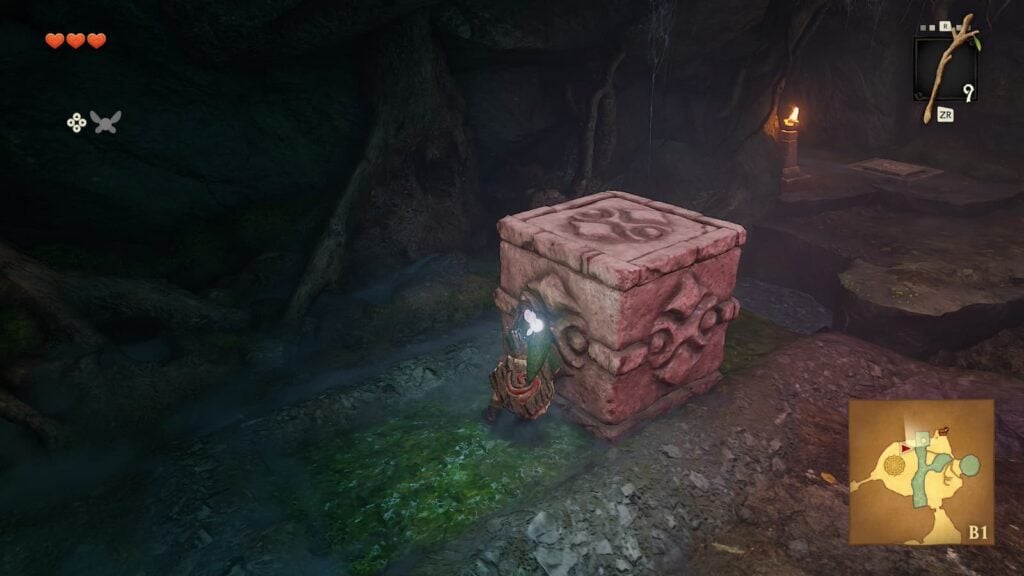
Now that you can easily get back to the part of the room you were at earlier, pull out another Deku Stick and run on over to the torch you used earlier to set it on fire. With the stick now set aflame, jump up the block that you pushed down and swing the Deku Stick over the web that’s on the ground to light it on fire and drop down to the second basement floor.
Room 9 – Deku Scrub Brothers
You’re almost through the dungeon, just one puzzle room left. After dropping down the hole, you’ll be confronted with three different Deku Scrubs all shooting at you simultaneously. These Deku Scrubs can be countered like the previous ones, but in order to progress you’ll need to hit them in a specific order.
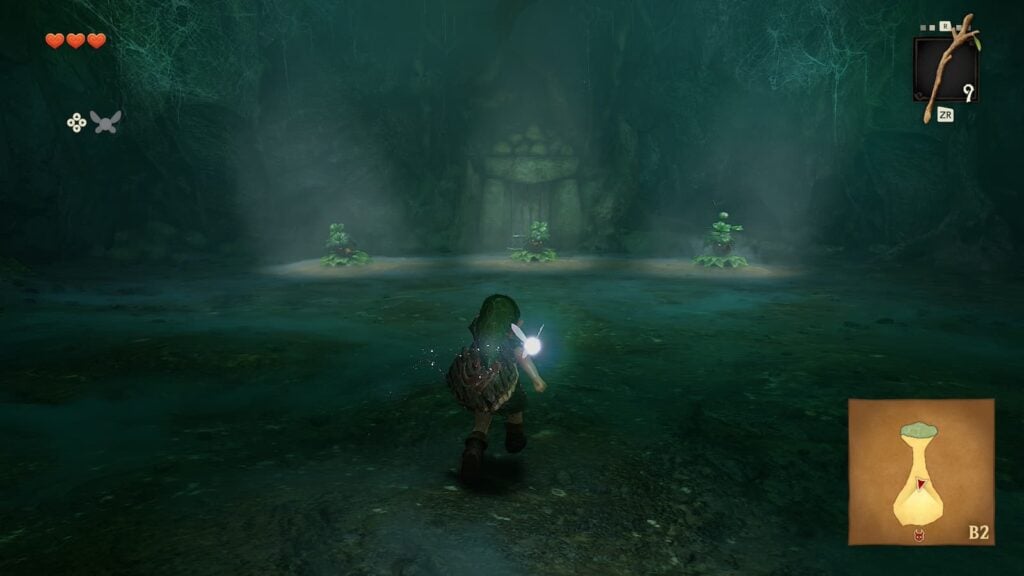
You were already given a major hint on the order you’ll need to defeat these scrubs earlier in the dungeon, but just in case you need a refresher, defeat them in this order:
- The Middle Deku Scrub
- The Right Deku Scrub
- The Left Deku Scrub
After countering the final Deku Scrub and striking him with your sword, the doorway to the dungeon’s boss room will open.
Boss Room – Gohma
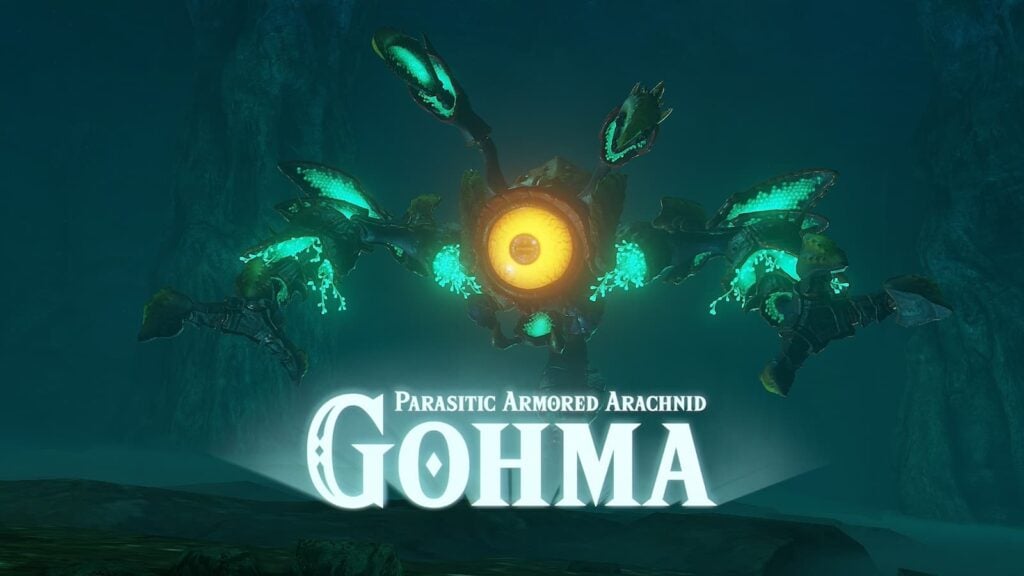
It’s time for the game’s first boss: Gohma! Gohma is a tutorial for the concept of boss fights so it won’t be too difficult. Gohma has two types of attacks: Swiping at you with its claws and climbing on the ceiling to drop Gohma Larva eggs which will hatch and attack you.
Attempting to strike Gohma with your sword will simply result in your attacks being blocked. In order to hurt Gohma you’ll first need to stun it in one of two ways. The first is pull out the slingshot you obtained in the dungeon to shoot its eye whenever it turns green.
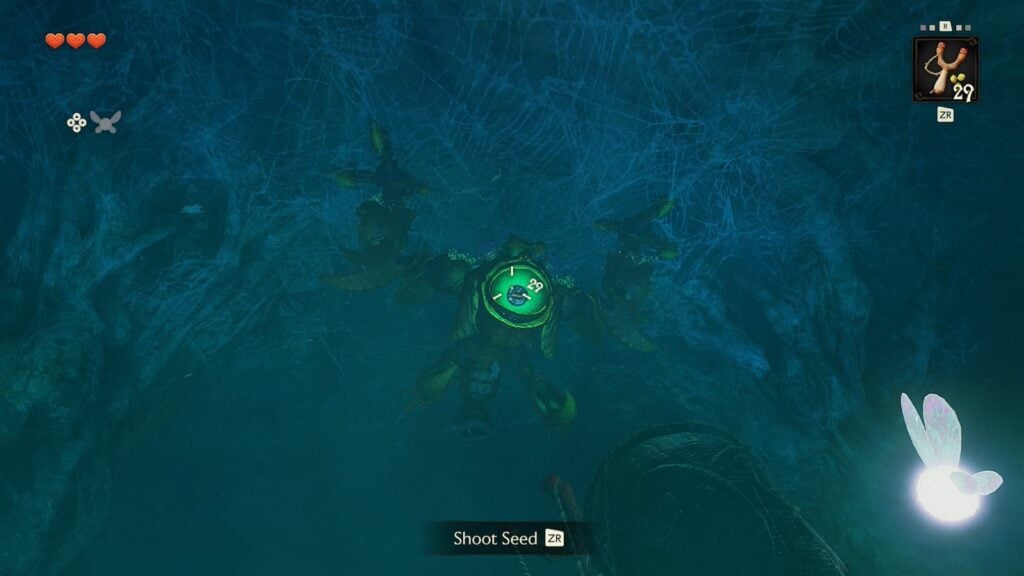
The second way to stun Gohma is to use a Deku Nut whenever its eye turns red as its attacking you. The flash of the Deku Nut will immediately stun Gohma and leave it open for you to attack.
When Gohma is stunned, it is completely vulnerable to strike from your sword or Deku Sticks. After Gohma has been attacked ten times, it will be defeated. Collect the Heart Container that drops after Gohma explodes and exit through the portal that spawns to finish the dungeon.
After the cutscenes that follow it will finally be time to begin your quest and head toward Hyrule Castle.