Want to see Raider King content first? Add us as a preferred source.
During the second half of the Ocarina of Time Remake you may get so used to playing as Adult Link that you’ll forget what it was like to be a scared child. Luckily for you, the game is glad to remind you of that during the build-up to the Shadow Temple. As in order to reach the Shadow or Spirit Temples you’ll need to acquire an item that’s only available in a mini-dungeon which is exclusively available to Child Link. If you’ve reached this dungeon but can’t find where to go over all of the invisible pitfalls, feel free to consult this walkthrough for the Bottom of the Well dungeon in the Ocarina of Time Remake.
Reaching the Bottom of the Well
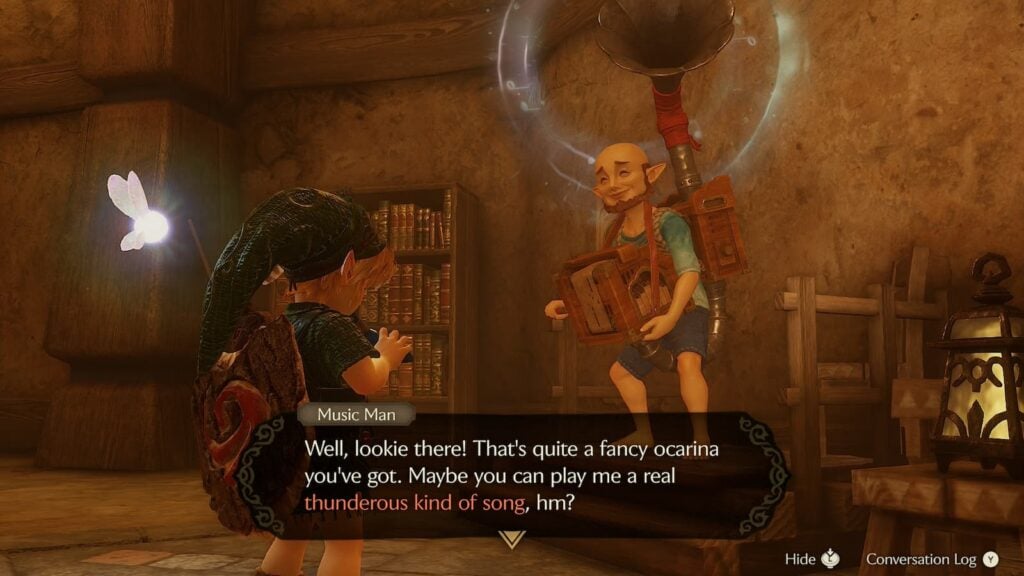
When visiting the Kakariko Village well as a child, you’ll immediately notice that it’s filled with water far too deep to dive into. You’ll need to drain the well to progress. Luckily, that won’t take more than a minute to do if you’ve already learned the Song of Storms.
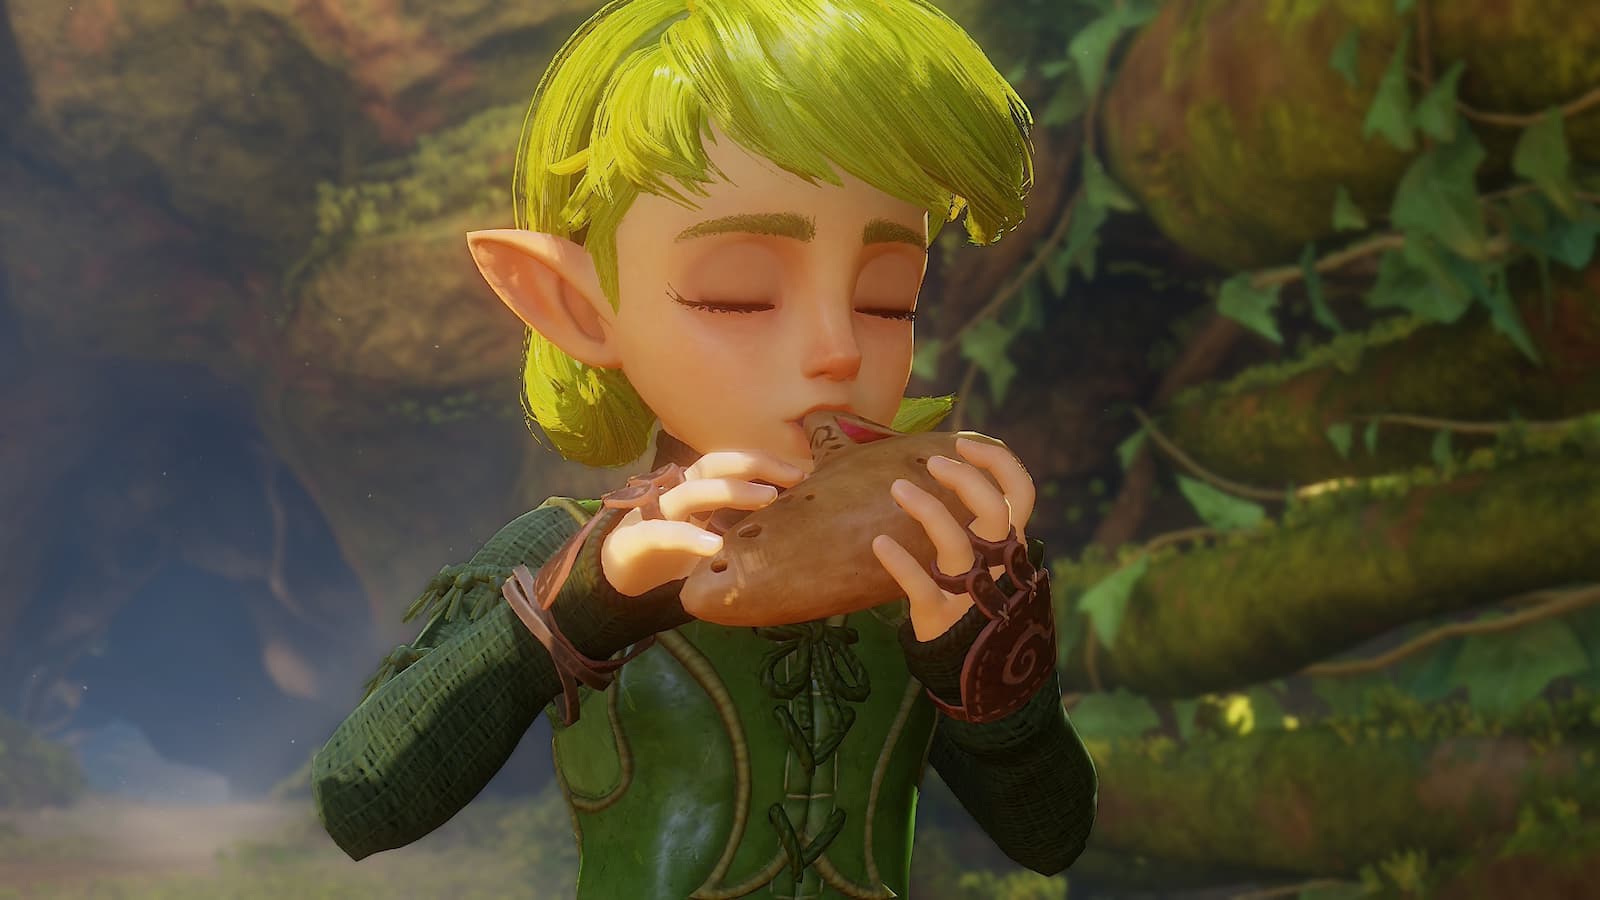
Make your way to the Kakariko Windmill and pull out your ocarina. Play the Song of Storms for the windmill man to both ruin his life and speed up the windmill. Due to the speed that the Windmill is spinning, the water in the well will drain completely.
With no water in the well, you can jump down there and crawl through the hole, beginning the dungeon.
Central Room
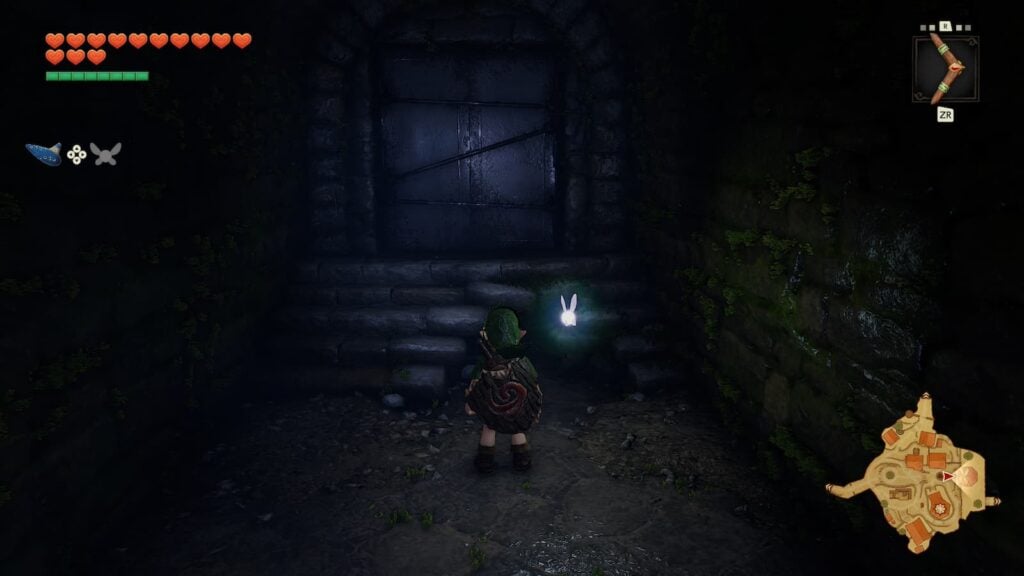
When you first crawl into the well, you’ll be met with what seems to be a dead end as all you’ll see at the end of the hallway is a brick wall. However, if you continue walking forward you’ll pass right through the stone wall and make it to the central room of the dungeon.
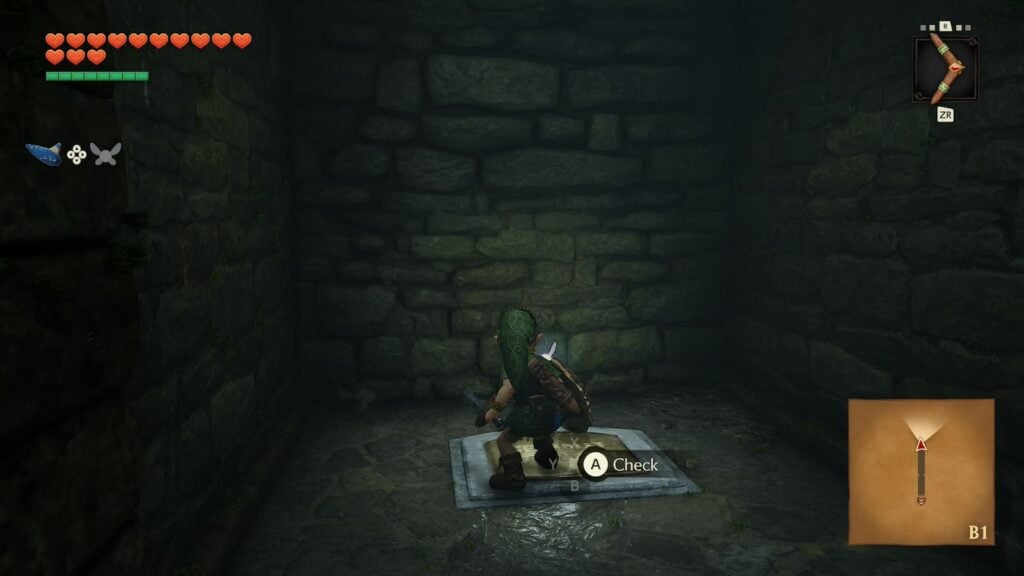
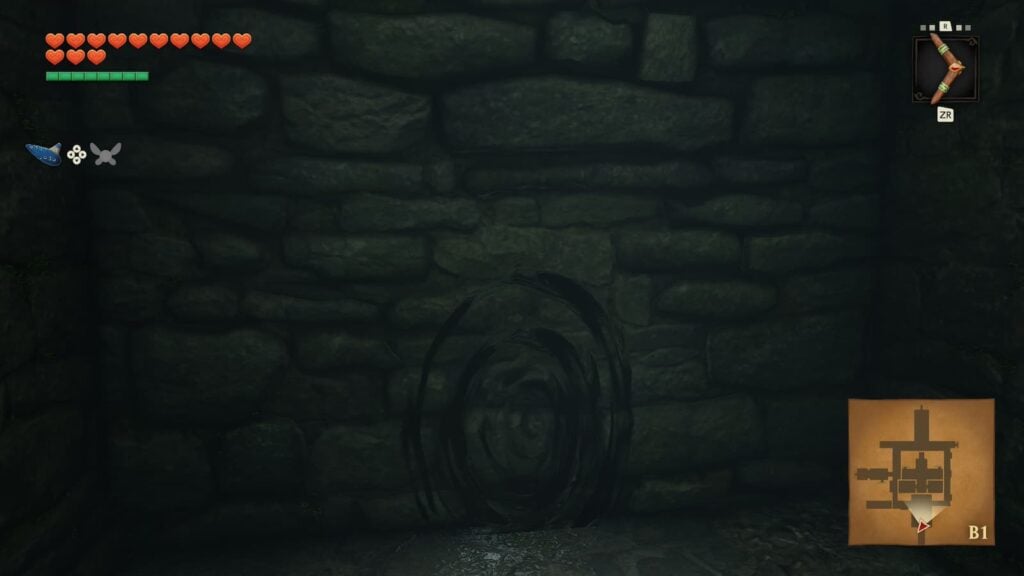
Navigating the well will be next to impossible currently as not only are there multiple invisible passages like the one we just went through, but there are also multiple pitfalls designed to send you to the basement floor. For now, stick close to the center of the room to avoid those pitfalls and make you way to the northern edge of the central room.
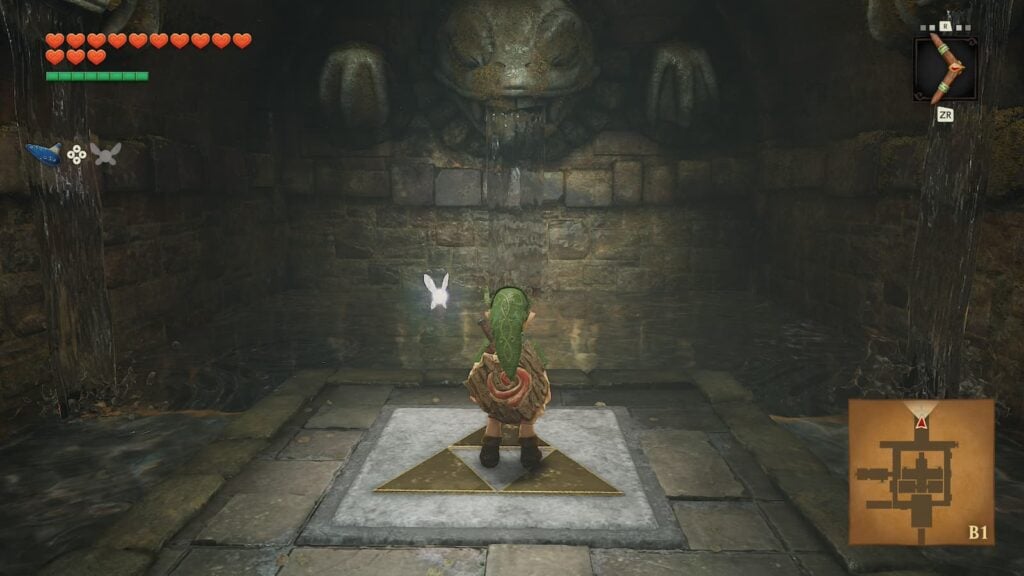
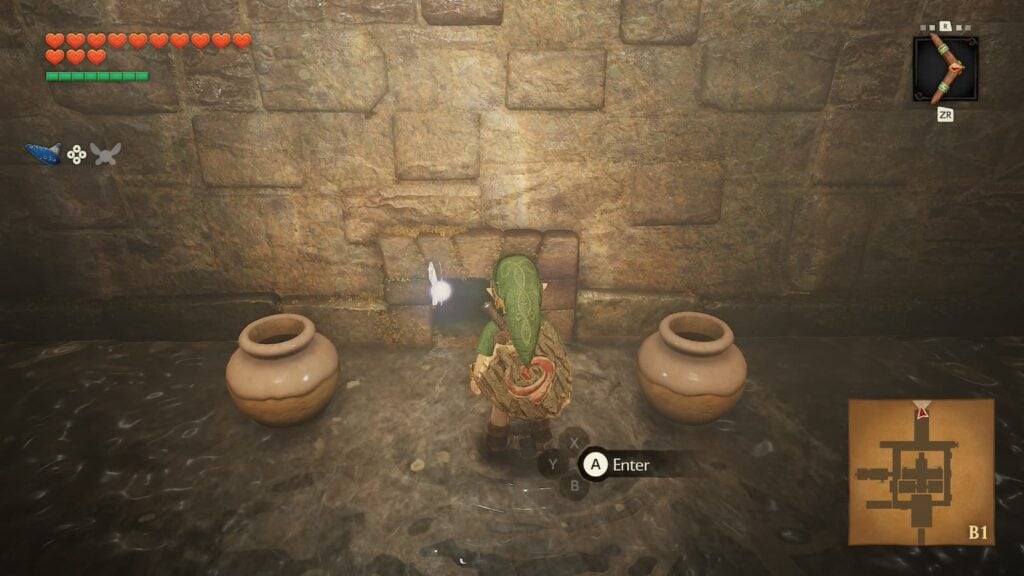
Here there will be a Triforce symbol engraved on the ground. Play Zelda’s lullaby to lower the water in front of you then crawl through the small hole that’s revealed this way.
Room 2 – Lens of Truth
Enter the next room and there will be a treasure chest directly in front of you. Sadly you won’t be able to grab it as you’ll fall right through the floor and end up in a strange room where a ghastly pale hand will be sticking out of the ground.
This will be your first encounter against the Dead Hand miniboss. Dead Hand’s main body won’t appear unless he either grabs you or you can defeat all of his hands without being grabbed. Once his main body appears, you’ll need to wait until he’s attacking you to strike him with your sword, as only his head is vulnerable.
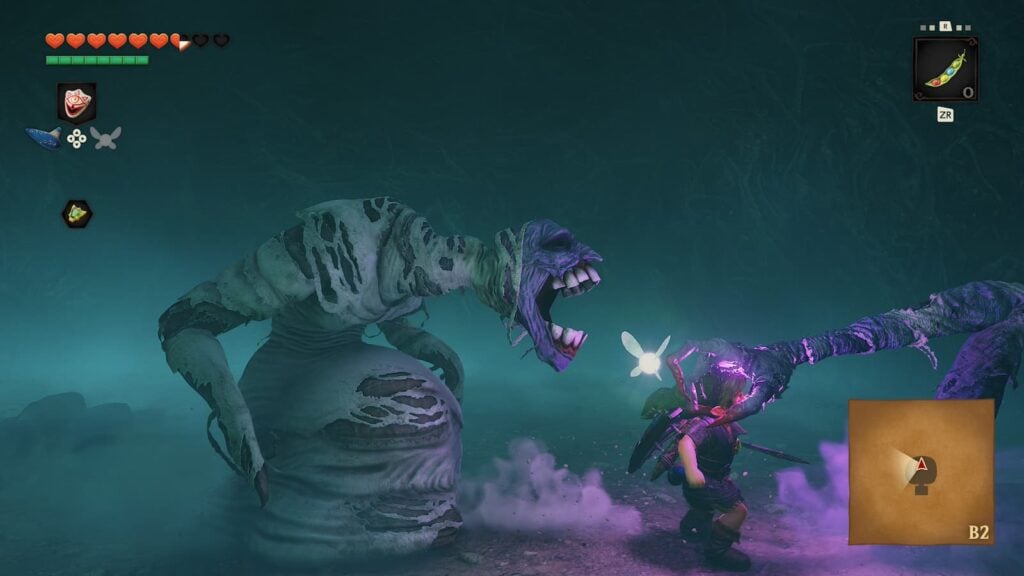
Once you have conquered your fear and defeated the Dead Hand, a large treasure chest will appear. Open it and you’ll find the Lens of Truth. This handy item will allow you to see the truth, revealing the hidden passages and pitfalls that you couldn’t see before, but only while you still have magic meter remaining.
The Lens of Truth is the only required item you need from the Bottom of the Well, as the area has no boss or heart containers, meaning that you may leave now if you wish. However, there are Gold Skulltulas and treasure chests here still so we shall continue this walkthrough to collect them.
Equip the Lens of Truth and you’ll find a hidden passage in the area leading to a ladder to return you to the first floor. Keep them equipped as there will also be an invisible treasure chest in the area containing a purple rupee.
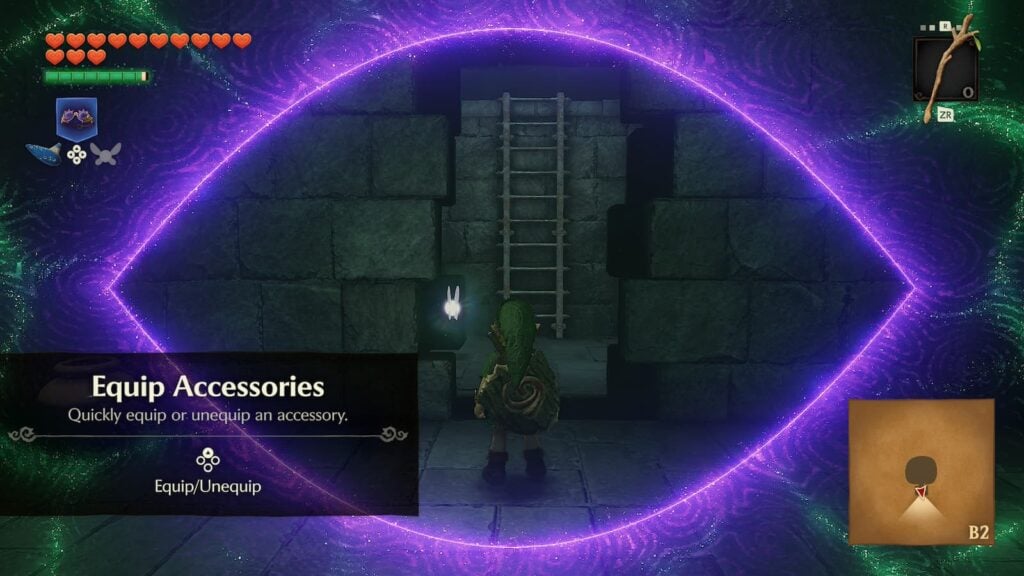
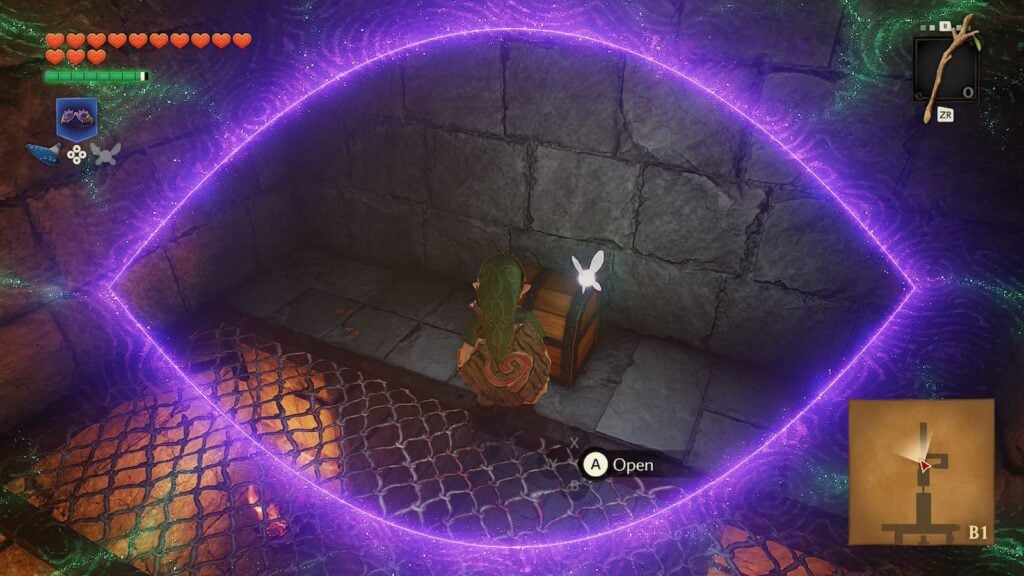
From here, you will be able to return to the central room.
Central Room Visit 2
With the Lens of Truth equipped, we’re now going to intentionally look for a pitfall in the central room and jump down it. That may seem like a bad thing but trust me on this
Room 3 – Dungeon Map
When you land in the dungeon’s basement, a small cutscene will play as this will be the player’s first experience with a Silver Rupee door. When this door activates, five silver rupees will scatter throughout the basement. Collect all five of them and the door will unlock, revealing a staircase back to the central room.
If the Redeads in this area are giving you any trouble, simply play the Sun’s Song to stun them all and strike them down with your kokiri sword. All five silver rupees are in plain sight near the door.
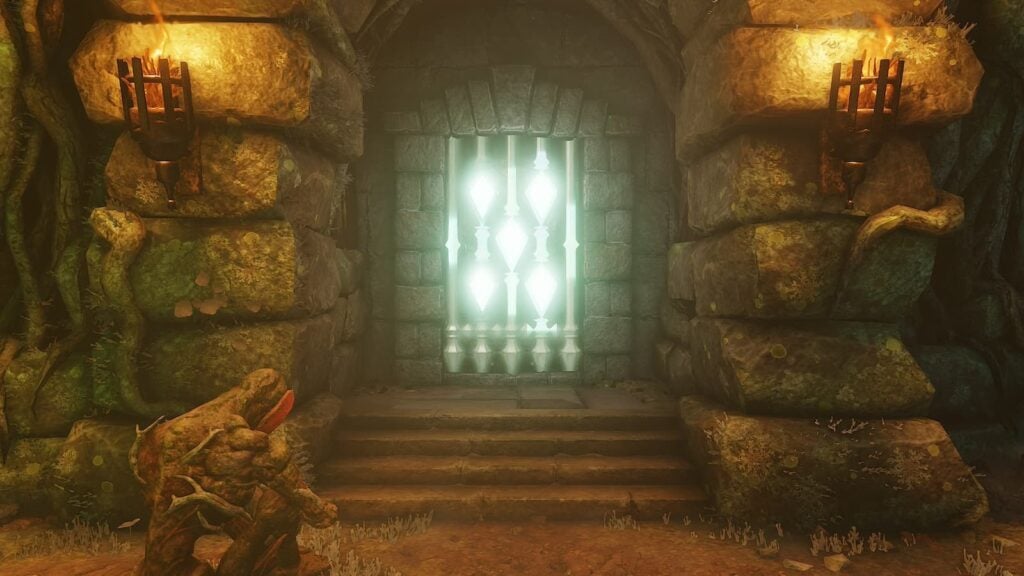
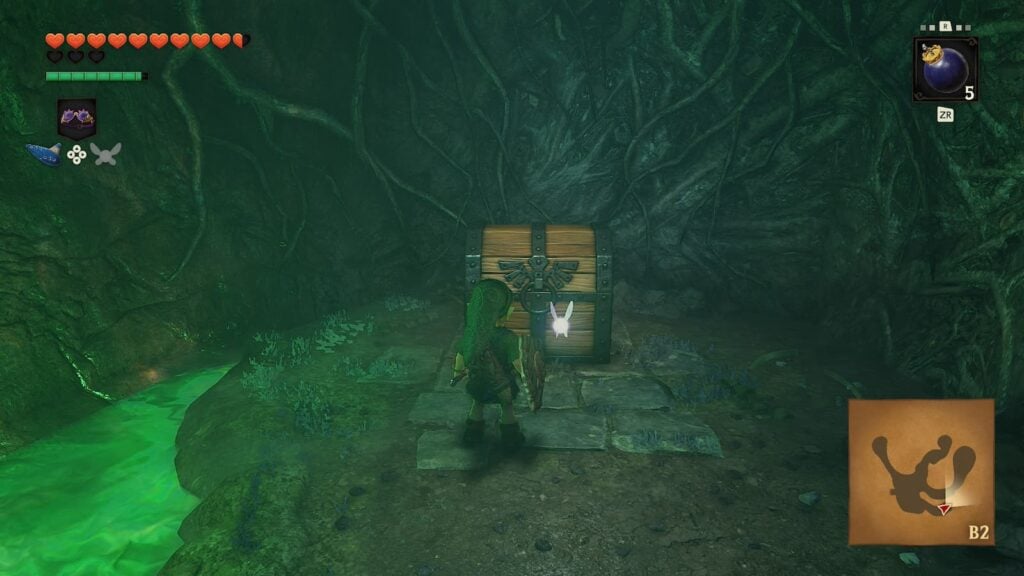
Before we go back though, bomb the rocks by the eastern part of the room. Here there will be a large treasure chest containing the dungeon’s map, which is very vital when half of the dungeon is invisible. After collecting the map, make your way back to the central room.
Central Room Visit 3
When you return to the central room, look to your left. Here you will see a pool of water that you can dive down to reach a metal grate that you can climb.
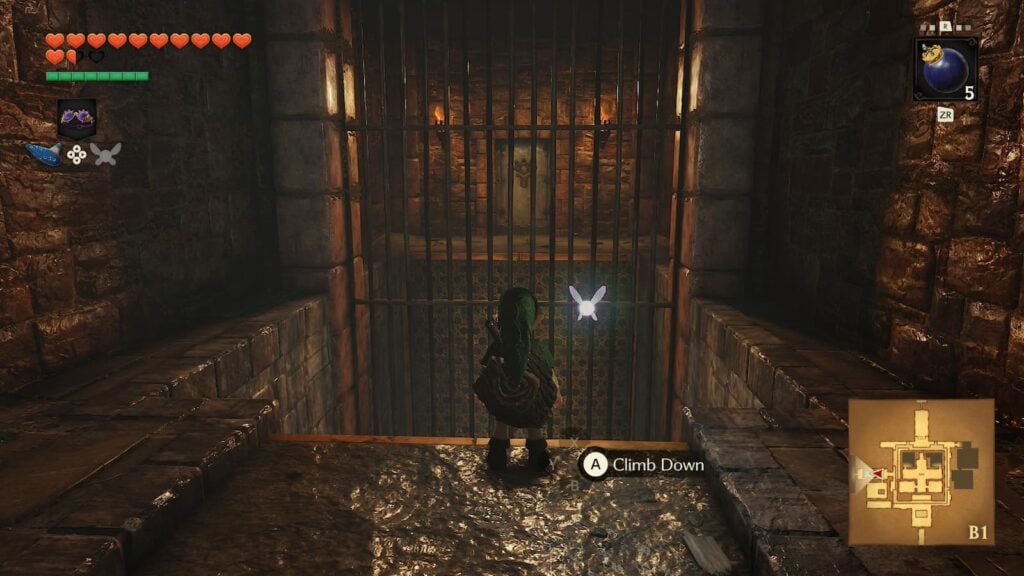
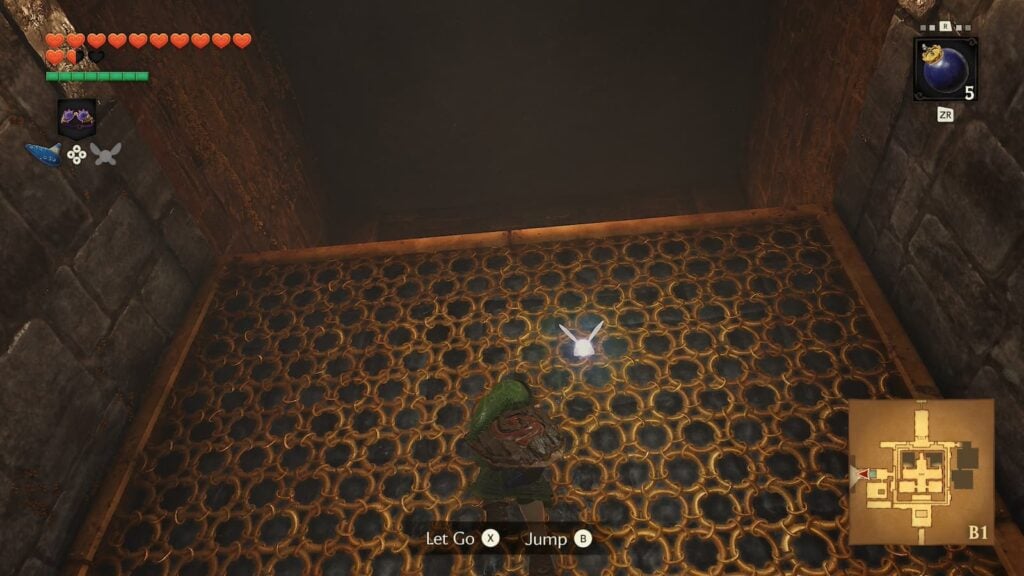
Go up this grate and open the door that it leads to.
Room 4 – Small Key 1
In this room you will meet a Gibdo, a stronger variant of the Redead enemies. Despite that, Gibdos are just as easy to take care of as their zombie counterparts as playing the Sun’s Song will stun him, leaving him completely open to sword strikes.
After defeating the Gibdo, take out a Deku Stick and use one of the nearby torches to set it aflame. With the stick on fire, run by the webbed-up coffin near the wall and burn it open. Inside of here you will find of the dungeon’s two small keys.
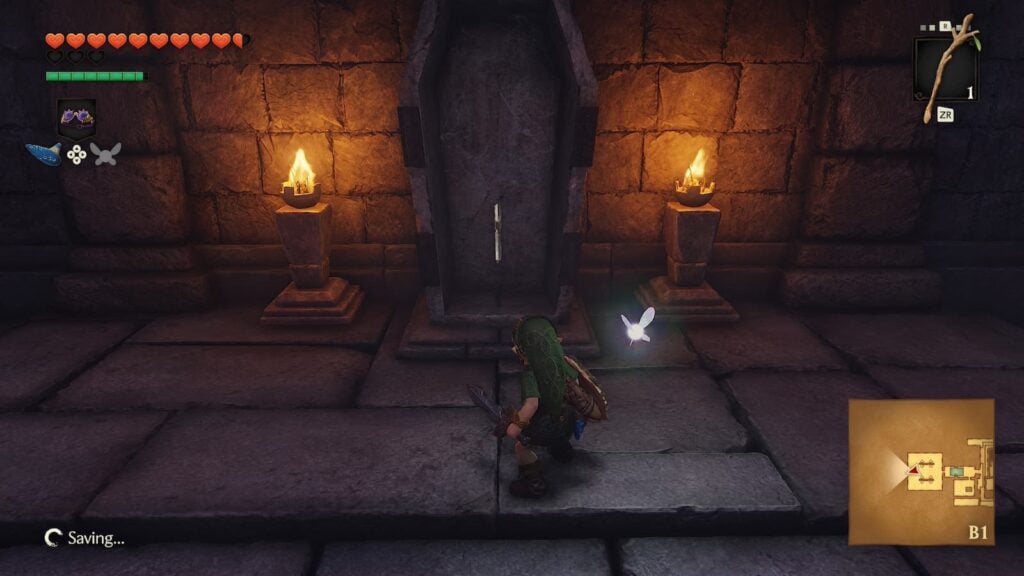
After picking up the key, return to the central room
Central Room Visit 4 – Compass, Small Key 2
Keep your Lens of Truth equipped as you return to the central room. On the left side of the large square structure in the center of the room you’ll find a large hole in the wall that you can only view with the lens equipped. Jump through this whole and you’ll find a large treasure chest with the mini-dungeon’s compass.
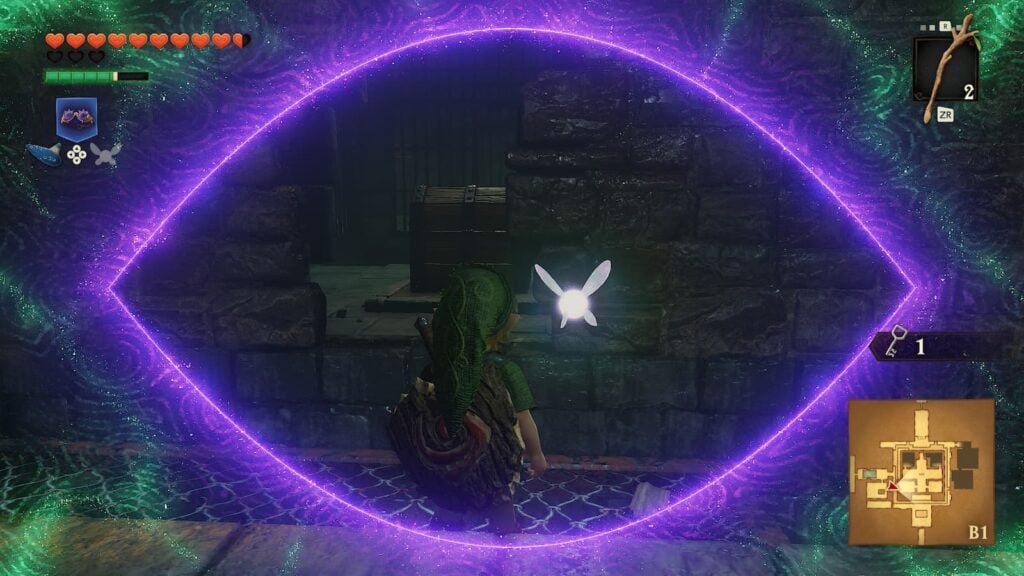
With both the dungeon map and the compass, you’ll have a very easy time navigating the rest of the dungeon. Make your way to the other side of the central room and equip the Lens of Truth again. This will reveal a small outcove in the central structure which has a small chest, inside of which is the dungeon’s second small key.
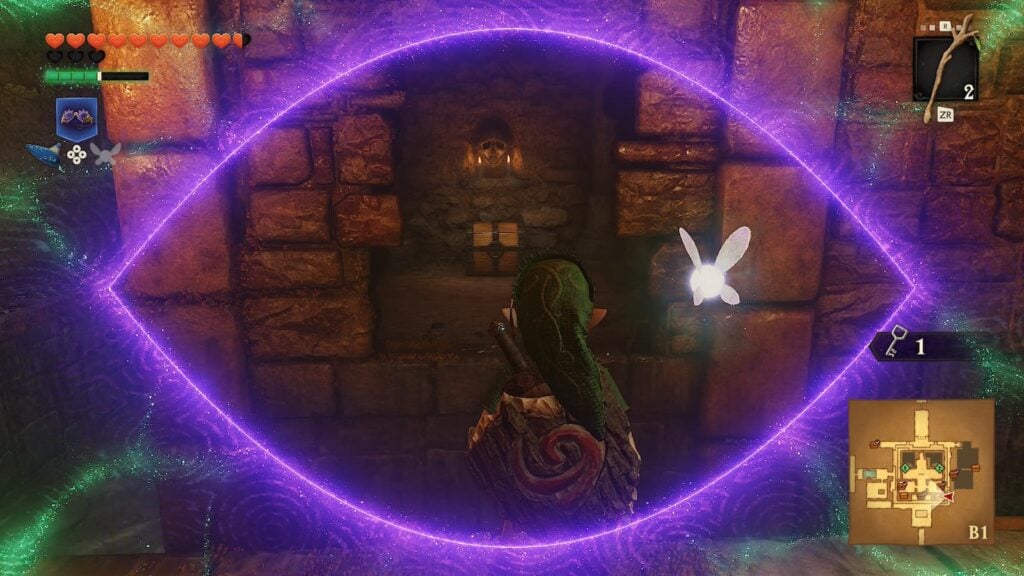
With both small keys obtained, enter the central structure in the center of the dungeon. There will be two locked doors here. Enter them in a any order.
Room 5 – Gold Skulltula 1
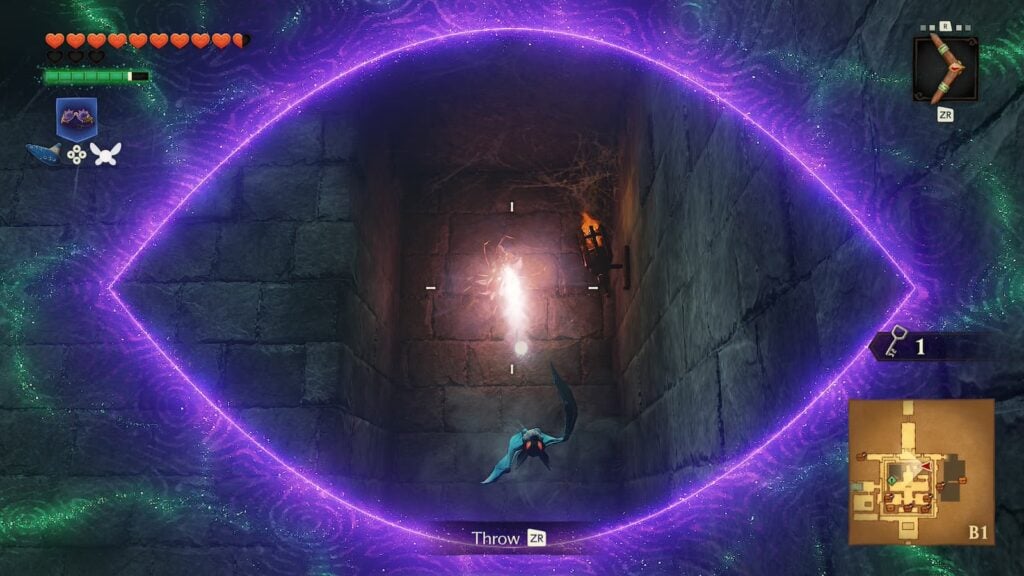
In this room there will what seems to be a pit. However, with the Lens of Truth equipped you’ll be able to see an invisible ledge that you can stand on. From this ledge, use your boomerang to attack a Gold Skulltula and collect its token.
Room 6 – Gold Skulltula 2
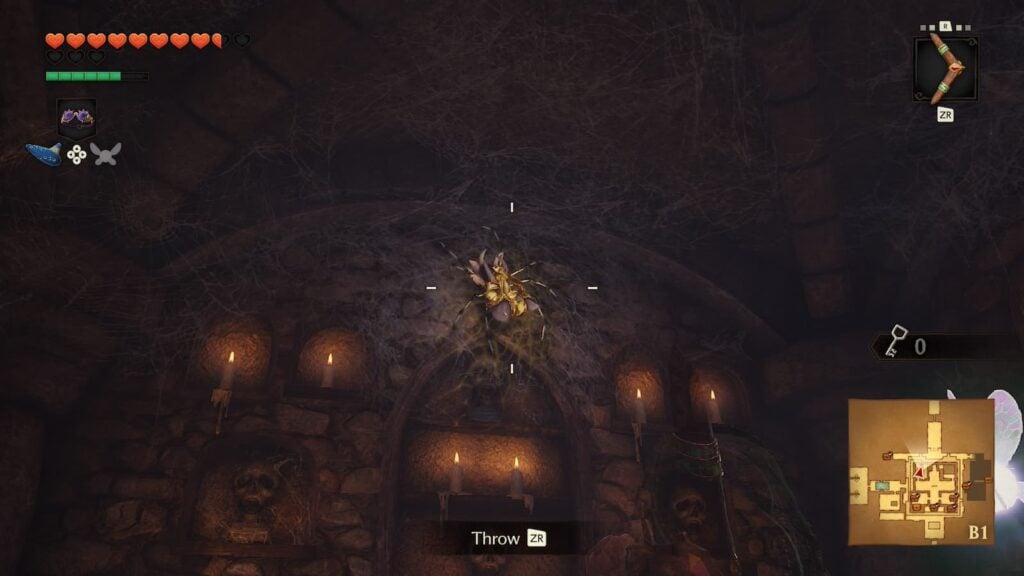
This room is even simpler than the previous one. All that’s in here is a Gold Skulltula and a Deku Baba. Defeat the Gold Skulltula and then return to the Central Room.
Central Room Visit 5
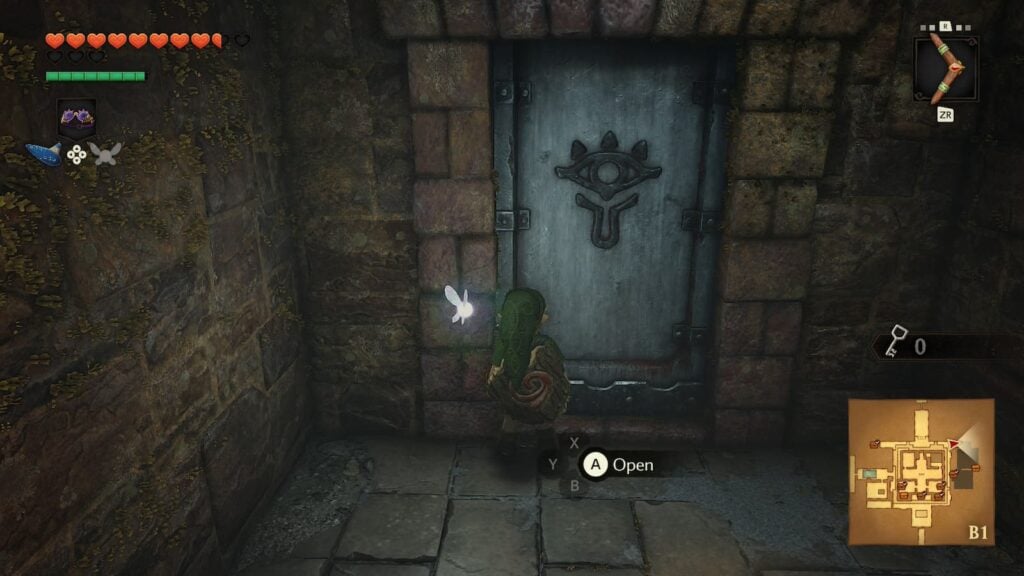
Not much left to do in the dungeon now. Make your way to the northeast part of the central room and enter the door here to continue,
Room 7
In this room there will be a Beamos and a treasure chest. Keep your Lens of Truth equipped as there are a lot of pits in this area. Inside of the treasure chest will be a Deku Shield, just in case there are any monsters around that may make you lose your shield and you need a quick replacement.
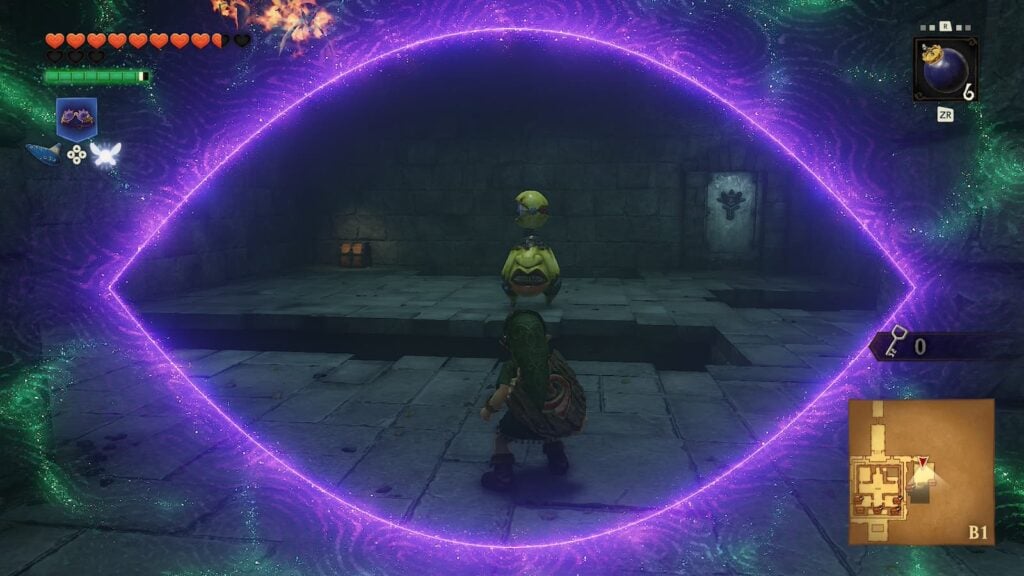
Exit the room through the one door that you haven’t opened yet.
Room 8 – Gold Skulltula 3
Inside of this room there will be a Like-Like. These nasty enemies will not only eat Link then spit him out, but they’ll steal your shield if they do! To avoid being eaten either make liberal use of the backflip button to get away whenever the Like-Like attacks or throw bombs at it from a distance.
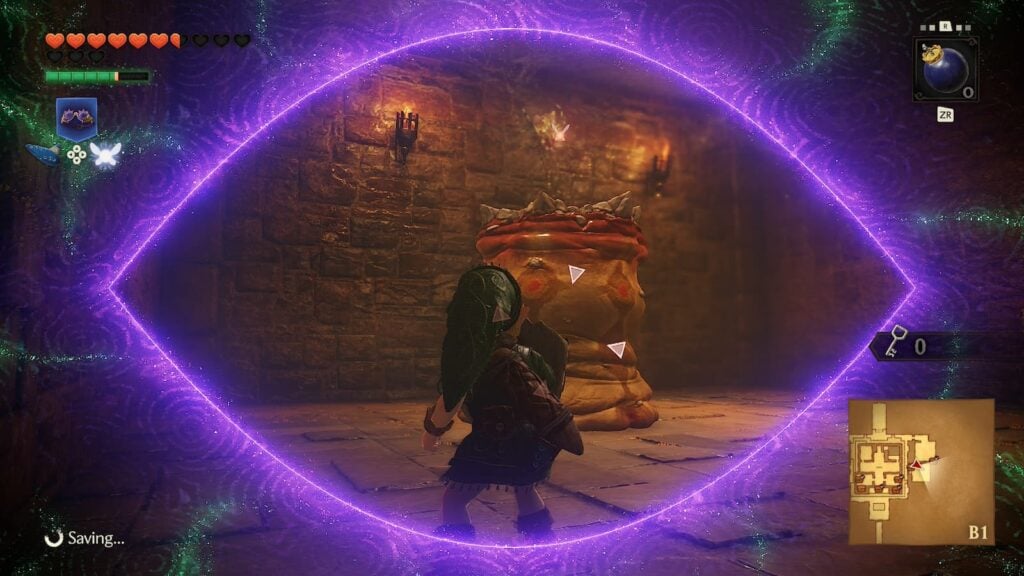
After the Like-Like has been defeated, you will see that there is a Gold Skulltula on the wall. Defeat it, and you’ll have gotten every major item in the Bottom of the Well dungeon. All that remains are a few in plain sight rupee chests in the central room. Other than those, you are free to leave.