Want to see Raider King content first? Add us as a preferred source.
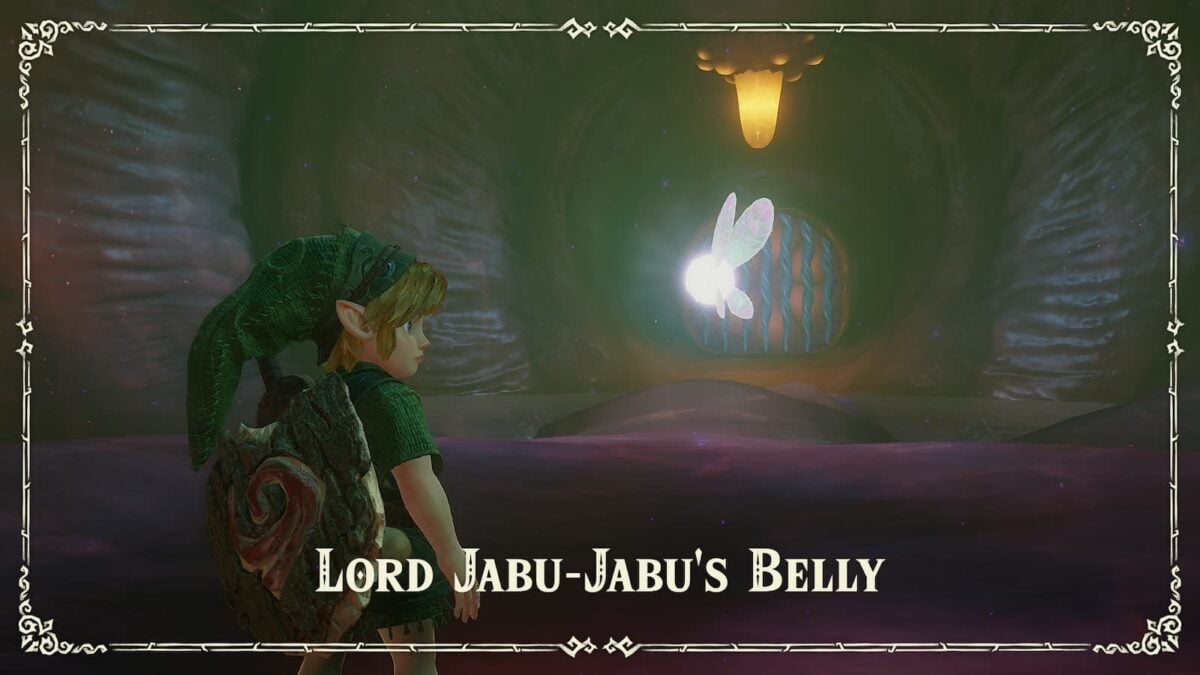
Congratulations, you’ve succesfully deduced where Princess Ruto disappeared too and figured out how to enter Lord Jabu Jabu’s Belly. Now you just need to navigate a dungeon that’s located entirely within the stomach of a giant fish. If you’ve gotten turned around at all while navigating this dungeon or simply don’t know what to do with the little fish princess, then please feel free to consult and check this complete walkthrough for the Lord Jabu Jabu’s Belly Dungeon in the recently released Ocarina of Time Remake.
Lord Jabu Jabu Belly’s Walkthrough
Room 1
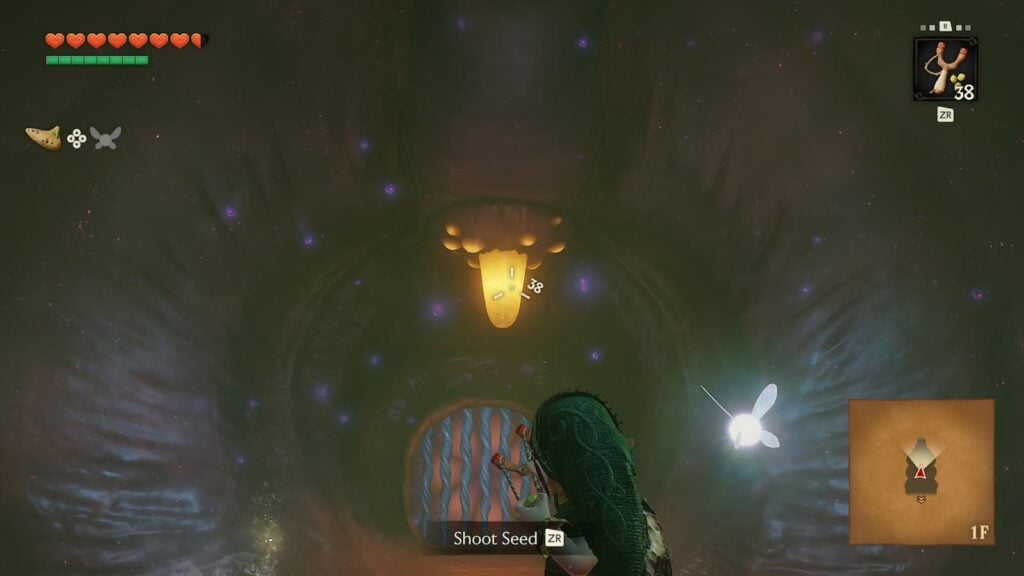
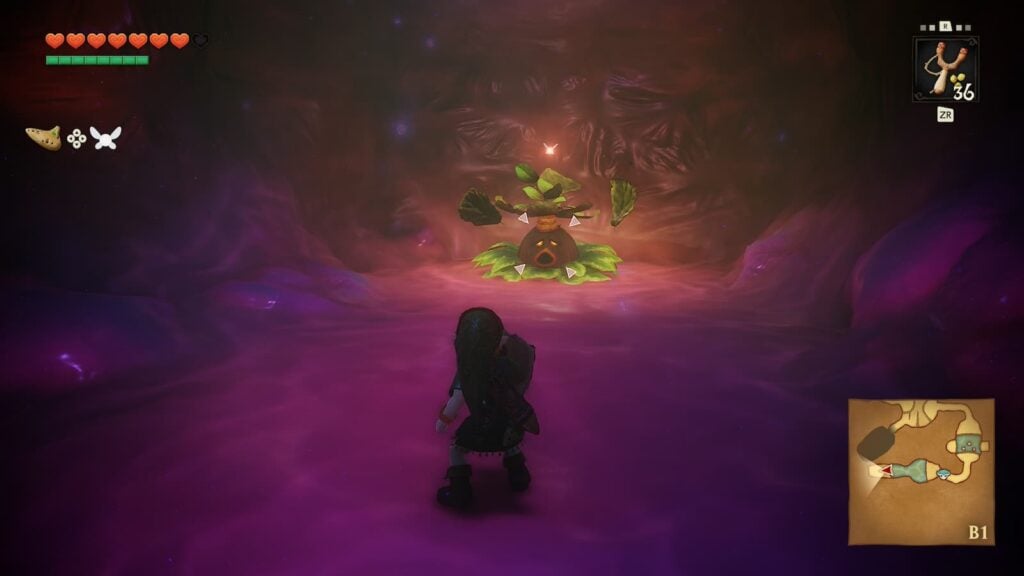
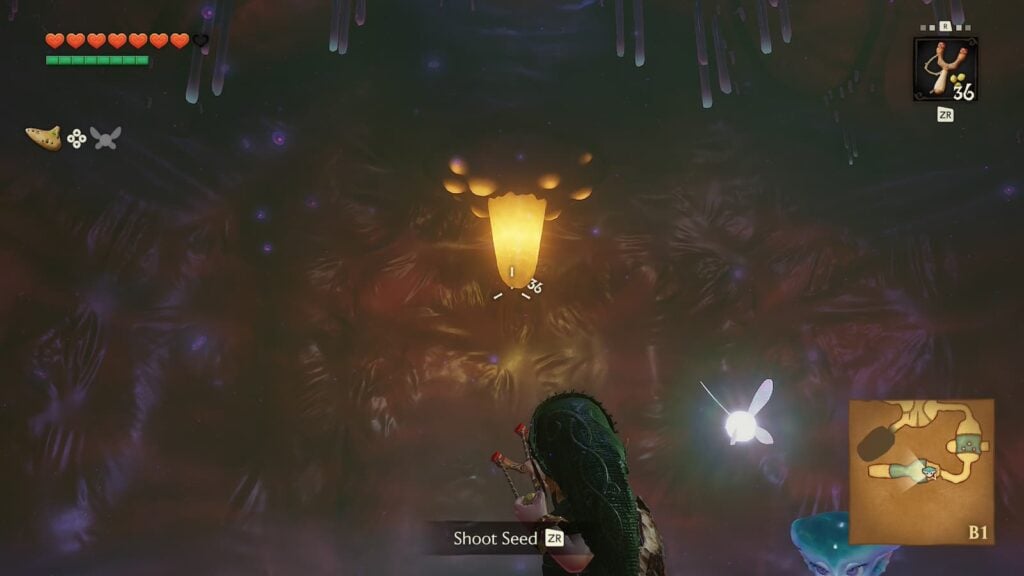
Upon first entering Lord Jabu Jabu’s belly you’ll be attacked by two Octorock enemies. You can defeat these foes by either repelling their rocks back as them with your Deku Shield or by shooting them once with your slingshot. After the octorocks have been taken care on, aim your slingshot at the ceiling and shoot the yellow uvula-like object to unlock the door to the next room.
Room 2
In the next room you will encounter some jellyfish-like enemies known as Biri. These enemies can be defeated with a single strike of your sword, but you’ll take damage from them in return so it’s best to ignore them for now.
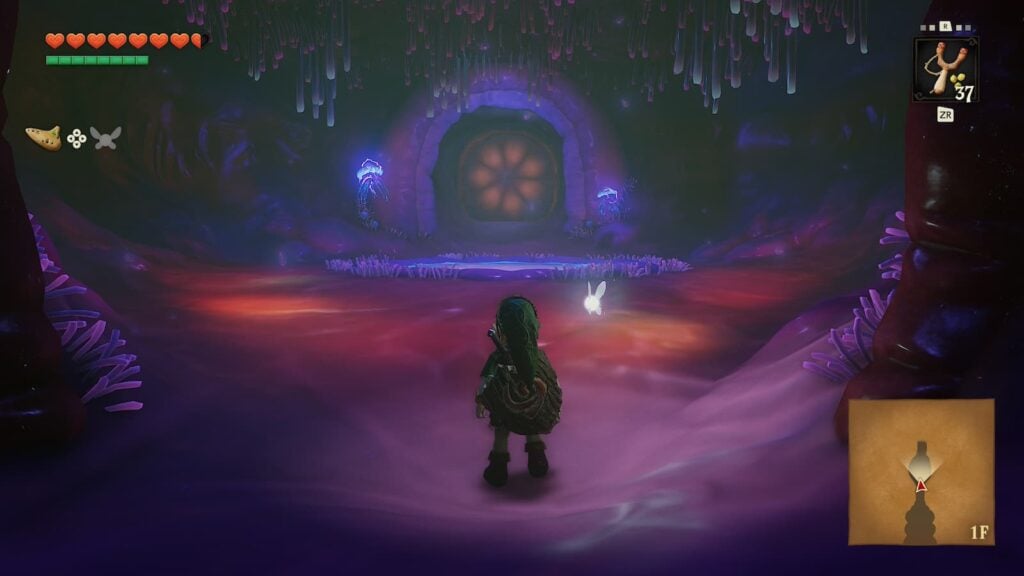
There is currently nothing you can do in this room, but we will be returning later. For now, just proceed toward the next room.
Central Room
Enter the next room and you’ll be introduced to Princess Ruto in an entertaining cutscene. She’ll drop down a hole in front of you. It might seem like a bad idea, but you’ll need to jump down the hole after her to progress through the dungeon.
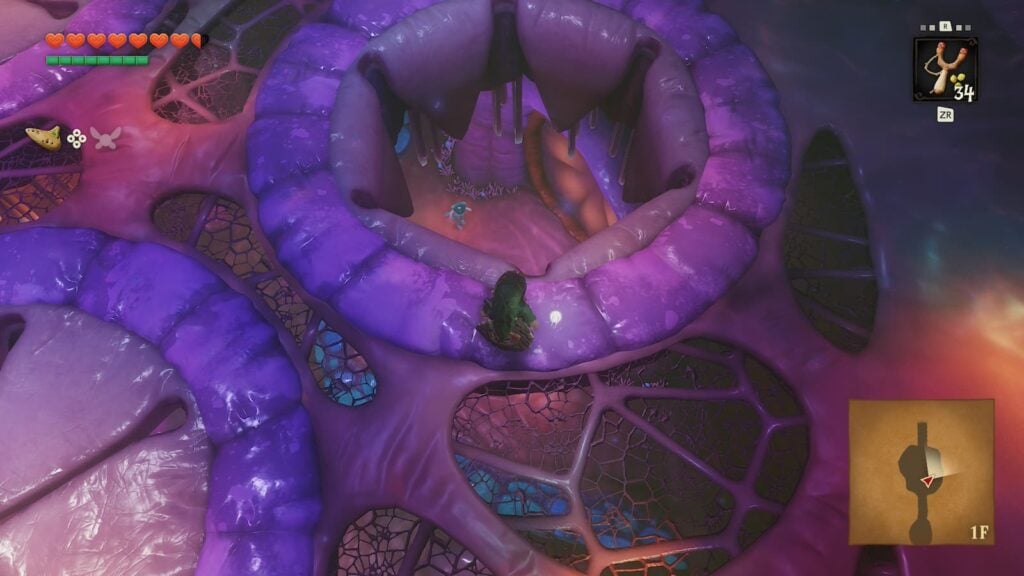
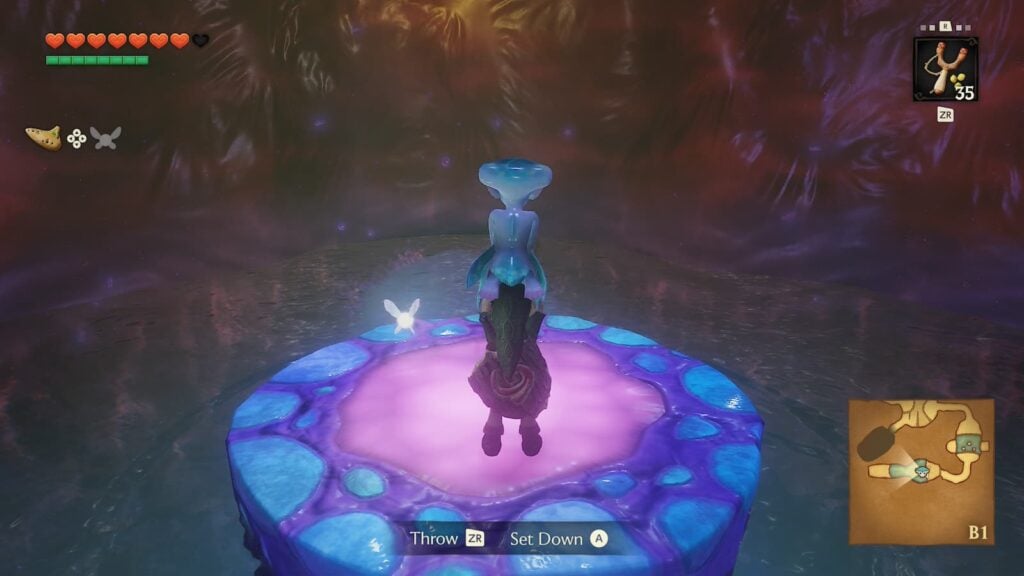
Speak to Ruto after jumping down the hole and you’ll be introduced to the main gimmick of the dungeon: Carrying Princess Ruto around as if she were a box. Lift Ruto up over your head and exit the room through the nearest door.
Room 4 – Dungeon Map
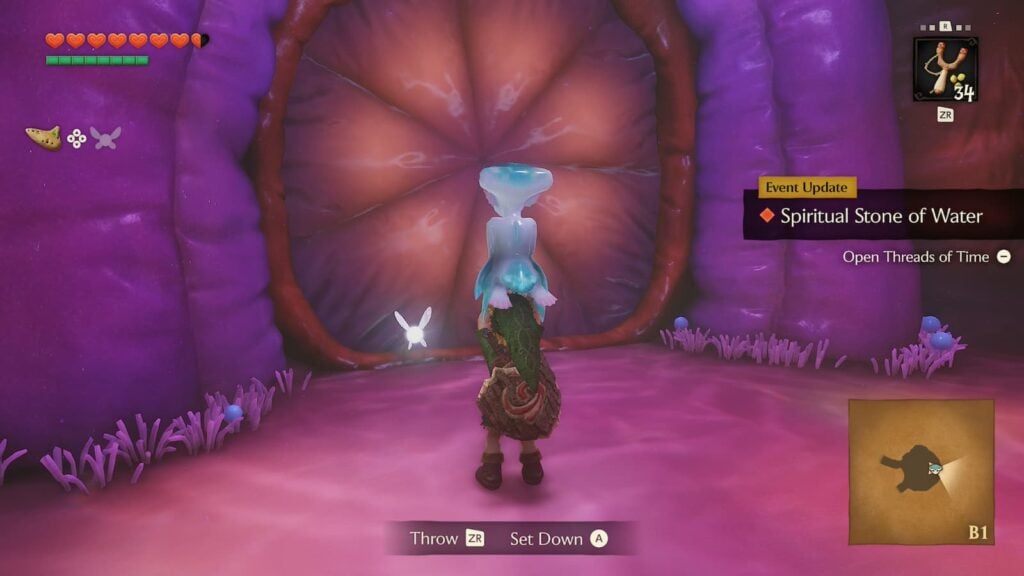
Head down the hallway in the next room (avoiding the bouncing bubble enemies as you do) and you’ll reach a small chasm with a fleshy switch in the center. Before you press that switch, throw Ruto to the other side of the gap as you won’t be able to carry her after you stand on the switch.
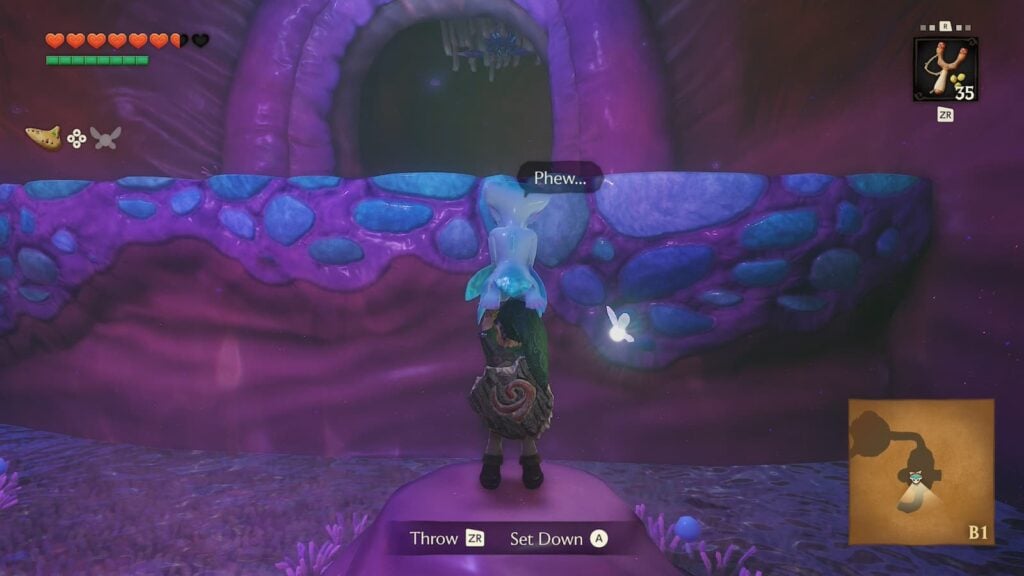
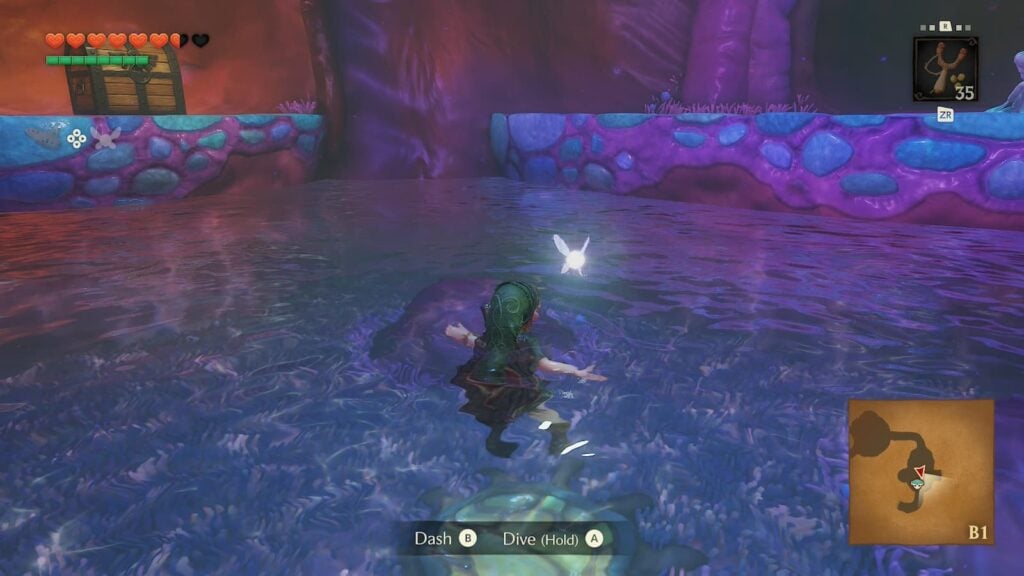
Once Ruto has been safely chucked, jump on the switch and water will begin to fill up the chasm. Before you rejoin Ruto, climb the ledge on your right to open the large treasure chest to obtain this dungeon’s map.
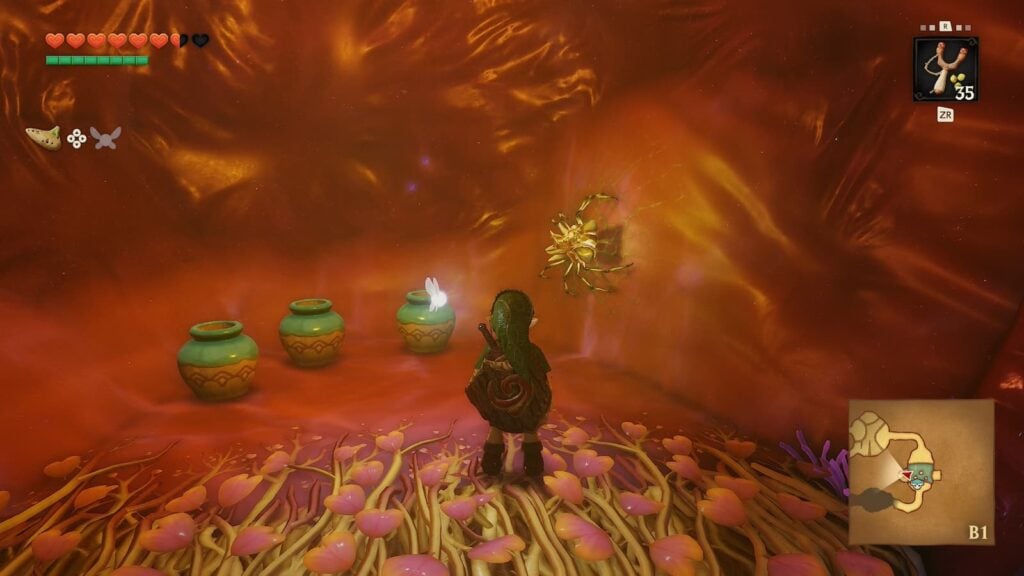
Next, climb the vines on the right side of the room to find the first Gold Skulltula of the dungeon.
After collecting that Skulltula’s token, return to Ruto and pick her up again. This room will end with another slim hallway with a uvula on the ceiling that you must shoot with your slingshot to unlock the next door.
Room 2 Visit 2
When you enter the next room, place Ruto on the ground and walk forward. An Octorock will pop out of the water, but you can easily defeat it with your shield or slingshot. After the Octorock has been taken care of, dive underneath the water where he appeared and you’ll be able to swim through a small passageway that leads to a Business Scrub, just in case you need to restock on any items.
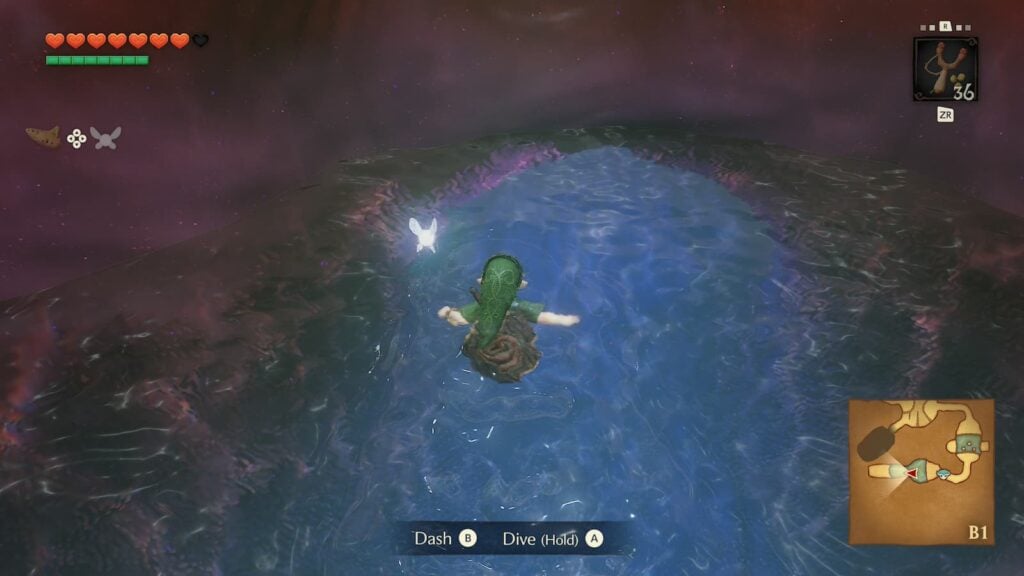
Return to Ruto and aim at the ceiling with your slingshot, there will be another uvula here which will activate an elevator, bringing you back to the upper half of Room 2. Return to the central room of the dungeon from here.
Central Room Visit 2
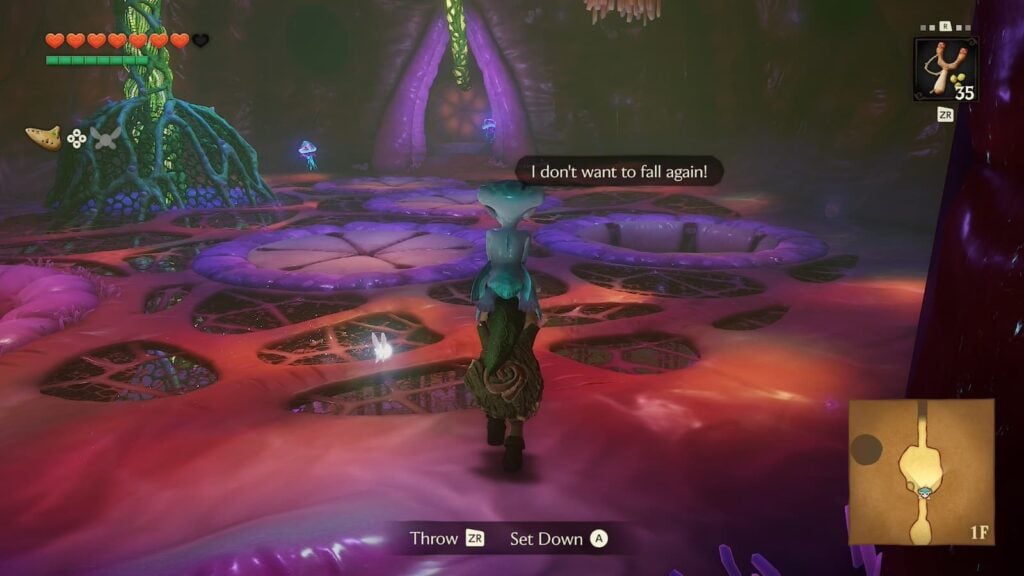
Now that we’re back in the room where Ruto first fell, be very very careful not to accidentally walk through any of the holes. If you do, you’ll have the repeat the last few rooms as if you never did them. We don’t have anything else to do in this room for now, so just walk forward through the next door.
Room 5
This next room is a hallway that splits off into four different rooms. We’ll be visiting all of them one at a time of course. Starting off with the room directly to your left. To unlock this door, you and Ruto will need to stand on the weighted switch at the same time, as neither of you weigh enough to push it down on your own.
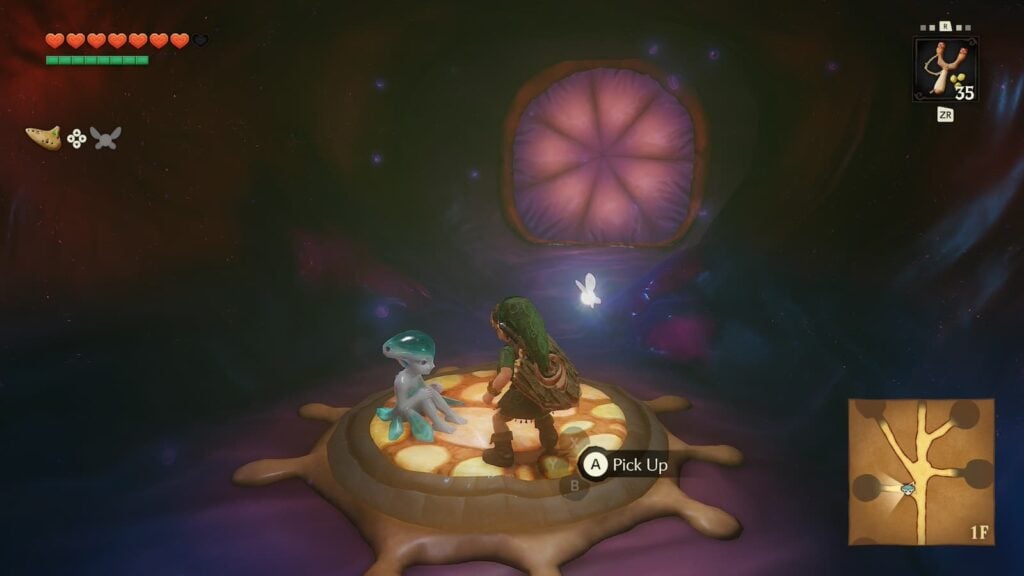
Once the door is unlocked, proceed to the next room.
Room 6 – Boomerang
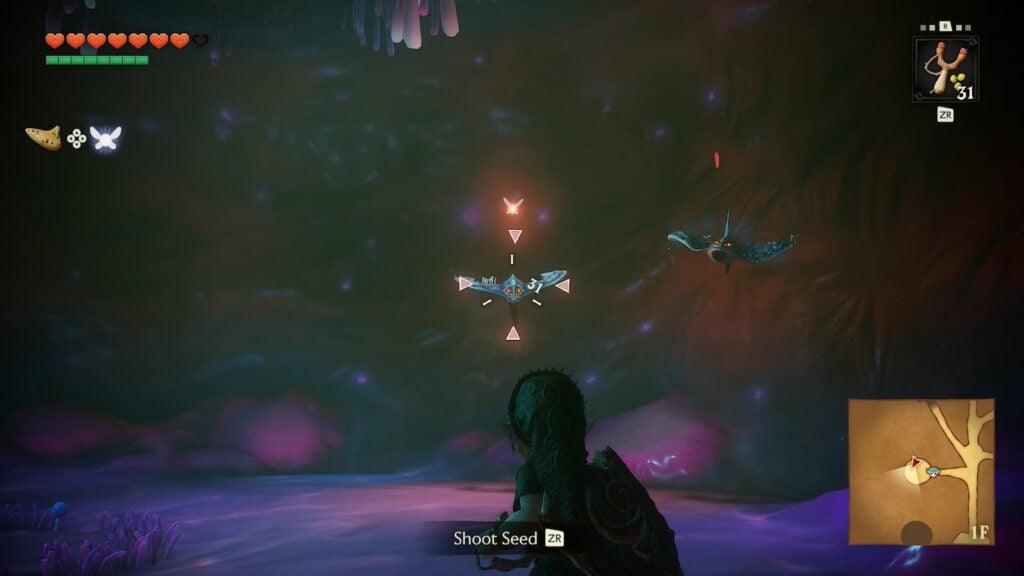
The next room is a very small space filled with several flying enemies. Defeat them all with either your sword or your slingshot and a large treasure chest will appear in the center of the room.
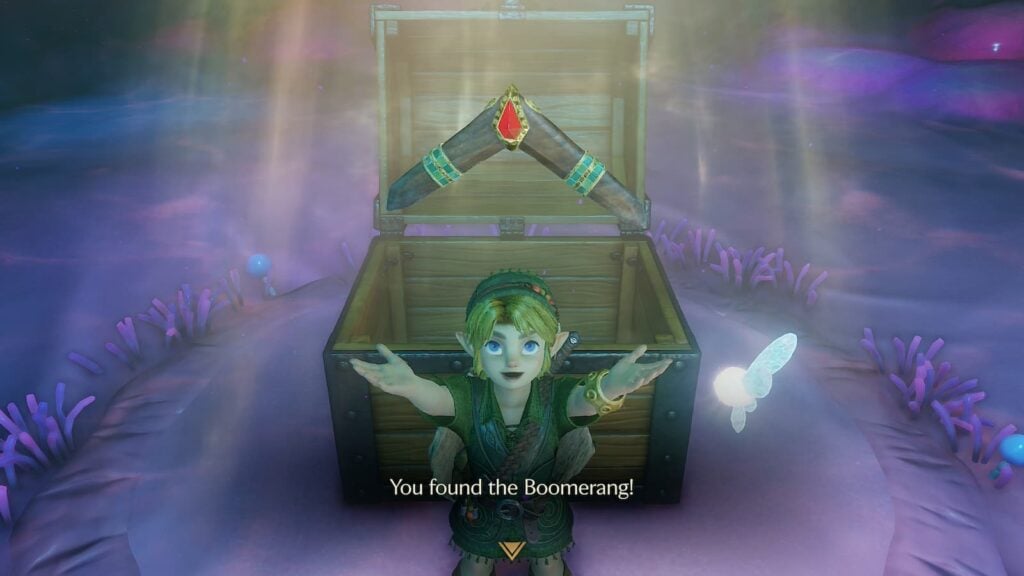
Inside of this chest you’ll find what will soon be your favorite of Child Link’s arsenal: the Boomerang. This item can be throw to both hit targets and collect items from a distance.
Room 5 Visit 2
Return to the branching hallway and place Ruto on the switch in front of the door on the right side of the room. This switch needs something to be placed on it at all times, so you’ll need to leave Ruto behind here as you move on into the next area.
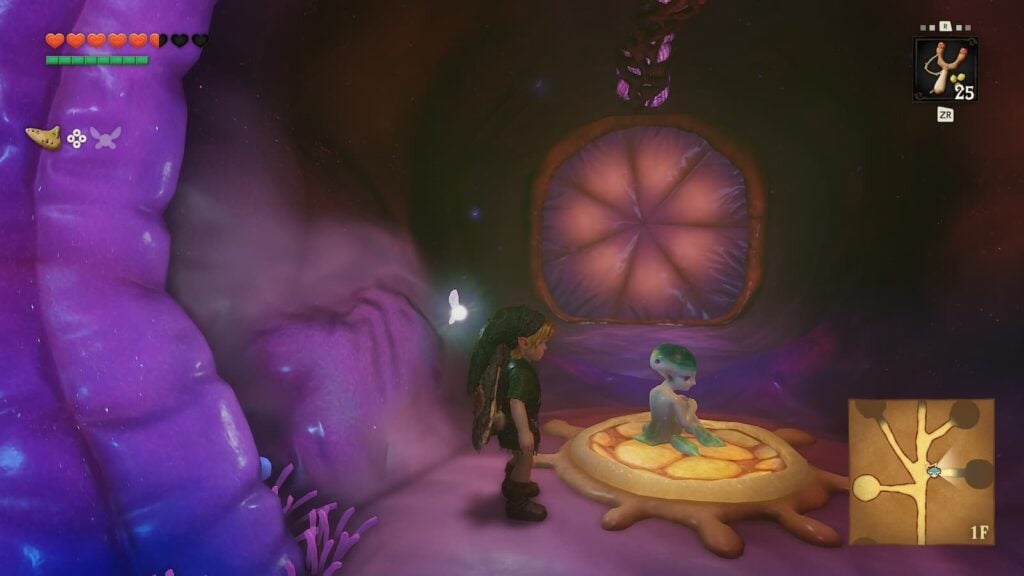
Room 7
Inside of this room you’ll find yourself fighting against a Tentacled Monster. This enemy will continuously swipe at you with its body, but you can dodge these attacks by repeatedly side-jumping while targeting the monster.
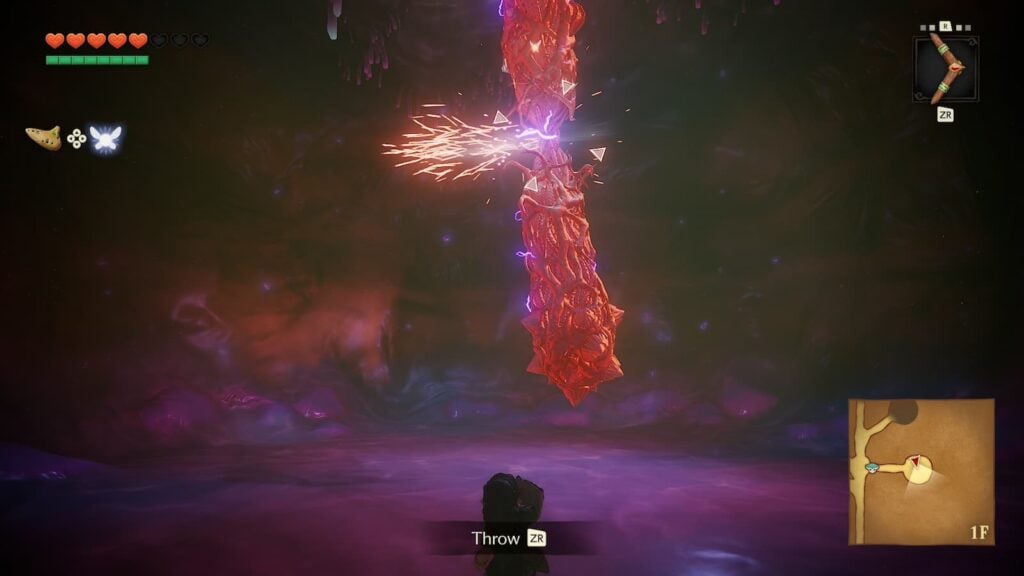
To defeat the monster, throw your boomerang at its weak point three times. The boomerang will automatically fly toward its weak point if you toss it while targeting the monster. The weak point will become exposed after each attempt the enemy makes at attacking you.
Once the monster has been defeated, return to Ruto in the previous room.
Room 5 Visit 3
Return to the branching hallway and you’ll see that the defeat of the red Tentacle Monster has burned away a red barrier in front of the room to the northwest of the hallway. Obviously that’s where you will be heading next.
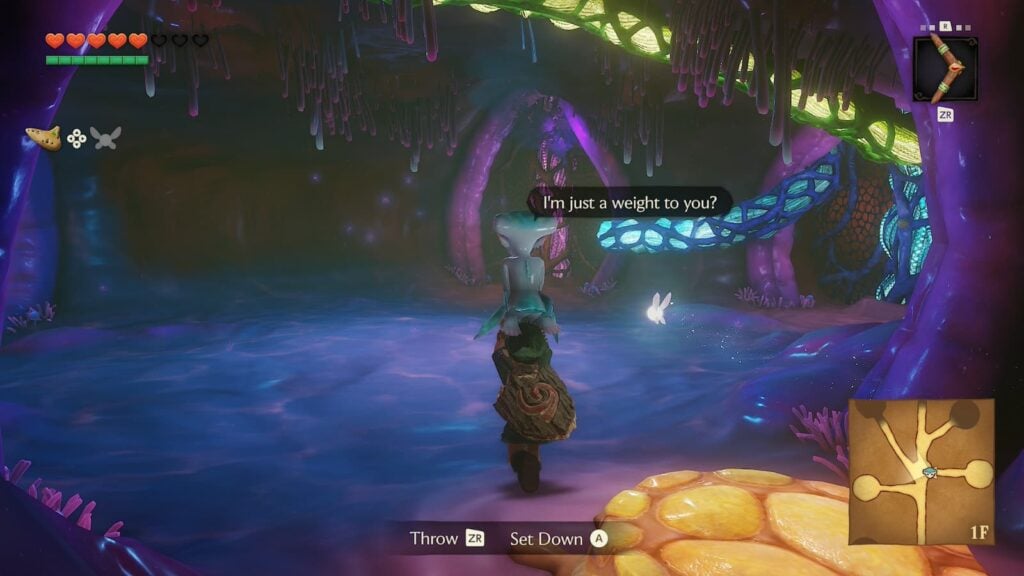
Room 8
This room will be another fight against a Tentacle Monster, except this one is blue and surrounded by Biri. Now that you have the boomerang, you can take Biri out from a distance without the risk of electrocuting yourself.
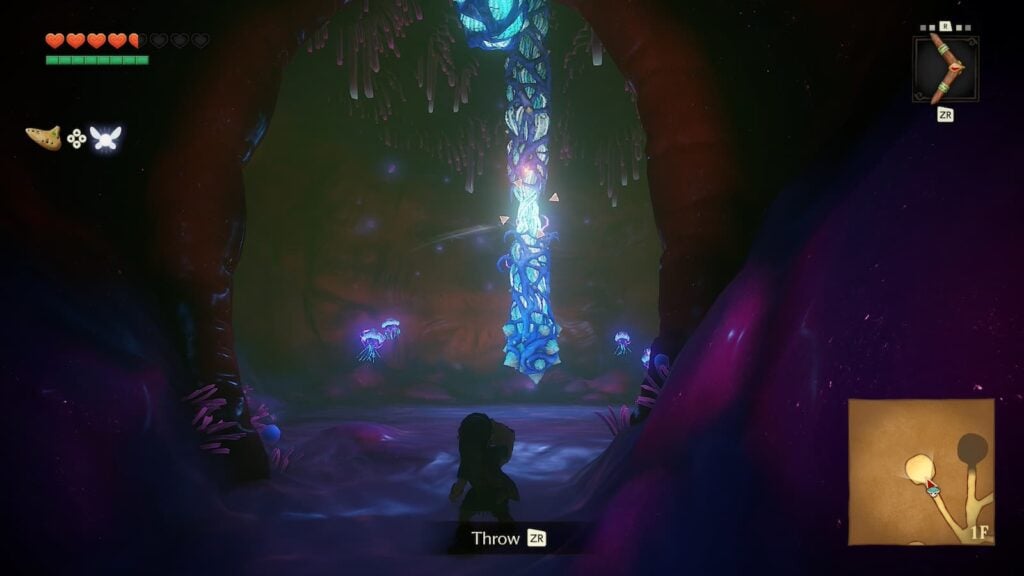
The fight against the Tentacle Monster itself is identical to the one in the previous room, just dodge its attacks and hit it with your boomerang when you get the chance. Return to the branching hallway once it has been defeated.
Room 5 Visit 4
Just like before, once you return to the hallway you’ll see that the defeat of the Blue Tentacle Monster has burned away a blue barrier in the center of the room. Next, take Ruto with you to the northeastern room.
Room 9 – Compass
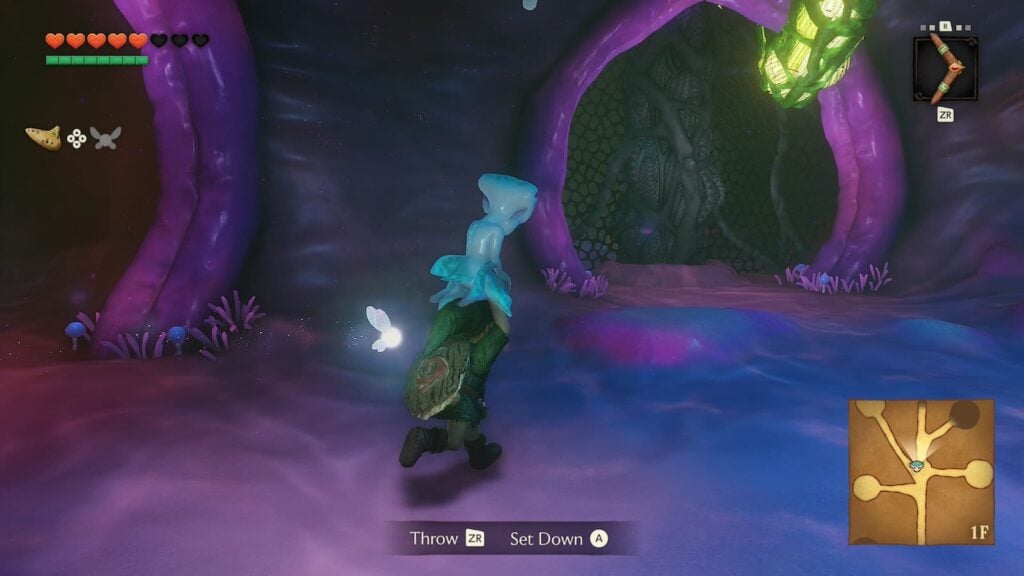
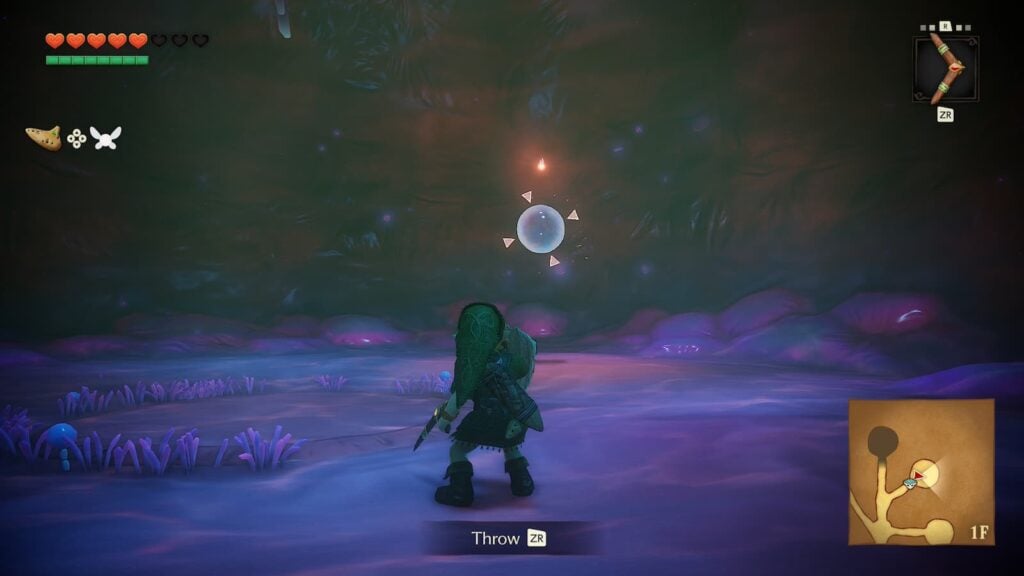
This is another very cramped room where all you’ll be doing is fighting against a group of enemies. In this example, a bunch of Shaboms that don’t do much other than bounce around. Once all of them have been defeated, a large treasure chest containing the dungeon’s compass will appear.
Room 5 Visit 5
After getting the compass, make you way to the northern room at the end of the branching hallway area.
Room 10
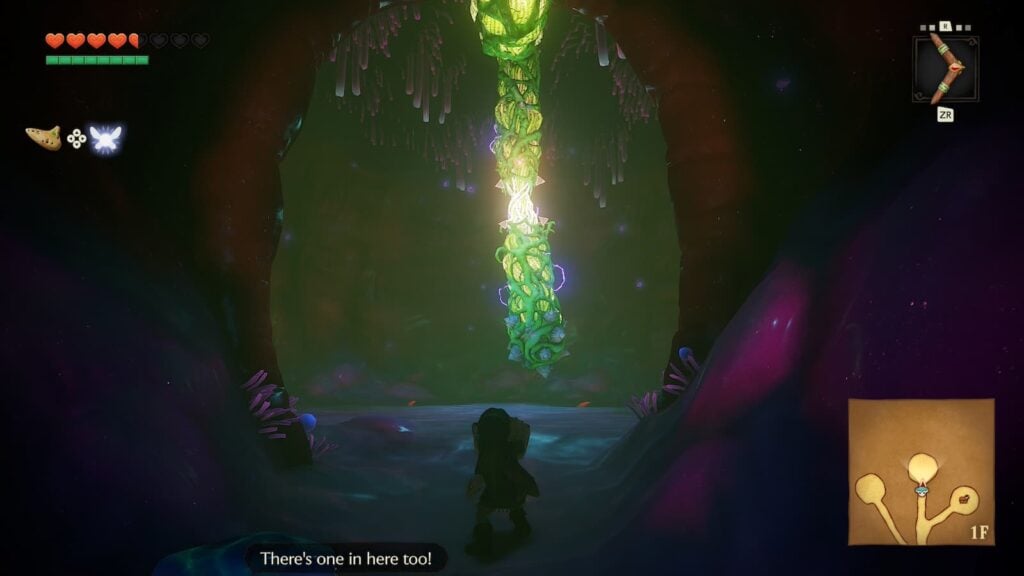
In this room you’ll find a large green Tentacle Monster. You’ve already fought two of these now and this fight is no different from the others. Just dodge its attacks and throw your boomerang at it when you have the chance. After a few throws it’ll burn away just like the others.
Room 5 Visit 5
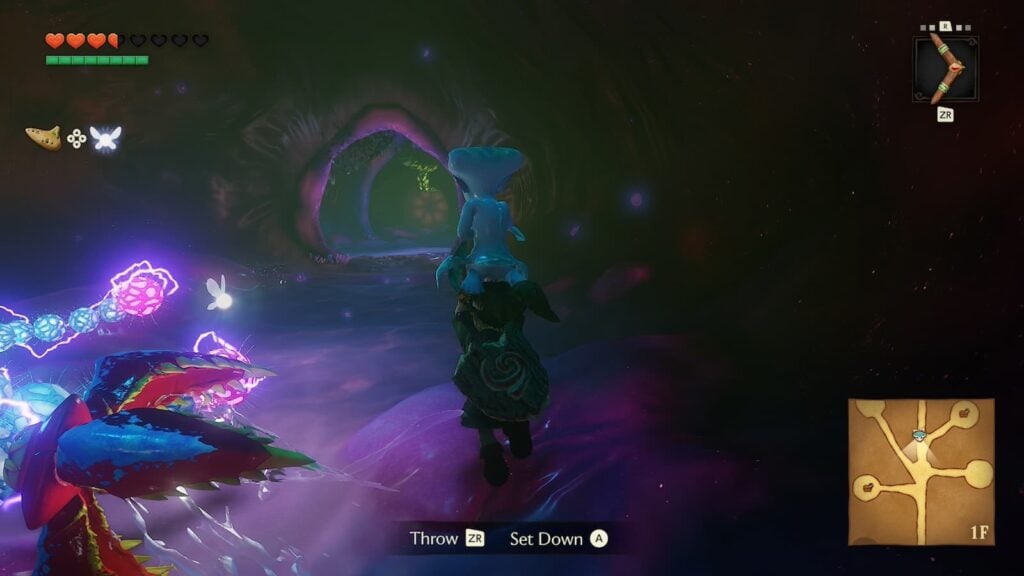
This will be the final time you need to visit this hallway. As the green Tentacle Monster burns away, you’ll see its trail burning on the ceiling of this hallway. Backtrack to the central room of the dungeon from here.
Central Room Visit 3
When you get back to the central room, you’ll find that a green barrier above on of the holes has been burned away thanks to you defeating the green tentacle monster. Jump down this hole and you’ll find yourself on a new ledge in the basement area that you couldn’t reach before.
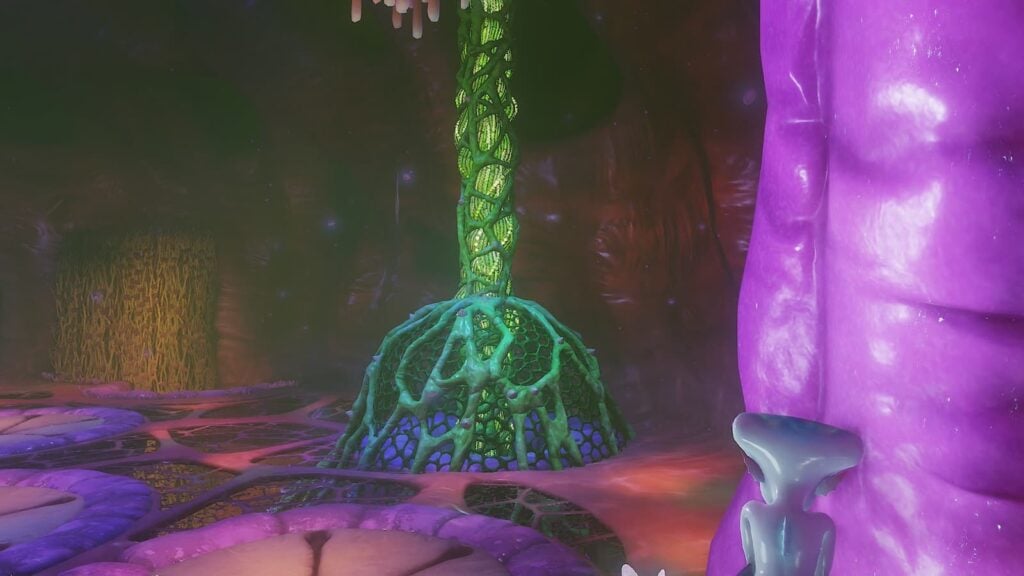
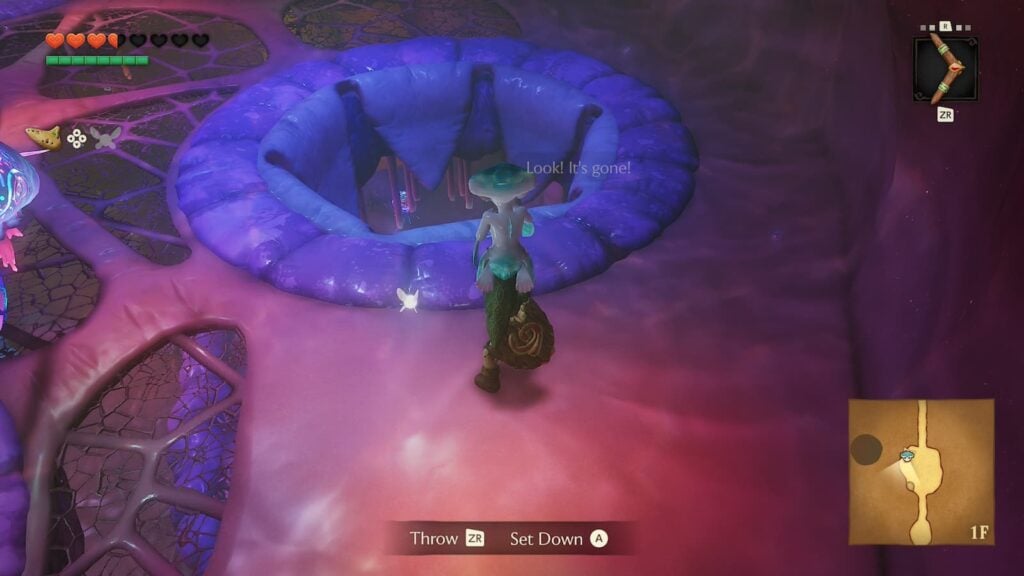
Place Ruto on the ground and aim your boomerang to your left. On the wall here you will find the dungeon’s second Gold Skulltula. Your boomerang will be able to both defeat the spider and collect its token.
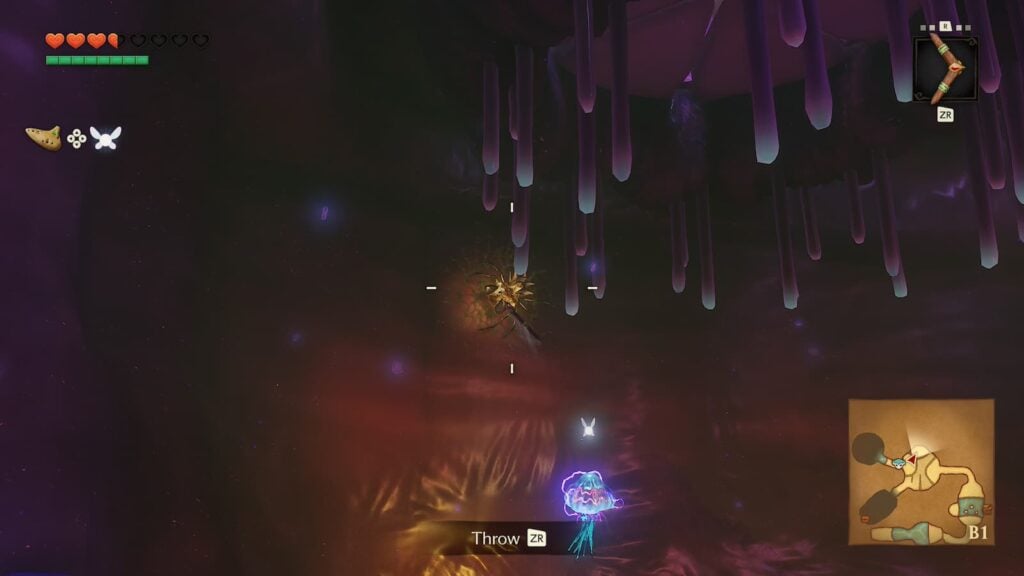
Next, take a step or two down the pathway that this ledge leads to and aim your boomerang upward to find another Gold Skulltula that you can collect with the boomerang.
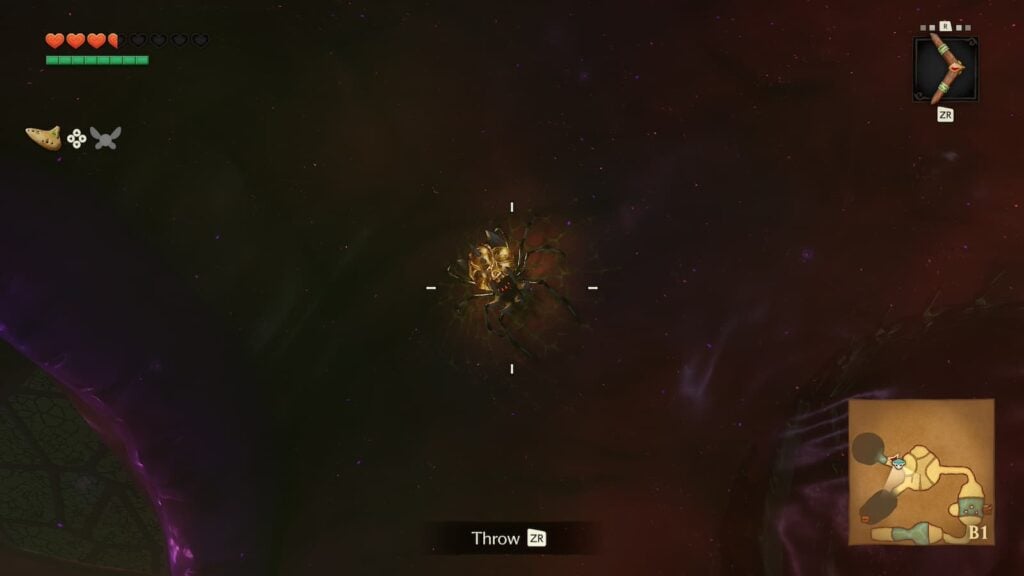
After collecting those two Gold Skulltulas, pick Ruto back up and walk down the pathway that this ledge leads to and you’ll reach another room.
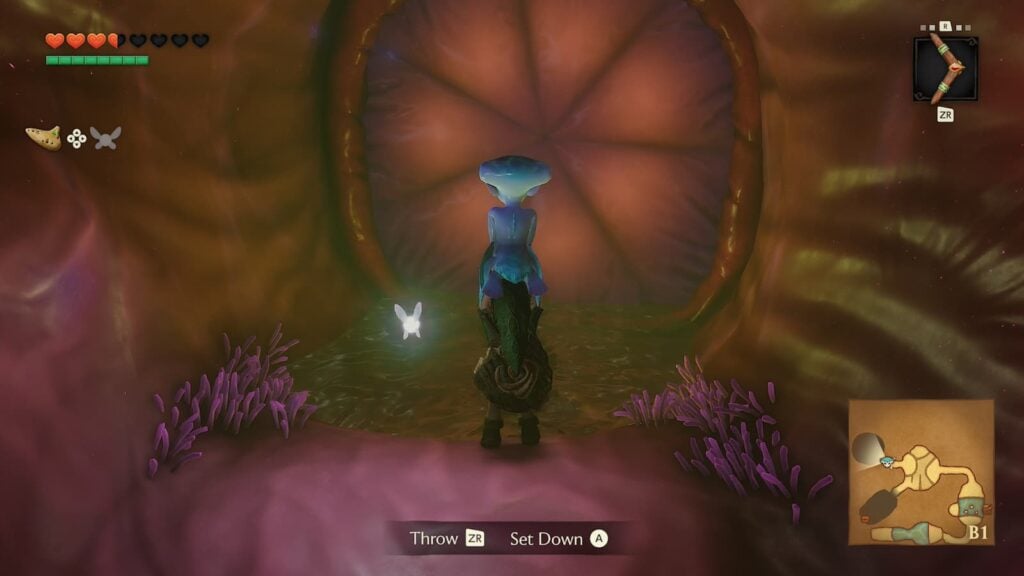
Room 11 – Big Octorock
After a brief cutscene, you’ll lost access to Princess Ruto and the first true miniboss of the game will drop from the ceiling: A Big Octorock. This enemy will run in a circle around the arena, trampling you if you’re too close and turning around if it’s too far behind you.
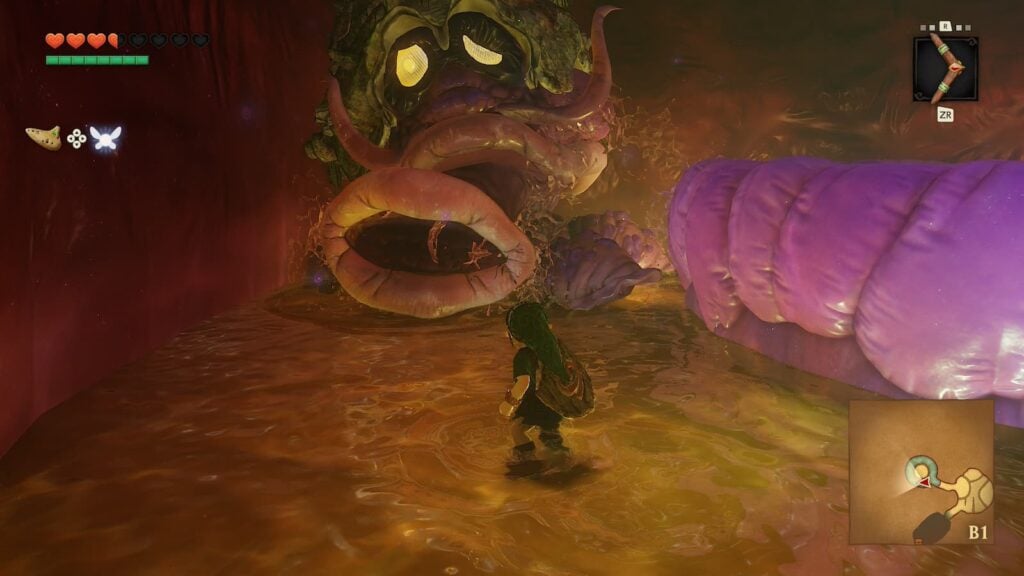
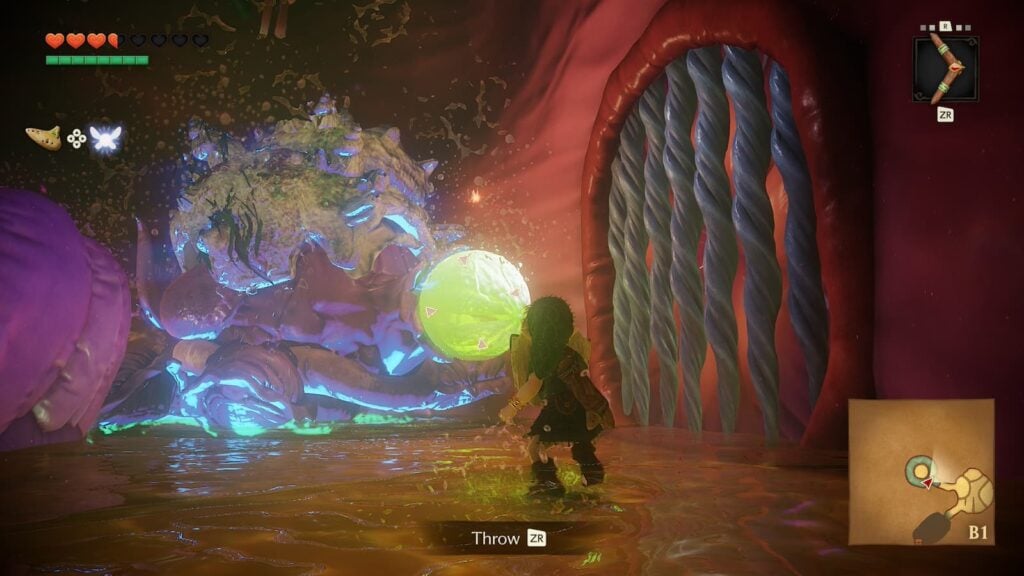
To defeat the Big Octorock, you’ll need to throw your boomerang at it to stun it. When it’s stunned, a green weakpoint will appear behind the Big Octorock for you to strike with your sword. The Big Octorock will be stunned no matter where your boomerang hits it, making it very easy to put this creature into a stunlocked loop.
After you beat the Big Octorock, an elevator will appear. However, we’re going to do a small bit of backtracking before we progress.
Central Room Visit 4
Make your way back to the central room and jump down to the ledge on your right. There will be a door here to a room that you didn’t visit before. Backtracking to the miniboss room again will be easier without needing to carry Ruto, which is why we waited until now to go here.
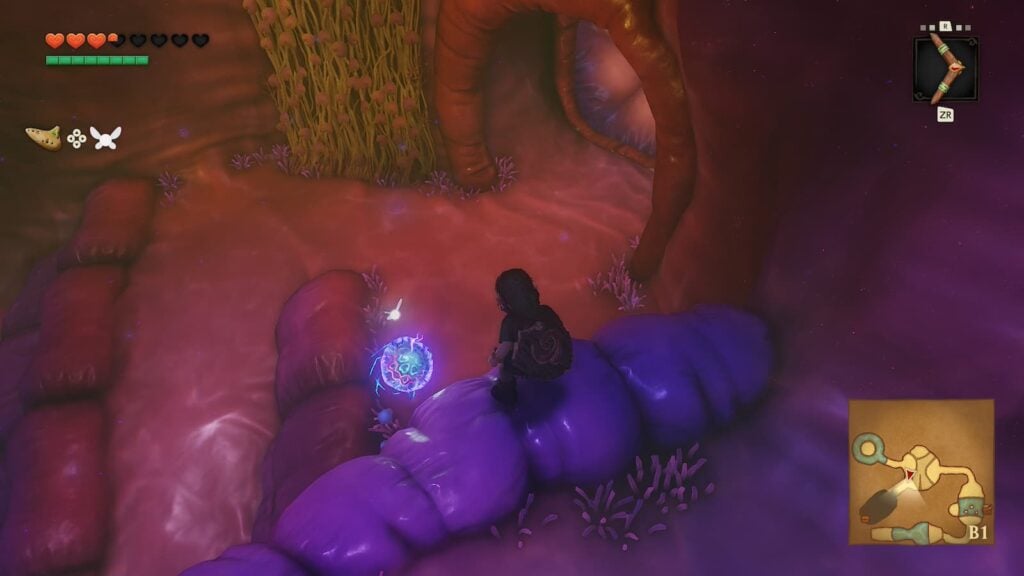
Room 12
Inside of this room you’ll find two octorocks and one large wiggling spit glan-like platform. Defeat the octorocks either with your shield or the slingshot. Once they have been defeated, throw your boomerang at the spit glan and it’ll be stunned in place.
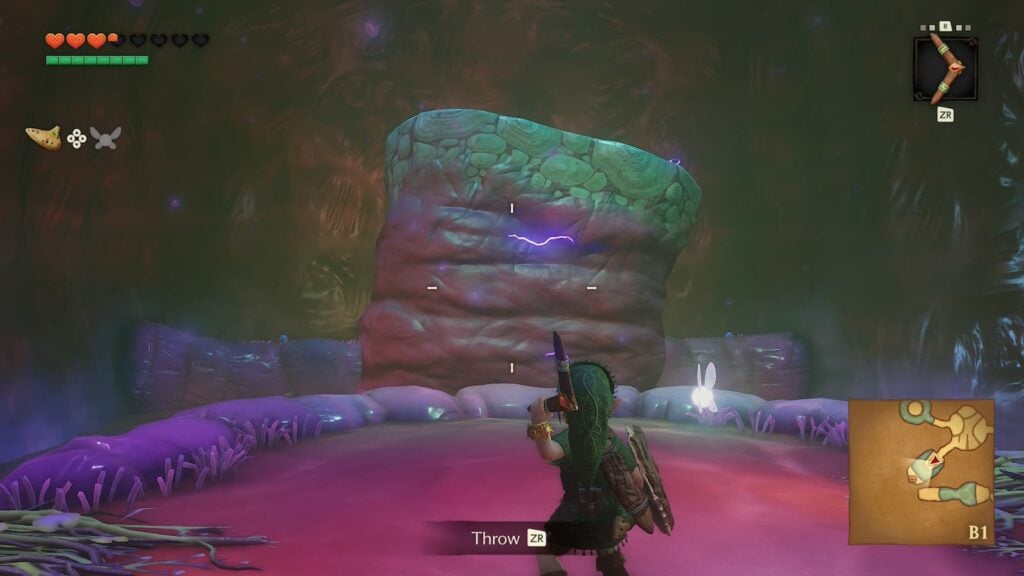
With the spit glan stunned, you’ll be able to jump across it to reach a treasure chest with a red rupee inside. You can return to the central room of the dungeon now.
Central Room Visit 5
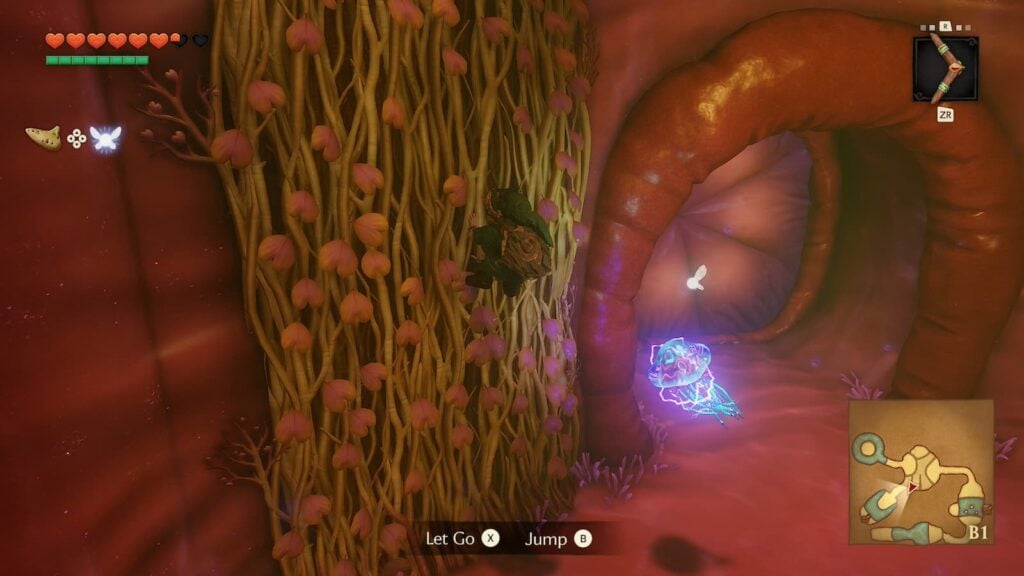
If you’re worried about needing to retread a lot of ground to reach the mini-boss room again, don’t worry. Next to the entrance to room 12 you’ll find some vines that can be used to climb back to the top area of the central room. From here you’ll be able to drop back down the same hole you did before to reach the miniboss room again.
Room 11 Visit 2
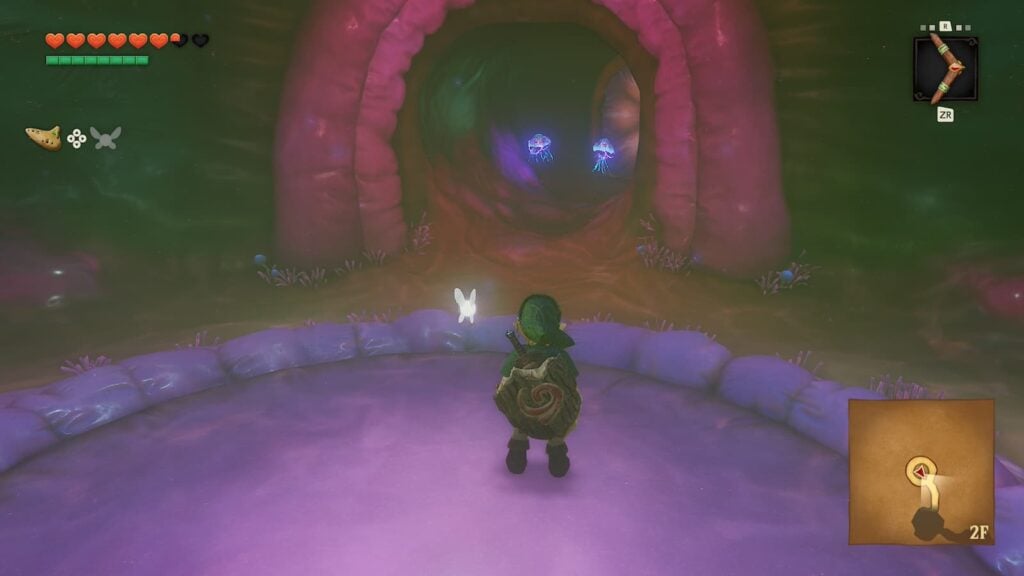
Ride the elevator in the miniboss room and you’ll reach the third floor of the dungeon. There will be some enemies here but you can ignore them as you move forward into the next room.
Room 12
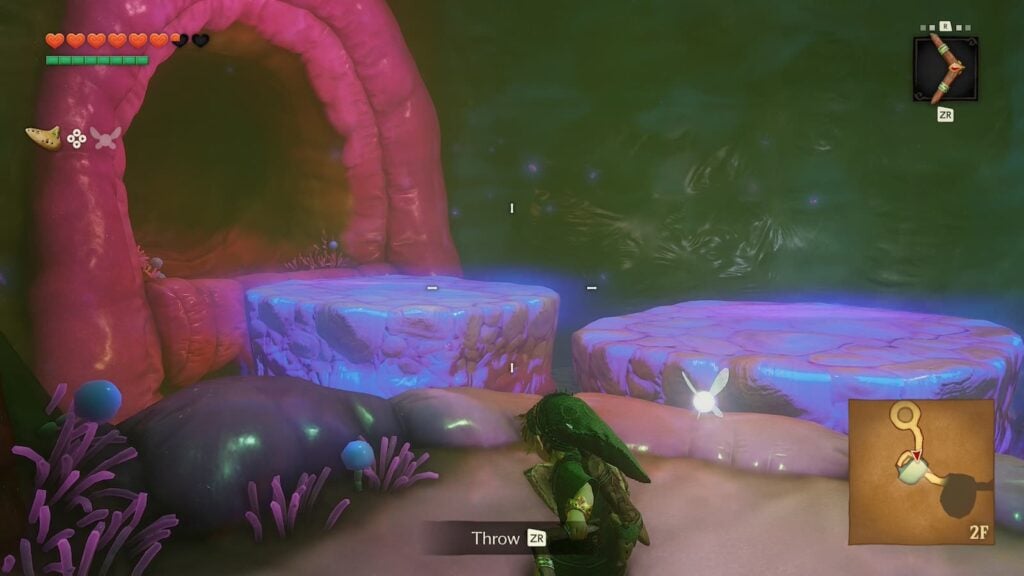
There are two more spit glan platforms in this room. In order to make them stop moving you’ll need to hit them with your boomerang. Platform to the other side of the room and exit through the door to progress through the dungeon.
Room 13
This room will have a switch that needs to stay pressed down in order to unlock the next door. You may not have Ruto to push it down, but there is a stone block in the room that will work just as well. Throw the block up the platforms to reach the switch and continue through the door.
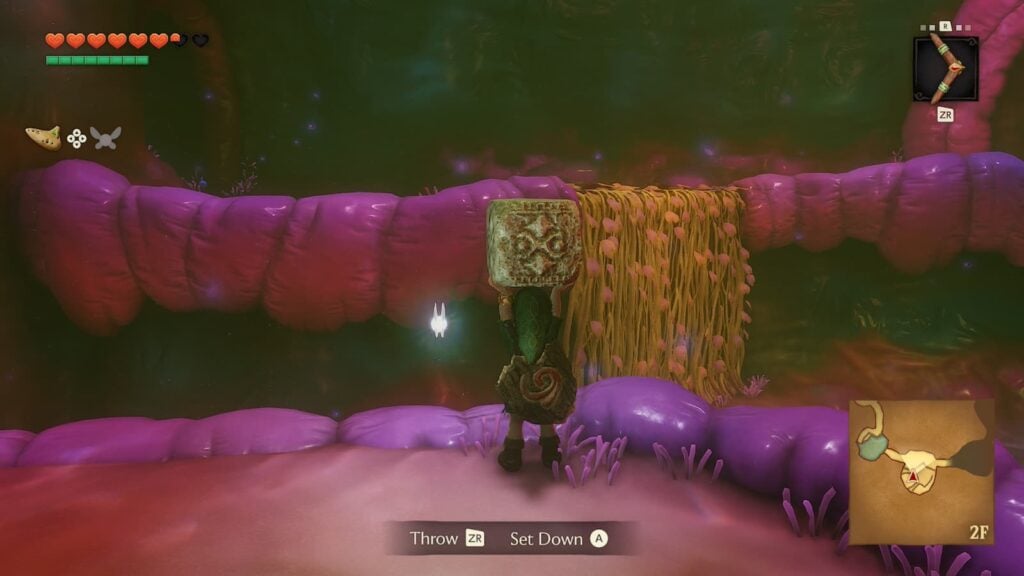
Room 14
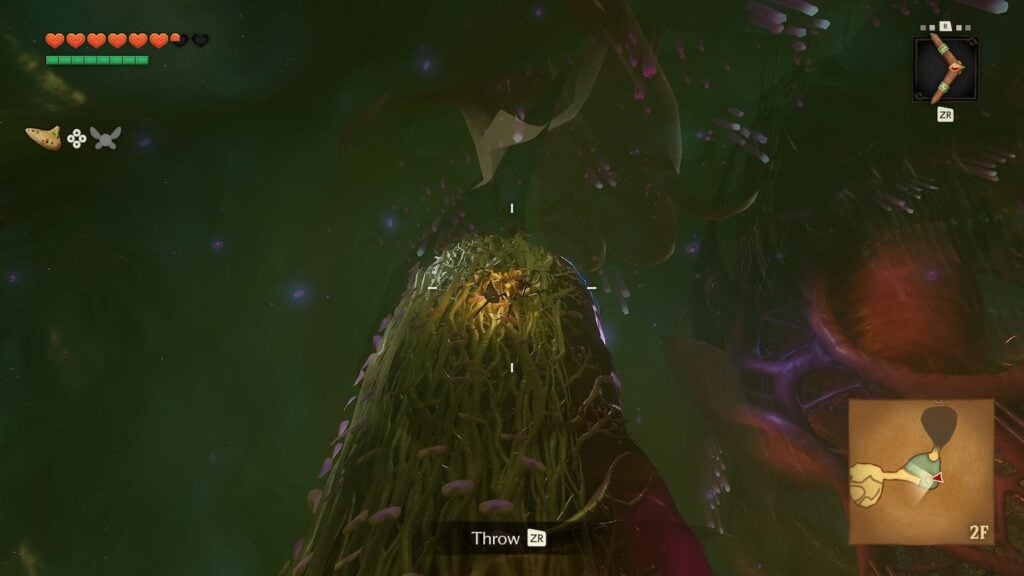
There’s only one more room until you have to fight the dungeon’s boss. This area will have a large pillar in the center of it that you can climb. Before you climb up the pillar though, aim your boomerang up and you’ll find the dungeon’s final Gold Skulltula.
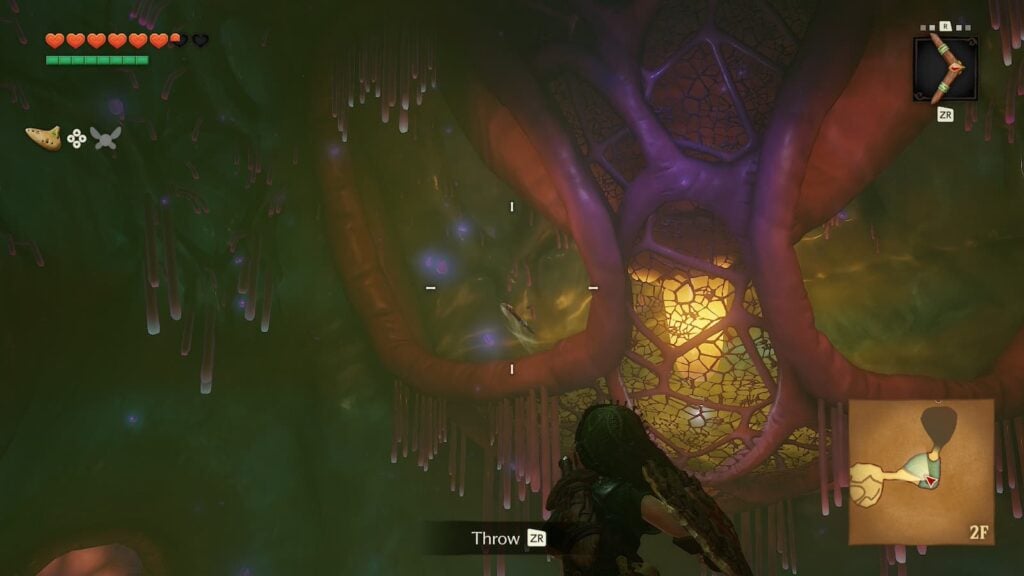
After collecting its token, climb the pillar yourself and you’ll be see one more uvula that you must hit. However, there is a cage in front of this one preventing you from using you slingshot on it. To hit this uvula, aim your boomerang at the left opening of the cage, the arc of the boomerang will then cause it to hit the uvula before it returns to your hand.
Boss Room – Barinade
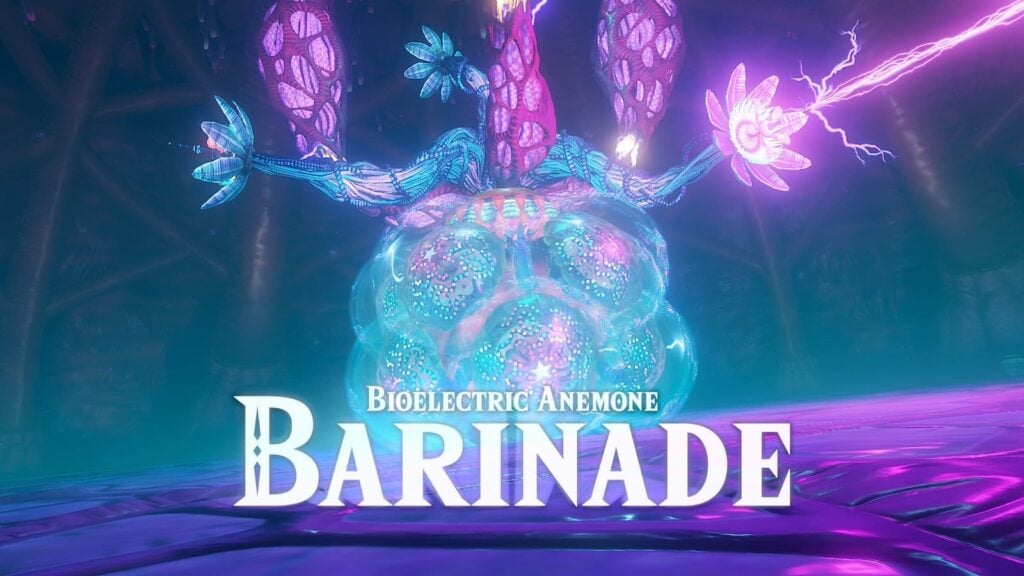
The boss of this dungeon, Barinade, is the most dynamic of the Child Link era bosses. When the fight begins, Barinade will be clinging to the ceiling with three tentacles. After how many Tentacle Monsters you have fought in the dungeon so far you should know what to do. Throw your boomerang at the tentacles and Barinade will fall to the ground.
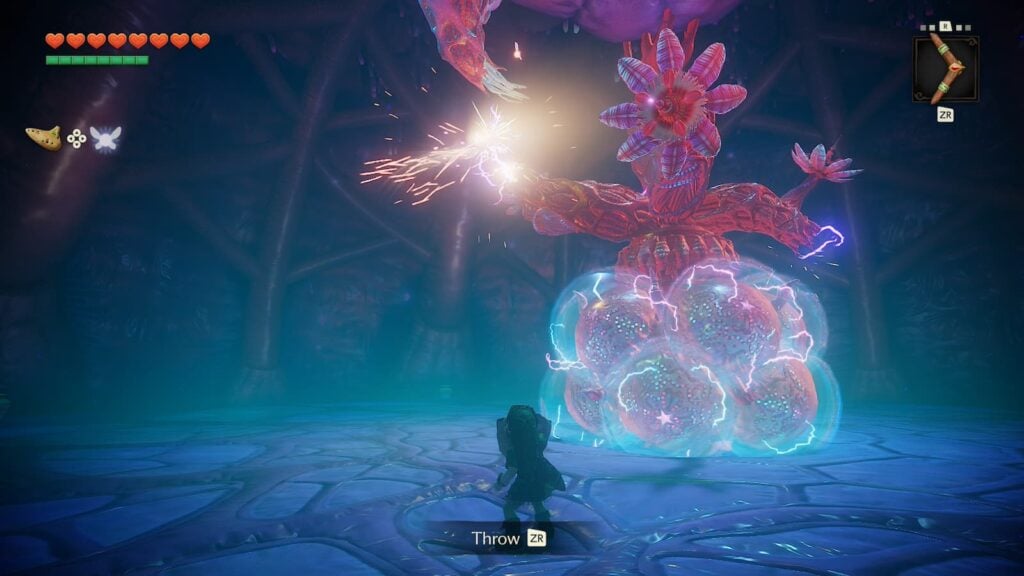
When barinade falls to the ground, the jellfish surrounding it will begin to roll around the area as projectiles. When the electricity on them fades, throw your boomerang them. Once all of the jellyfish have been defeated, Barinade’s main body will raise from the ground and the next phase of the fight will begin.
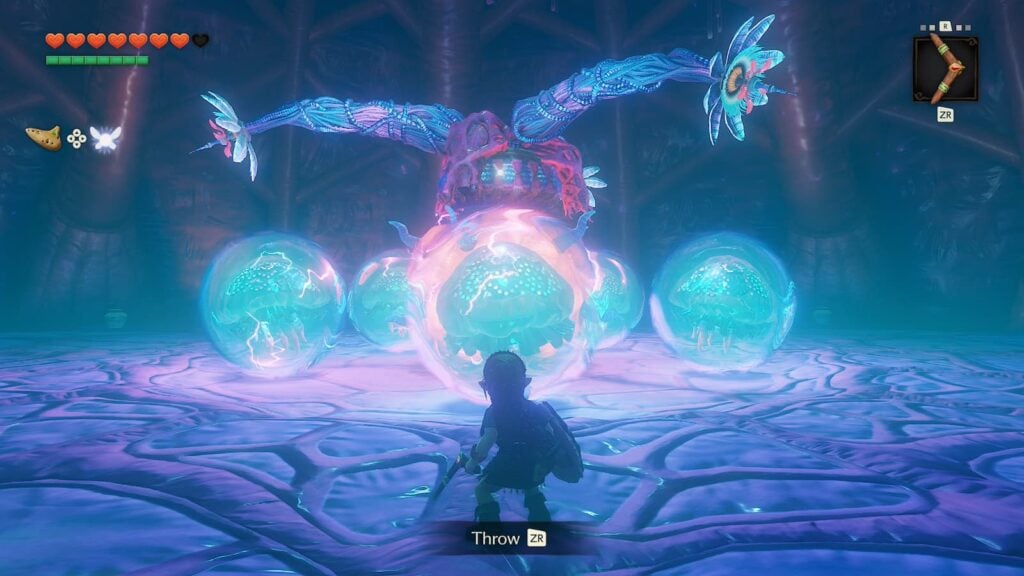
During this phase you’ll need to throw your boomerang in-between the jellyfish in order to hit Barinade’s weakpoint. When the weakpoint is hit, the jellyfish will become vulnerable again. Just like the first phase, your goal here is to take out all of the jellyfish.
Once all the Jellyfish are defeated, the third phase of the fight will begin. During this phase, Barinade will fly around and shoot lightning at Link. If you hit Barinade during this phase, it’ll fall to the ground and become vulnerable to sword attacks. Strike him eight times with your kokiri sword and the fight will come to an end.
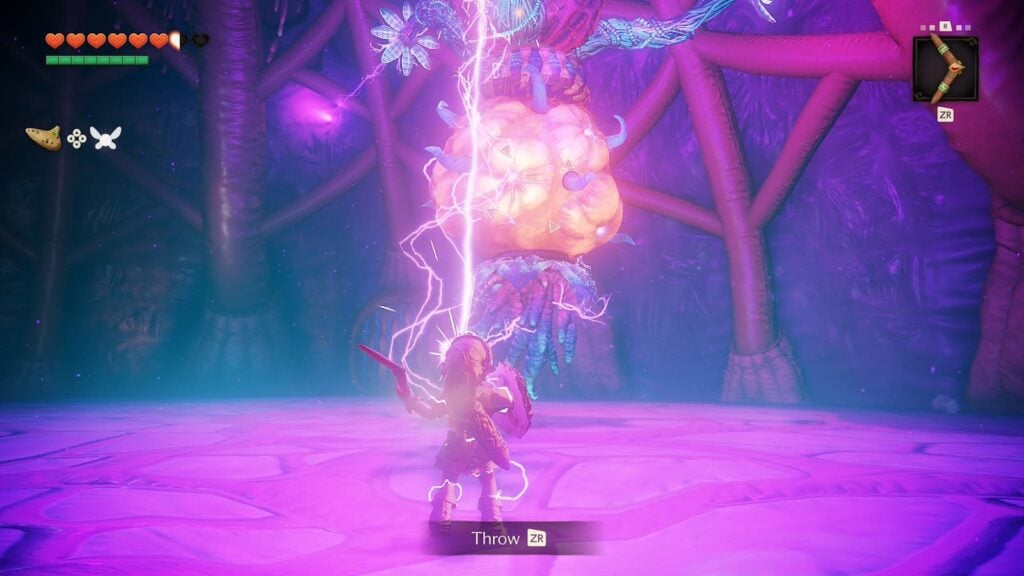
Collect the heart container that Barinade leaves behind and exit through the portal to obtain the third and final Spiritual Stone.