Want to see Raider King content first? Add us as a preferred source.
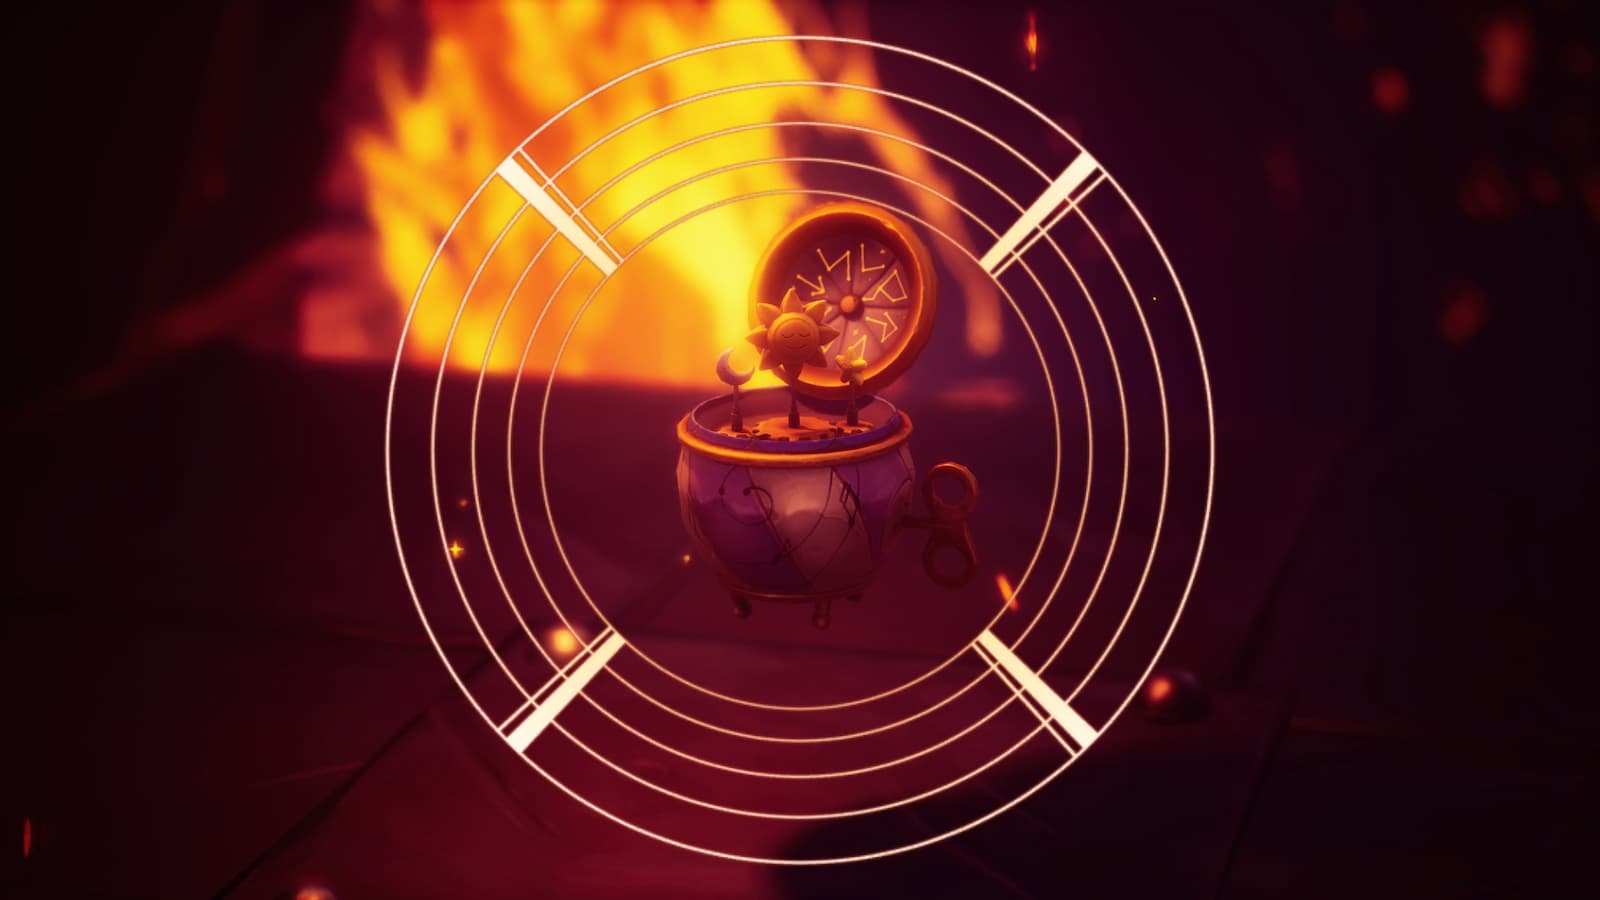
Duskfade has six alternate costumes that the player can wear at any time, but to give them just a bit more variety the game will also let them dye each costume in five different colors. However, this will cost you both money and a dye flask to do. In order to unlock every color-scheme for every costume, the player will need to find every Dye Flask in the game. If you want a full collection of costumes or you’re simply the type of person who goes for 100% completion, please feel free to follow this guide detailing where to get all of the Dye Flasks in Duskfade.
All Dye Flask Locations in Duskfade
There are thirty different Dye Flasks hidden throughout Duskfade, however you’ll only need to find twenty eight of them within the game’s stages as two Dye Flasks can be purchased. Every stage in the game has at least one Dye Flask hidden within it and below I have listed all of their locations.
Tick Town Dye Flasks
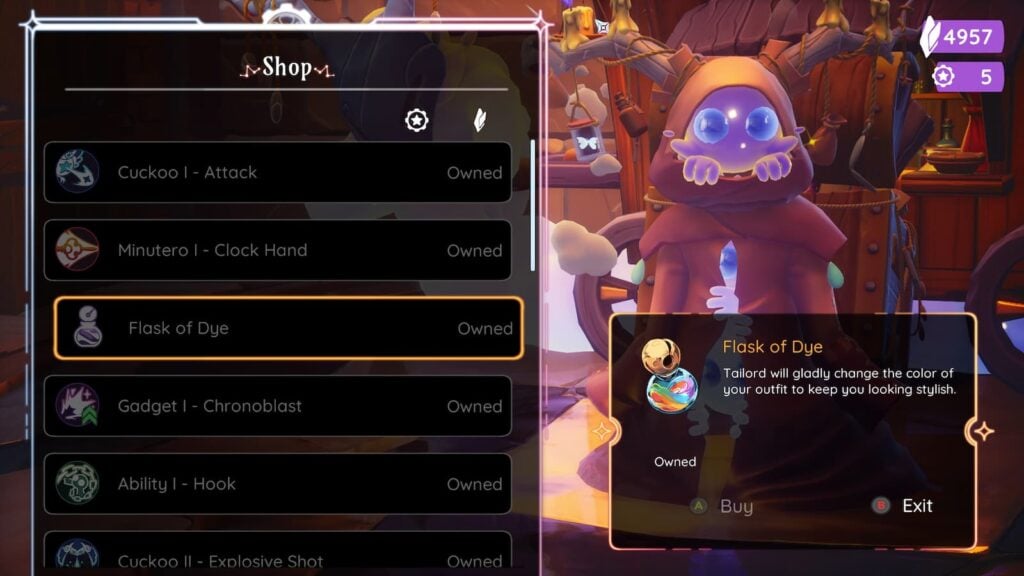
There are two Dye Flasks that can be purchased in Tick Town. One can be purchased after defeating the boss in the Prison of the Beast and the other can be purchased after defeating the boss in the Veiled Chambers.
Erazus Forest Dye Flasks
There are two Dye Flasks in the Erazus Forest, but you cannot get either of them during your first visit to the stage.
Dye Flask 1
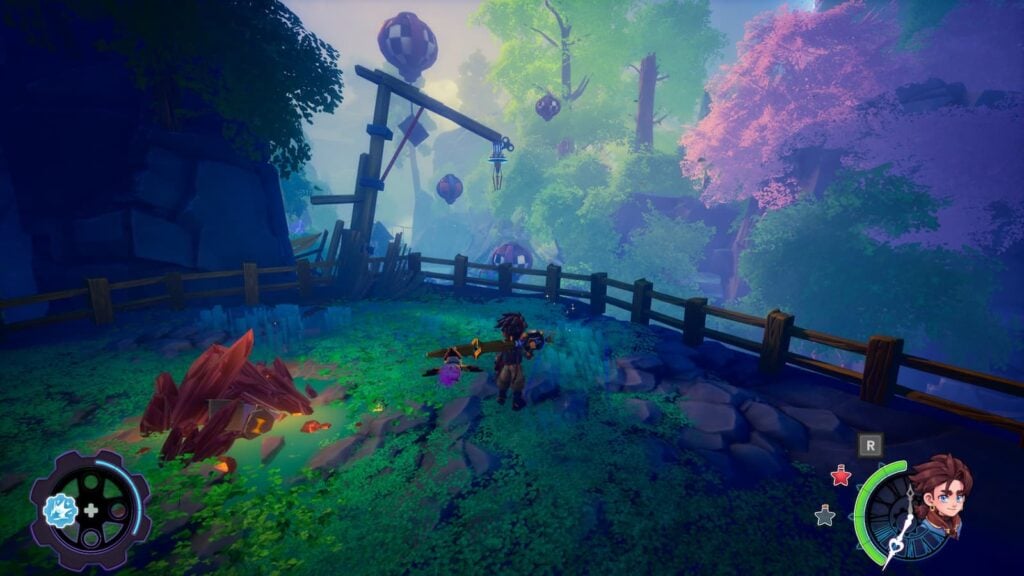
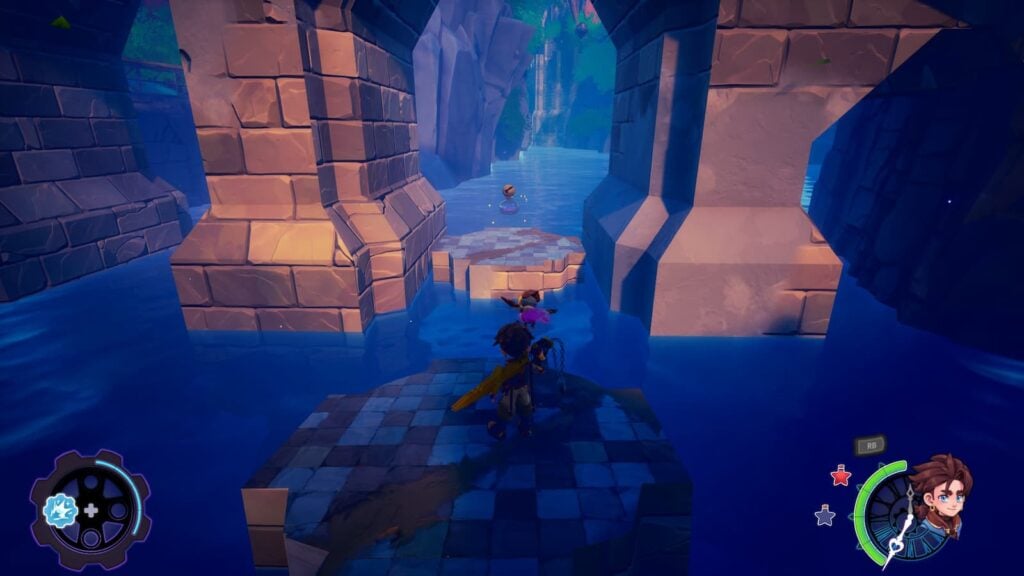
You won’t be able to get the Dye Flask in this area until AFTER you obtain the Grappling Hook from the Starstone Mines stage. Once you have that item, teleport to the fast travel point in Erazus Forest. On a ledge to the left of the fast travel point, you’ll find a series of balloons that you can grapple onto. Follow their path and you’ll end up below the bridge from earlier in the stage, there will be a dye flask here.
Dye Flask 2
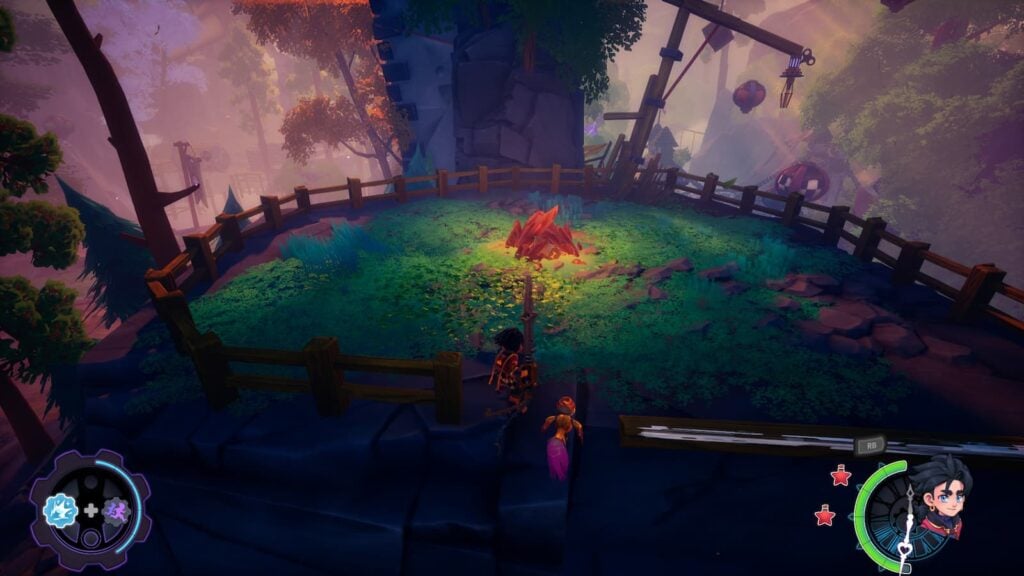
You won’t be able to get the second Dye Flask in this area until AFTER you obtain the Pendulum from the Apprentice’s Wing stage. Once you have that item, return to the Erazuz Forest fast travel point and break the crystals around this treasure chest to unbury it for another dye flask.
Scorched Grove Dye Flask Locations
There are two Dye Flasks in the Scorched Grove, but you can only get one of them during your first visit to the stage.
Dye Flask 1
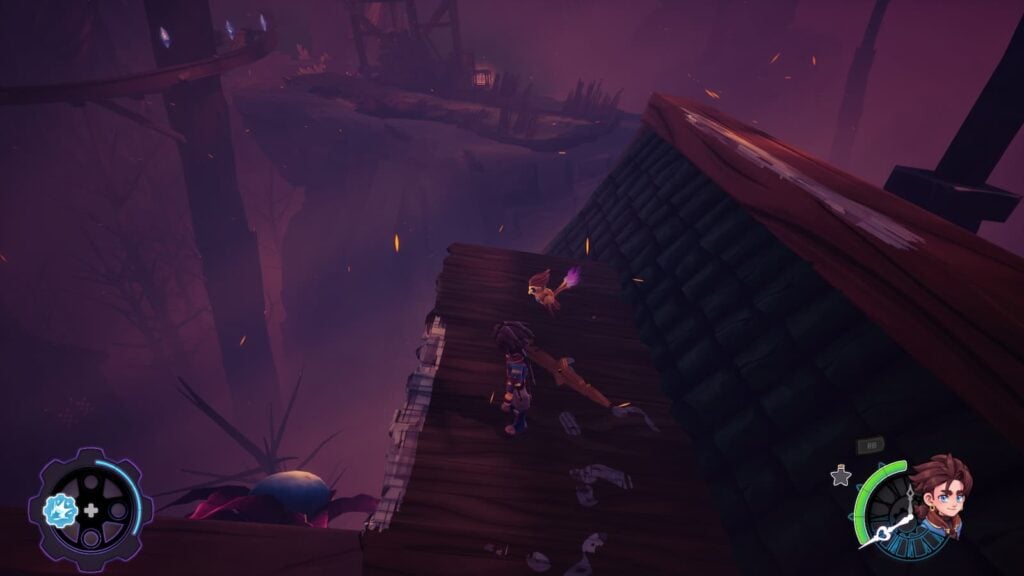
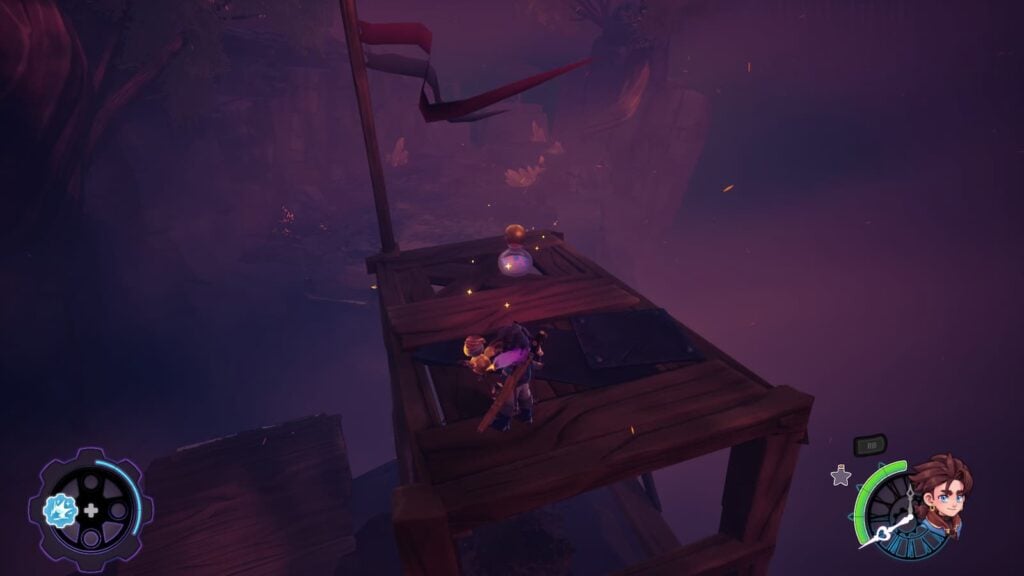
Near the end of the stage, you’ll see this bouncy plant on the side of a house you walk on during the main path. Jump on it, then perform a double jump and a mid-air dodge to gain enough distance to reach the platform that this flask of dye is placed on top of.
Dye Flask 2
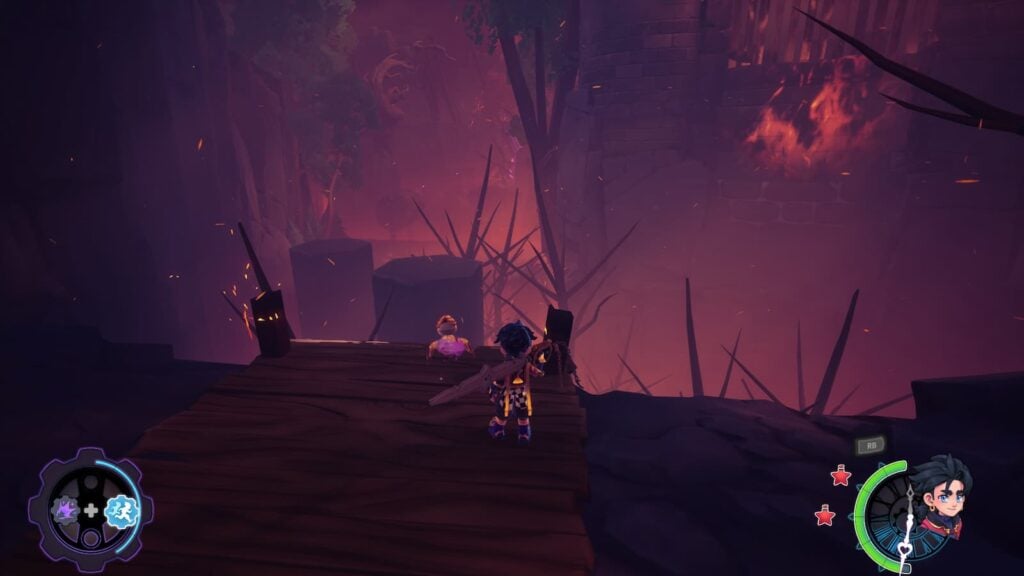
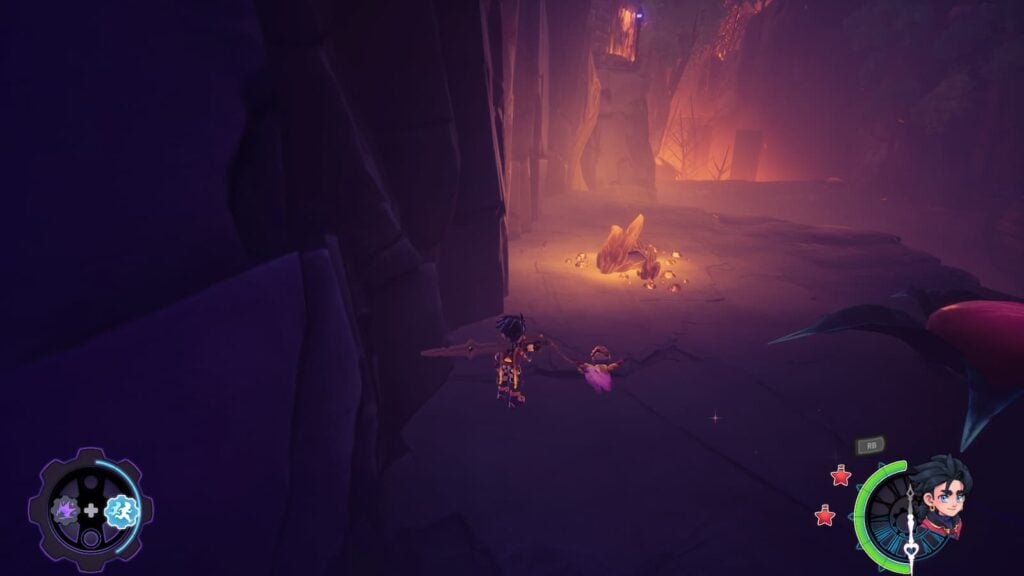
You won’t be able to get the second Dye Flask in this area until AFTER you obtain the Pendulum from the Apprentice’s Wing stage. Once you have that item, make your way to the path to the left of the Scorched Grove fast travel point and you’ll find a buried chest that you can open with your Pendulum attack. Inside of it is another dye.
Starstone Mines Dye Flask Locations
There’s two Dye Flasks in the Starstone Mines, but you cannot get one of them during your first visit to this level.
Dye Flask 1
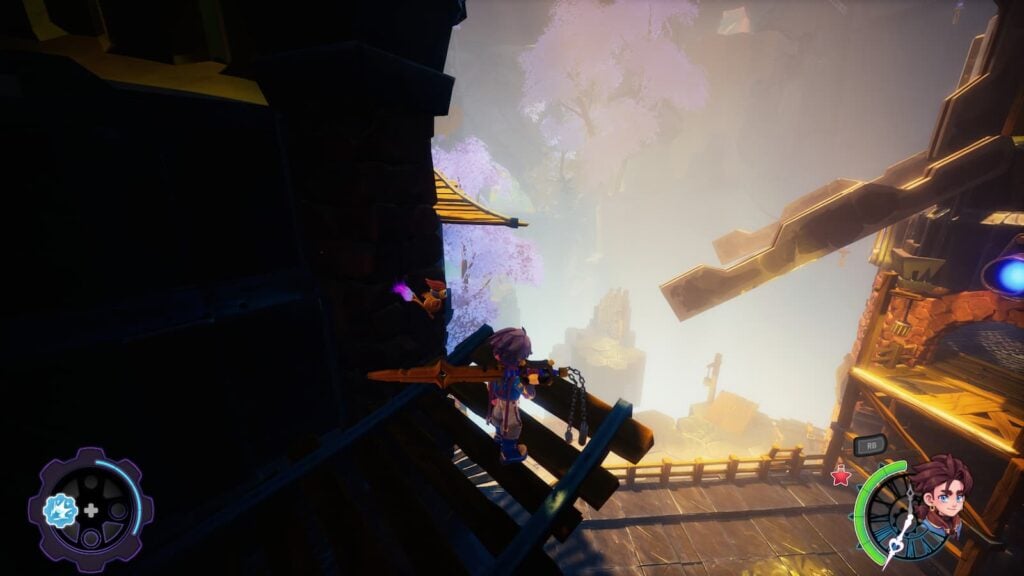
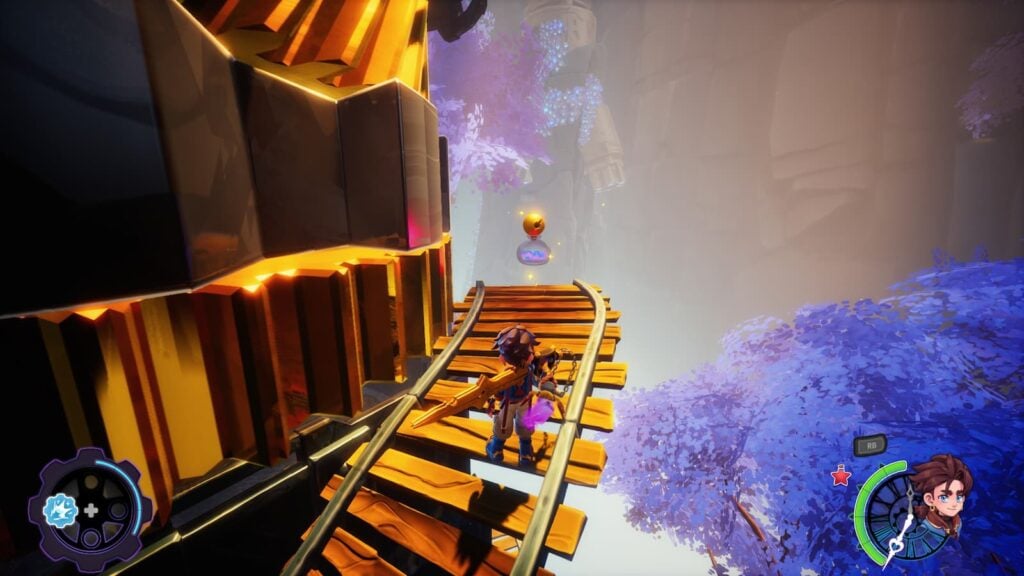
While progressing through the Clockmaster’s Workshop, jump to the steps on the left in this location instead of progressing along the main path to grab another Dye Flask.
Dye Flask 2
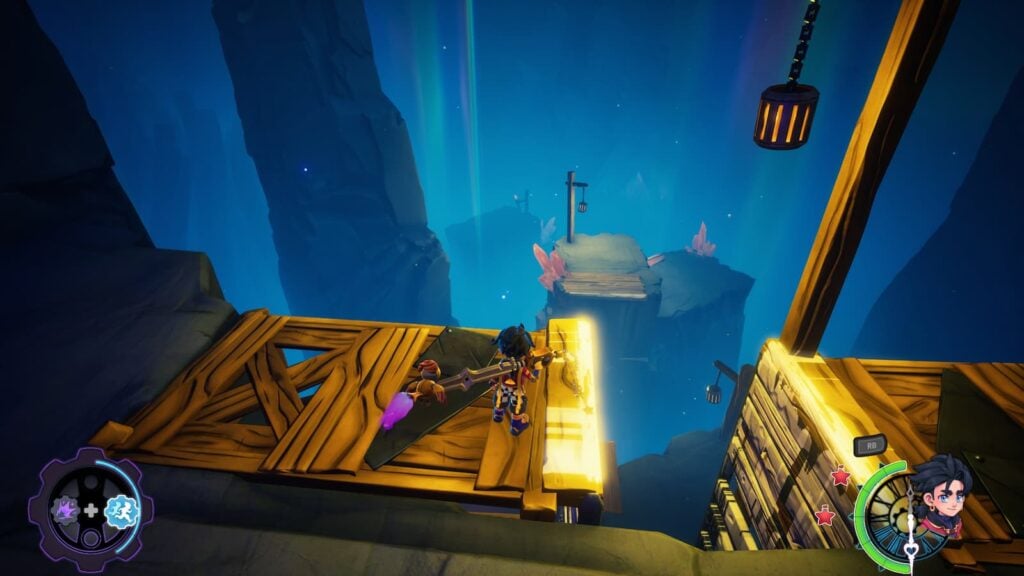
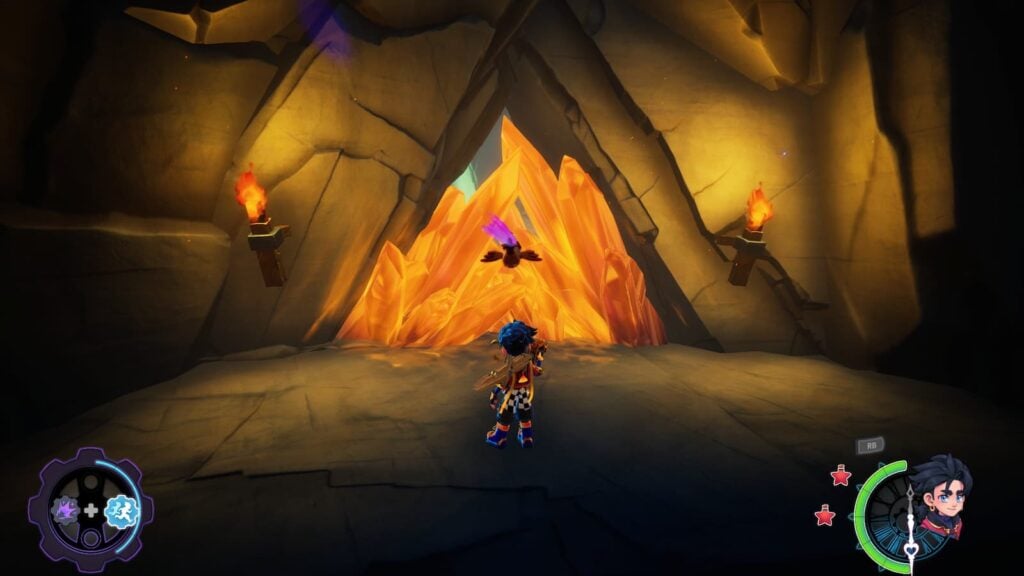
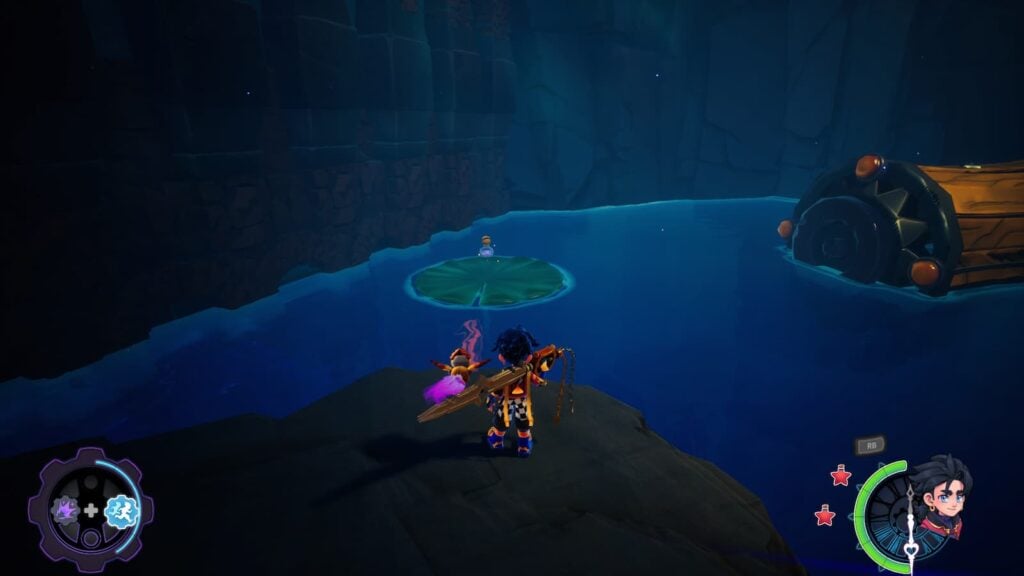
You won’t be able to get the second Dye Flask in this area until AFTER you obtain the Pendulum from the Apprentice’s Wing stage. Once you have that item, return to the Starstone Mines fast travel point and make your way down the path to the right. Here you will see a path blocked by orange crystals that you can now break. Go down this path and you’ll find a room with a Theiving Cat at the end as well as a Dye Flask sitting on a lilypad.
Mount Cinder Dye Flask Locations
There’s only one Dye Flask on Mount Cinder
Dye Flask 1
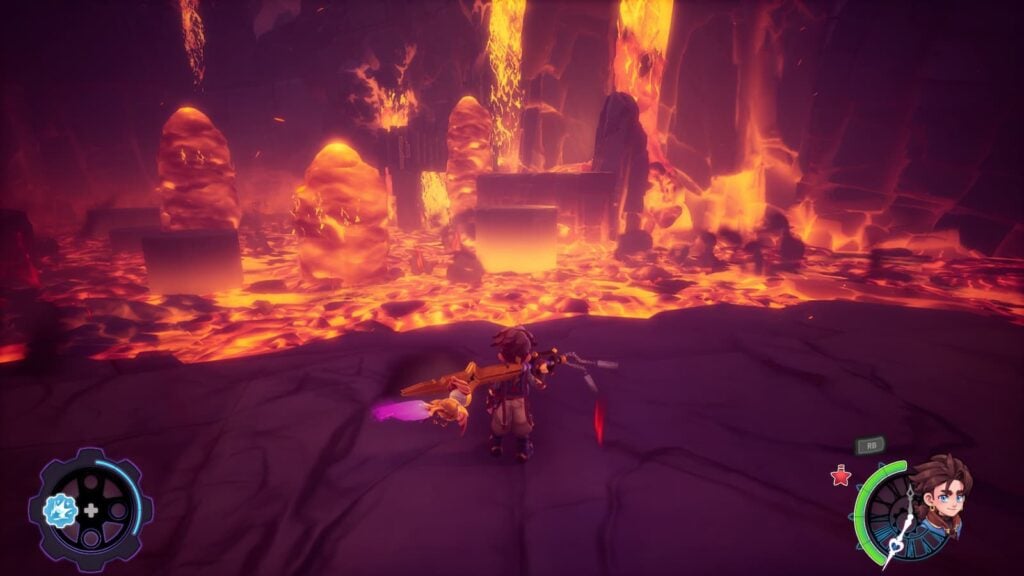
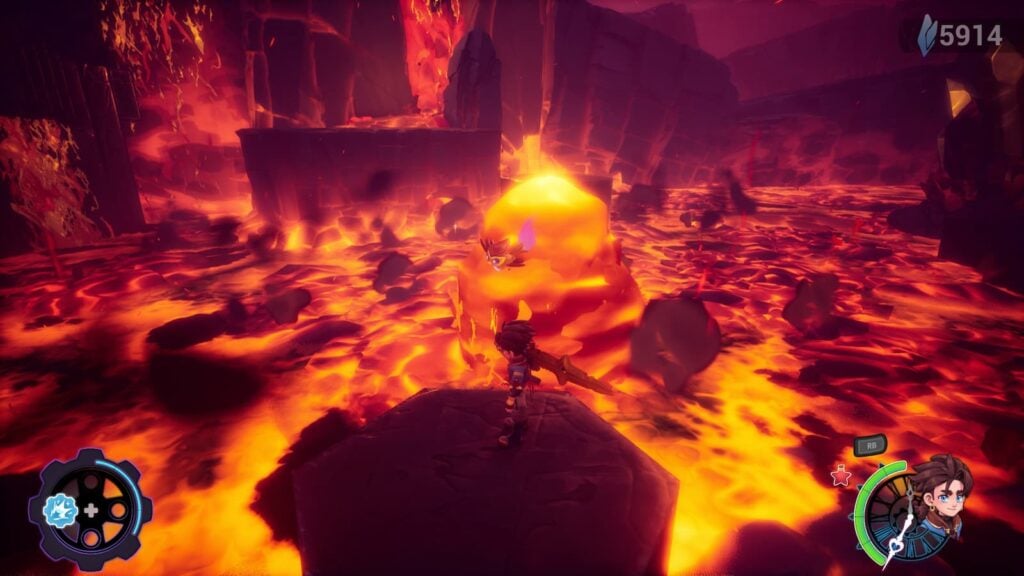
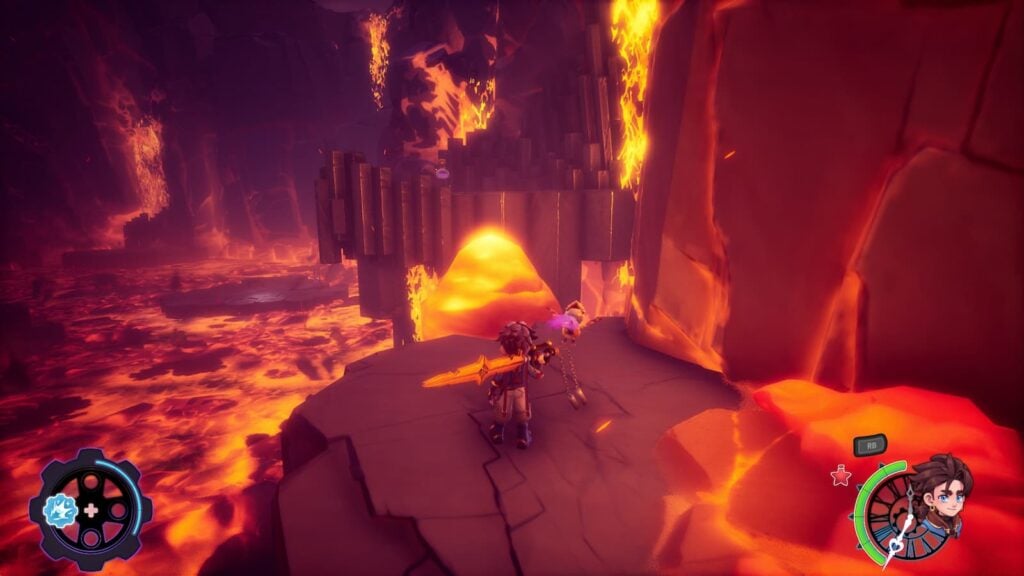
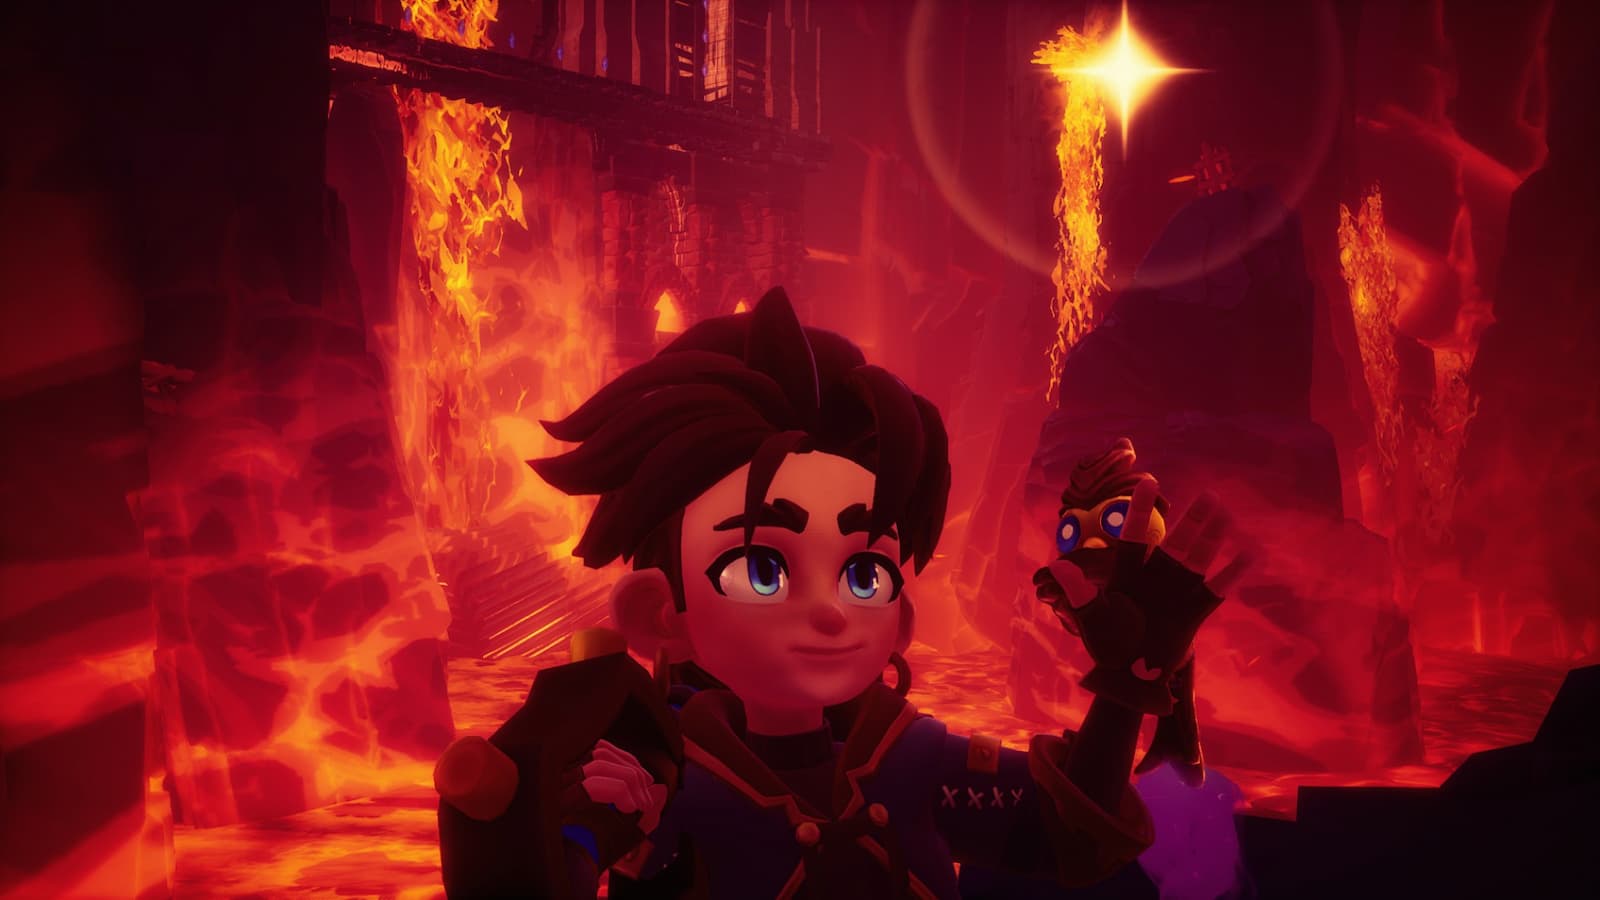
The first Dye Flask in this stage can be found slightly after the stage’s entrance. In this room there will be pillars that occasionally rise out of the lava. Jump across these to the rocks to the right to obtain the dye flask
Meridian Village Dye Flask Locations
There’s two Dye Flasks in the Meridian Village, but you can only get one of them during your first visit to the stage.
Dye Flask 1
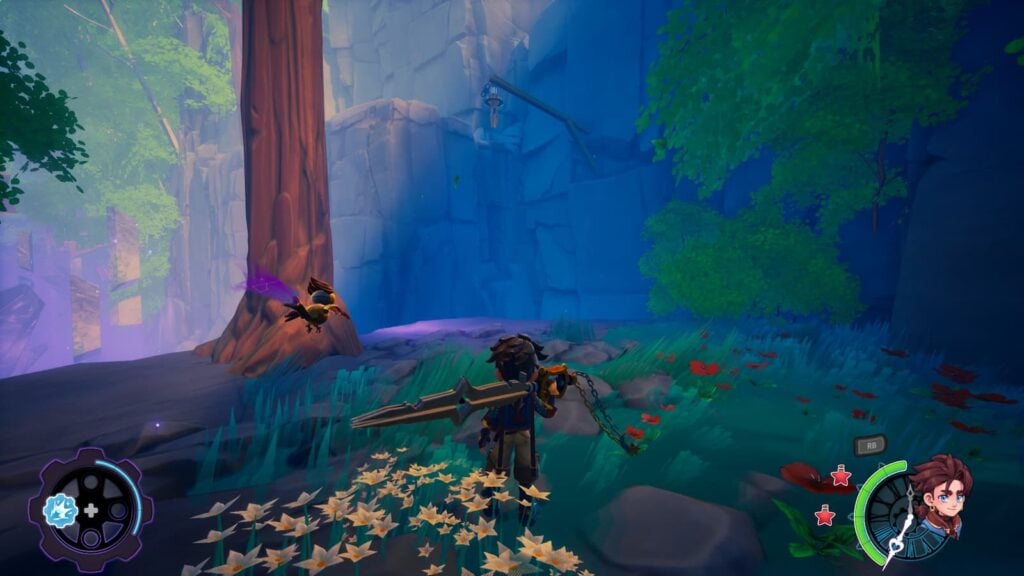
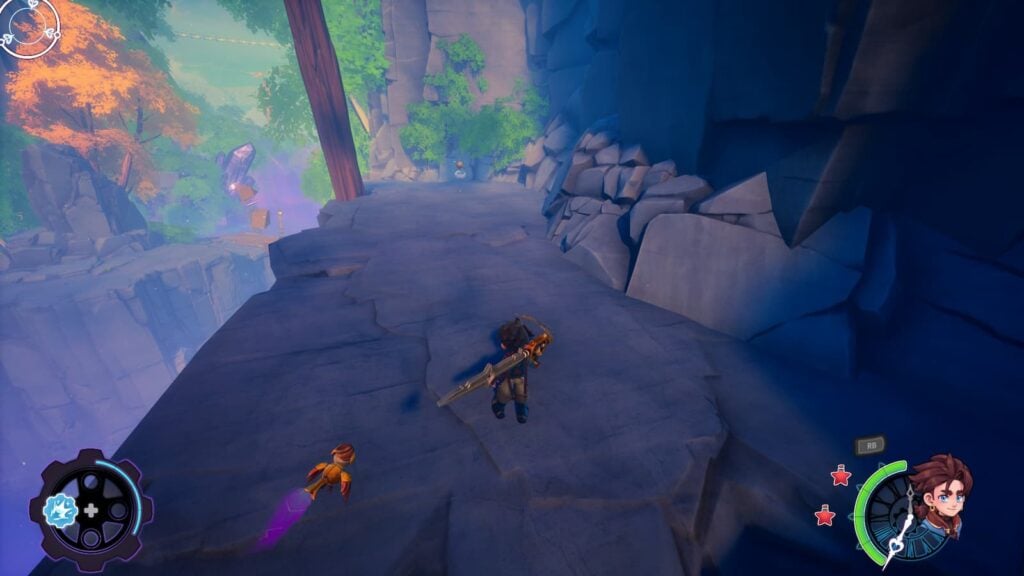
The first Dye Flask in this area can be found near the end of the forest segment after the first checkpoint. To the left of the exit that leads to the fast travel point, you’ll see a grapple point that leads to a rocky ledge where this dye flask will be waiting for you.
Dye Flask 2
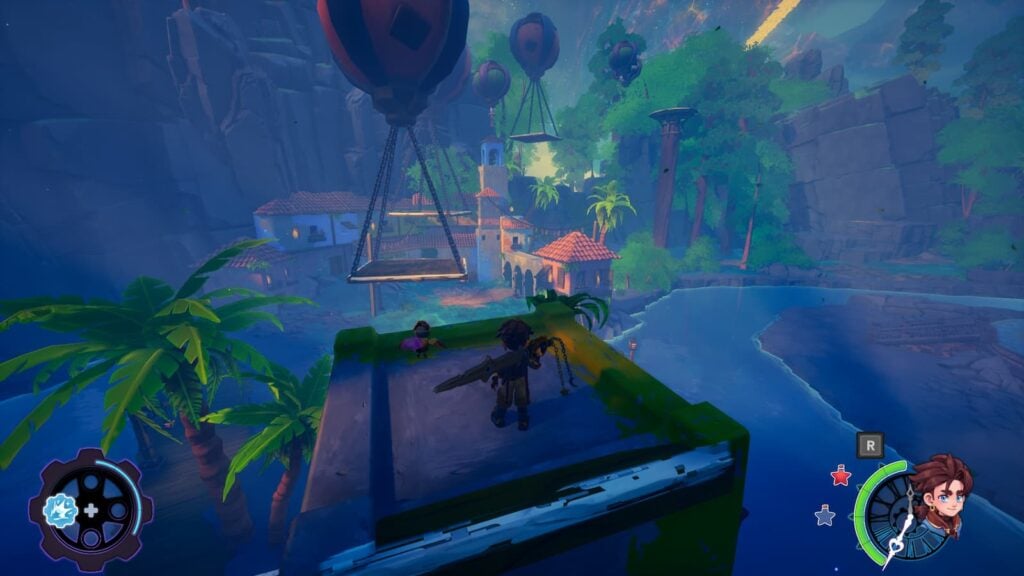
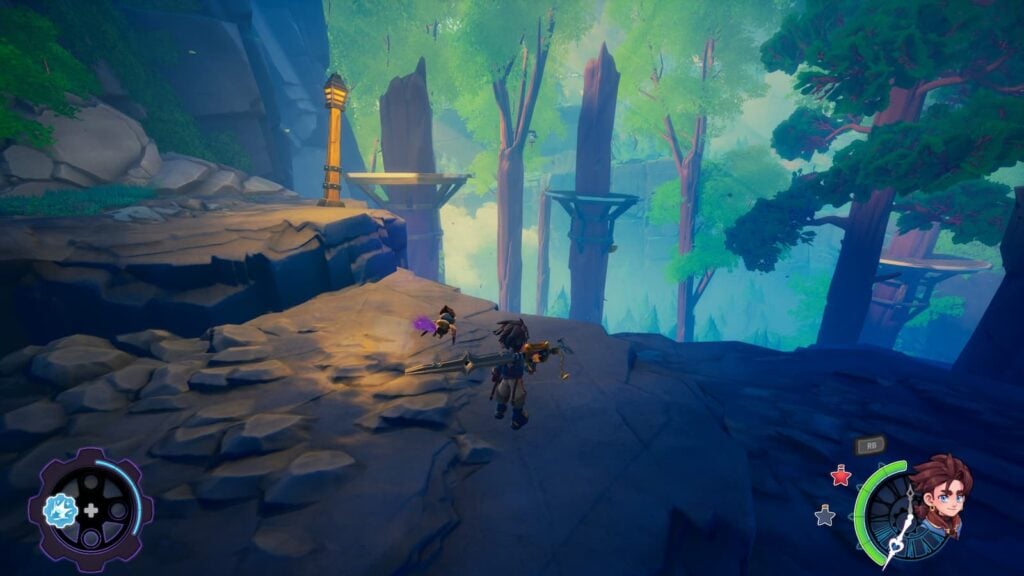
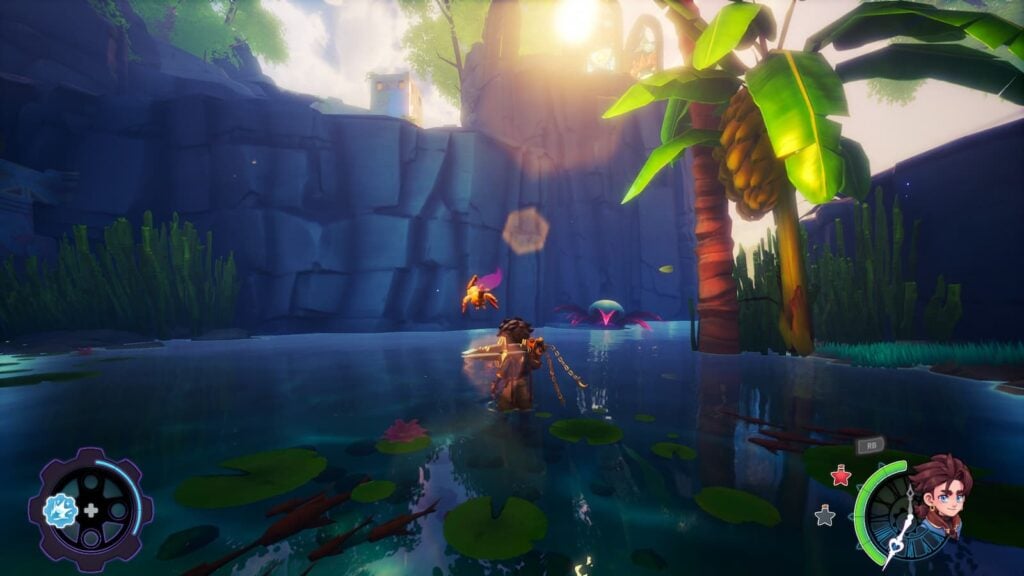
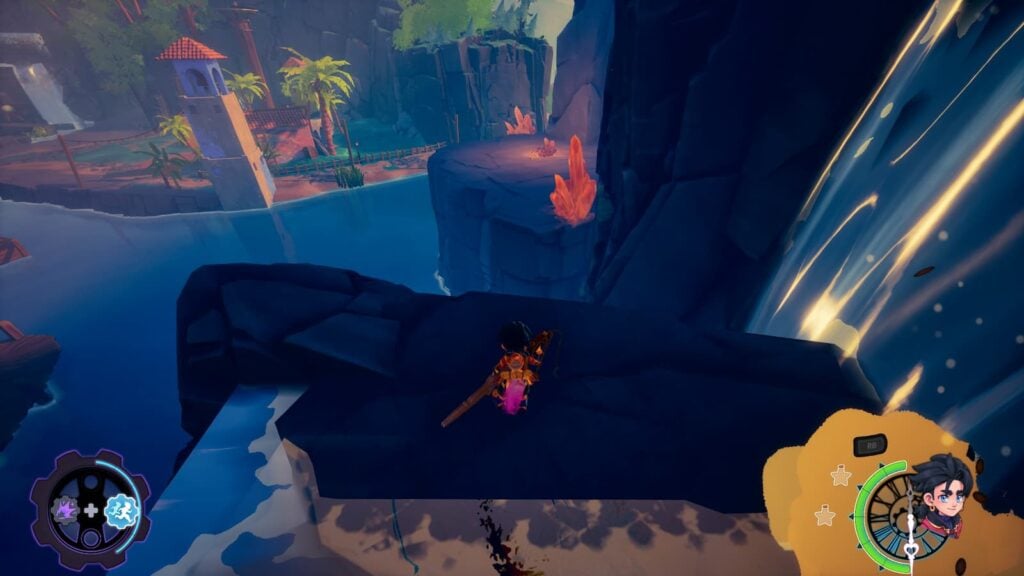
You won’t be able to get the second dye in this area until AFTER you obtain the Pendulum from the Apprentice’s Wing stage.
To the right of this area’s fast travel point you’ll see a building that you can jump on top of. From here, traverse the platforms until you reach the top of the eastern cliffside. Here there will be a series of grapple points that will lead you slightly north until you’re back on land. After fighting the enemies here and getting the Heart Piece, look to the right before jumping all the way back down. Here you will spot a ledge with a buried chest. Use your Pendulum to uncover it and gain another Dye Flask.
Lantern Port Dye Flask Locations
There’s two Dye Flasks in Lantern Port, but you can only get one of them during your first visit.
Dye Flask 1
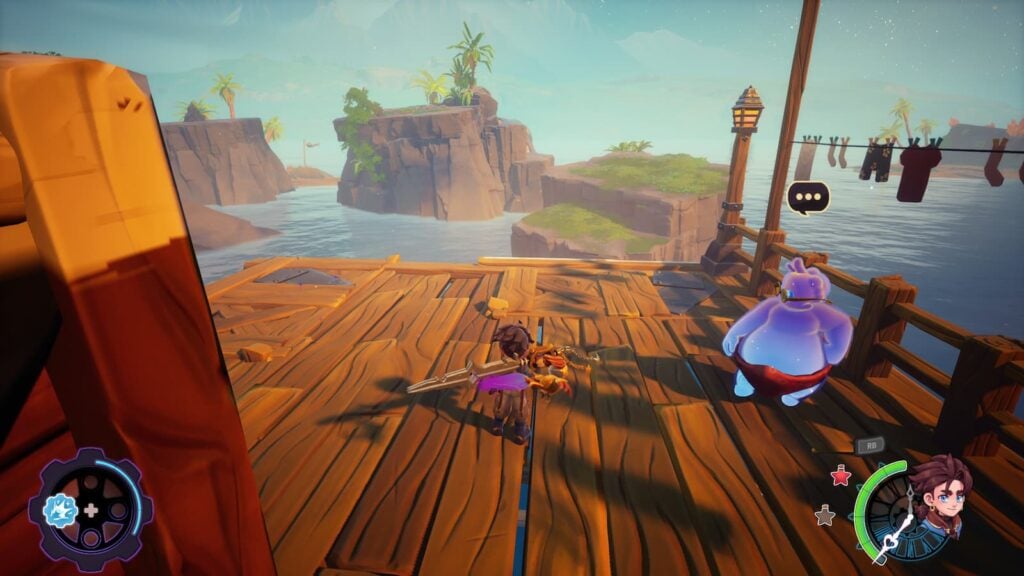
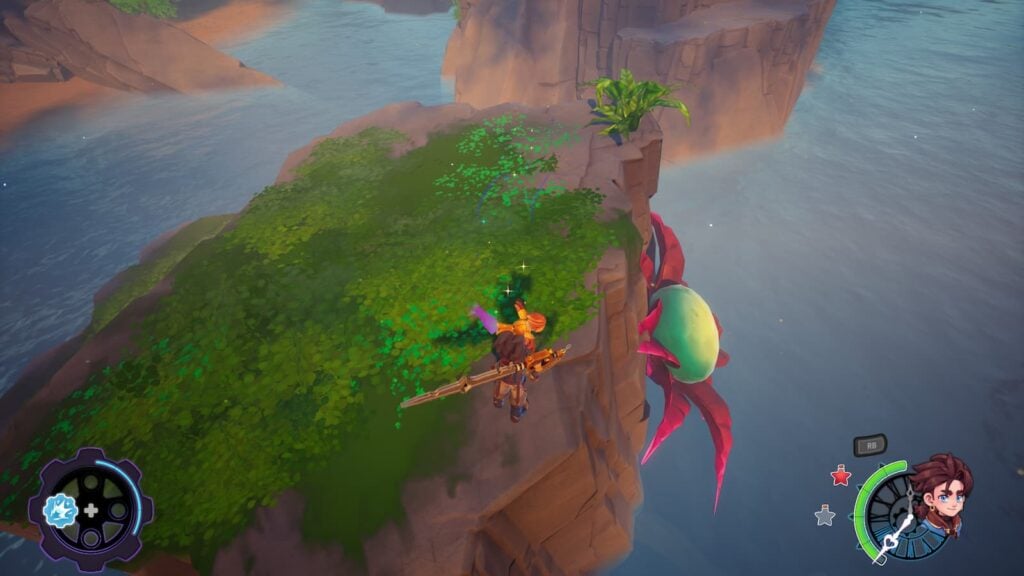
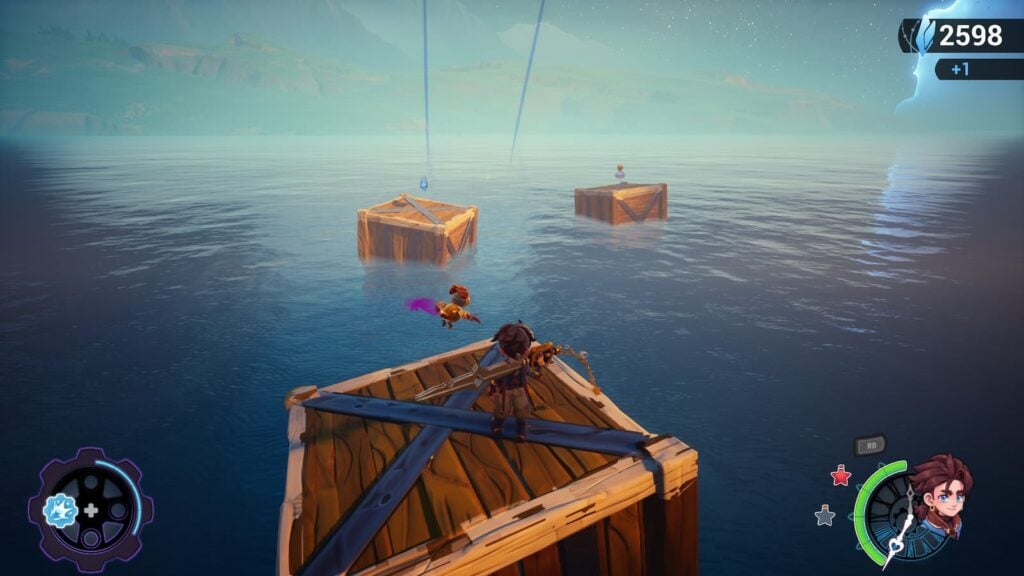
This dye last can be found to the left of the stage’s fast travel point. Beyond the port here you will find a bouncy plant attached to a stone which will launch you far away to an island. Behind this island you’ll find several boxes that you can jump on. There will be a dye flask on the last box.
Dye Flask 2
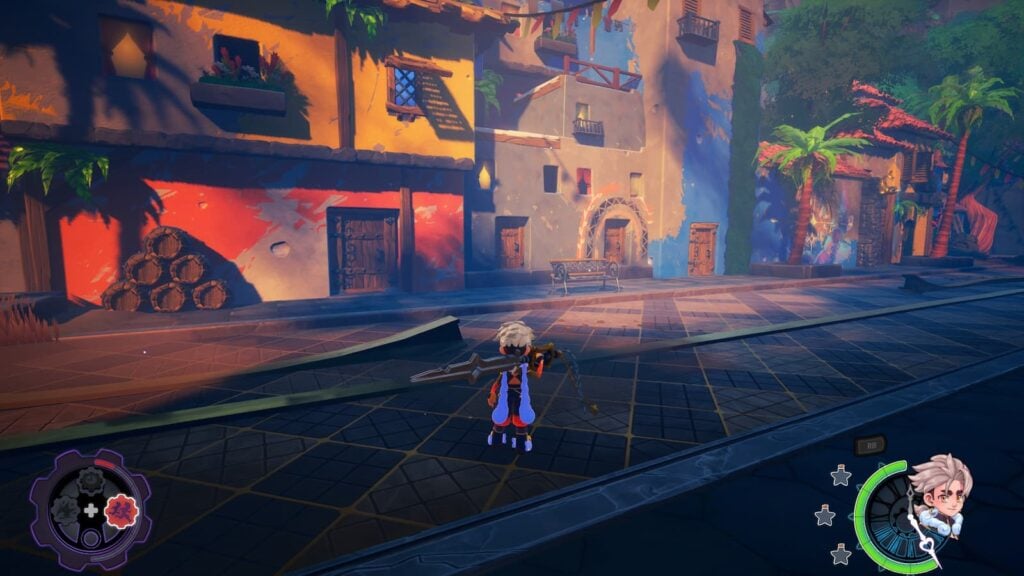
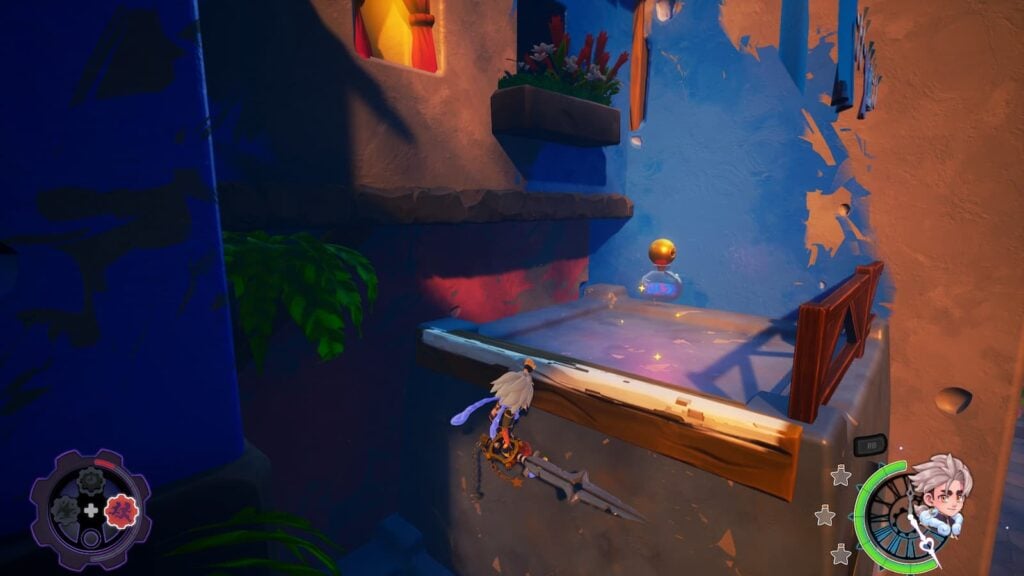
You won’t be able to get this Dye Flask until AFTER you obtain the Sundial from the Celestial Kingdom stage. Once you have it, return to the beginning of the stage (You can easily reach here via walking from Meridian Village) and grind off this left that’s to the right of the starting area to reach a platform with a Dye Flask
Clockwork Academy Dye Flasks
There is only one Dye Flask in the Clockwork Academy
Dye Flask 1
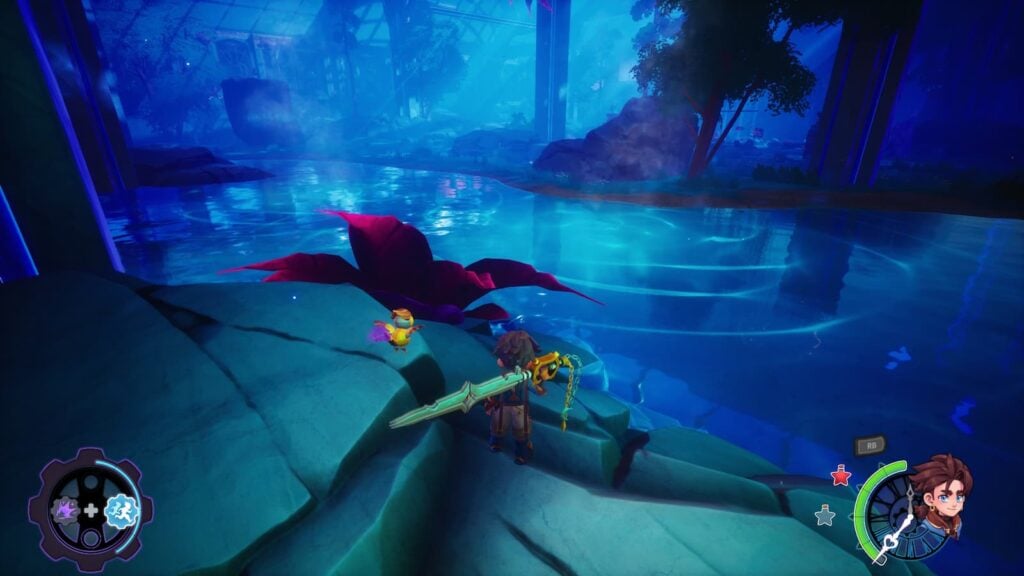
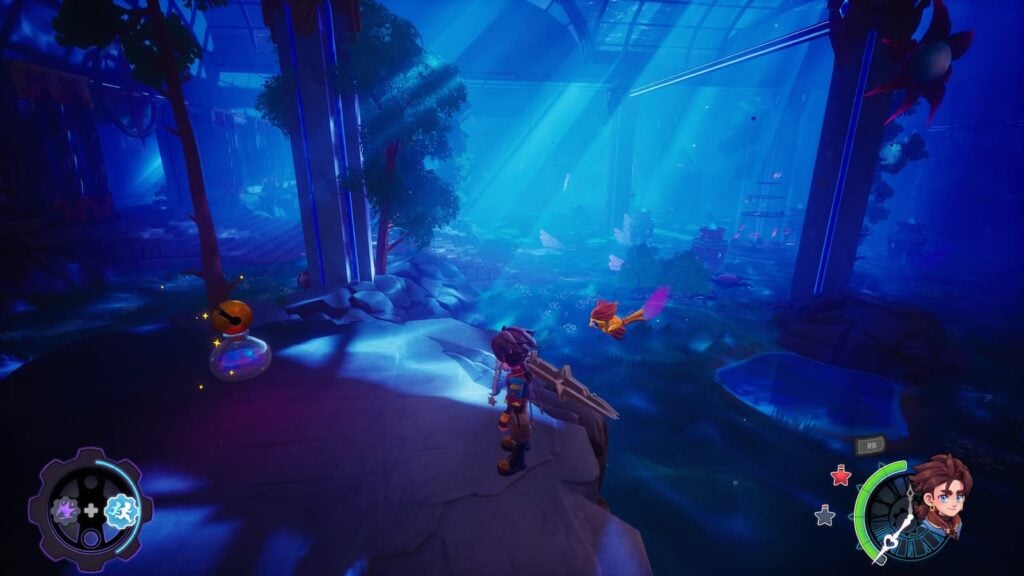
In the room with the fast travel point, make your way to the right of the room and you’ll find a bouncy plant. Jump on it and you’ll be launched across several bounce pads until you land on a rock with this dye flask.
Craftsman’s Wing Dye Flasks
You’ll be able to find one Dye Flask in the Craftsman’s Wing
Dye Flask 1
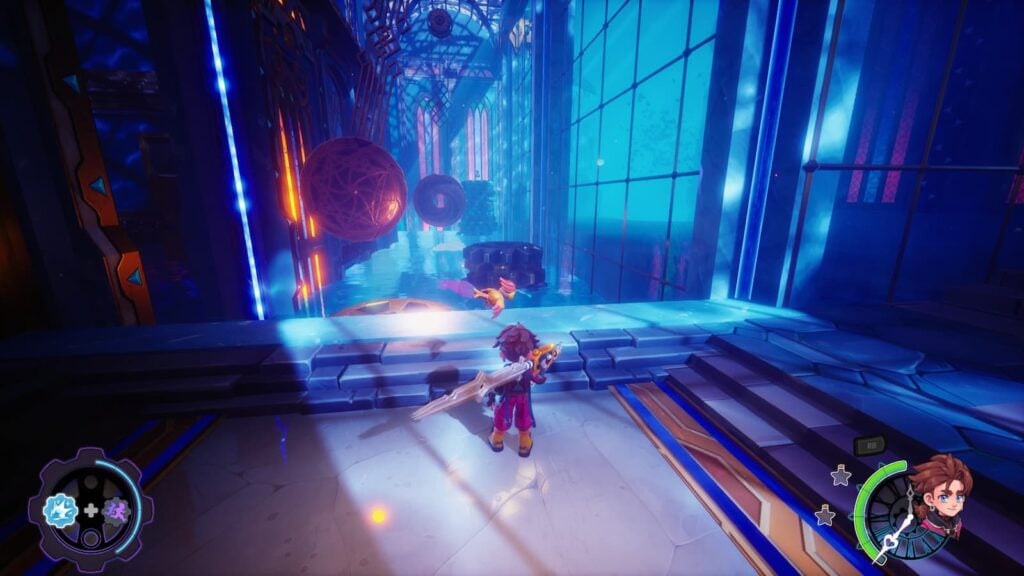
This dye flask can be found in the hallway to the right of the fast travel point. You’ll need to jump to a spire of water across from a pendulum to reach it.
Great Library Dye Flasks
There is a Dye Flask in the Great Library, but you cannot get it during your first visit.
Dye Flask 1
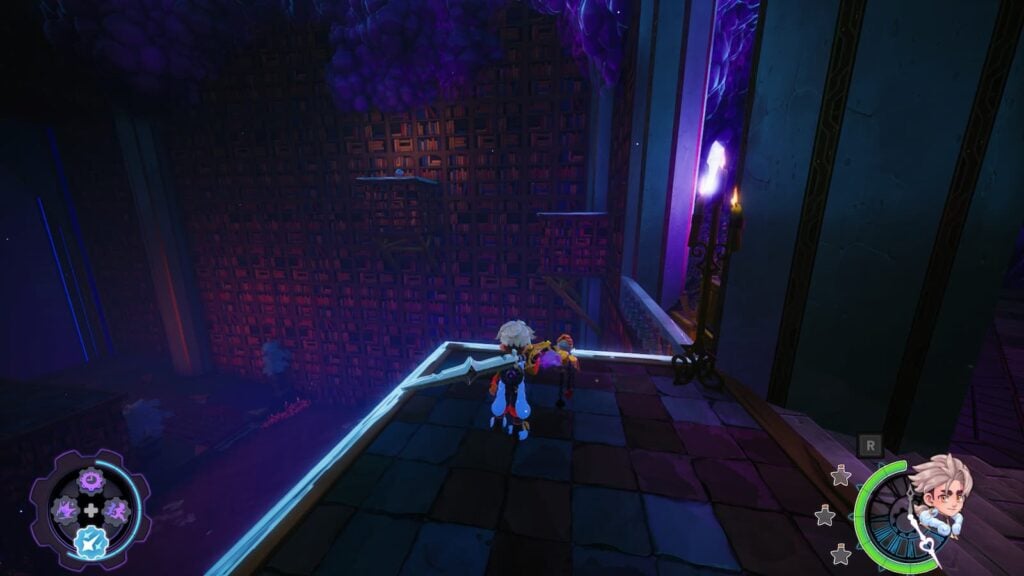
You won’t be able to get this Dye Flask until AFTER you obtain the Wings from the Clockmaker’s Rest stage. Once you have it, return to the Great Library fast travel point and turn to your right. You’ll immediately see a ledge that you can glide to with a Dye Flask on it.
Canal Hamlet Dye Flasks
There are two Dye Flasks in the Canal Hamlet
Dye Flask 1
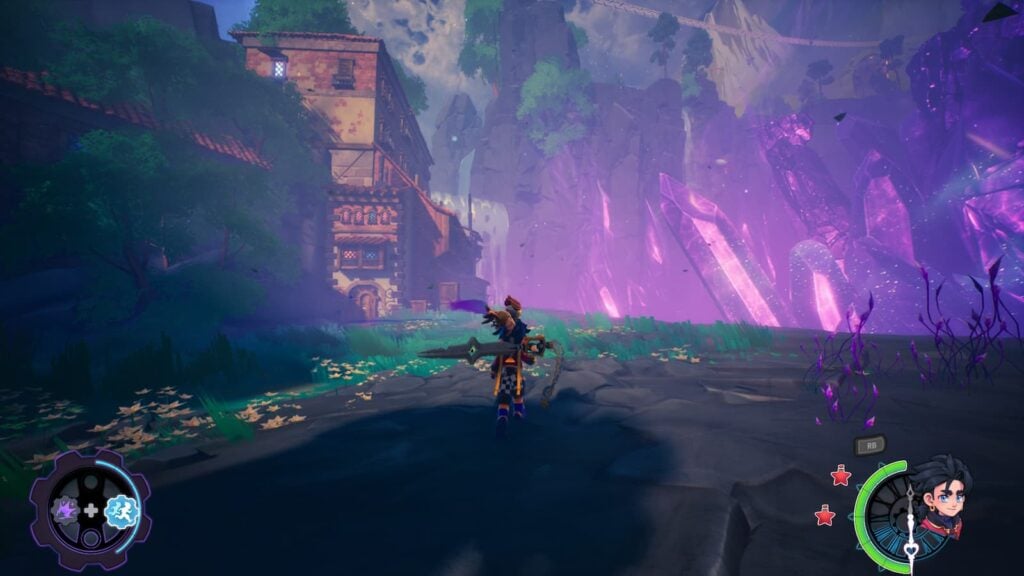
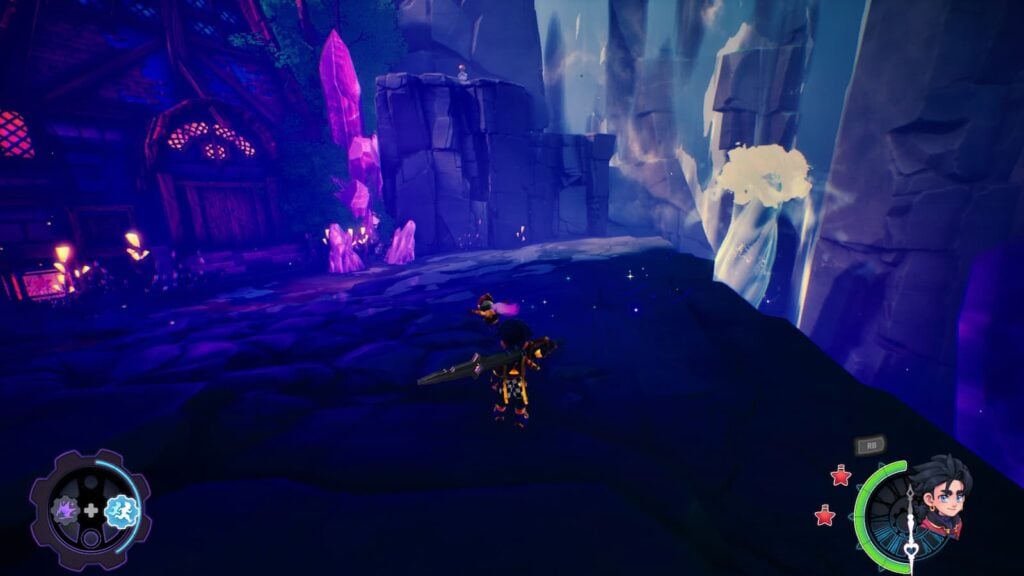
Right at the start of the stage, turn left and you’ll see a ledge with a dye flask on it. To get the flask, wait for a geyser of water to rise from the river and jump on it. This will give you enough height to jump onto the ledge and get the dye.
Dye Flask 2
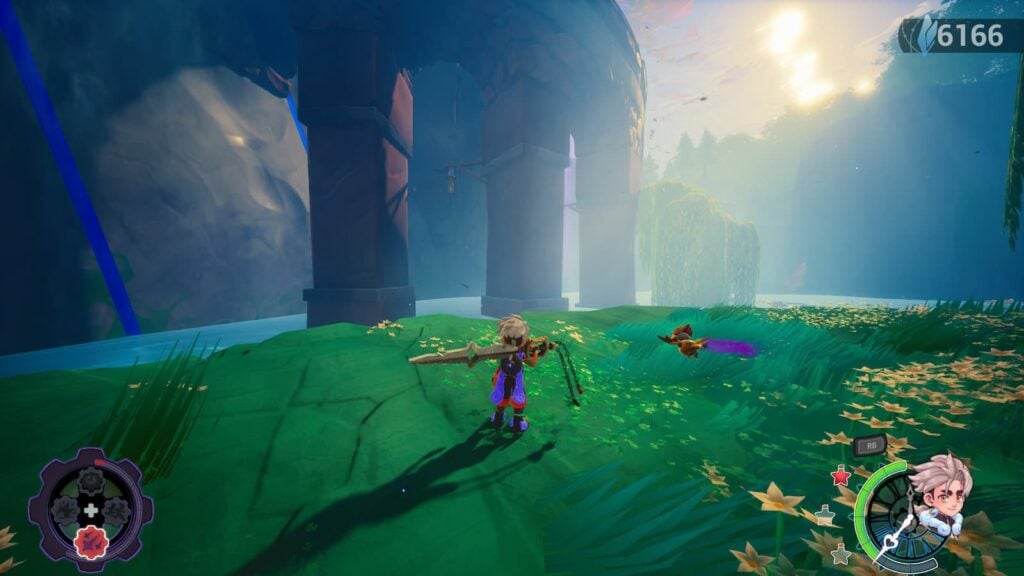
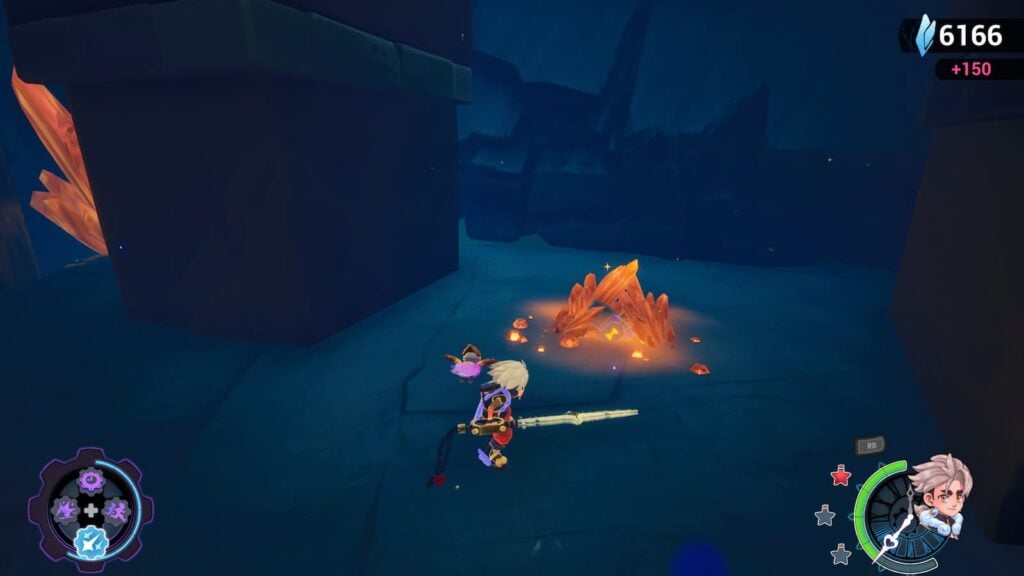
Near the end of the stage, there will be a large aqueduct that you’re supposed to scale to the top of via wall jumping. Instead of following the main path, grapple onto the various grapple point under the aqueduct and you’ll be led to a rocky island with a buried treasure chest which has a Dye Flask within it.
Celestial Kingdom Dye Flasks
There’s two Dye Flasks to be found in the Celestial Kingdom.
Dye Flask 1
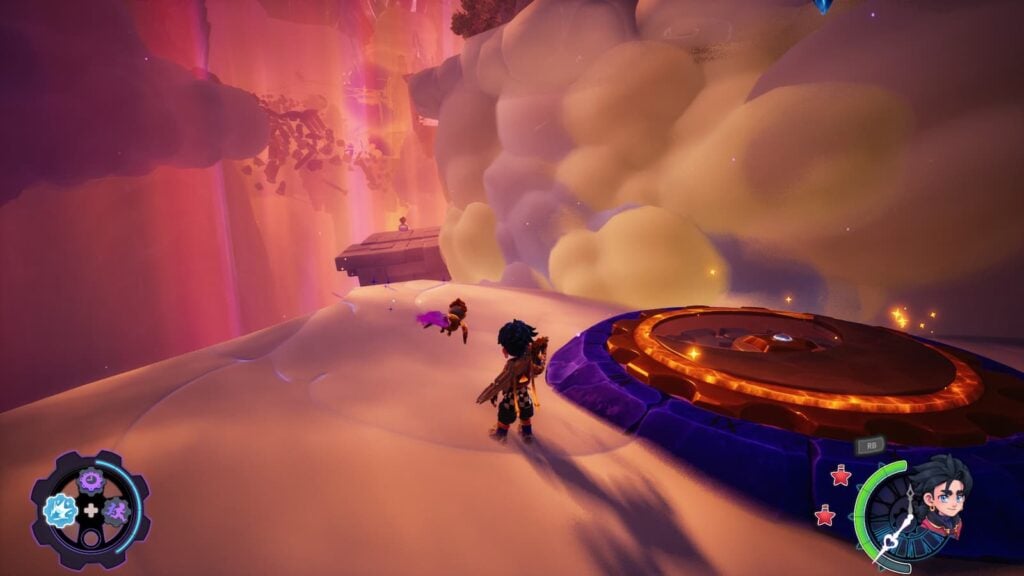
The first Dye Flask in this stage can be found to the left of the big bounce pad near the start of the area.
Dye Flask 2
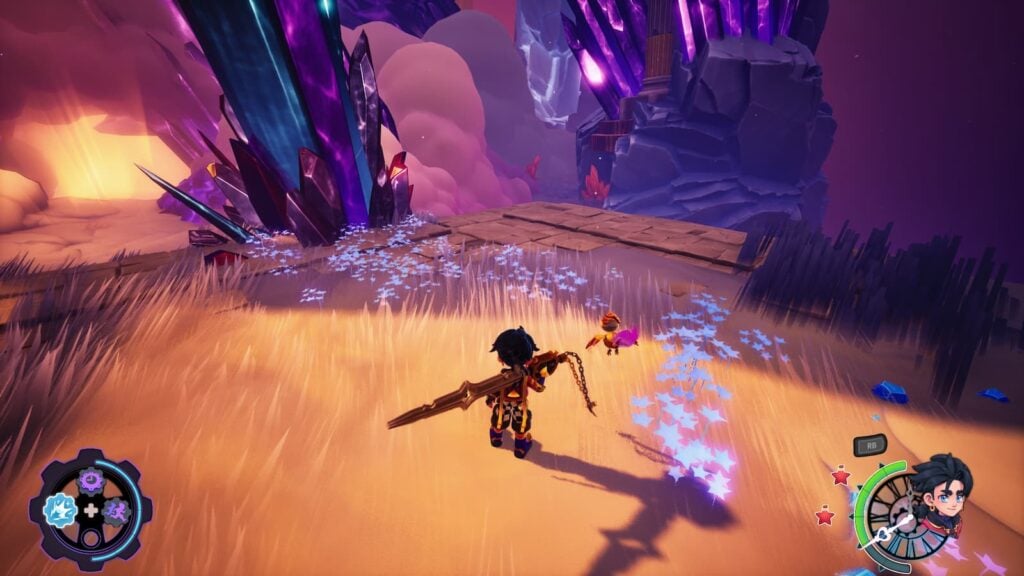
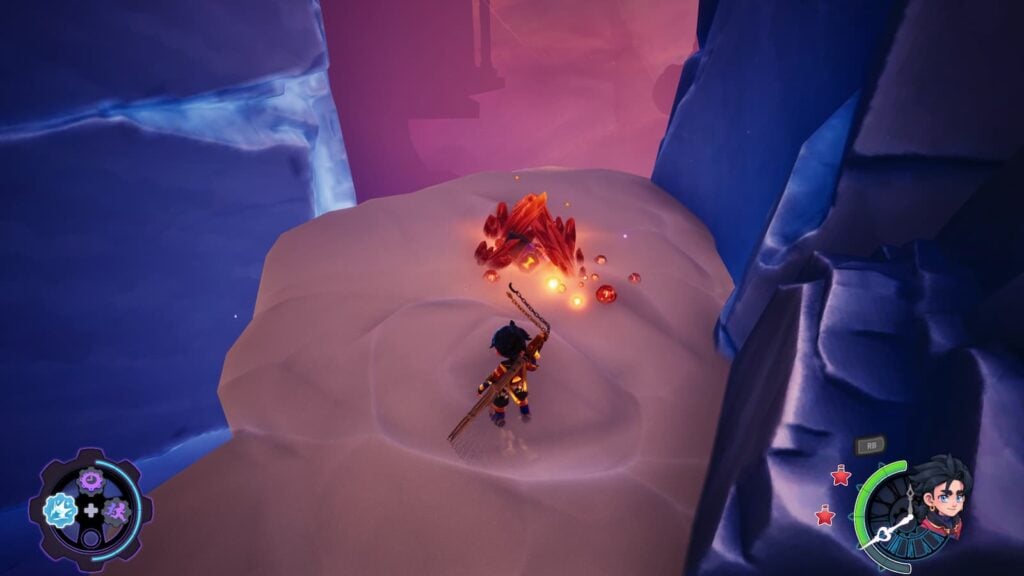
At the very end of the stage, there will be a small path to your right just before the exit. Down this path will be a chest buried with orange crystals. Use you Pendulum to unbury it and gain another Dye Flask.
Royal Highroads Dye Flasks
You’ll be able to find two Dye Flasks in the Royal Highroads.
Dye Flask 1
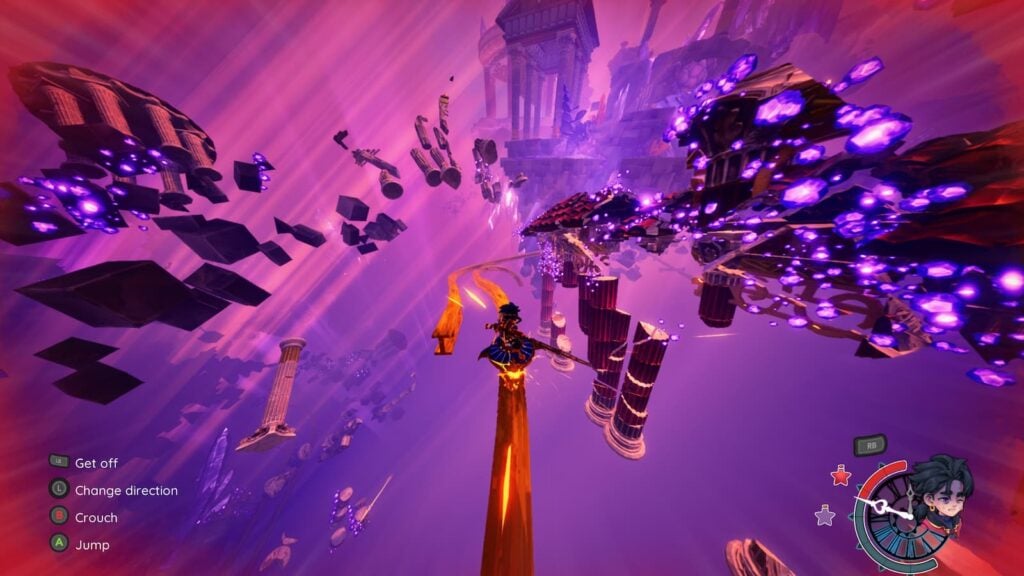
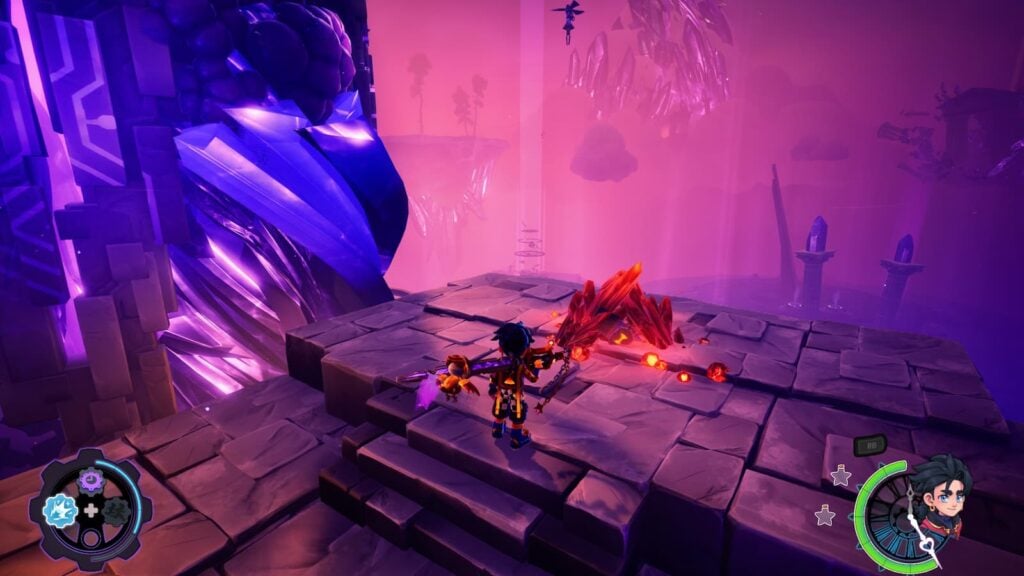
The first Ancient Coin of this stage can obtained via jumping to the left path during the first major grind rail segment of the stage. Ride the rail all the way to the top of the rock and you’ll find a buried chest with this dye flask.
Dye Flask 2
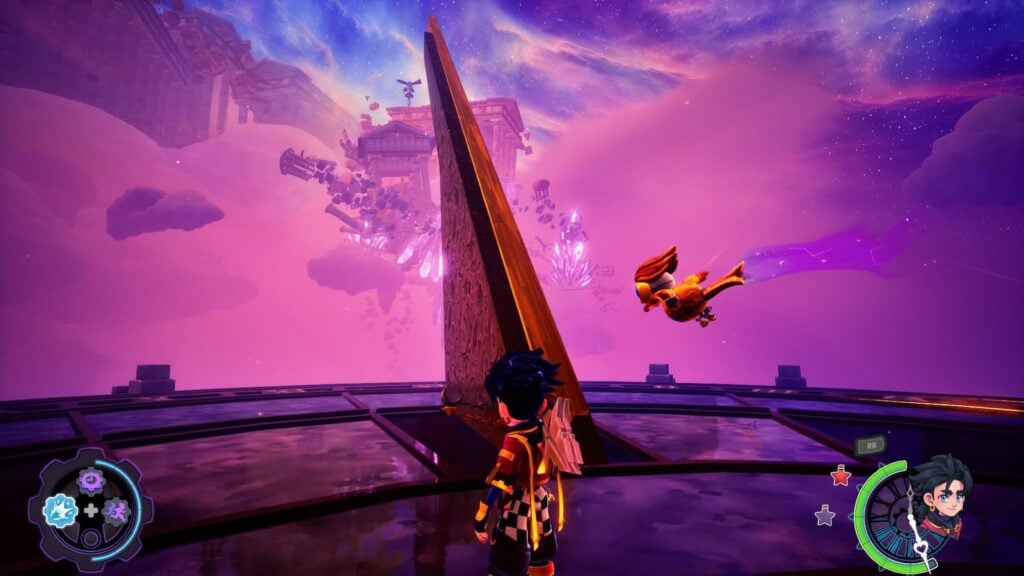
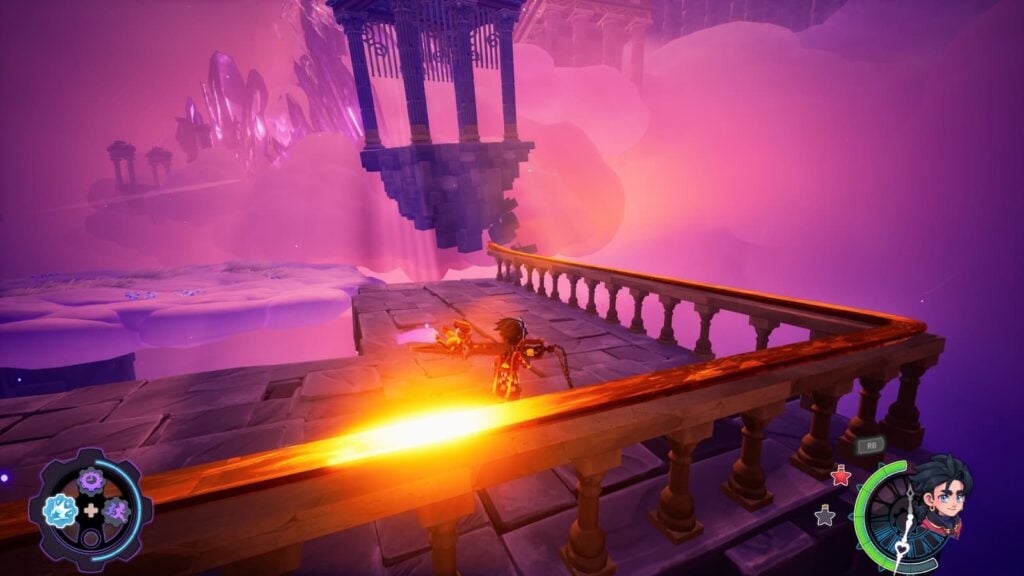
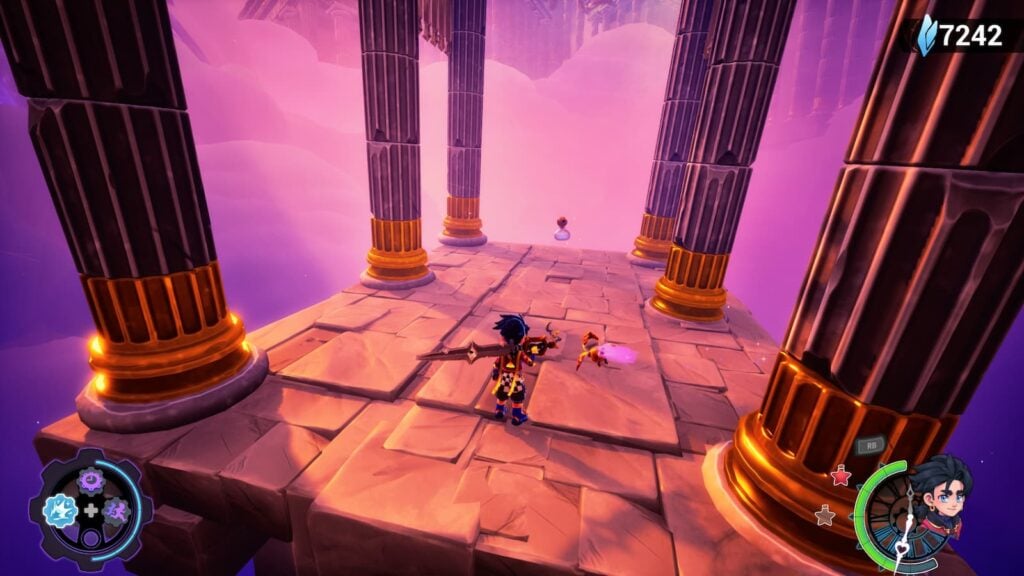
Point the giant sundial next the the fast travel point to the northwest and grind jump off it to reach the platforms over there. While here, grind off this small rail to reach another platform that has a Dye Flask on it.
Auric Palace Dye Locations
There is a single Dye Flask in the Auric Palace.
Dye Flask 1
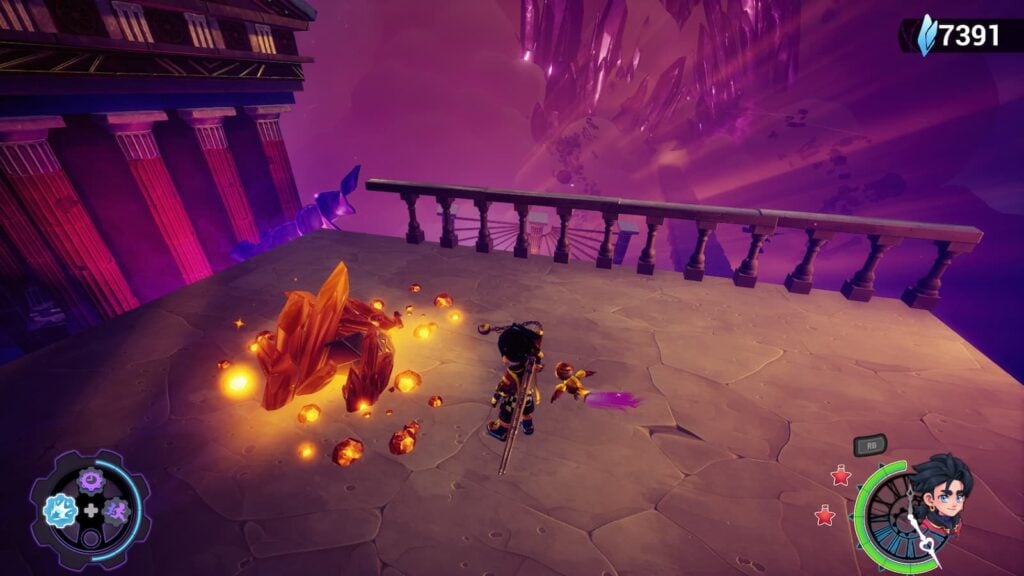
This Dye Flask can be found buried in the ground right at the start of the stage.
Deepthorne Dye Flasks
There are two Dye Flasks in the Deepthrone stage.
Dye Flask 1
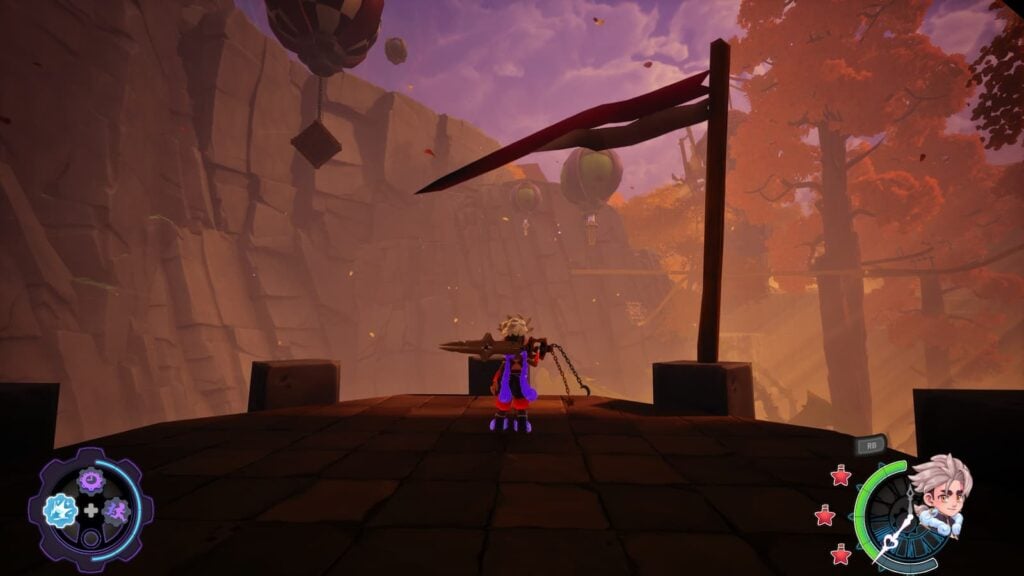
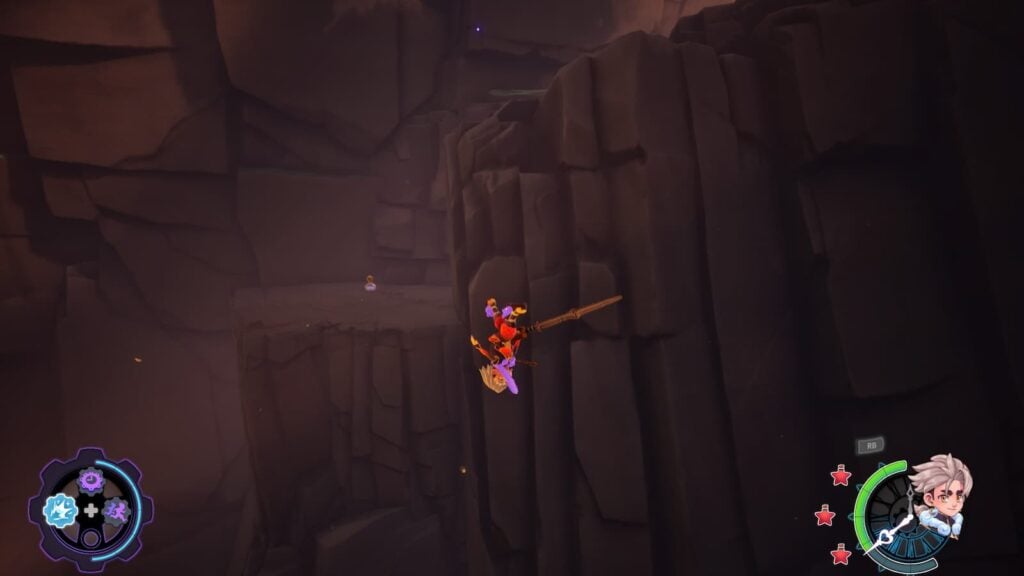
After grinding past the trees in the area and grappling onto the three balloons, turn around and grapple on them again. This will lead you right toward a rocky ledge that has a Dye Flask.
Dye Flask 2
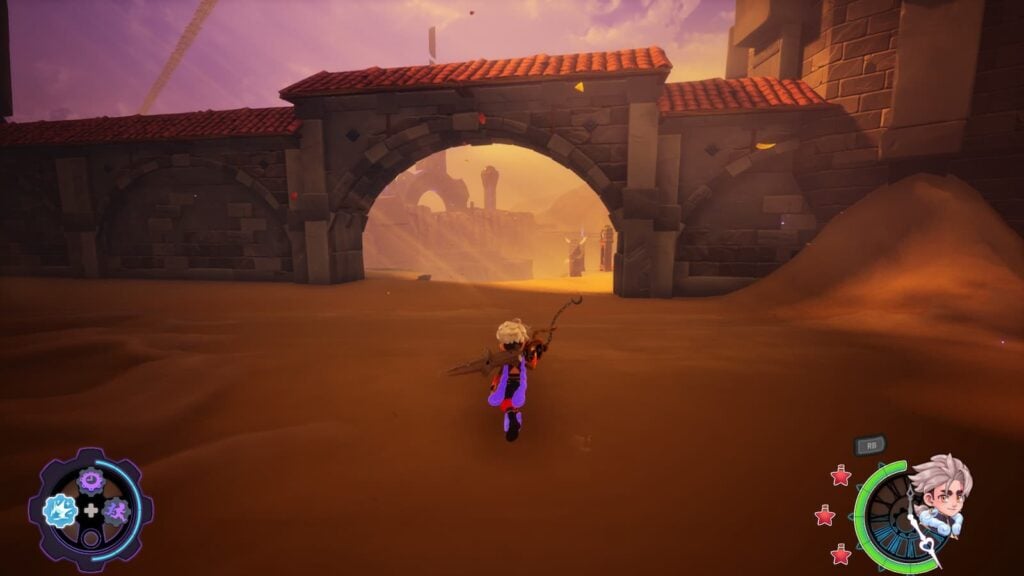
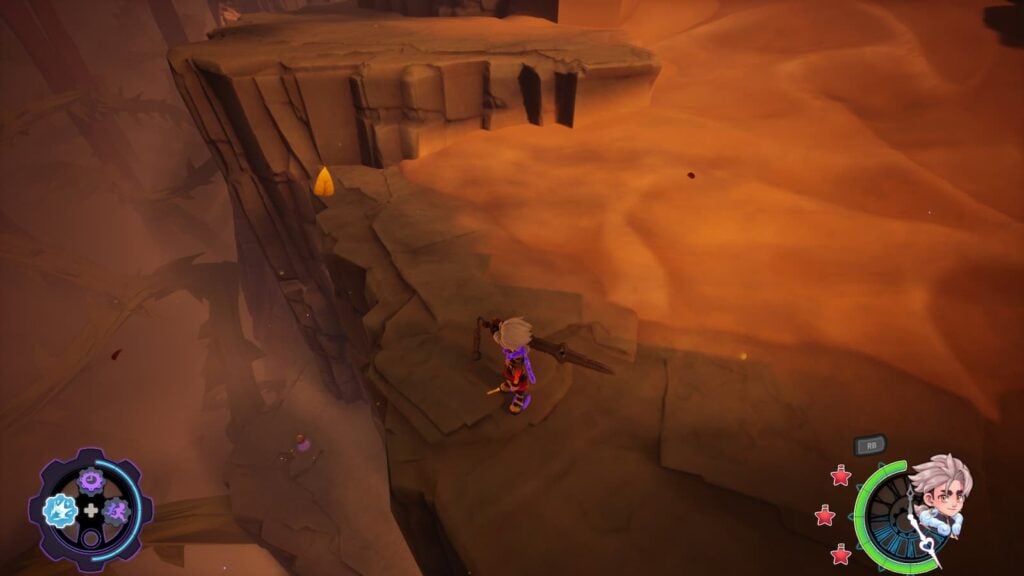
This Dye Flask is located on the edge of a cliff just after the sandy-fortress area after the stage’s fast travel point.
Stonetusk Canyon Dyes
You’ll be able to find two Dye Flasks in the Stonetusk Canyon
Dye Flask 1
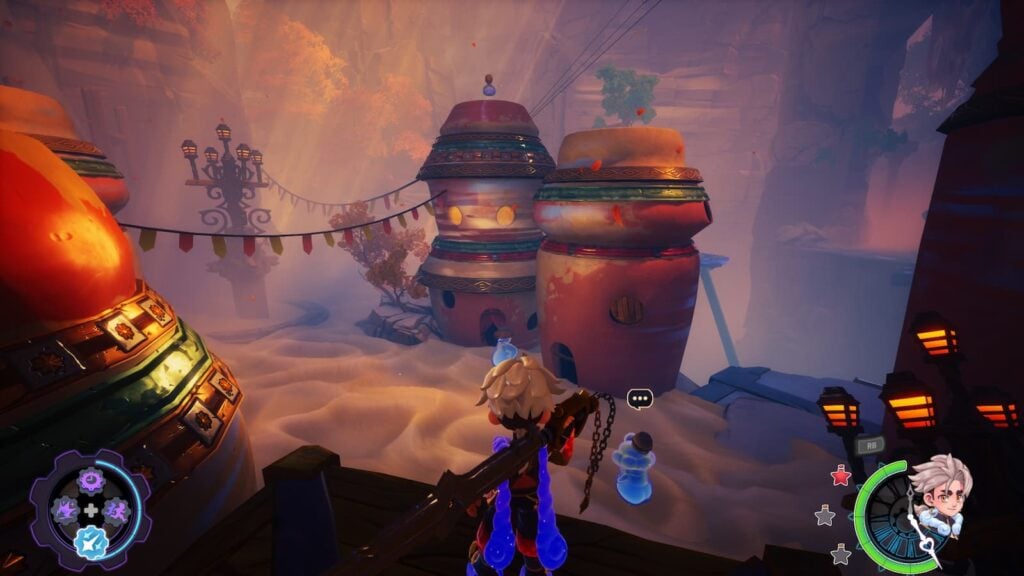
The first Dye Flask of the stage is located right at the start of the level, on the roof of one of the houses in this small town.
Dye Flask 2
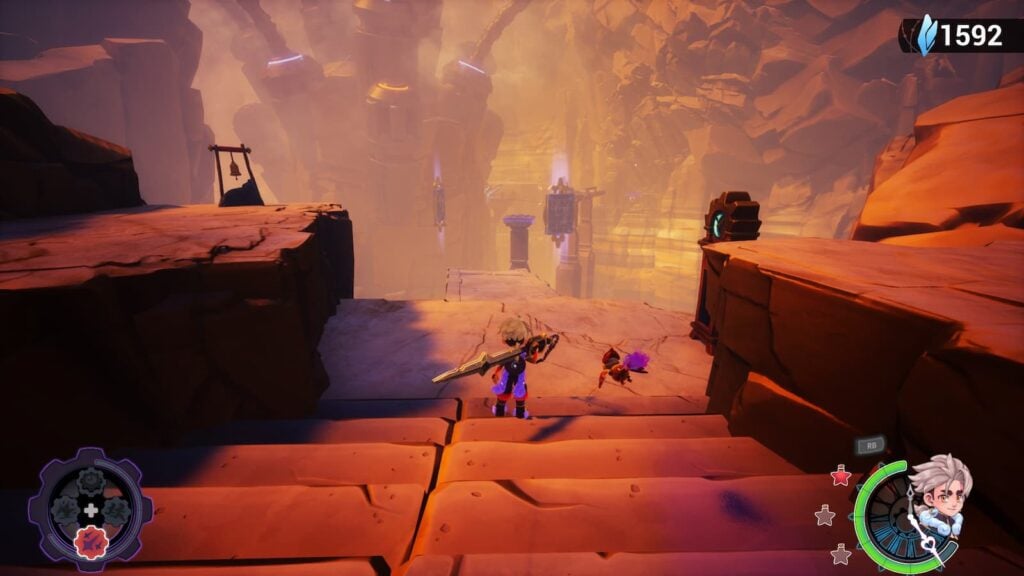
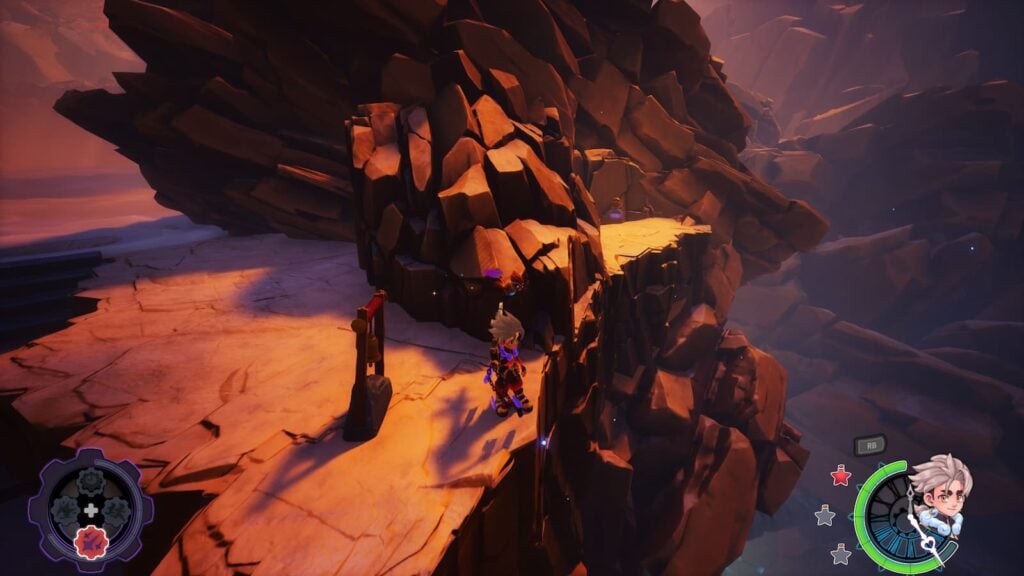
Right before the final platforming segment of the stage, turn to your right and you’ll see this Dye Flask sitting on a ledge.
Clockmaker’s Rest Dyes
There’s two Dye Flasks in the Clockmaker’s Rest
Dye Flask 1
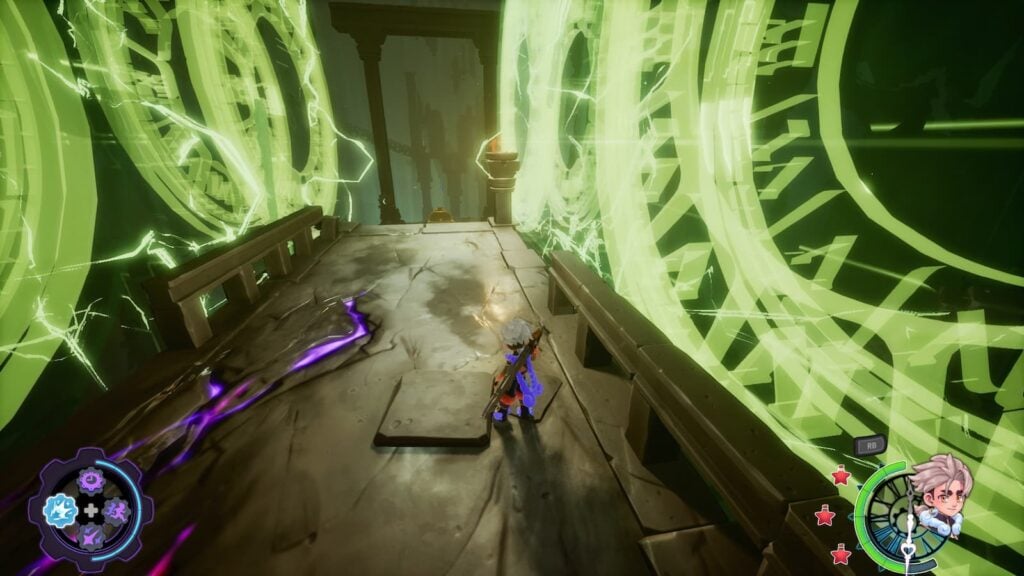
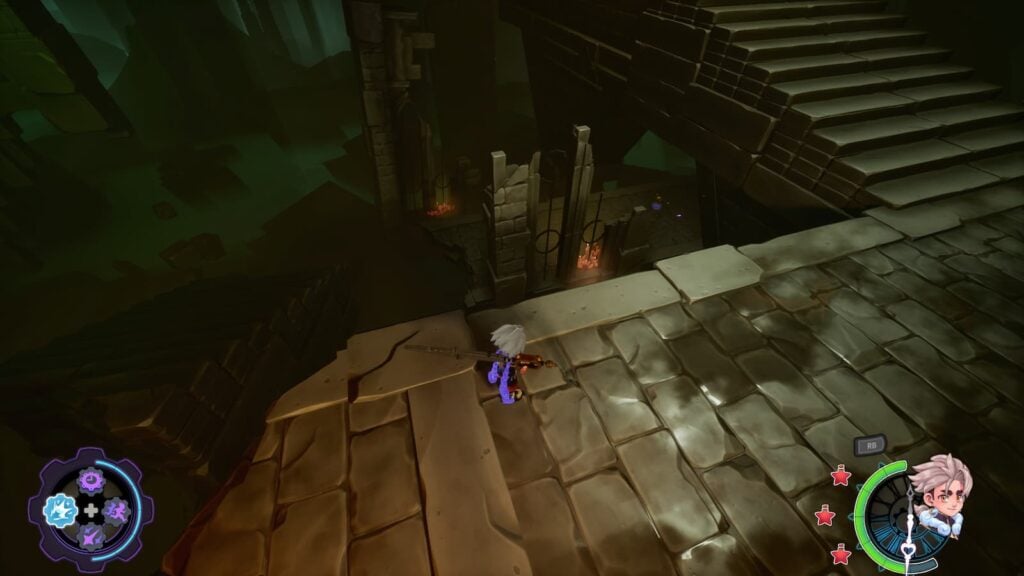
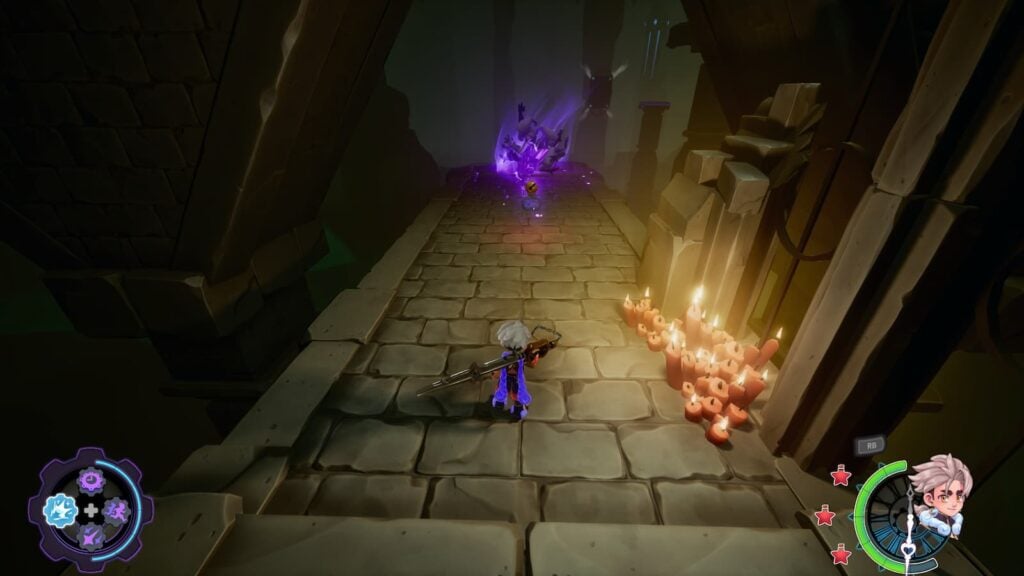
After the first segment with green clock walls near the start of the stage, turn your camera down and you’ll see a platform with a Dye Flask on it.
Dye Flask 2
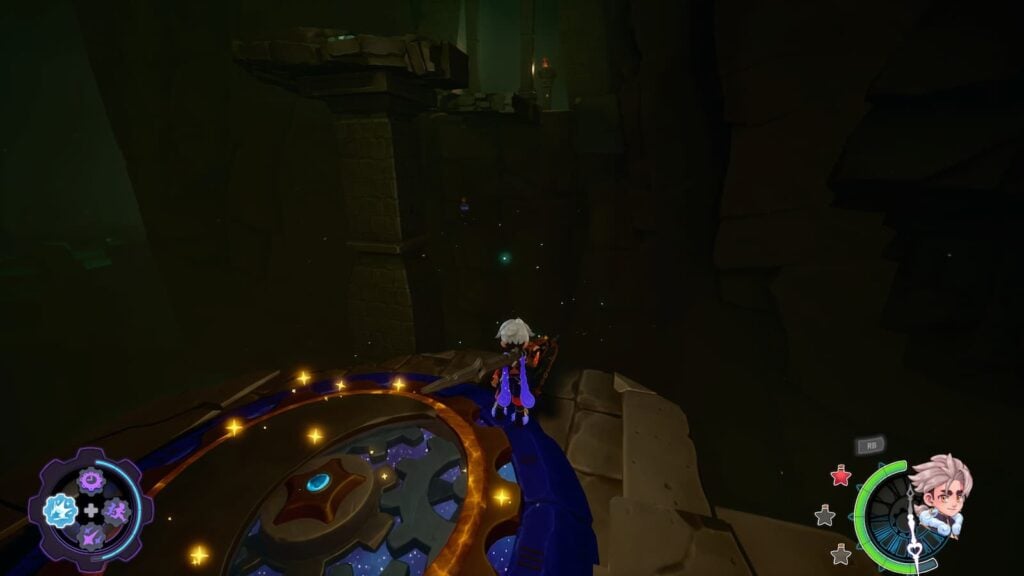
In the first large open cave area on the main path after the fast travel point, drop down after entering the room and look behind you to spot another Dye Flask.
Desert of the Last Memory Dye Flask Locations
There is only one Dye Flask in the final main stage of the game.
Dye Flask 1
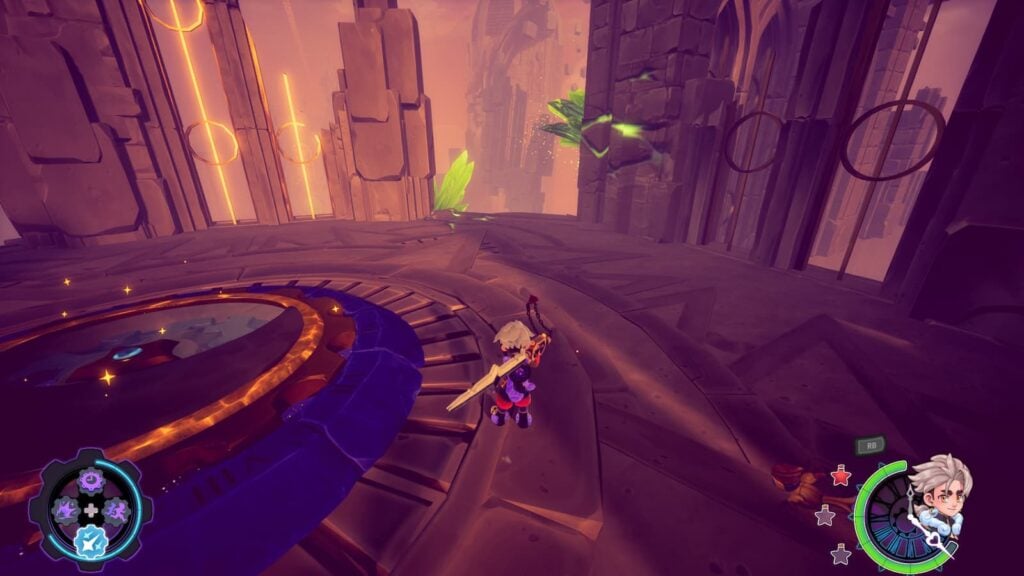
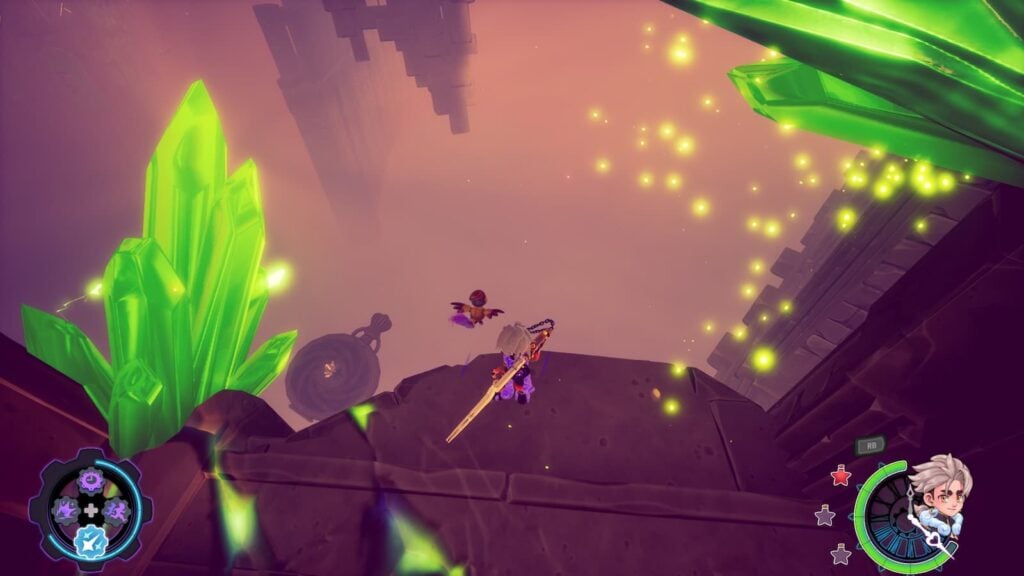
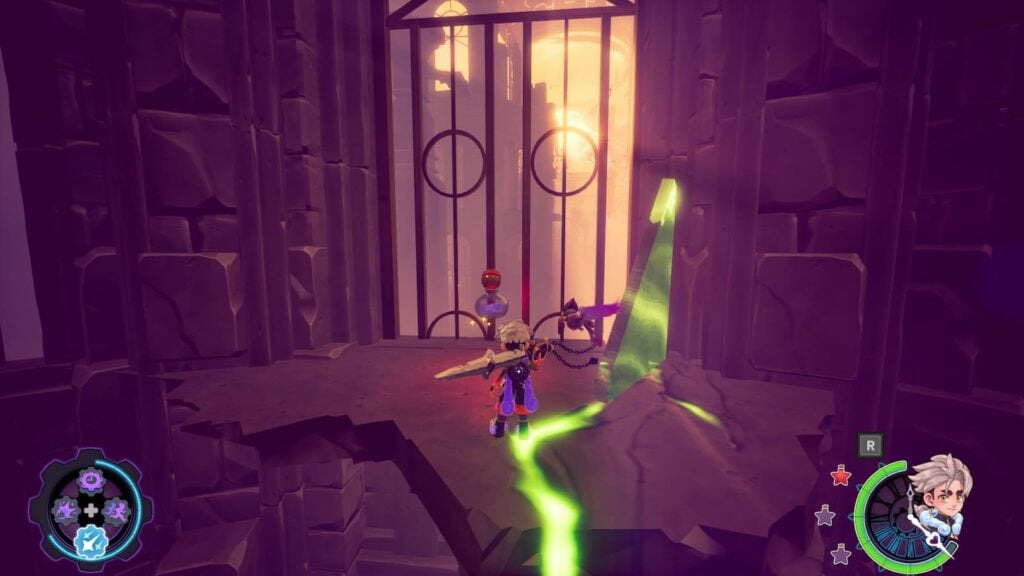
When you reach the building with the pendulum bounce pad right before the fast travel point, look down at the ledge with green crystals and you’ll see a clock platform. Jump down to it and you’ll be able to enter the building and gain another Dye Flask.